October 11, 2018
I updated and replaced the closure on this great bag.
Here is the video on how I did that:

Hello, stitchers!
This is a cross body bag that I stitched up for my grandgirl’s birthday.
The pattern and embroidery design are by Hope Yoder:
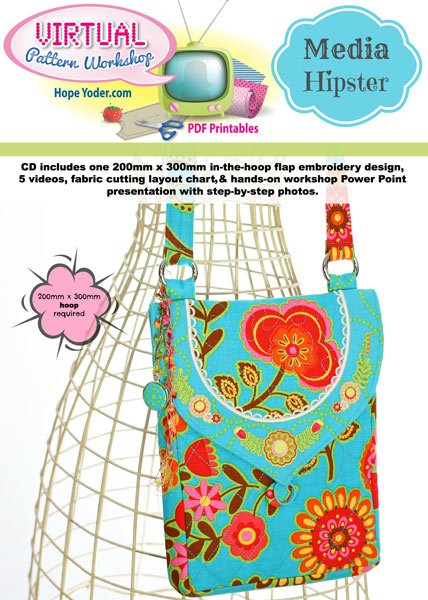
The first item on the agenda is to stitch out that pretty,
embellished flap using the embroidery machine.
Hoop the fusible fleece, cutaway stabilizer, and main fabric (my fabric is lightweight denim).
The flap outline and the all over stipple design stitch first.

Add the flap accent fabric and the machine completes the outline stitches.
Then, trim away the inside “u” shape of the accent fabric.
Now, on to the embroidered floral design.

I selected eight colors that I thought would be pretty with my cotton accent fabrics.
When that is all embroidered (it will take a while),
add the elastic hair band that will loop over the button for the closure.

These are the bands that I used.
They are a little thick, but they still worked fine.
After the machine tacks down the hair band,
place the flap lining fabric right side down
and let the machine stitch all the layers in place.

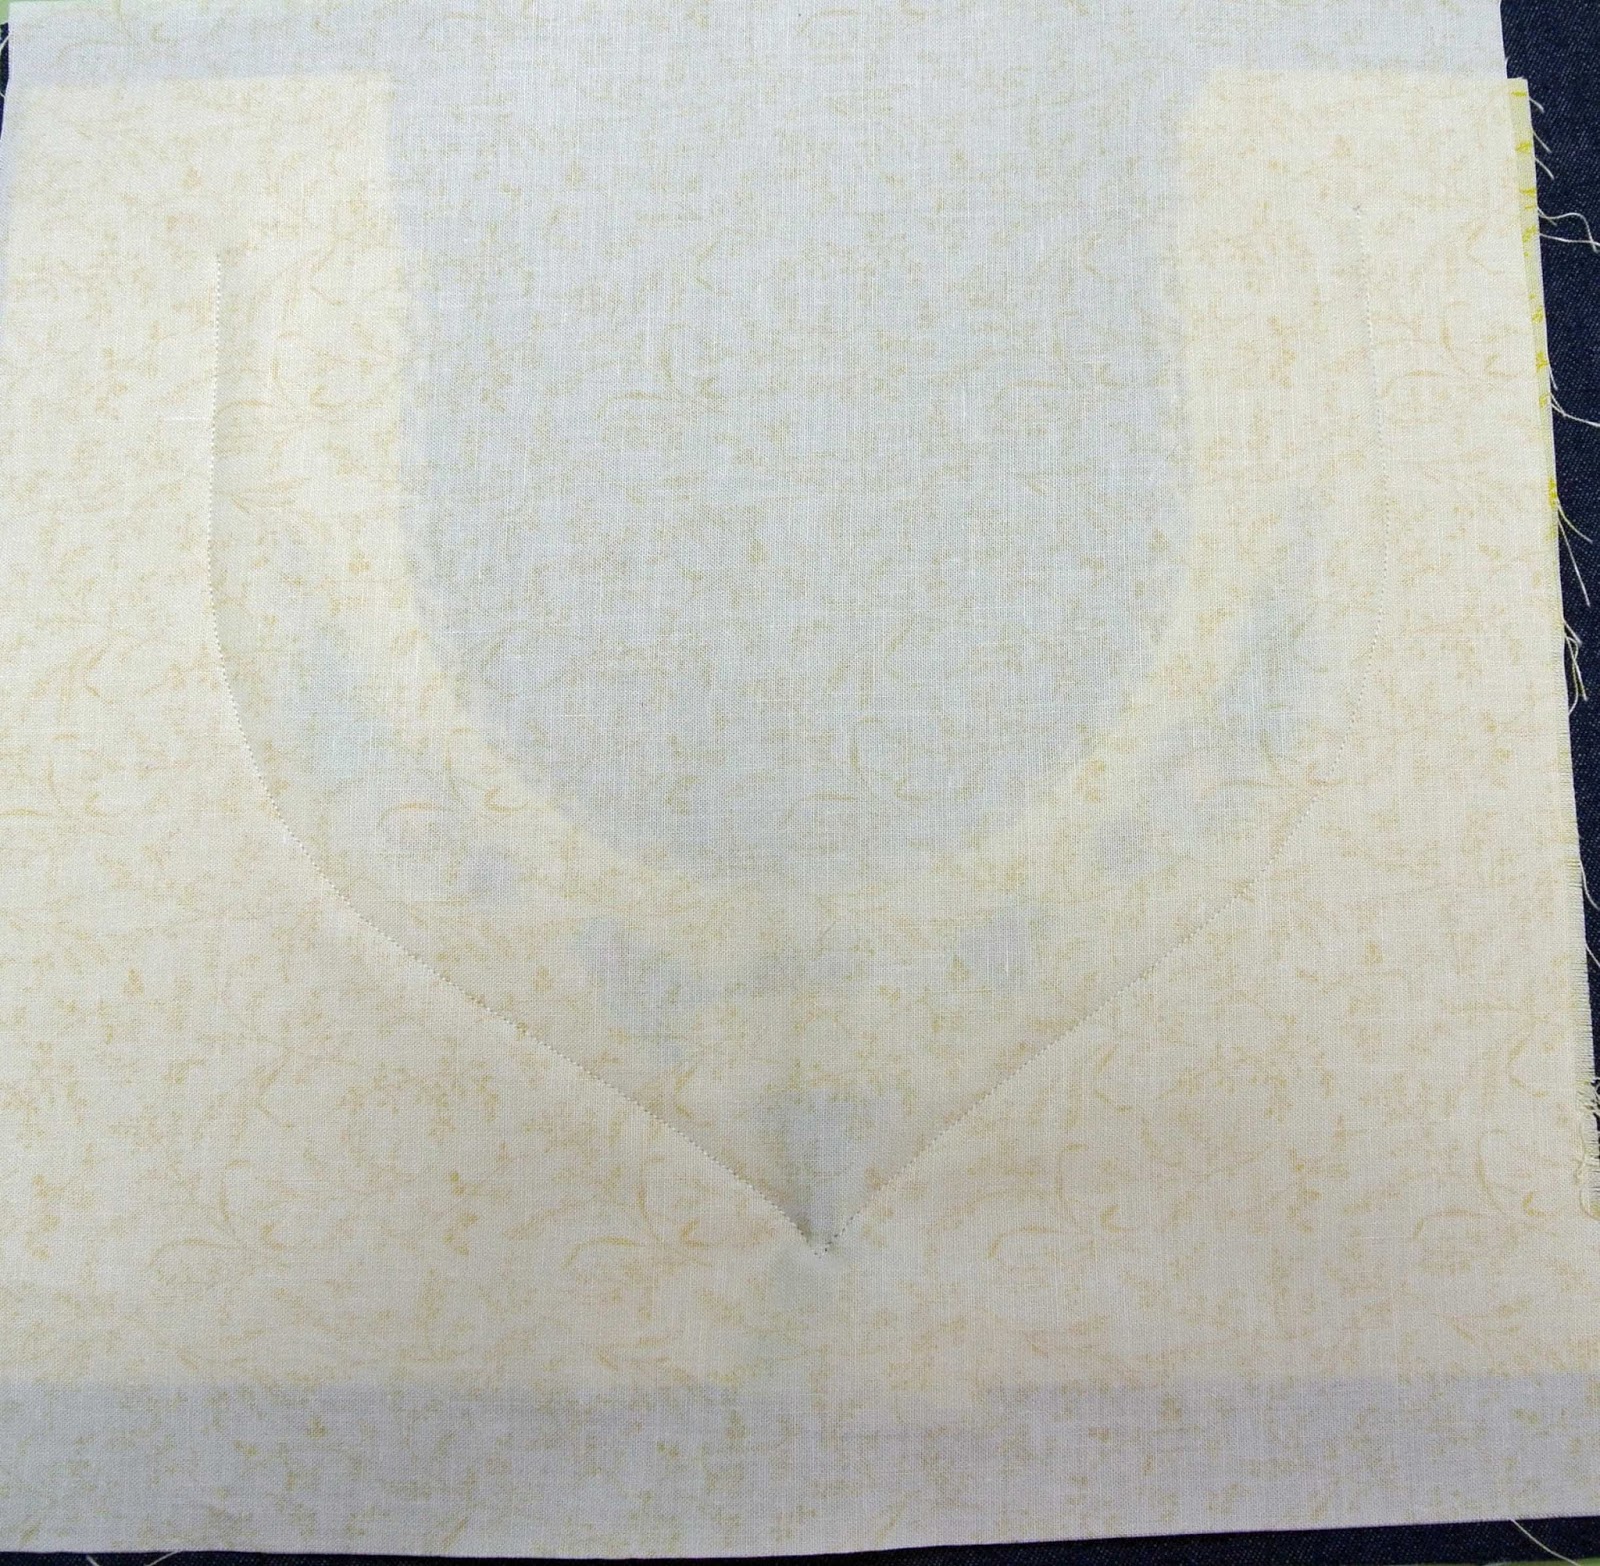
Remove the flap from the hoop and trim away the extra fabric and stabilizer.
Leave about 1/4 inch seam allowance around the flap.
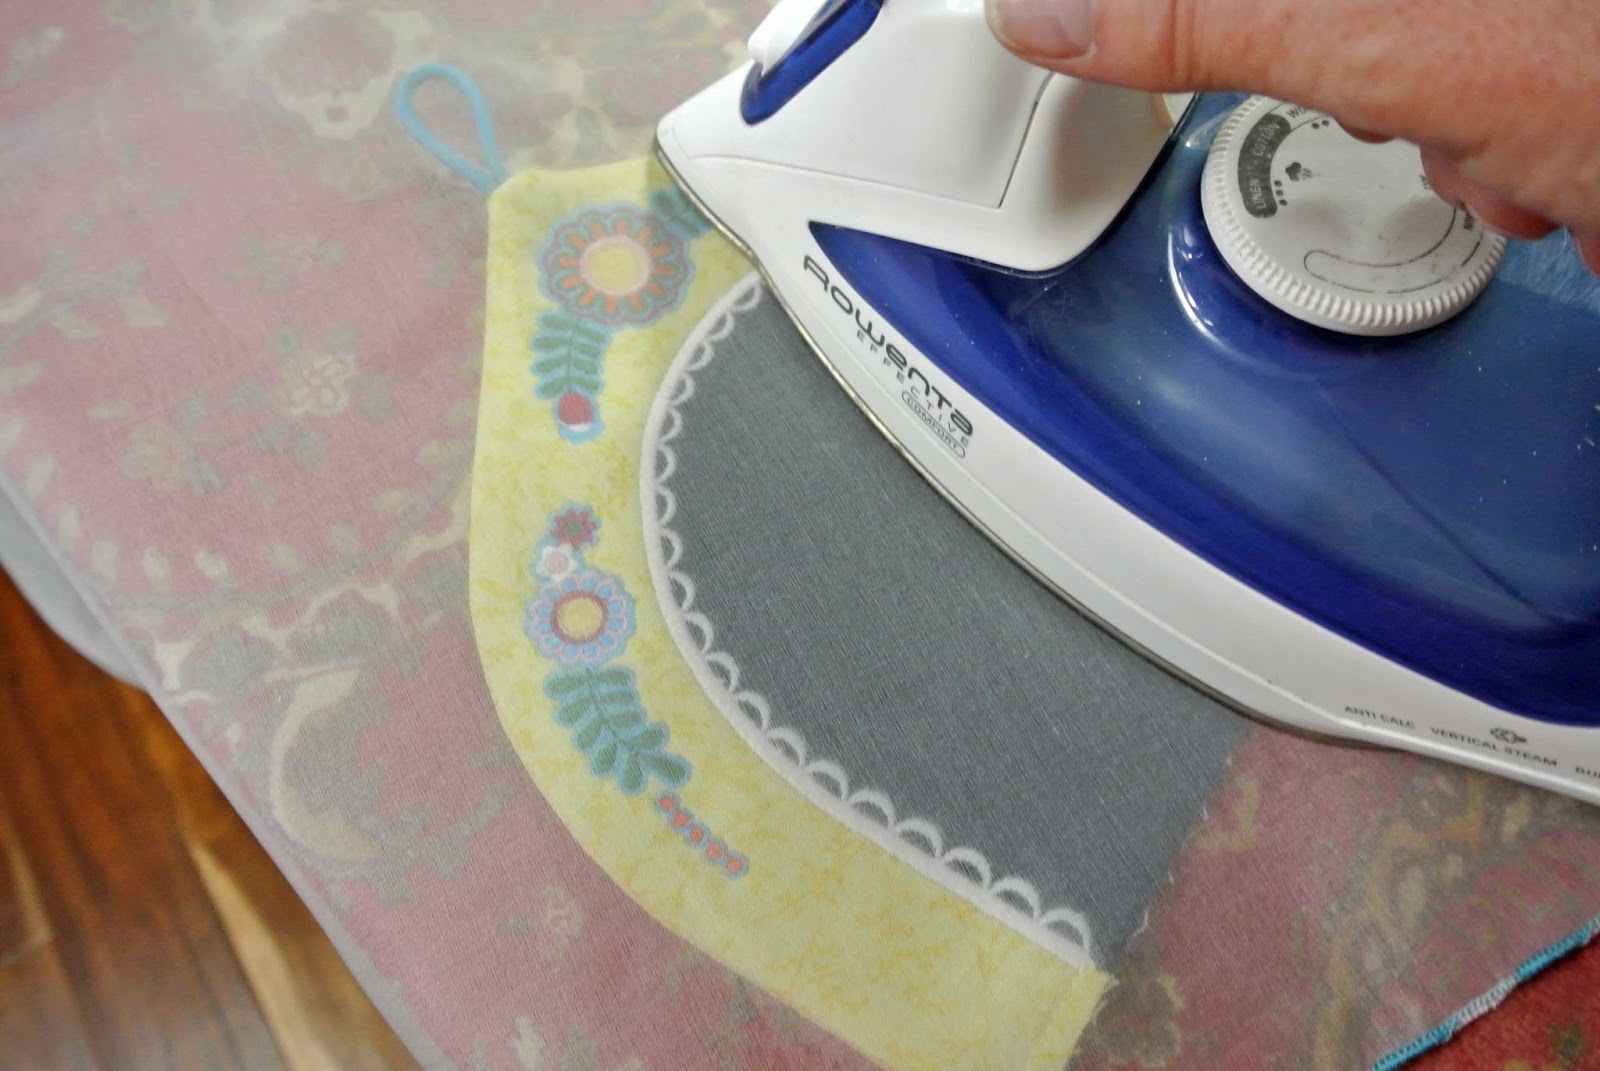
Turn right side out and give it a good press.
I always use a press cloth over my embroidery stitch outs.

Now, on to the rest of the bag.

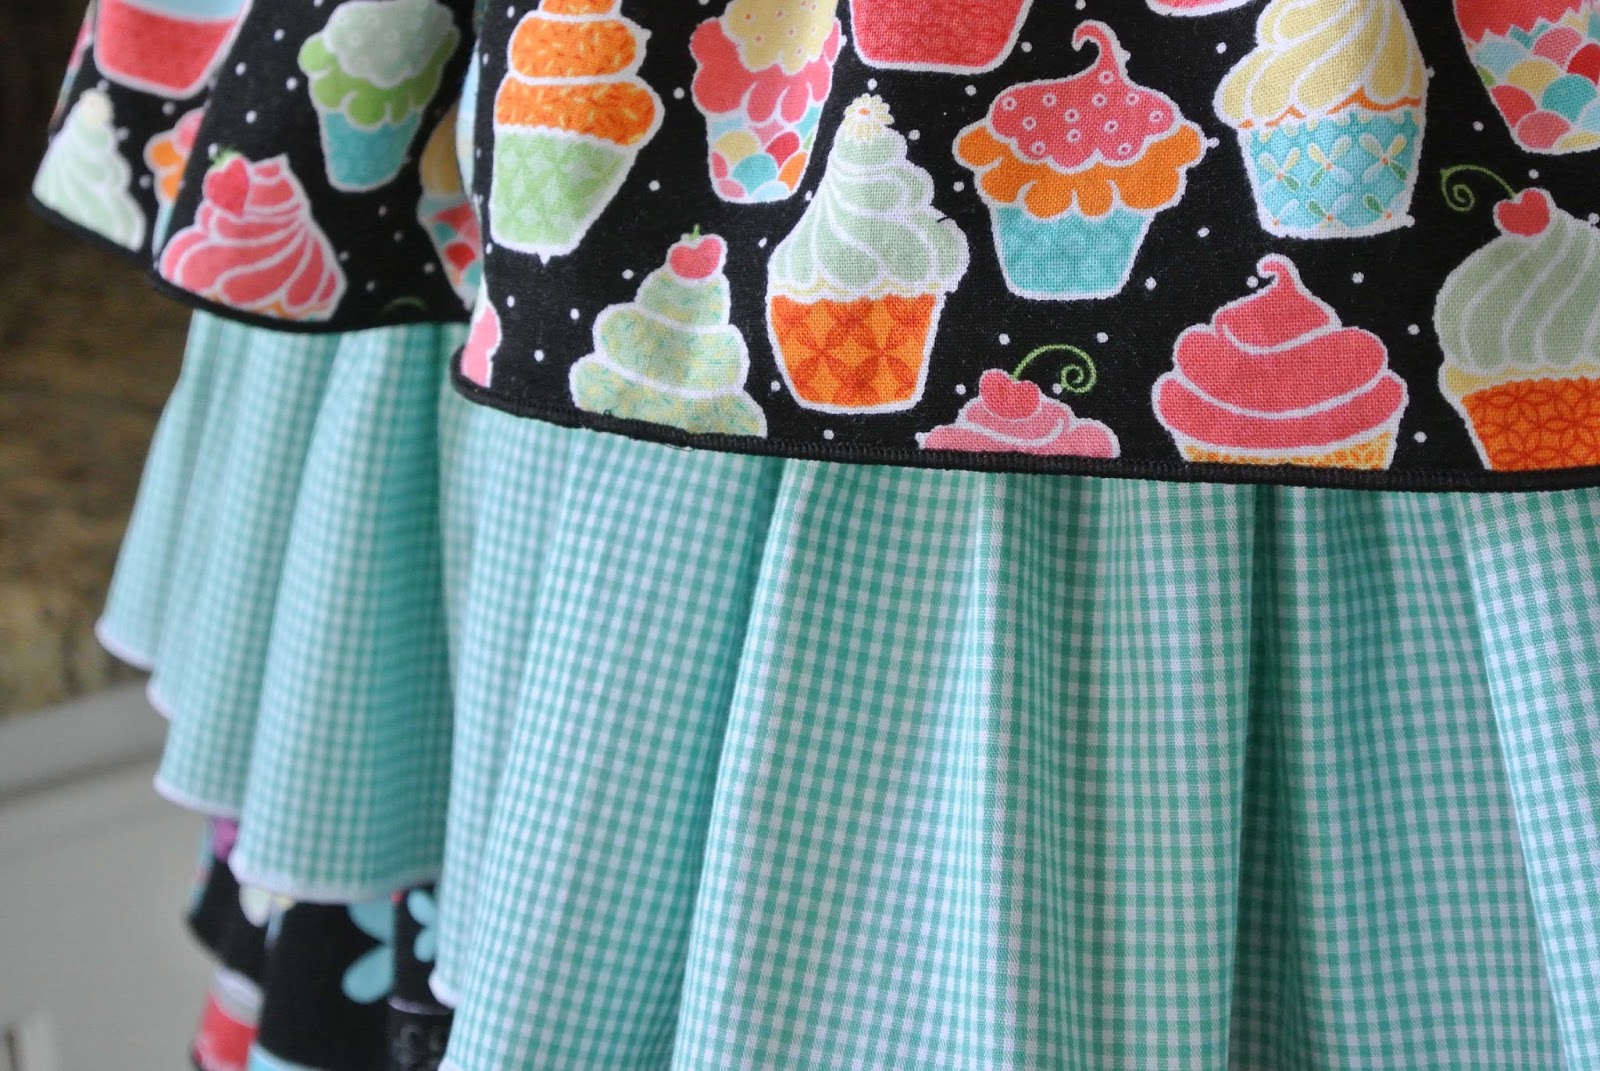
I purchased these fabrics from Shabby Fabrics.
They complement the denim beautifully.

I used iron on fleece inside the back pocket,
then I cross hatch quilted the pocket layers using my Baby Lock Sashiko.

The binding along the top of the pocket was a breeze using my Bernina binder attachment.

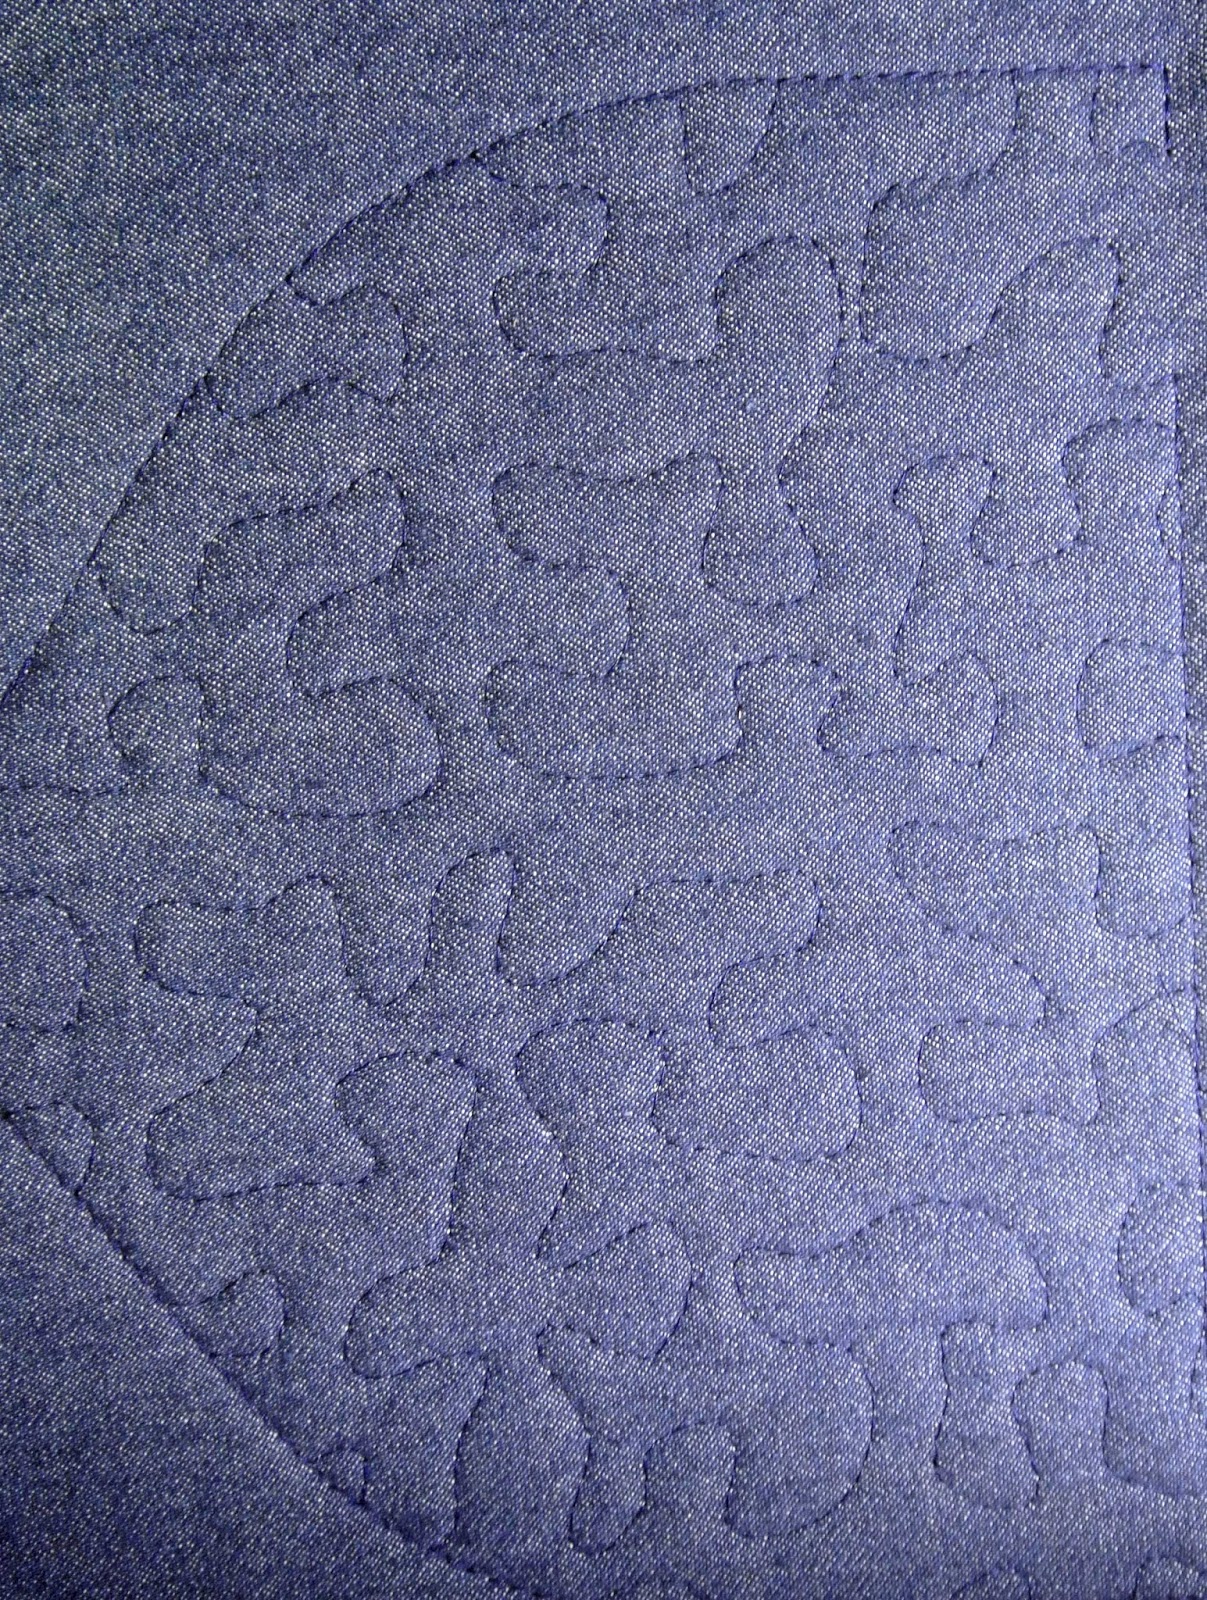
I always like to use the fly stitch to reinforce pocket seams.
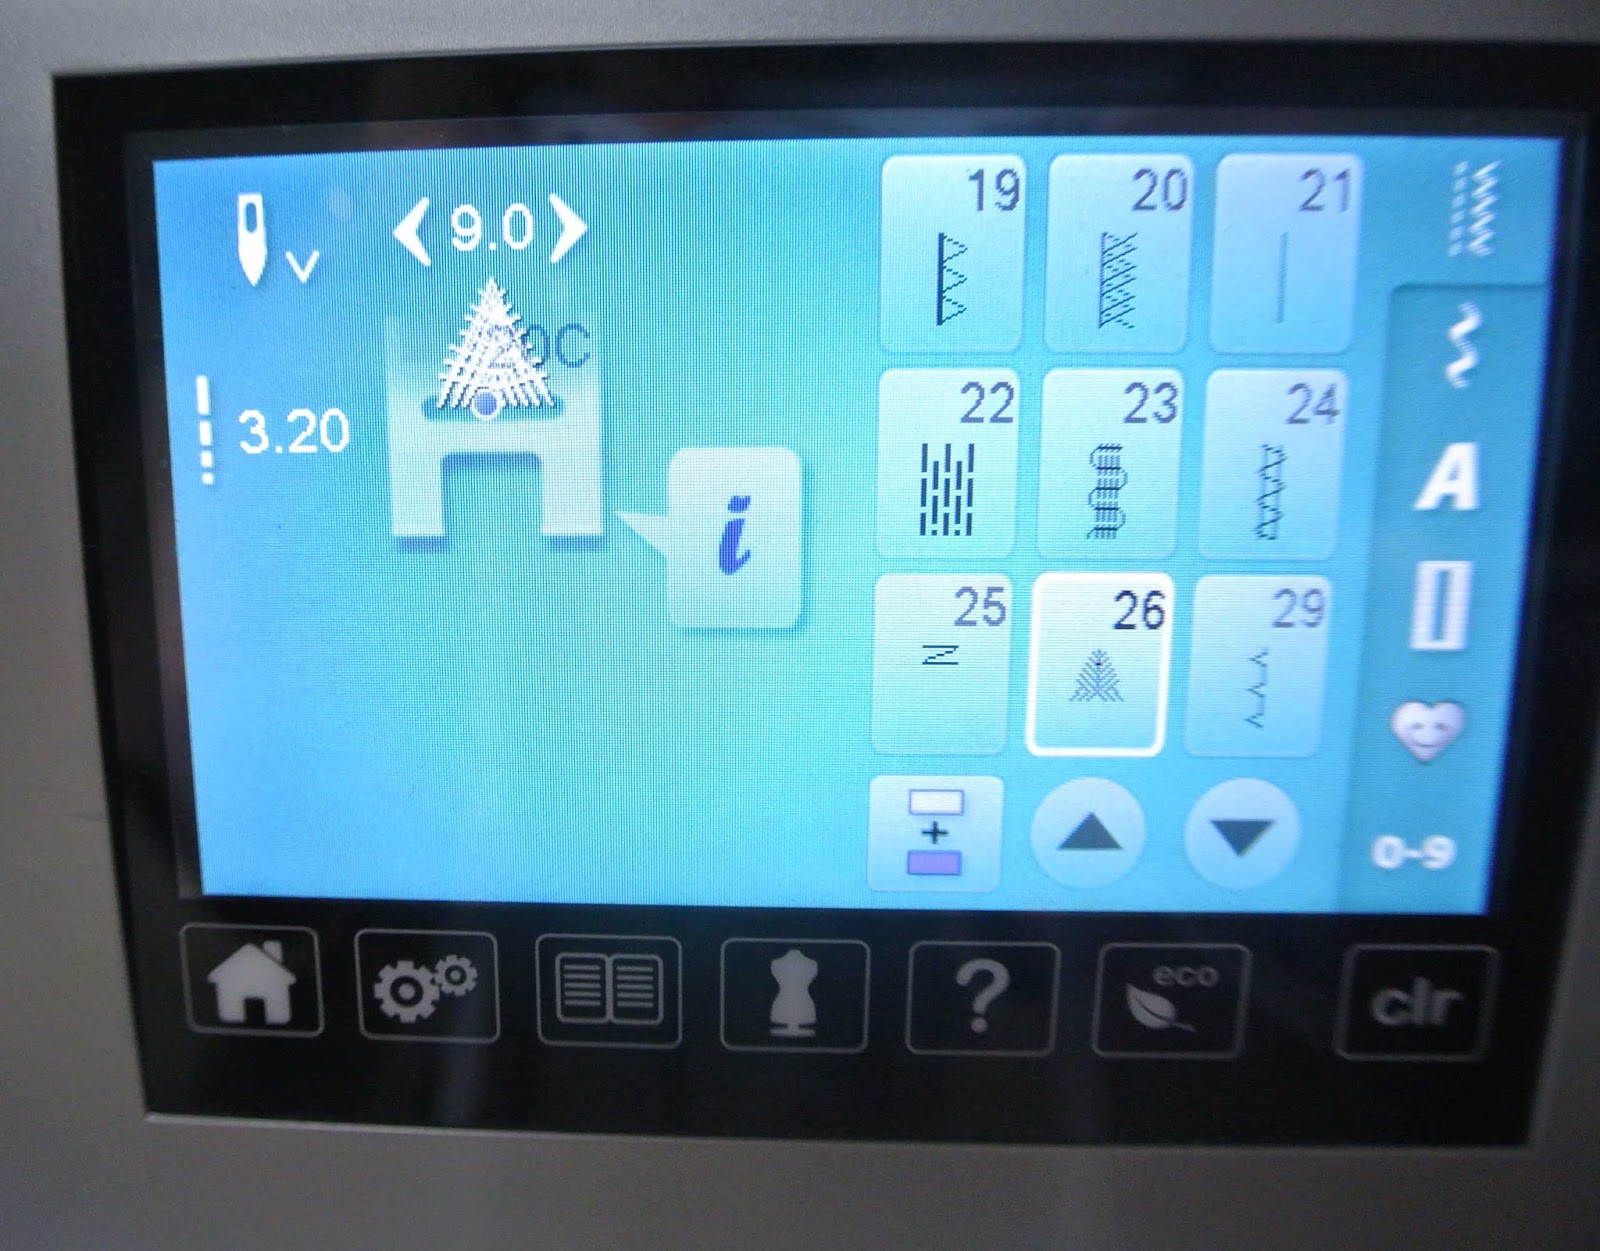
On my Bernina, the fly stitch is number 26.
You don’t have to sew on a Bernina for this stitch.
It is included on other brands as well.
The above picture shows what it looks like.

I backed the purse body and handle straps with byAnnie Soft and Stable.
On the handle straps, this wavy stitch holds the layers in place.
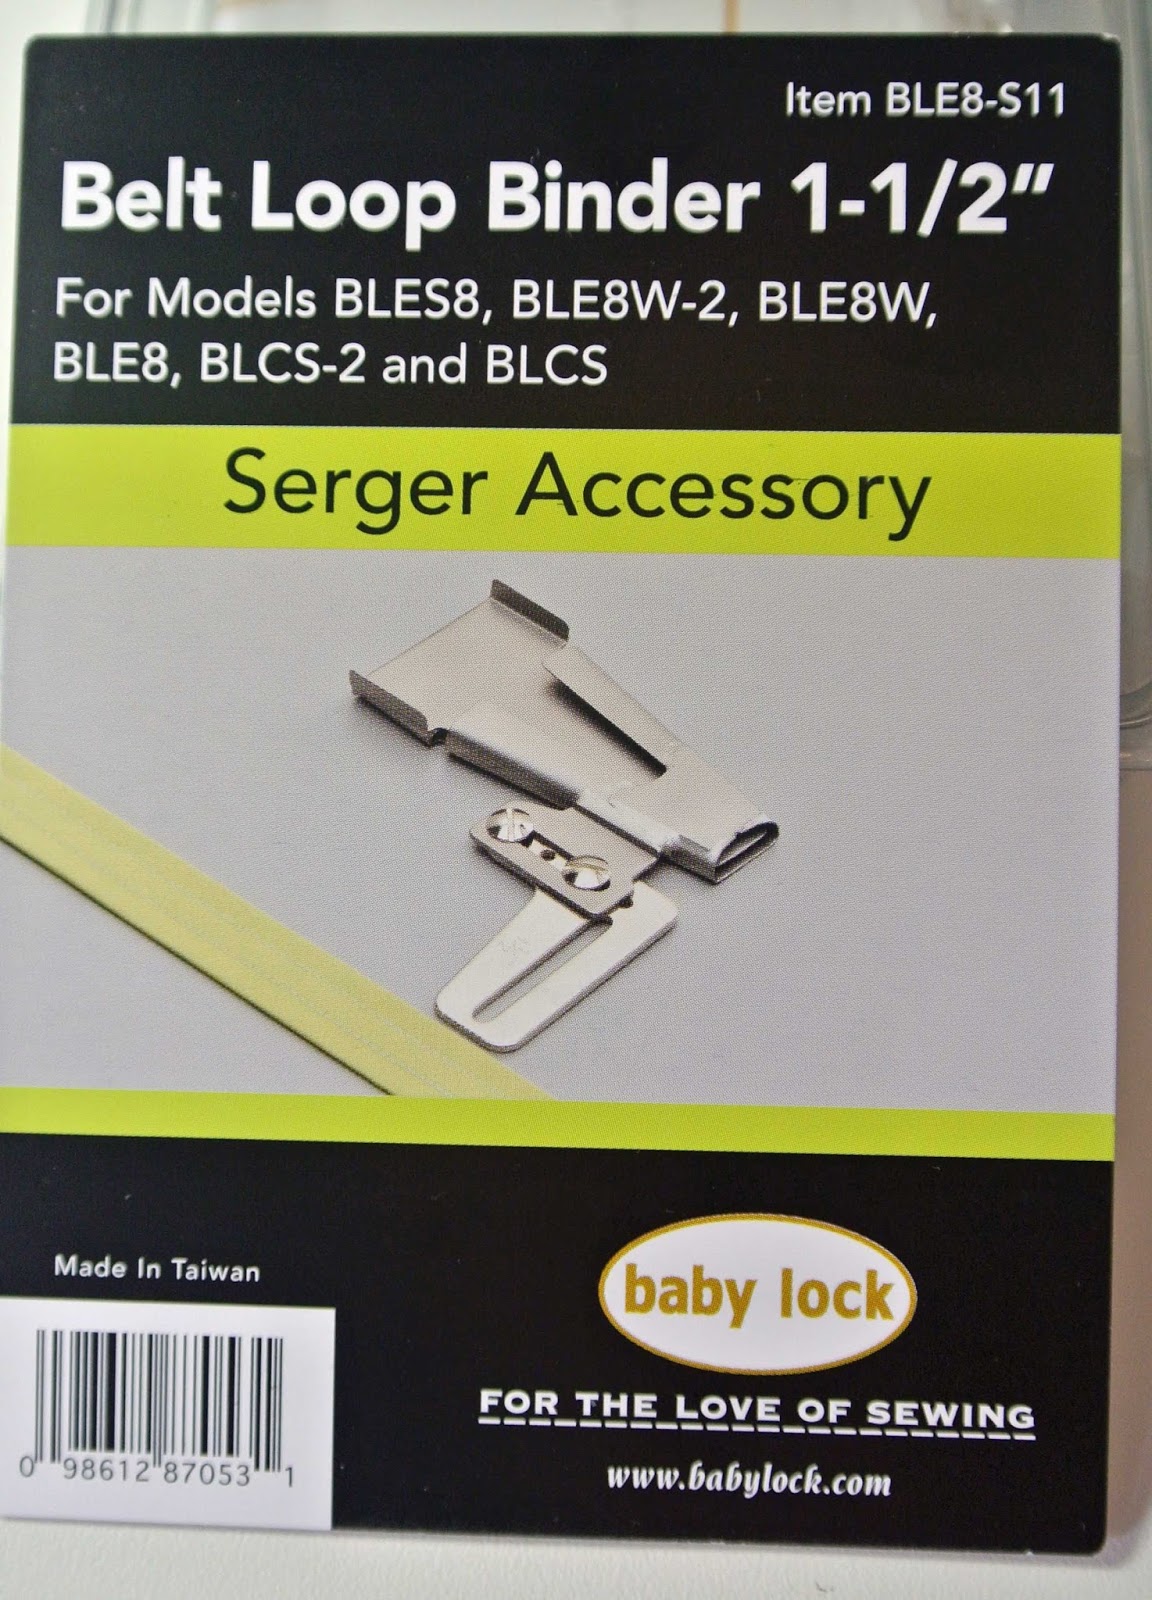
This is the attachment that I used on my Baby Lock Ovation serger to make
quick work of the tabs that attach the “O” rings to the purse.

This attachment folds the fabric on each side to the back
and the coverstitch is used to secure everything in place.

Here’s a back and front view of the tabs.
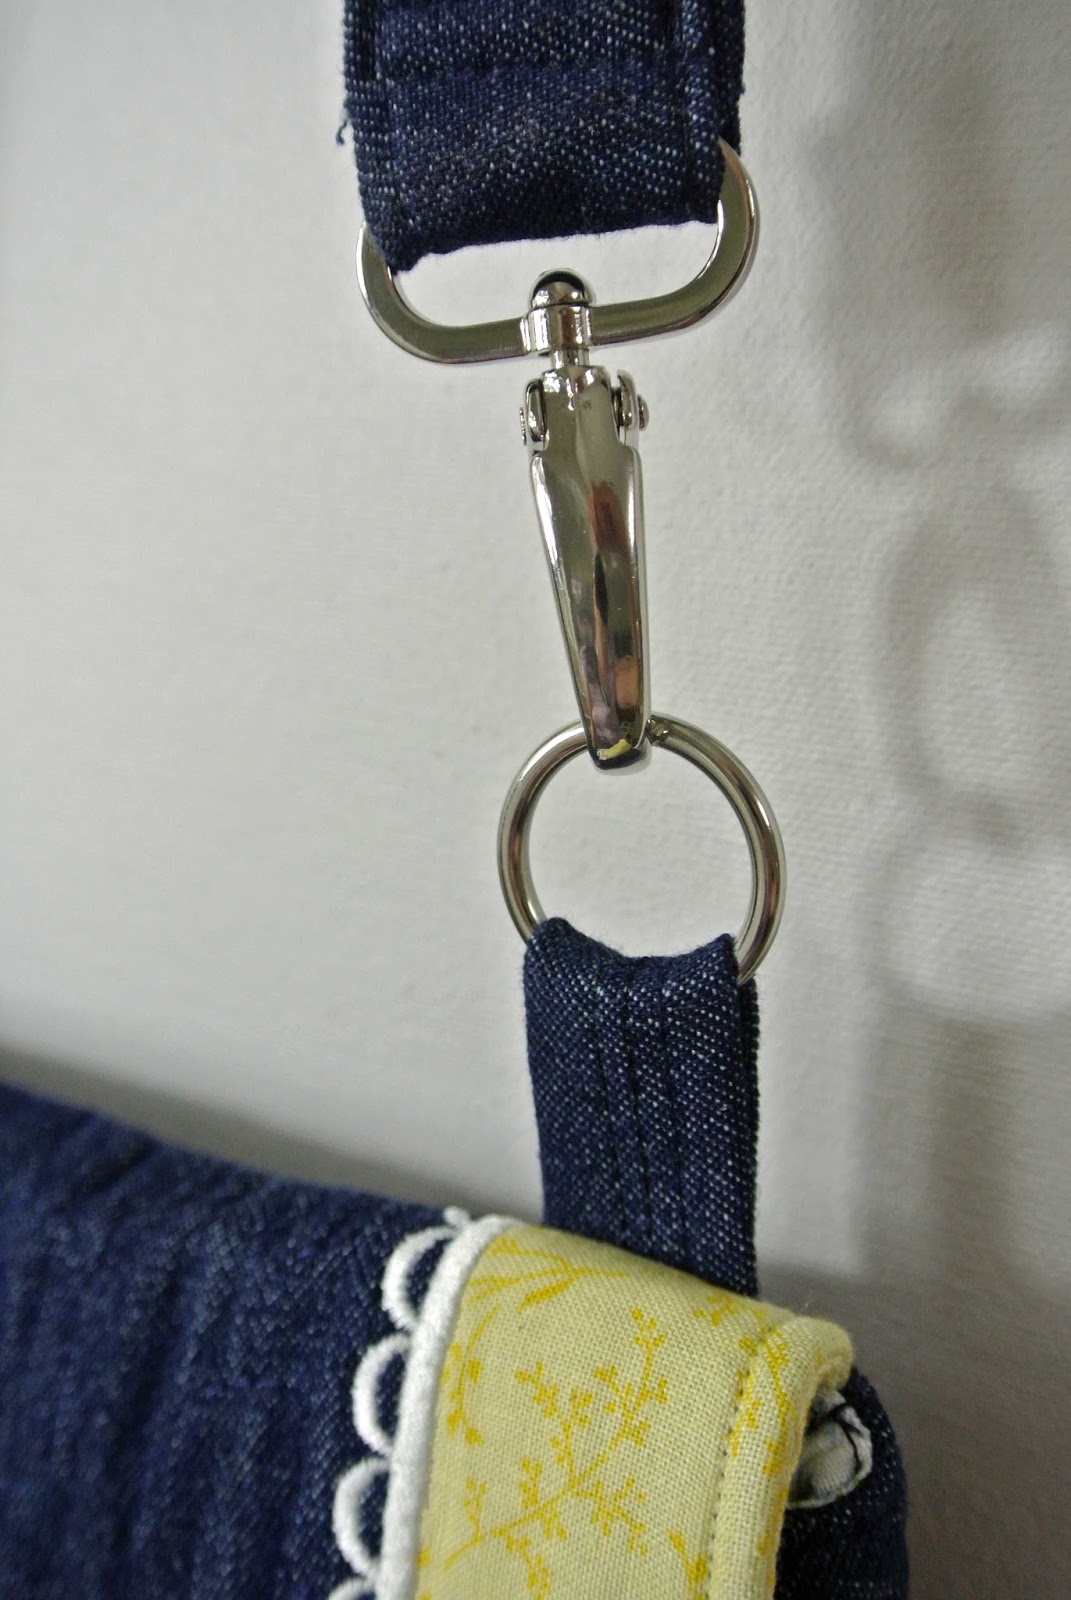
Instead of simply attaching the purse strap to the tab and “0” ring,
I used a swivel hook.
That way, the strap doesn’t twist when my granddaughter puts it across her body,
and she can also detach the strap, wrap it around the handlebars of her bike, and reattach the bag so she can be hands free while riding her bike.
It also will not flap around on her body while she is riding her bike.
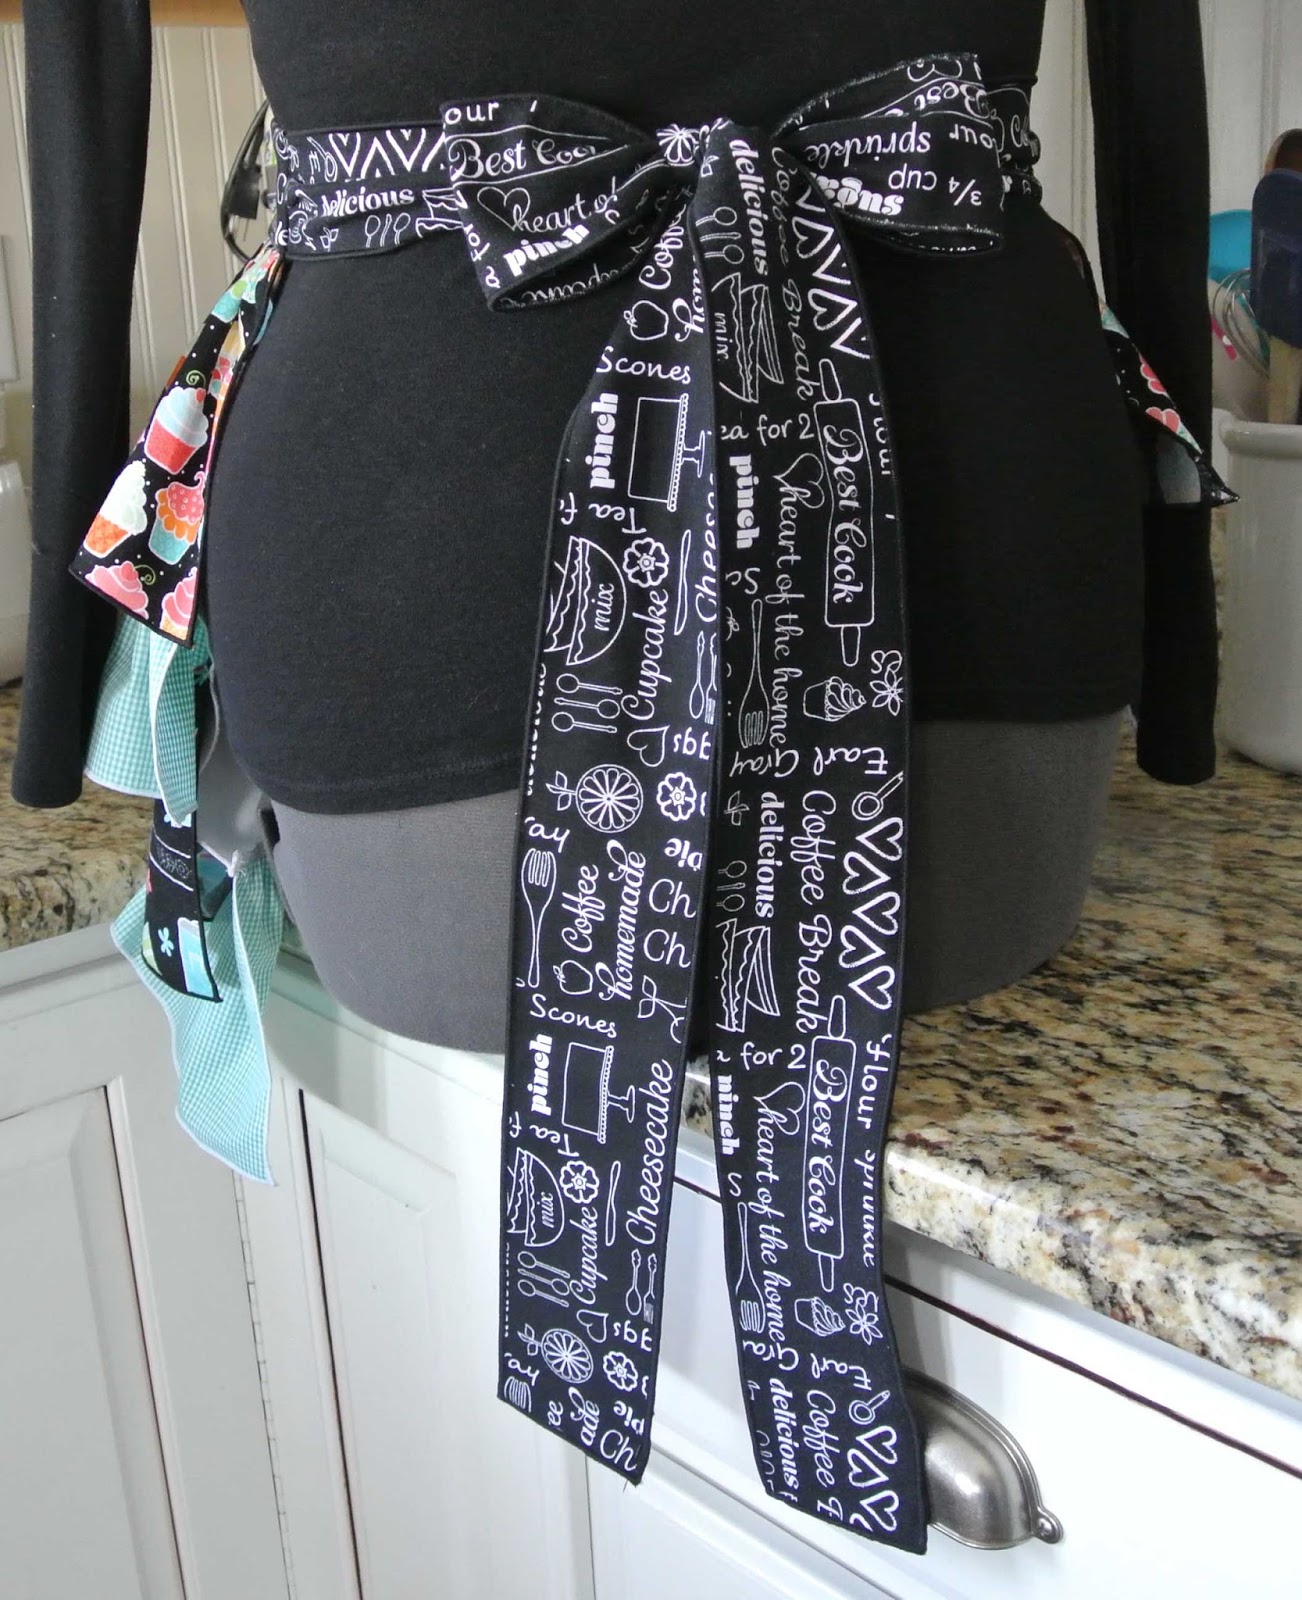
(I sell bag hardware in my shop and I would be happy to put together a finishing kit for your project. Not just this Media Hipster, but any bag or purse you might be stitching. Just send me a convo and we will work together to get you the hardware you need.)

This bag will hold a tablet the size of the original iPad,
with room left to add other items.

The back pockets also add extra storage.

A covered button finishes off the front.

If you decide to make this one, give yourself a day to complete all the steps.
This one is not a one-hour project, but in my opinion, it is worth the effort.
I’m considering stitching up one for myself!
If you would like to leave a comment or say hello, please do so in the comment section.
Or, please feel comfortable sending me an email.
I really look forward to hearing from my visitors.
Thanks for stopping by.