What’s Sewing On – March 2024

Happy Resurrection Day (Matthew 28:1-10), Sewers!

My kitchen needed a Spring refresh, so I added a couple new pot holders to my cooking supplies. These sweet little chicken hot pads are stitched from some Lori Holt fabric.

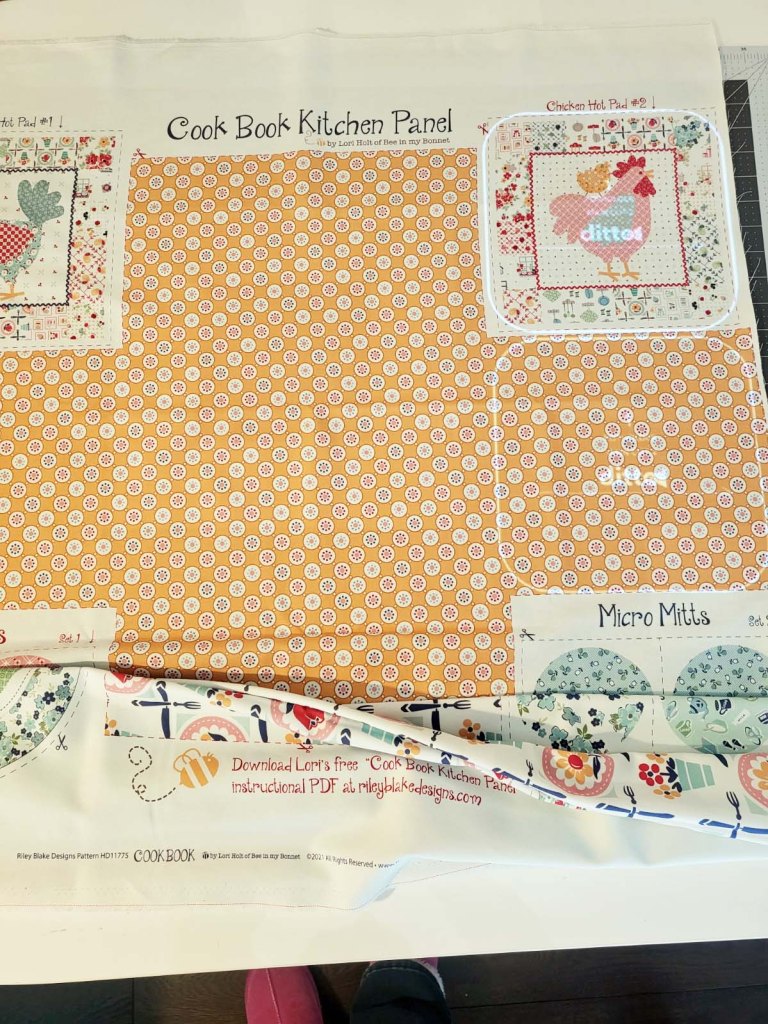
I used elements from the Lori Holt Cookbook Panel to sew up these quick hot pads. The panel is perfect for pot holders because it is lightweight canvas and is a bit heavier that quilting fabric. When I closed my Etsy shop last year, I had some inventory left. If you are interested in one of the Cook Book kitchen panels, send me an email and I will send you info about the panel along with a great price.

I wanted to experiment a bit with my Ditto Pattern Projector, so rather than following the square pot holder cut lines on the panel, I downloaded the rounded corner pot holder pattern from Ditto. The pattern has two pieces, which I arranged to fit over the chicken for the front of the pot holder, and over the mustard color print for the back of the pot holder. I used my rotary cutter to cut the two pieces.

Then I projected the pattern pieces on my batting and insul fleece to cut those pieces as well.

After straight line quilting the front, back, batting, and insul fleece layers together, I finished off the pot holders with some Lori Holt 1/2″ Bias Tape. This was a quick, easy, and useful project.

I also quilted my wall hanging/table topper that I talked about in my February blog post.

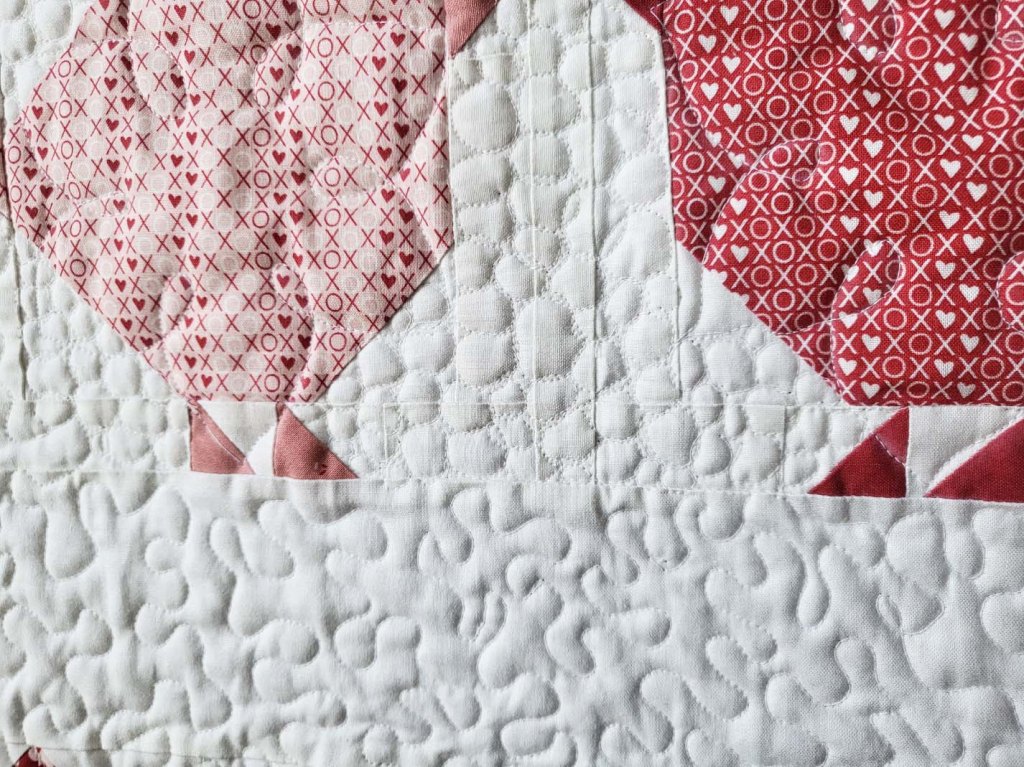
I chose a combination of stippling and circles free motion quilting for the background. And to make the chicks stand out a little, I used a simple floral stencil for their bodies. Since they are not quilted as densely as the rest of the wall hanging, they show up as a bit ‘puffier’ than the rest of the project.

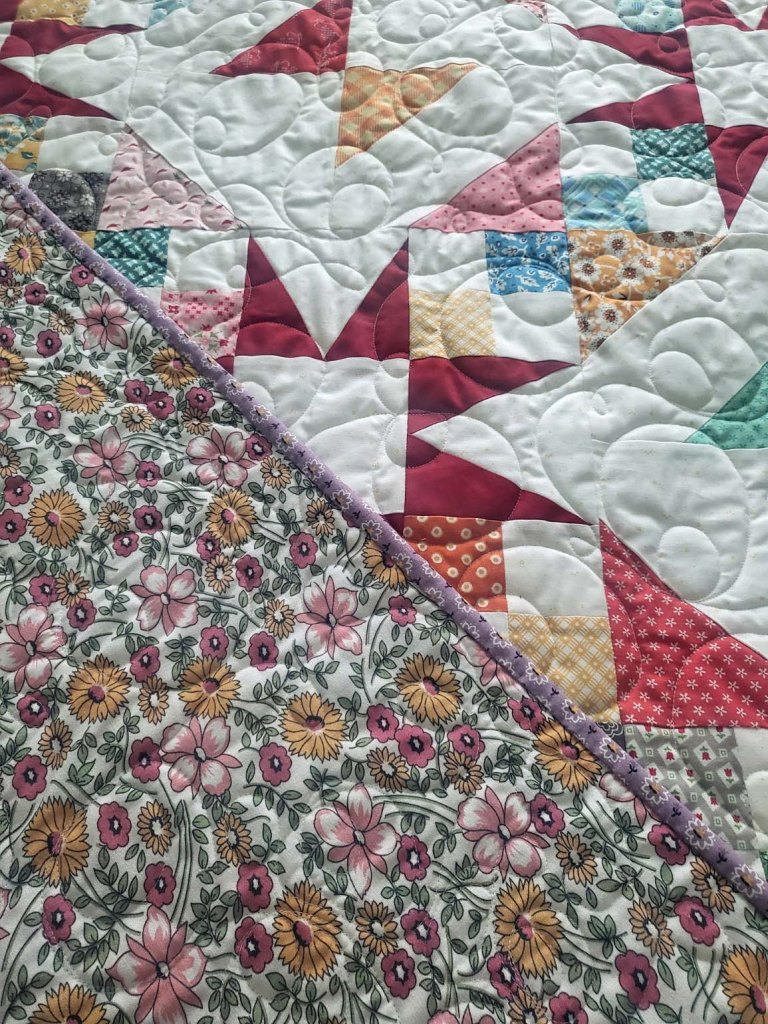
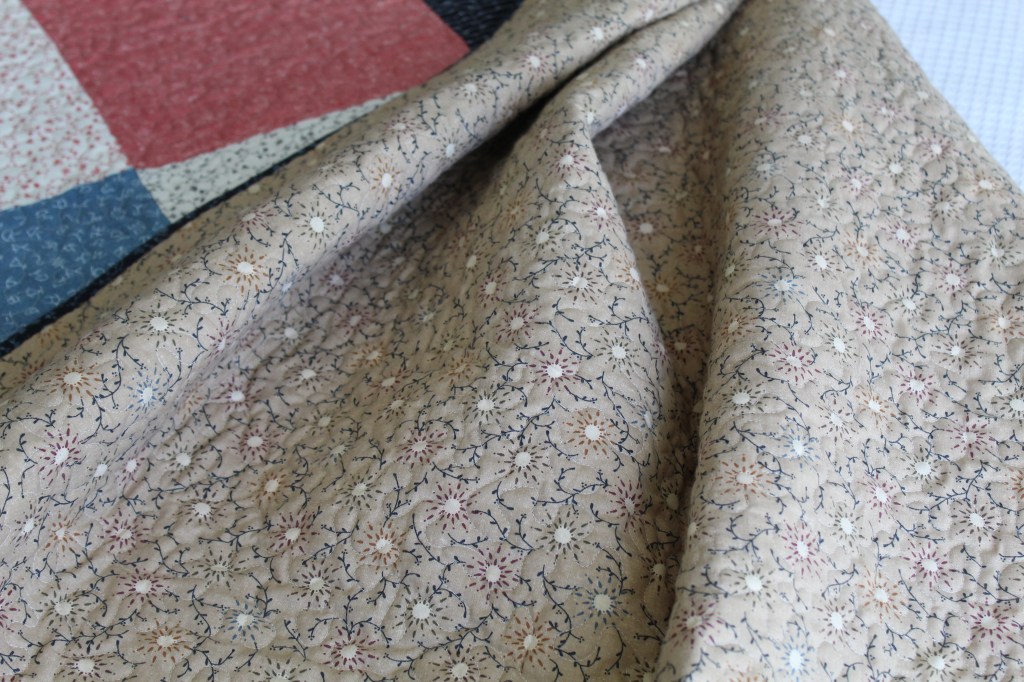
The backing fabric is by Lori Holt and the quilt label is from my Sweetwater Tagged monthly quilt label subscription.

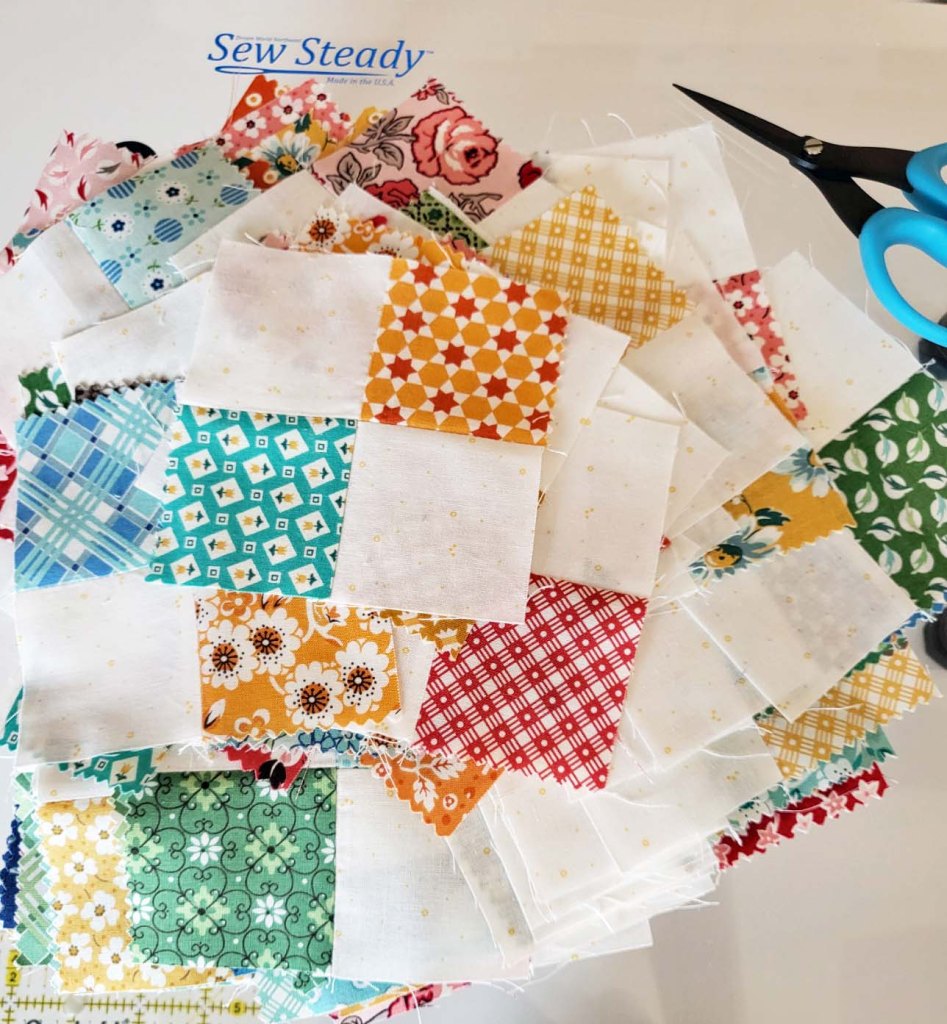
The last project I completed this month was the next set of blocks for the Sew Very Easy – 2024 Block of the Month, Scrappy Sunshine. We made twenty four 6 1/2″ quarter snowball blocks.

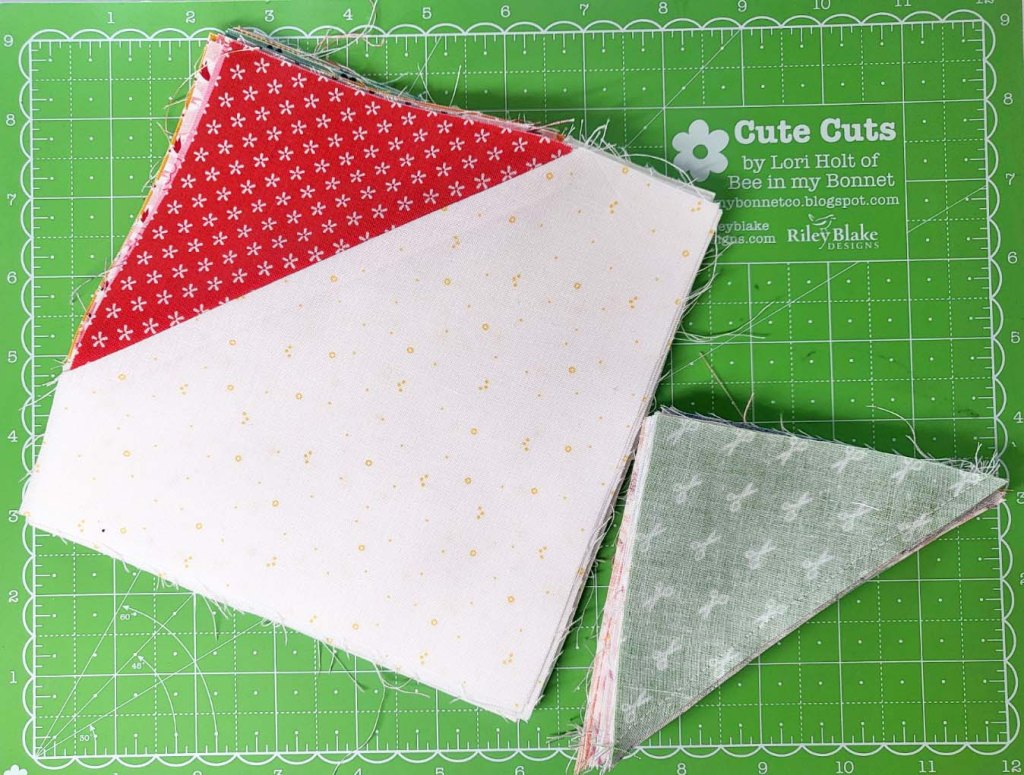
I also chose to stitch the leftover corners into twenty four 3 1/2″ x 3 1/2″ blocks for the extra project that Laura will be showing at the end of the sew along.

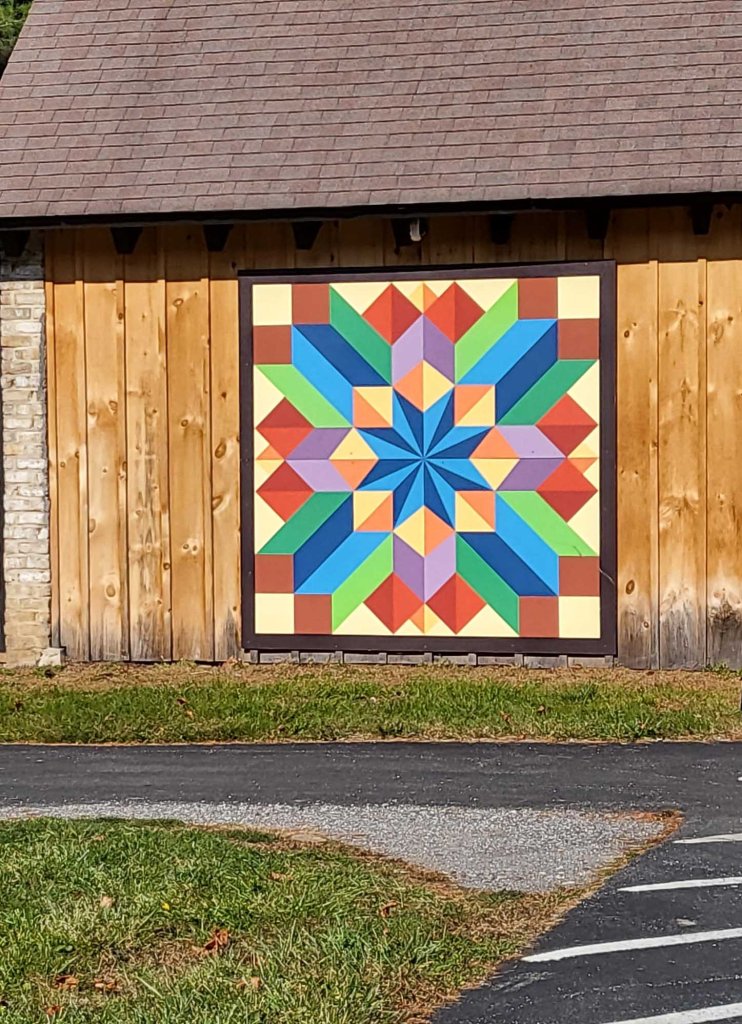
As some of you already know, we moved to the east coast from Utah last summer. My husband gifted this great barn quilt to me a few years ago. It was hanging on my cute little she shed in Utah. I do not have a cute shed at my new home, so I chose to hang it on this corner of our side deck where it would be visible from the street. I love the homey feel it gives to our yard.

We are traveling for one week in April and I also have garden tasks to accomplish, but I have so many grand sewing plans! I am excited to see what April holds. 🙂

Have a Happy Easter and keep sewing!!!

What’s Sewing On – February 2024

Happy Almost Spring, Sewers! February was not an overly productive sewing month for me. But I do have a couple little items to share with you.

I sewed up the four patch blocks for the Sew Very Easy – 2024 Block of the Month, Scrappy Sunshine. We started with 288 two and a half inch squares (144 white and 144 multi color). That gave us a total of 72 four and a half inch blocks.

It’s not too late to join the Scrappy Sunshine block of the month. Click here for a link to the introduction video. The best part of the block of the month is that it is free and it helps use up scraps. If you are also participating in the Scrappy Sunshine block of the month, please leave me a comment and let me know what colors you are using.

I purchased the Cupid Box 2024 Limited Edition Mystery Quilting Box from Fat Quarter Shop. It had several fun little items in it. It featured the project instructions and fabric for this sweet table topper.

The sampler box also included a small bag of pink, white, and red buttons of various sizes. For the little bird beaks, I added a couple of heart buttons that were included.

I used some Lori Holt fabric that I had on hand for the backing. I do not have my table topper quilted yet, but I plan to quilt it this month.

I am earnestly trying to not purchase more kits because I have so many in my stash, but I have absolutely no self control!!! I picked up the new Kimberbell Ladder Quilt Machine Embroidery book and CD, the embellishment kit, and the fabric kit from Sew n Sweep in Westminster, MD. I am hoping to start this one soon because I really would like to have it done before the end of the year.

Thank you for taking the time to read my blog and to comment. I appreciate all of you very much. Until next month, Happy Sewing.

What’s Sewing On – January 2024

Hello Sewers! I bid farewell to 2023 and ushered in 2024 with this last-minute machine embroidery, small table runner. I needed a small table runner in Christmas-themed colors for my entryway table, so I used the December Kimberbell ME Time monthly embroidery shipment to put together this little table runner. I did not follow the instructions for any of the included projects because I had to make this one to fit my entry table. I embroidered 12 of the small (4″) blocks to assemble three 8″ blocks for my table runner. I added sashing and borders to finish it off, and I am quite pleased with it. It is the perfect size.

To machine quilt all the layers together, I outlined the blocks and borders with a straight stitch, and then I used this scallop stitch on top of the borders.

All of the fabric is from the December kit. I completed this little runner on Christmas Eve.

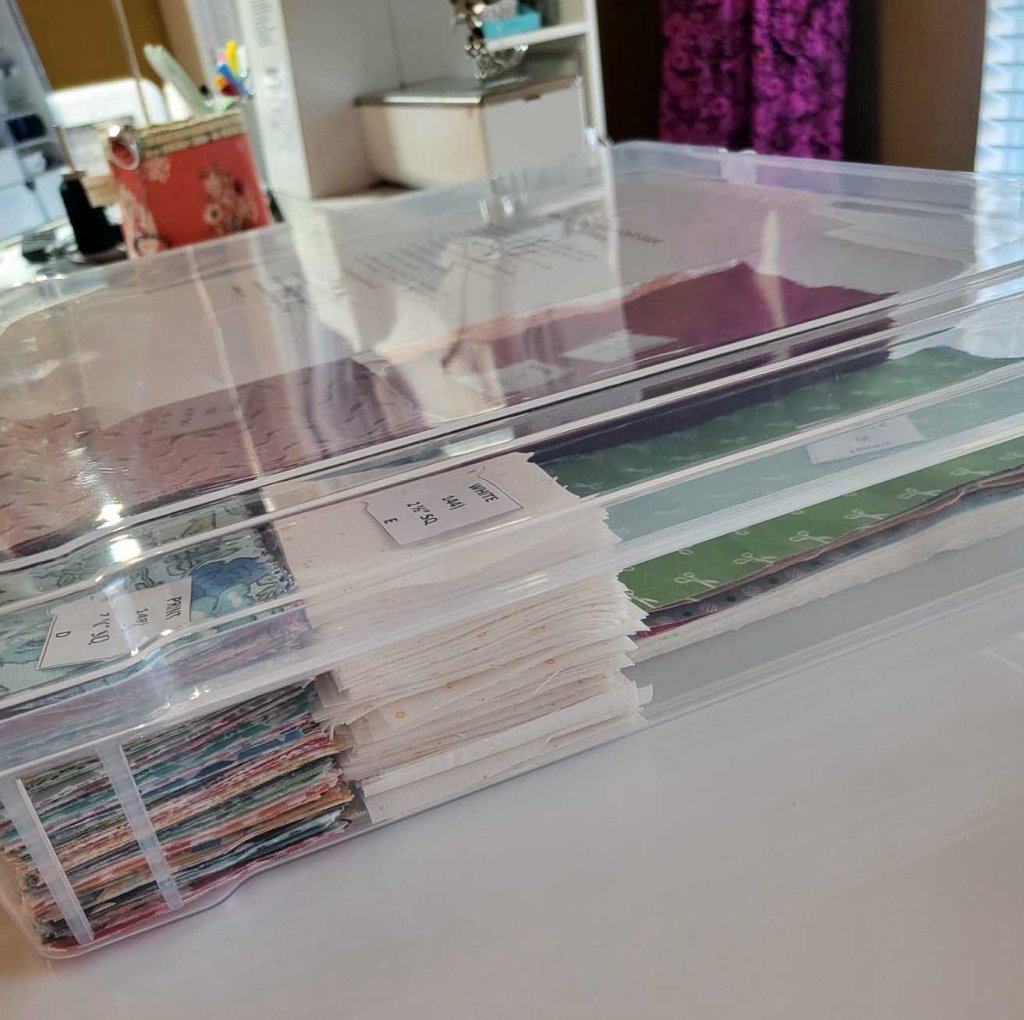
Michaels had a great sale on these storage cases that I like to use to organize the fabric that I have cut to prep for my quilt making projects. They were $2.99 each, so I picked up several to add to my supply.

This is how I like to use the storage containers. I cut all the pieces for my quilty project and then stack them in the container so they are ready to go when I have a chance to sit down and sew.

These are the pieces I need for a YouTube sew along in which I am participating this year. It is hosted by Laura at Sew Very Easy. The quilt is a mystery. We do not know as we sew each month what it looks like. I am making the scrappy version using fabrics that I already had in my stash. All of the fabric is by Lori Holt except the solid red (which is Kona cotton) and the white background fabric (which is Basin Feedsacks by Stacy West).

After cutting and labeling (Laura was kind enough to include cut apart labels with the instructions) all my fabric pieces, I add the instruction sheet on top so I know which project is in this container. Laura will post a new section of the mystery quilt each month. If you want to sew up your scraps, come join the fun on the Sew Very Easy YT channel. It is free and it is not too late to start.

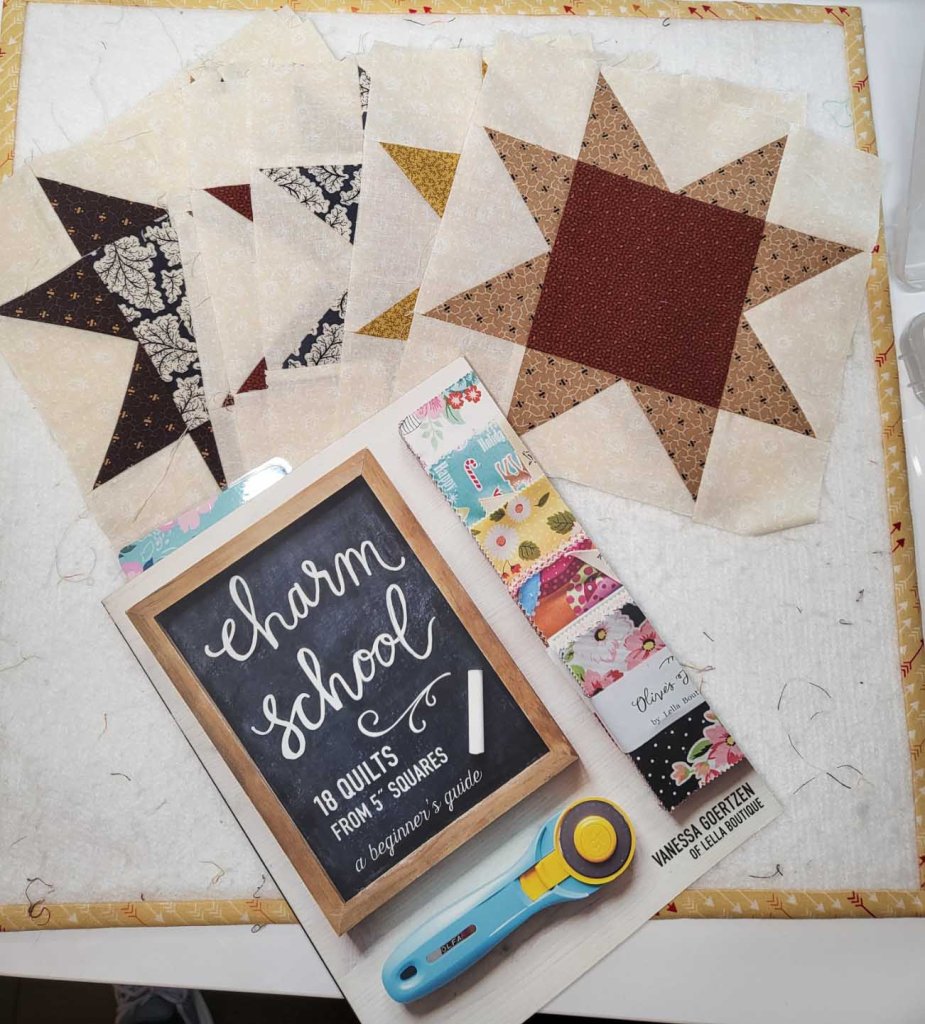
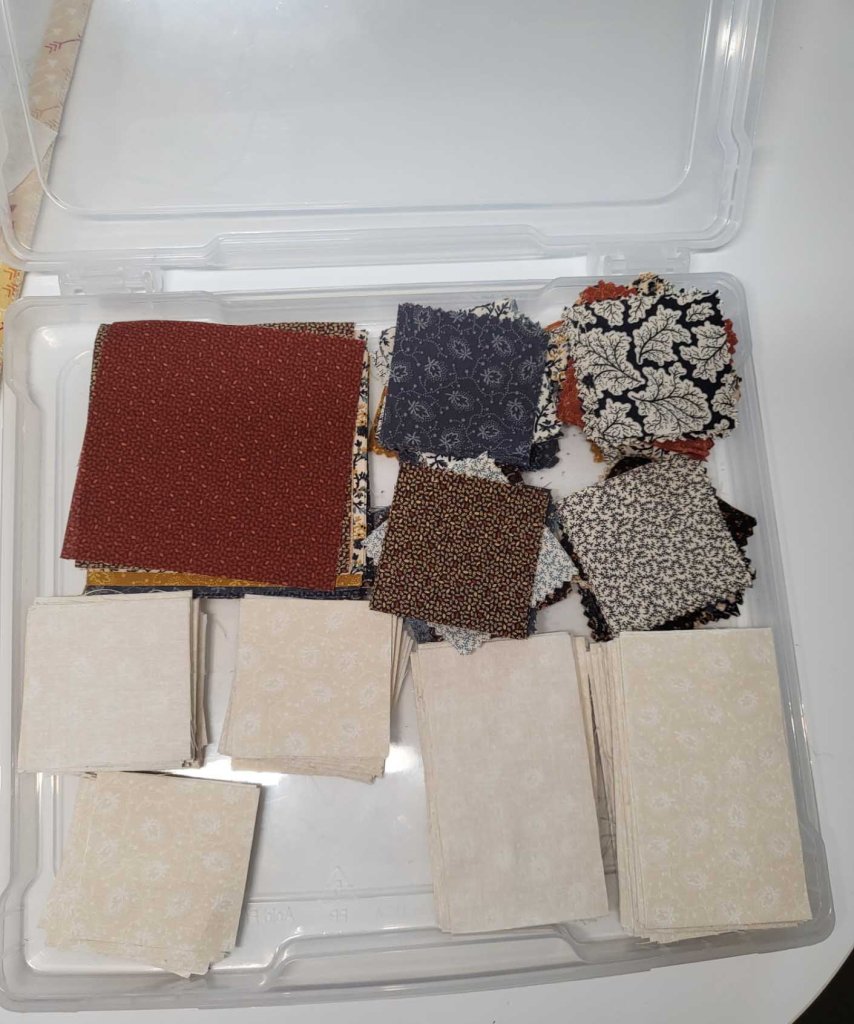
I started a quilt from Charm School this month. It will be a WIP for a couple months, I only have 12 of the 42 blocks made so far.

Again, I store all my cut pieces in this handy container from Michaels.

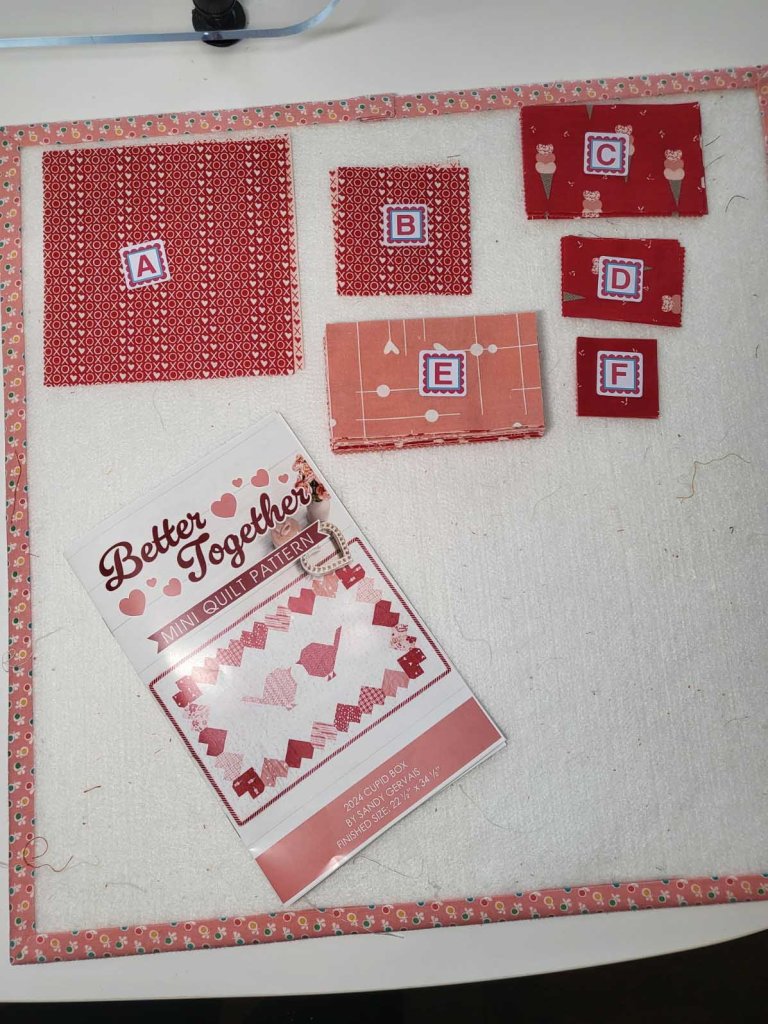
My final quilty start this month is a small mini quilt by Sandy Gervais. I just received my 2024 Limited Edition Cupid Box from Fat Quarter Shop. This is the project included in the box. I am hoping to complete it before Valentine’s Day, but that will remain to be seen. I am still busy painting and making our new (pre-owned) home ours, so that is occupying a lot of my time.

I did manage to stitch up one piece of clothing this month. It is the Toaster Sweater by Sew House Seven. I am not going to do a review of the pattern because I have already done one on my blog. I needed another long sleeve top for winter, and this is one of my favorite patterns. 
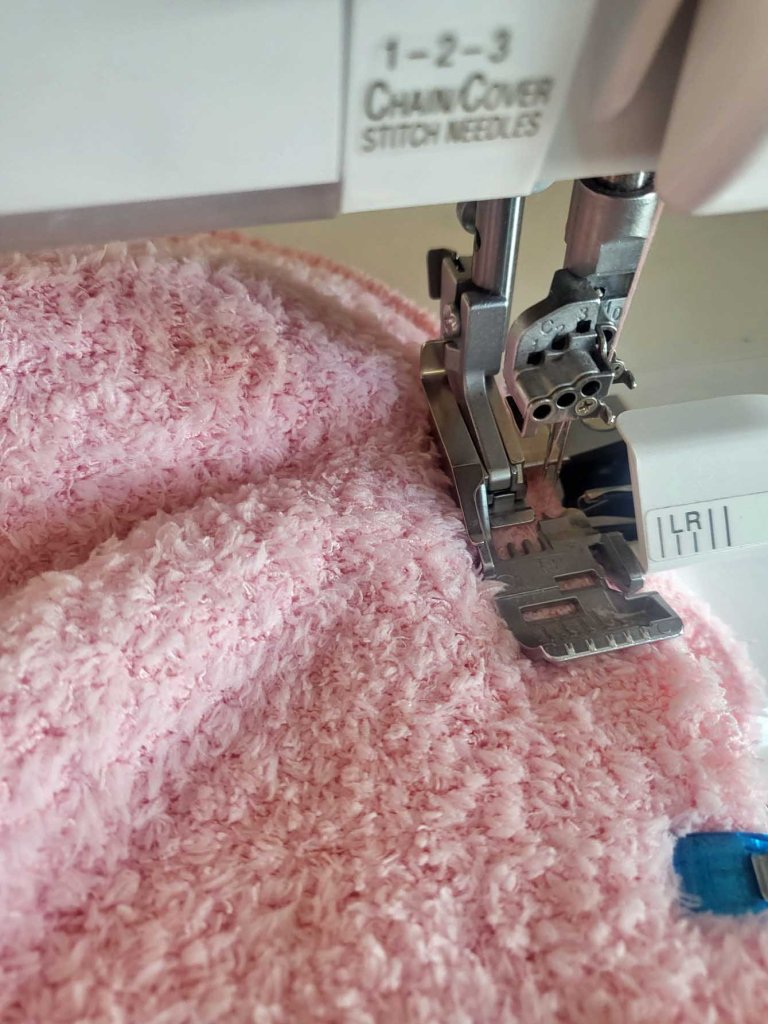
The fluffy, pink fabric is from Joann Fabrics. It is actually called Pink Fluffy Knit Fabric by POP! At first glance it looks like a bath towel or robe. LOL I believe it is marketed for young girls, but c’mon, who can resist that lovely bubblegum pink color and the softness of this great fabric? It is very fluffy (as the name indicates). I used my rotary cutter to cut the pieces, just as I do for most knits.

I find my serger/overlocker to be invaluable when sewing knits. If you choose to sew something in this fabric, I would recommend you use the extra presser foot lift on your serger to get the fabric up under the presser foot and to get a nice start to your seam to avoid the fabric bunching up as it tries to fit itself up under the presser foot. Other than that, I did not experience any problems sewing this fabric. It can be done with a domestic machine, but it would be beneficial to finish off the seams with a zig zag stitch because this fabric ‘sheds’ little bits of fiber everywhere. I have worn and washed my Toaster Sweater several times since making it, and it does not shed.

Okay, friends, that’s all I have for this month. Are you sewing any seasonal items? If so, I would love to hear what you are sewing right now. Please share with all of us in the comment section. Until next month, Happy Sewing!

Christmas Decorating with Machine Embroidery

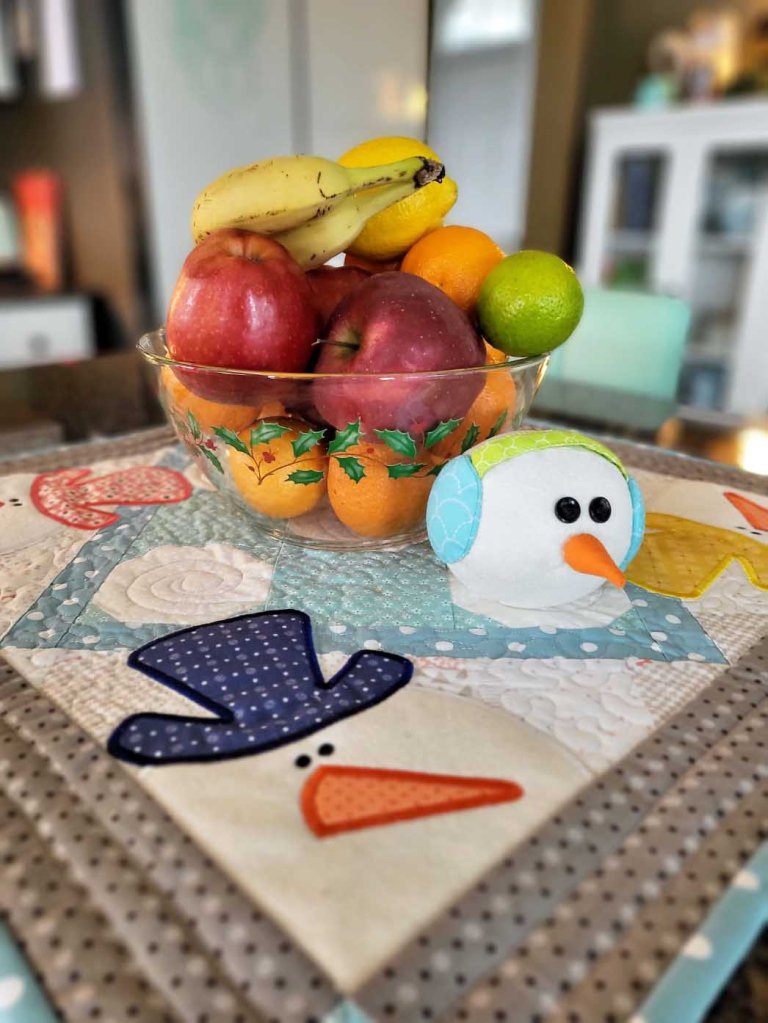
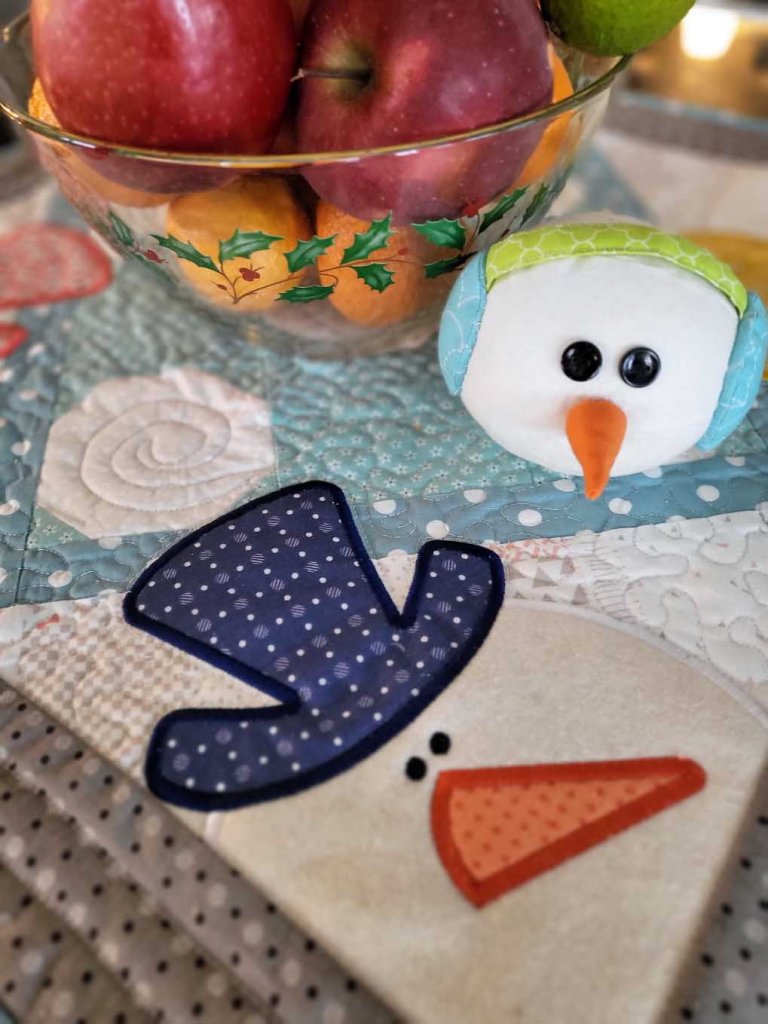
Merry Christmas Sewers! Pour your favorite beverage and sit back and enjoy the photos of my machine embroidery decorated Christmas home. For most of the projects, I used machine embroidery designs from Kimberbell (they’re just sew darn cute and easy). This is one of the table toppers from Kimberbell Cuties Seasonal Table Toppers Vol. 1

The little snowman head is a sewing pattern by Nancy Halvorsen.

This oldie but goodie wall hanging was a quilt along on Lori Holt’s blog back in 2014. It is not machine embroidery. It uses pieced blocks.

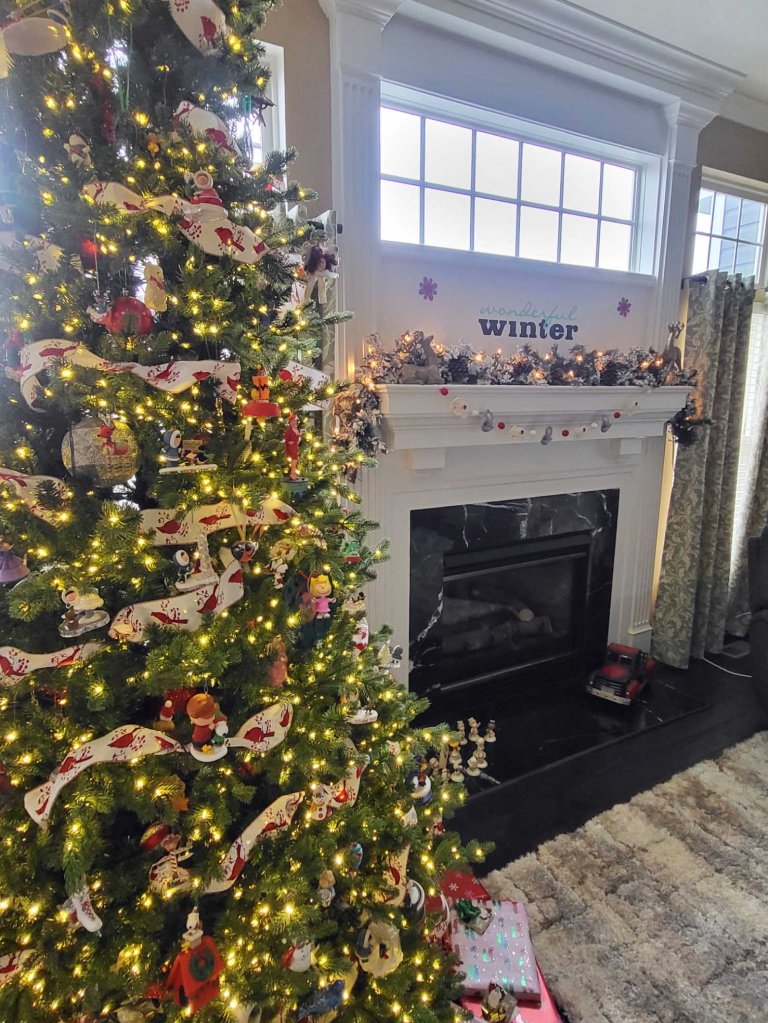
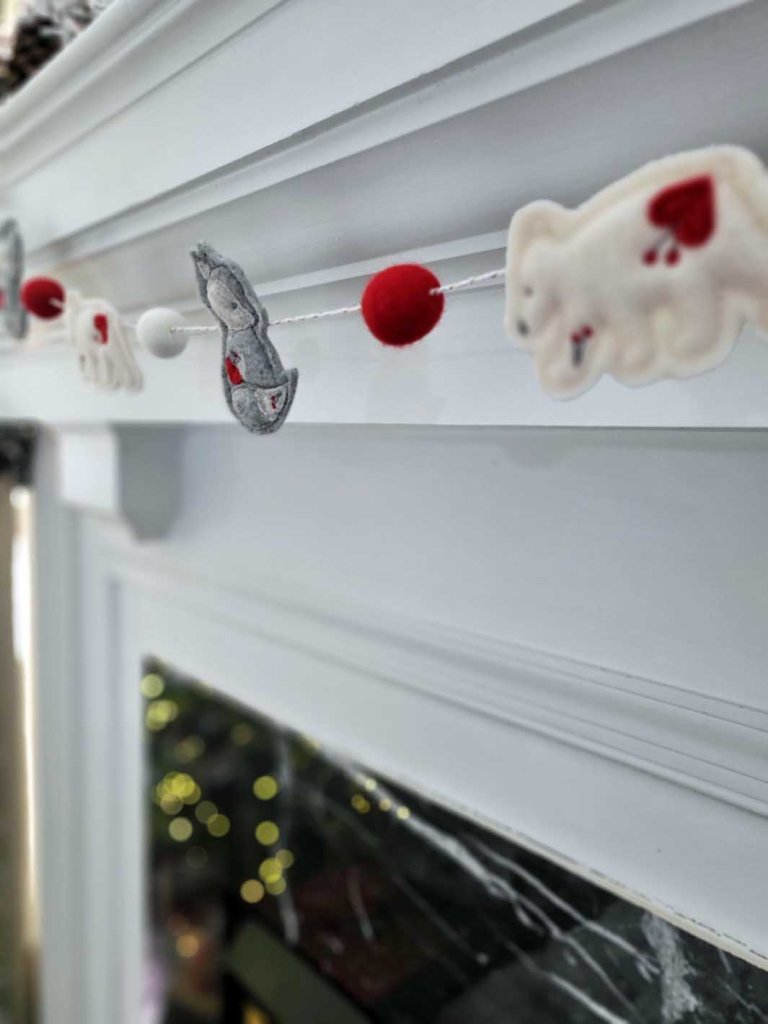
To add a handmade touch to my fireplace mantel, I used a vinyl phrase and a woodland-style garland.

The cute little critter garland is from the Kimberbell Heart-Felt Friends collection.

For the “wonderful winter” phrase, I cut removable vinyl with my Cricut maker. The phrase is from Cricut Design space.

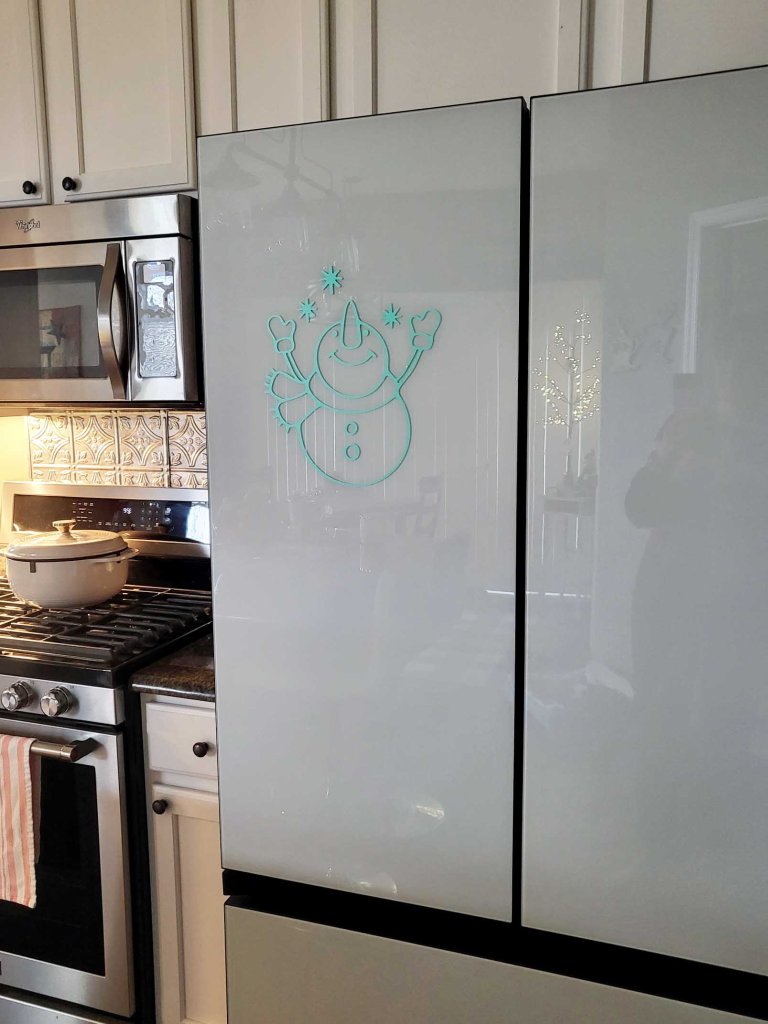
Another removable vinyl design that I added to my winter decor is this sweet snowman. It was difficult to get a nice photo because my refrigerator reflects the images in the room.

My Jingle All the Way quilt hangs in the entryway to greet guests at the front door.

I appreciate all the details that Kimberbell adds to their machine embroidery designs.

This 3 tier tray is a favorite of mine from last Christmas (2022). It sits here on my dining table on top of a small pieced and quilted topper that I sewed up for my mom in 2010. The memory of sewing that table topper and gifting it to her, makes it feel like she is present here with me at Christmas.

These Kimberbell embroidery hoop frame designs give my prim style tree a touch of modern Christmas whimsy

Thank you all for reading my blog. I hope you enjoyed the handmade decoration tour. If you celebrate the birth of our Lord, I pray that you have a blessed, Merry Christmas. And to all of my readers, you are in my thoughts often. 

What’s Sewing On . . .December 2023

Hello Sewers! It has been a whirlwind year here at A Notion to Sew. In a nutshell: my hubby retired in April, we traveled back east to look at possibly moving across country, our daughter offered to buy our house in Utah after her house sold, her house sold very quickly and we kicked into high gear to vacate our house, we were in our new home in the eastern U.S. by early July, and the rest of this year has been spent updating, upgrading, and changing parts of our new home to make it our own. After 23 years in one place, I thought our roots were in Utah, but I was wrong. 🙂

I closed my Etsy shop in mid June. I still have some inventory from the shop, so if you are in the market for bag making hardware, patterns, or Riley Blake fabric, send me a message and I will rummage through the boxes to see what I have in stock (all items are new and in unopened original packaging). You will receive a discounted price on your purchase as well.

Needless to say, I have not accomplished much sewing this year. But I do have a few life photos to share with you:

October was a gorgeous month to spend apple picking and pumpkin patch visiting in lovely Harford County Maryland. Above photo – our granddaughter is the navigator as her grandpa provides her wagon transportation to the pumpkin patch.

One of my most favorite sights is the barn quilts in this area of the country.

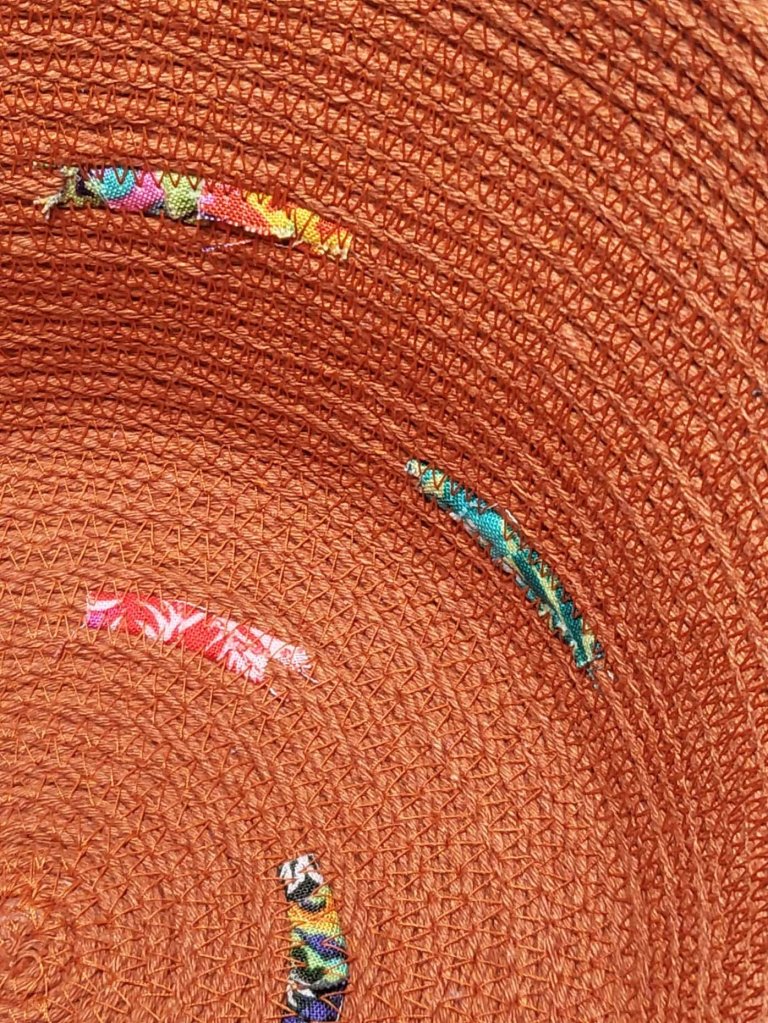
We live in a small town, but we are blessed with a great Bernina dealer nearby. I did manage to take a rope bowl class and I sewed up this beauty for a gift. Of course, after I filled it, wrapped it, and shipped it, I realized I forgot to snap a photo of the entire bowl! This is a close up of the exterior and the upper braided rim.

Here is a shot looking down inside the rope bowl. . .

I also managed to embroider the table runner from the Kimberbell October ME Time kit.

There are several quilting/sewing machine/fabric stores within an hour of our location. This is a quilt store between Gettysburg, PA and Chambersburg, PA. Why would you not want to stop at a store with that huge, colorful barn quilt on the side of the building!

Here are a couple photos of President and Mrs. Eisenhower’s home at Gettysburg:

Thank you for hanging with me in my social media absence. I appreciate all of you.

Cottage Shirt by The Sewing Workshop

Hello Sewing Friends!

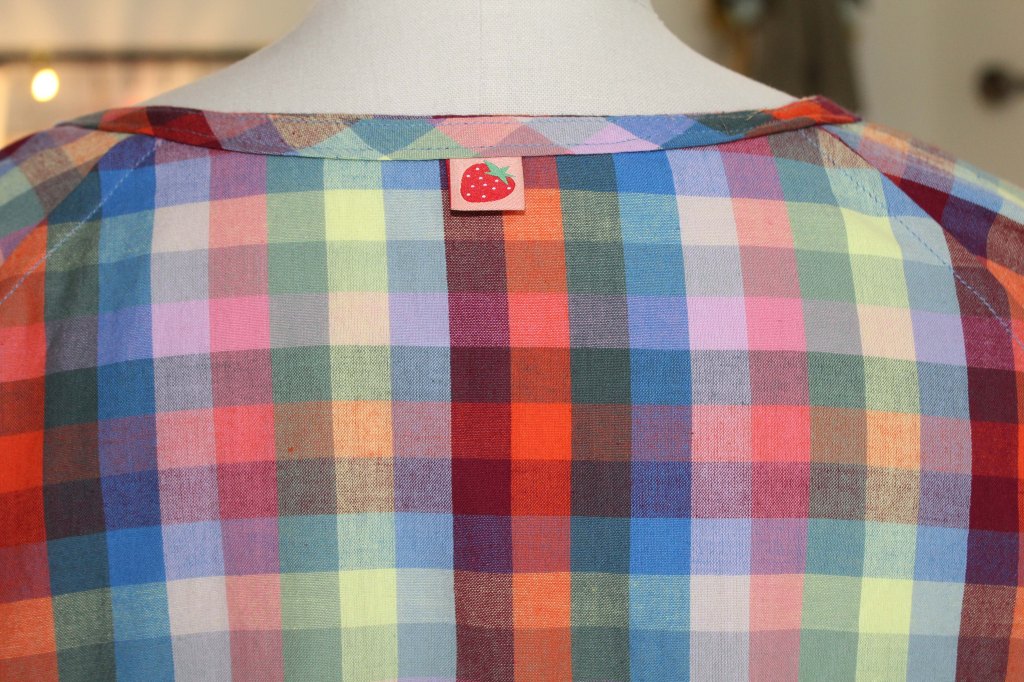
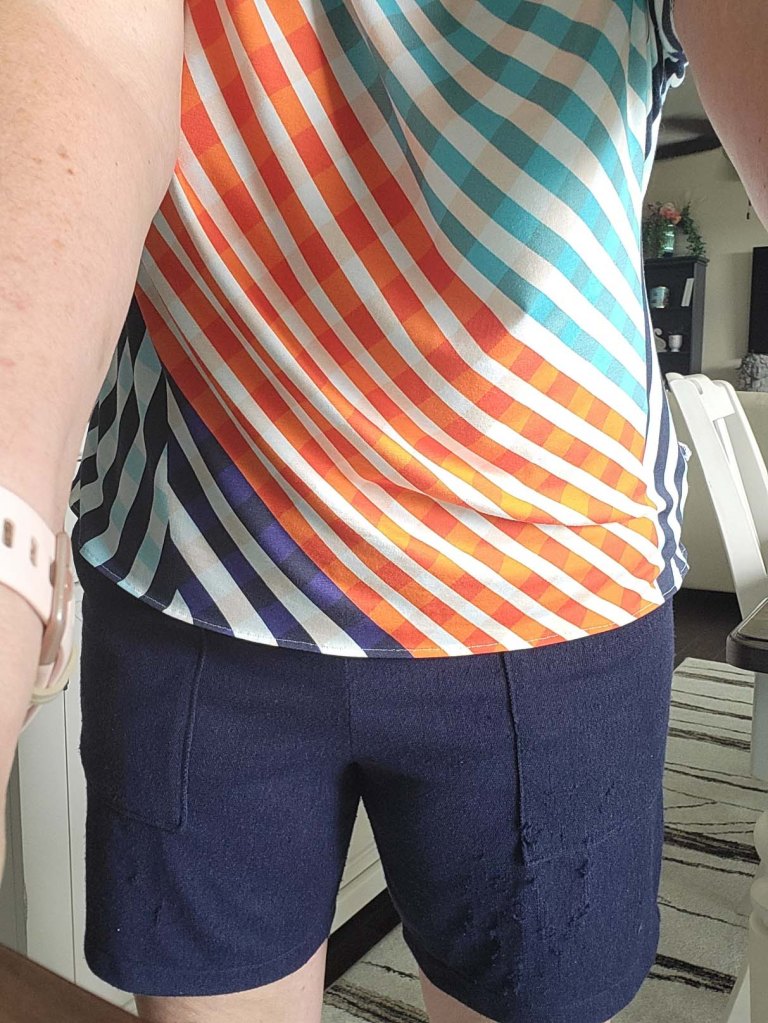
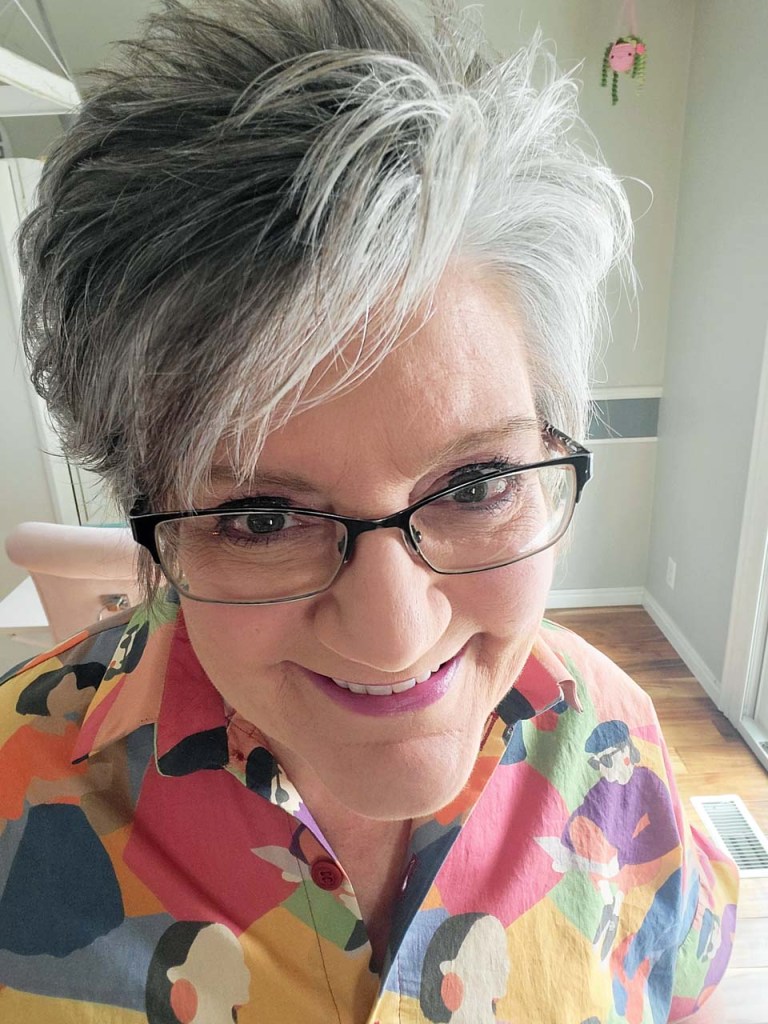
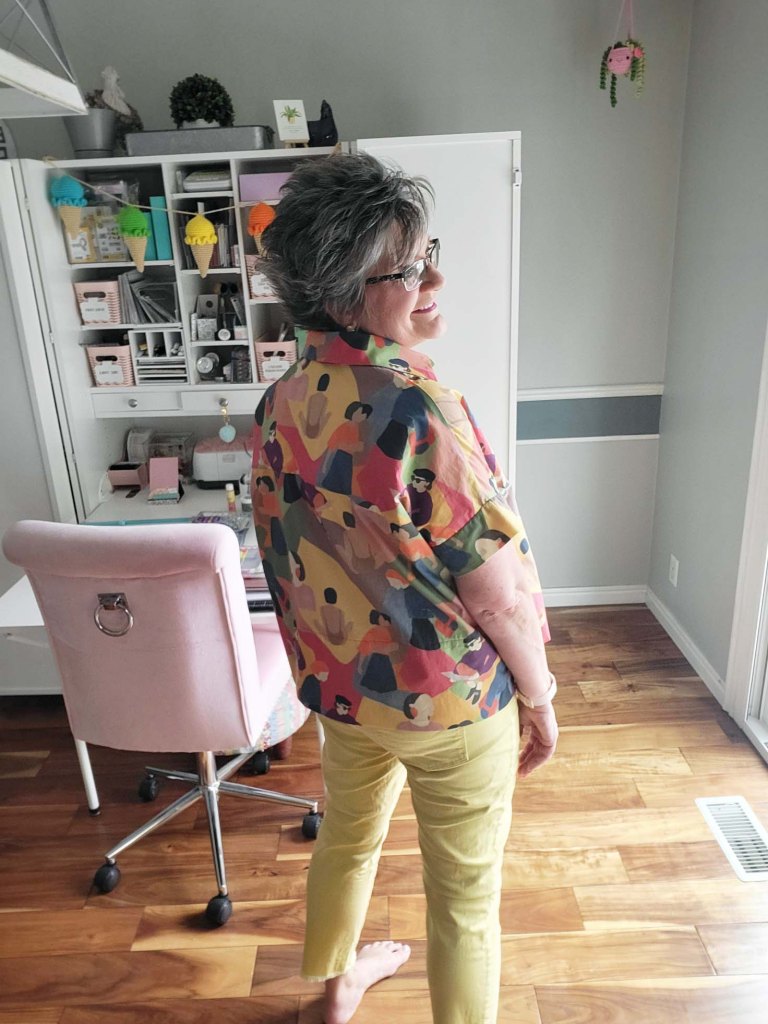
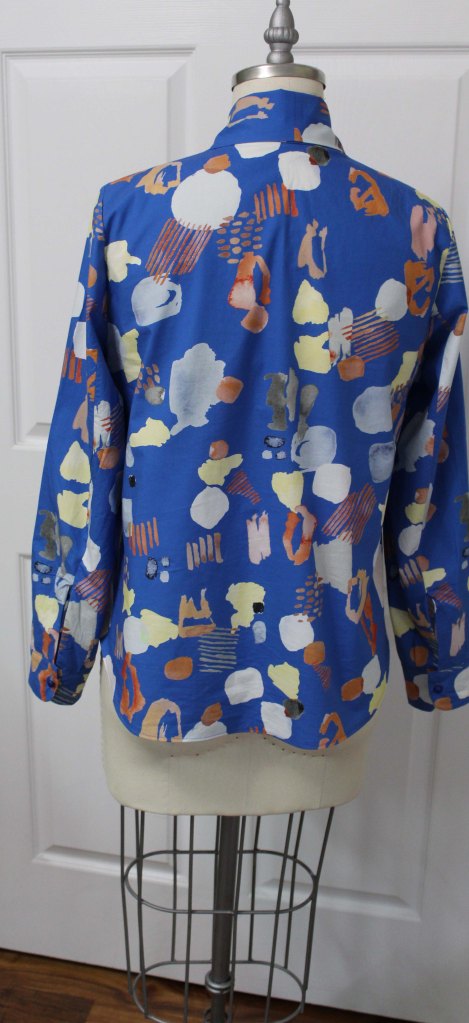
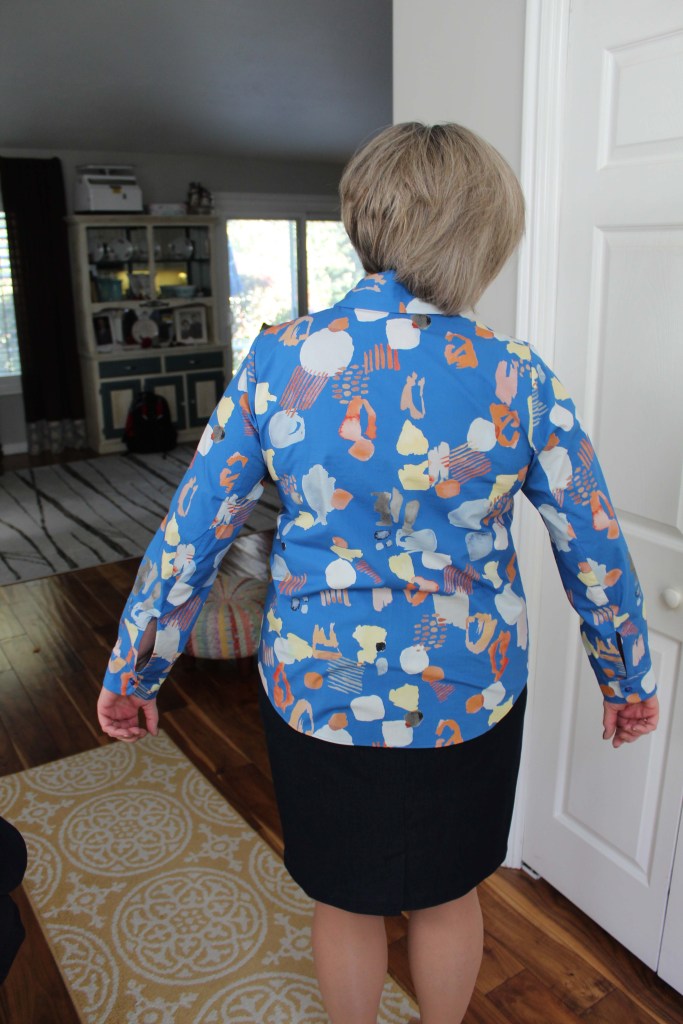
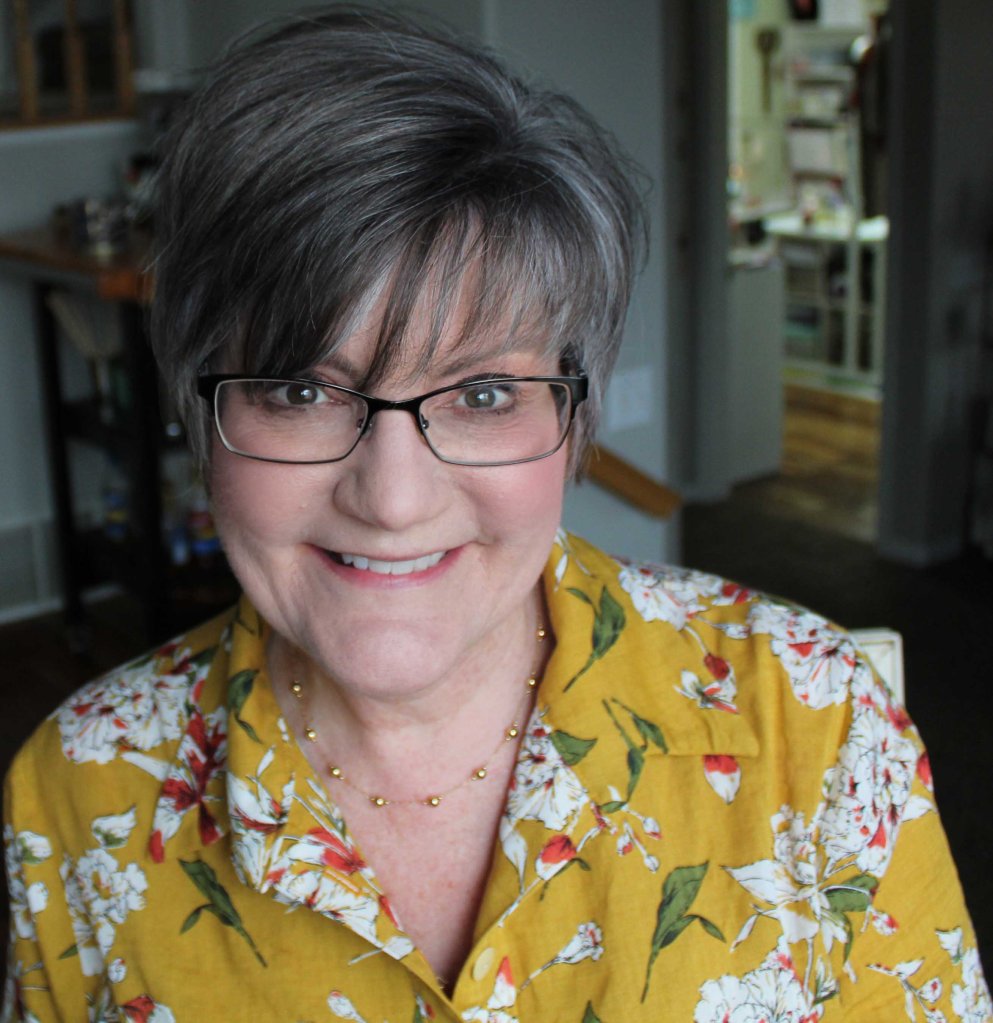
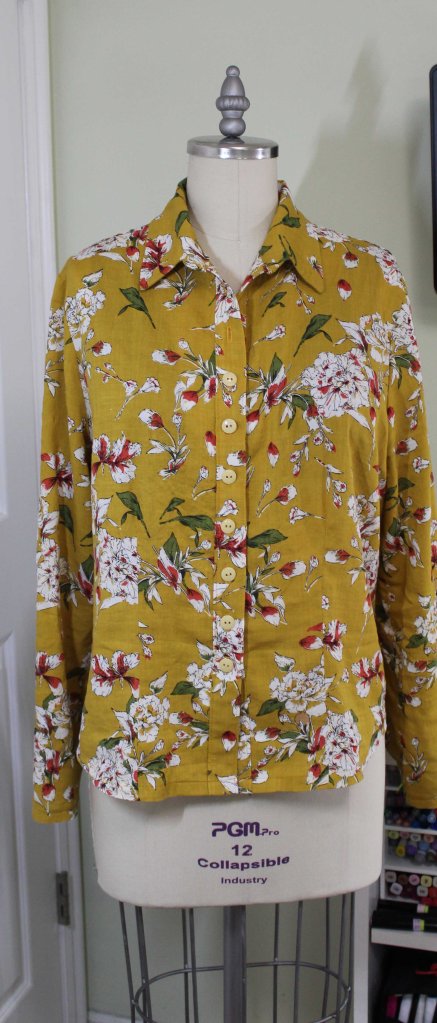
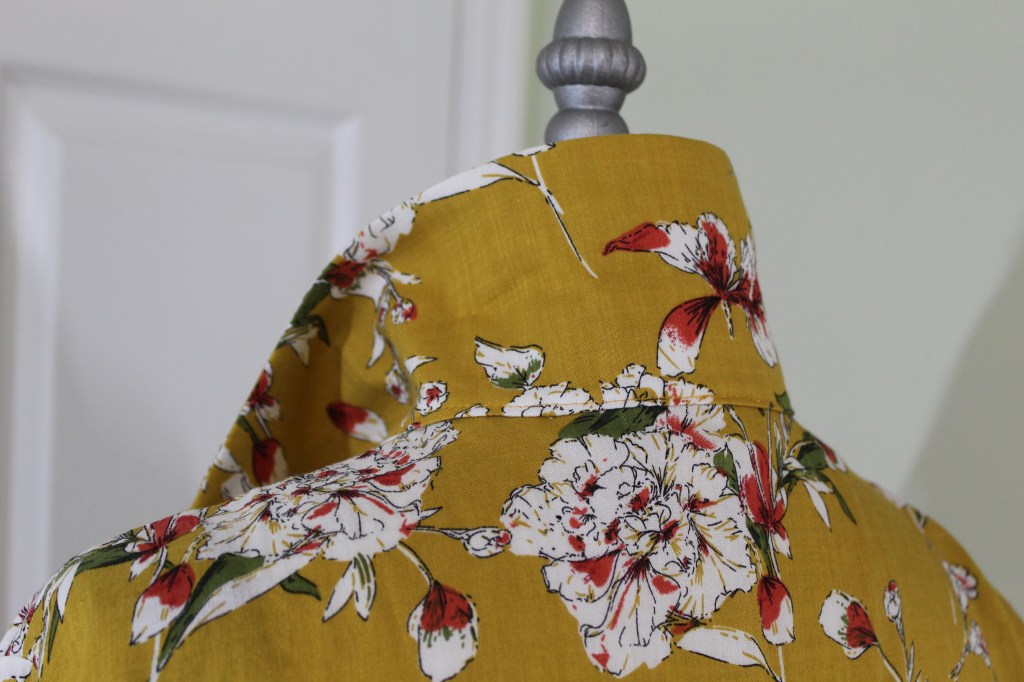
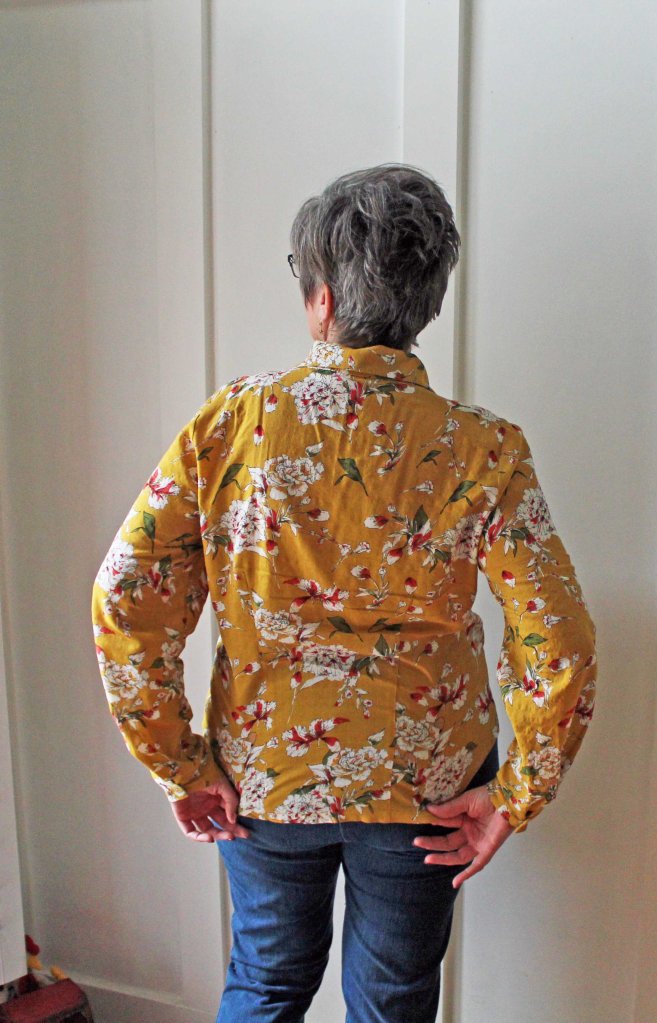
The colorful shirt I am wearing is the Cottage Shirt from The Sewing Workshop. The pattern is available in printed format, or in digital format.

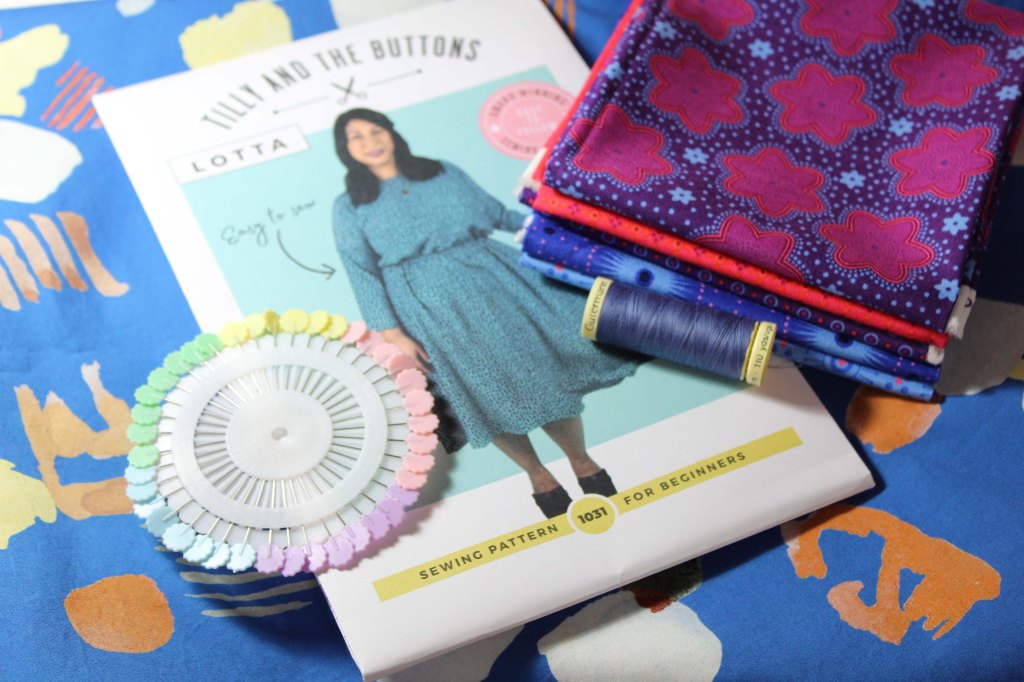
Back in early June, Sewing expert Linda Lee made a video detailing this pattern and fabric. The Sewing Workshop was offering the fabric, buttons, and thread as a kit, so I thought I would give it a try. It reminds me of a camp shirt and I used to wear a lot of camp shirts in the late 1980’s. 😉

It sews up into a very full, boxy shirt. That is how the pattern is intended to finish. So don’t expect a fitted, body con button up.

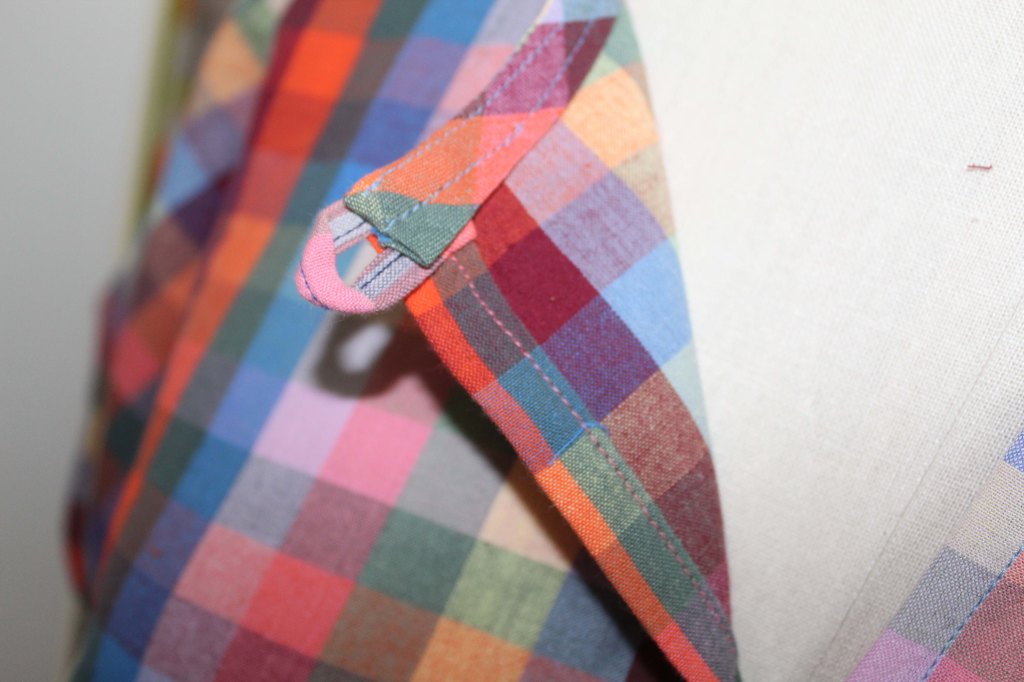
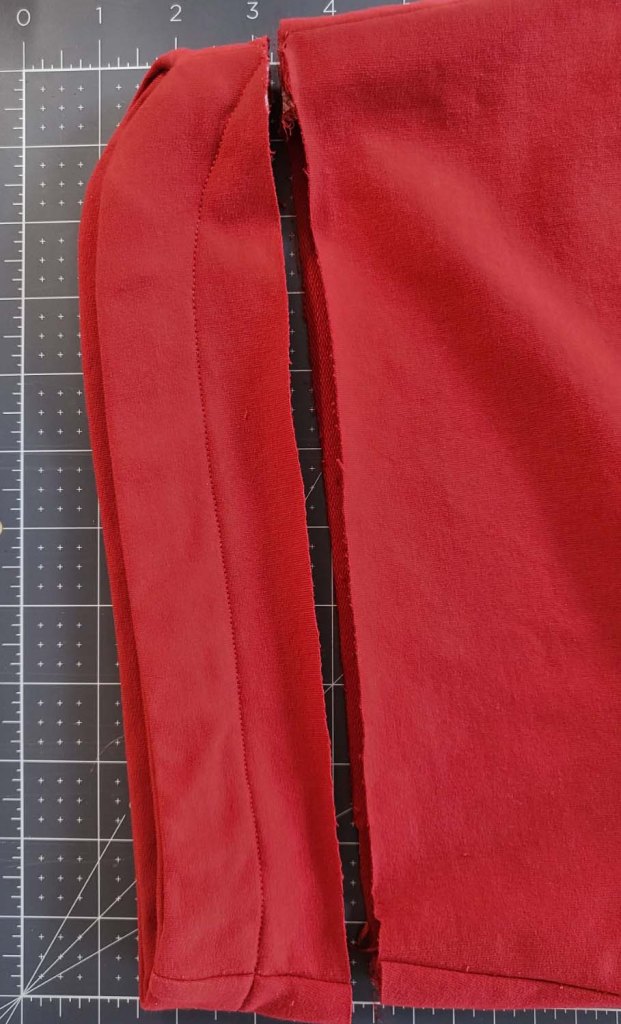
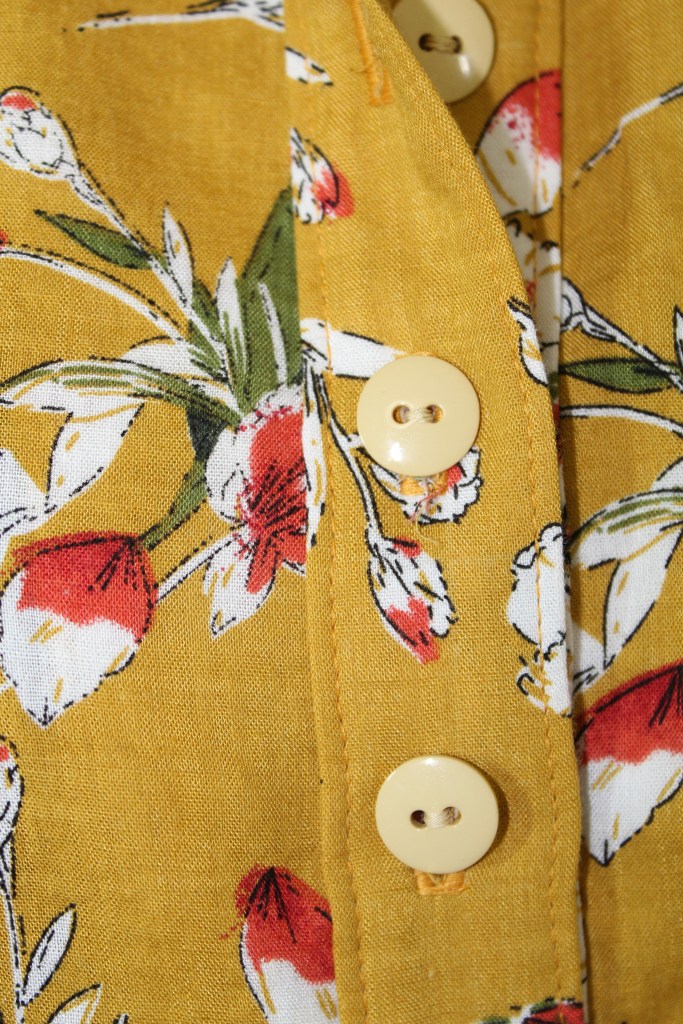
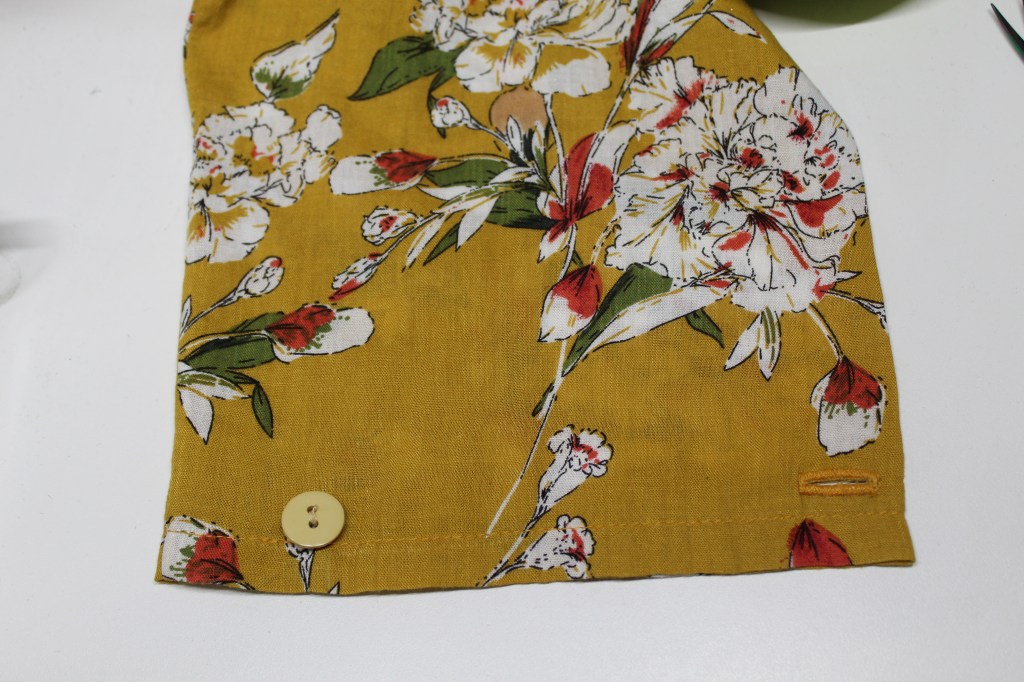
The shirt features a six-button closure, collar with a stand, arm bands, a yoke and an extra deep bottom hem with side vents..

For a video review, lots of chatter about color analysis, and more views of the shirt, head to my You Tube channel:

Thank you for reading my blog. I appreciate my readers very much. If you are so led, please leave a comment.

Simplicity 9471 – Cropped Pants

Hello Sewers! I am back today with a review of Simplicity Pattern #9471. The pattern description is: Cropped pants with front zipper and elasticized back waistband, belt carriers and yokes and three pocket variations. Pant hems are wide or pegged with back hem darts.

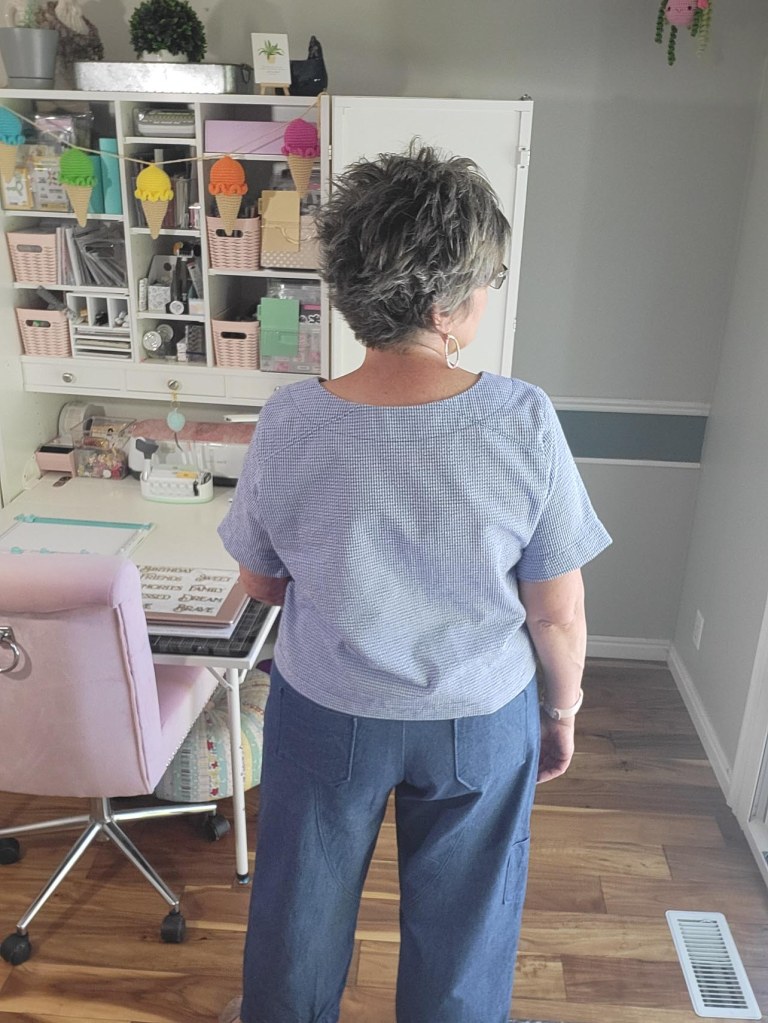
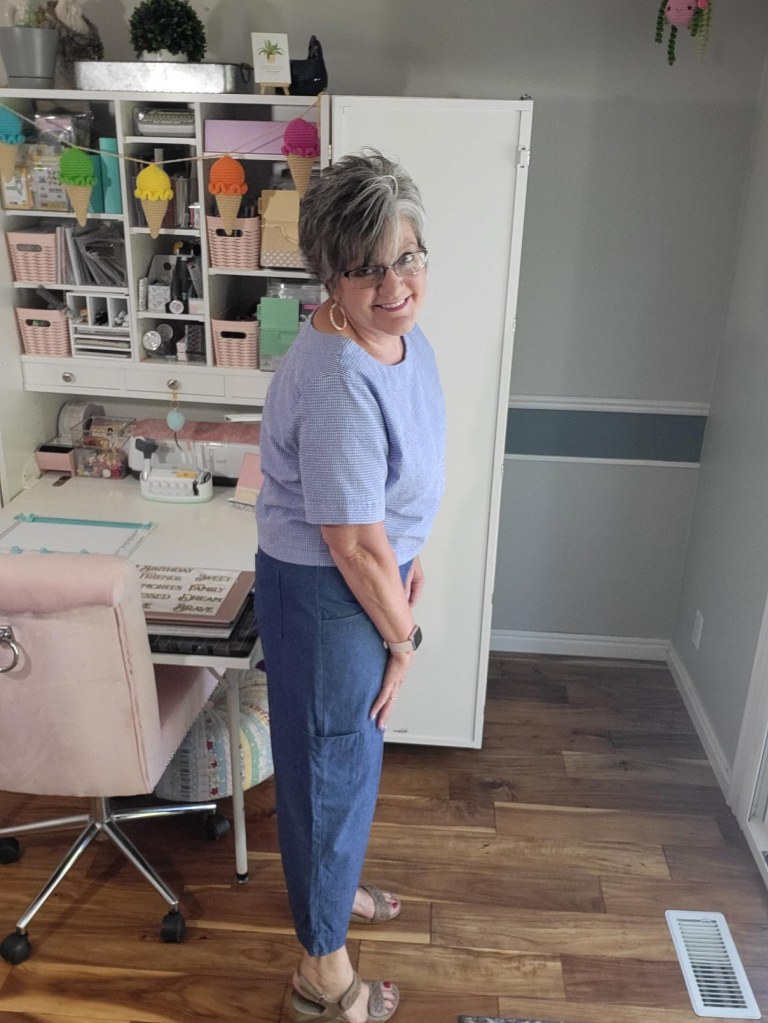
I made View C which has the pegged hem and ALL the details. Every time I wear these pants, my husband comments about how much he likes them. He says they remind him of a pair that I had when I was in high school. That was in the very early 1980’s!

You can get a better idea of the shape, style, and details of this pattern from Simplicity’s Website

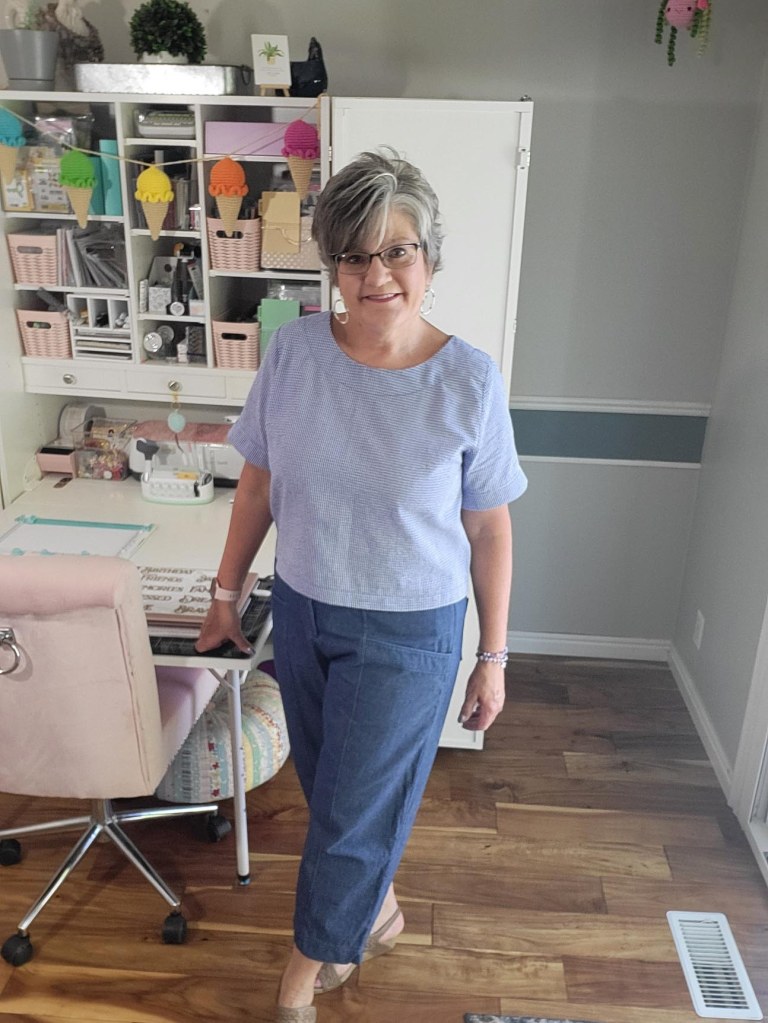
Personally, I like these pants with a bit shorter top. Not a crop top, but definitely shorter than a tunic or tee. The top I am wearing is the Cielo Top by Closet Core Patterns and the fabric I used is from Needle Sharp.

I used a 7 oz. denim fabric from Joann Fabrics. Since the fabric is 100% cotton, I prewashed it in warm water and dried it on high heat before I cut the pattern pieces. After I finished the pants, they seemed just a bit baggy in the waist and hips, but after a couple more washings, the fit is spot on.

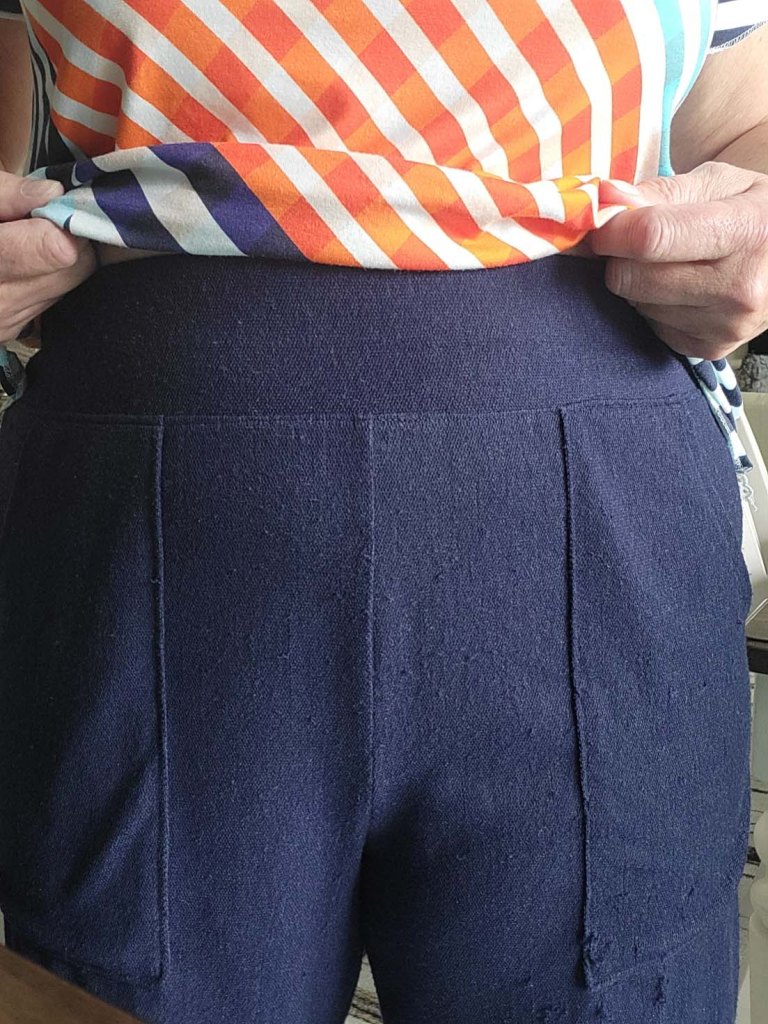
The opening of the front pockets falls right about the crease of my leg. They are definitely lower than a standard pair of pants. The front pockets are nice and large, and they are actually at a convenient location.

There are two back pockets and a side leg pocket (kind of like a pair of painter’s pants).

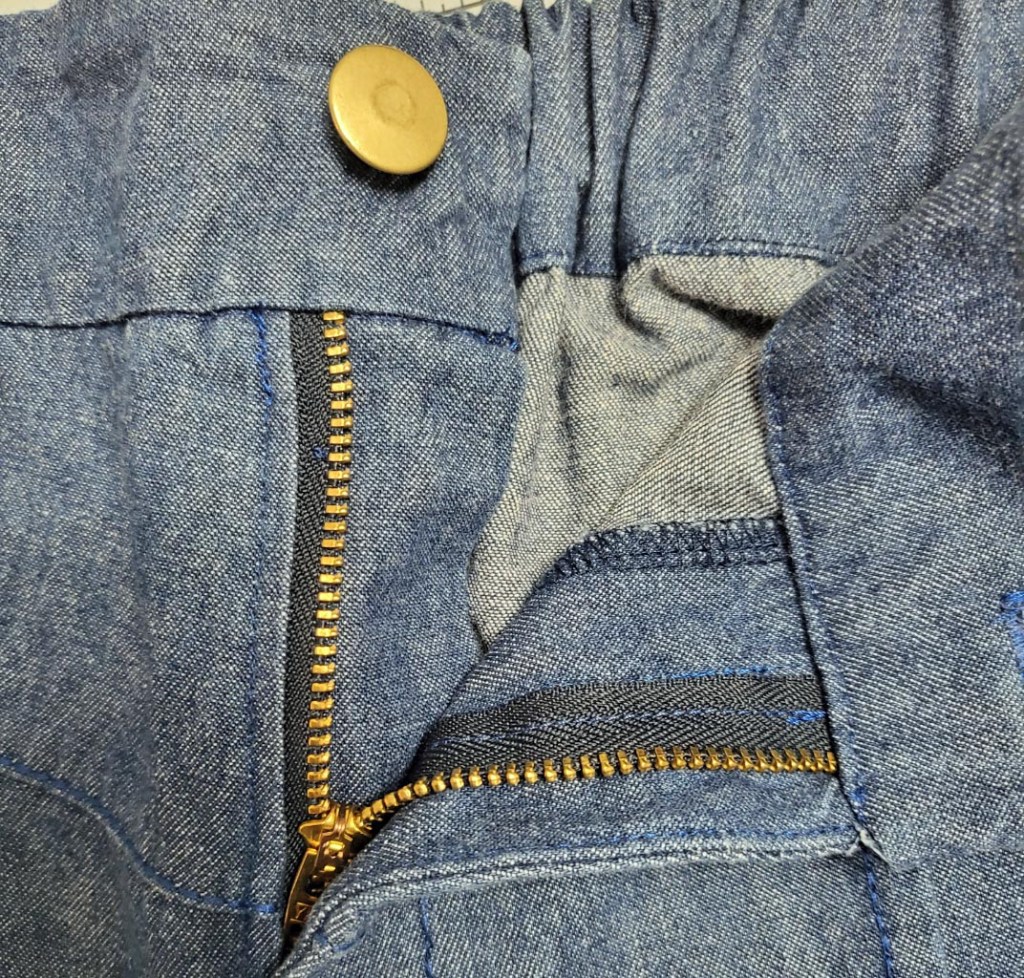
There is a fly front closure. I used a jeans hardware kit for my zipper and button.

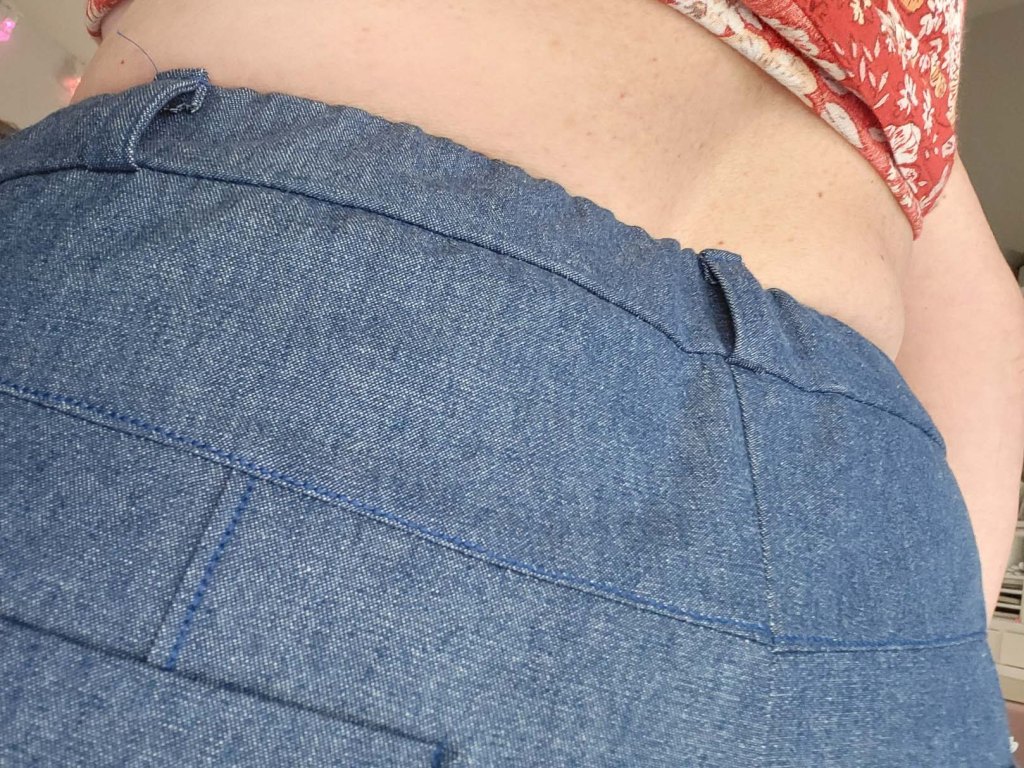
The back features an elastic waistband and there are belt carriers around the waistband.

I posted a video review of this pattern on my YouTube channel:

Thank you so much for spending time with me, my friends. Please let me know if you have sewn this pattern, or if you have a favorite crop pant pattern.

What’s Sewing On . . .July 2022

Hello Sewers! I set aside my personal sewing plans this month so I could focus on stitching up some inventory for my handmade shop. I’ve been busy sewing these oh so useful snack bags.

The outside of each bag features a lovely cotton print fabric and a beautiful solid vinyl. These sweet bags are lined with food safe PUL fabric so they are easy to clean. You can feel comfortable using them for veggies, fruit, chips, or yes, candy. LOL Simply pull the lining out through the top of the bag and wipe it down with a dish cloth and dish soap. Dry with a dish towel and then also allow to air dry overnight. Your bag will be all clean and dry and ready to re pack in the morning.

While snack bags are something we think about using with children or grandchildren, they are not the only ones who benefit from a handy snack. These snack bags are terrific to take to quilting or sewing classes, to accompany you on a road trip, or to toss in your beach bag or in with your ski gear if you are heading into the great outdoors for the day. They are also perfect to fill with treats for Fido.

The handmade shop will be restocked with these and other goodies in September. What would you stash in your snack bag?

Thank you for sharing some of your time with me today.

What’s Sewing On . . .June 2022

Happy Summer, Sewing Friends!

Do you find you create more in the summer than in the winter? Or, do you create less in the summer than in the winter? I find my create time slows down in the summer because I spend a lot of time in the yard and the garden during the summer months. That said, I do still have a bit of progress on several items that I would like to share with you. So come on in and look around for a bit. You are welcome here.

First up is this machine embroidery quilt that I finally started – I’ve had the kit for about two years! This is the Vintage Boardwalk quilt by Kimberbell. I am not even half done with all the cute blocks that go into this quilt, but I’ll keep plugging along and by golly I will complete it in the future (hopefully this year).

Before I do any embroidery for the applique blocks, I back the fabric with fusible SF101. I like to use my heat press to adhere the SF101 to the fabric. By using my heat press, I can fuse several pieces of fabric at one time. I find that interfacing applied this way does not peel up at the corners like it does when I use my household iron. It’s also a great time saver.

I’m also embroidering the background quilting before embroidering the applique. This way it becomes a quilt as you go project. The background quilting designs are from Kimberbell and they are sized to fit their various applique block sizes. Yet another time saver! I love that.

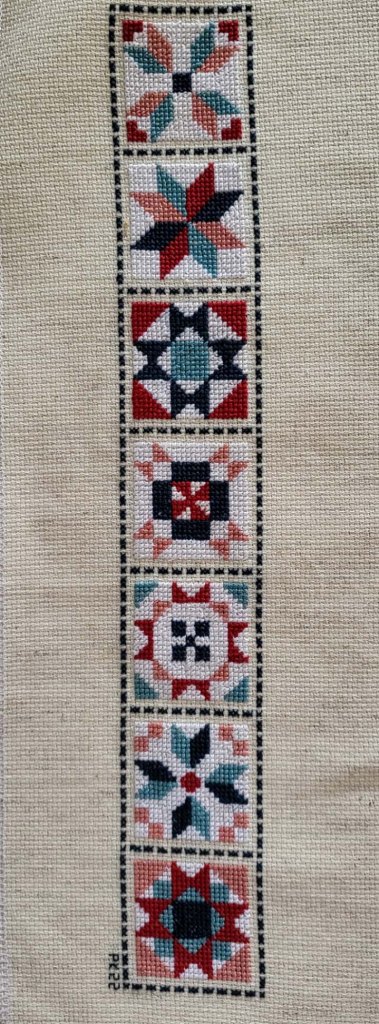
Second, I actually completed a cross stitch design. Now all I have to do is mount it to foam board and frame it. I should have the completed project to show you in my July update. The pattern is Stitchy Stars by Lori Holt.

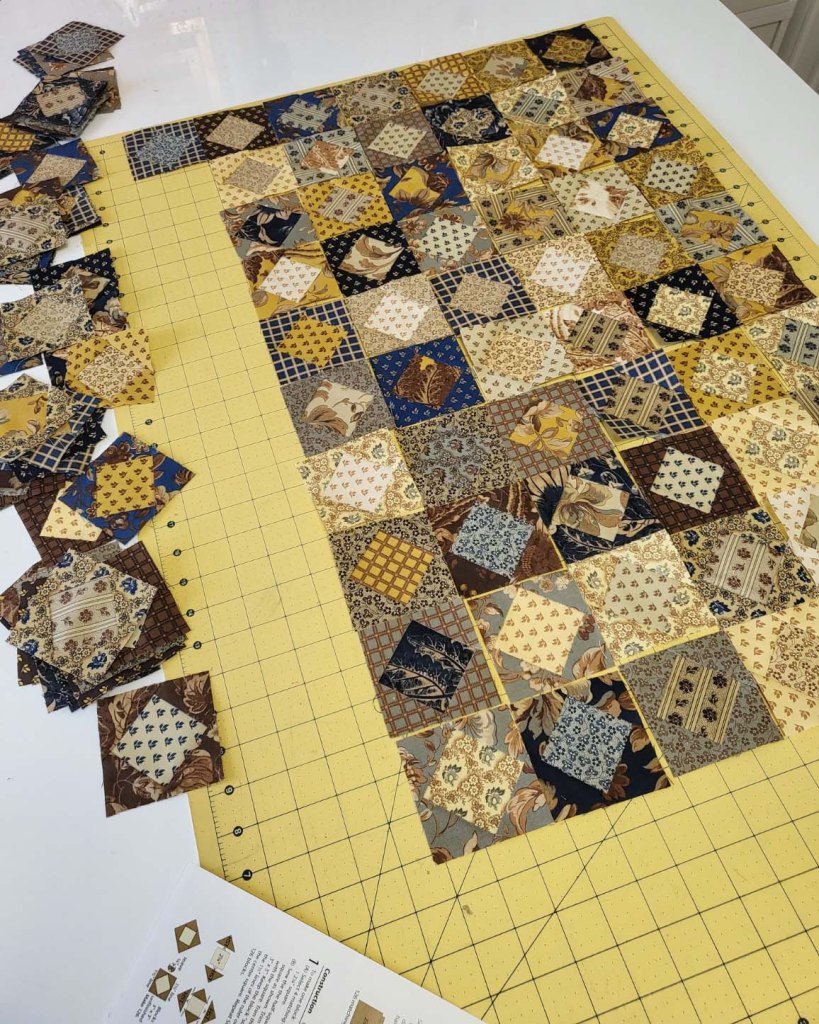
Third, I completed all the little tiny blocks for a small wall hanging. The pattern is Heritage by Betsy Chutchian. I just need to arrange the blocks in a way that is to my liking, then I will quilt it, bind it, and hang it on the wall.

My fourth, and final sewing update this month is a pair of pants from this new Simplicity pattern.

Here is a peek at what my test muslin looks like. I will discuss my thoughts about this pattern in my next blog post. Suffice it to say, I really like the pattern. I will tweak it just a bit before I sew up another pair. Stay tuned for my review.

That’s it for my June edition of What’s Sewing On . . . I must head back to my sewing machine as I am busy sewing up some items to add to my summer wardrobe. Do you sew for the seasons?

Until next time – thank you so much for visiting today.

The Miranda Tote

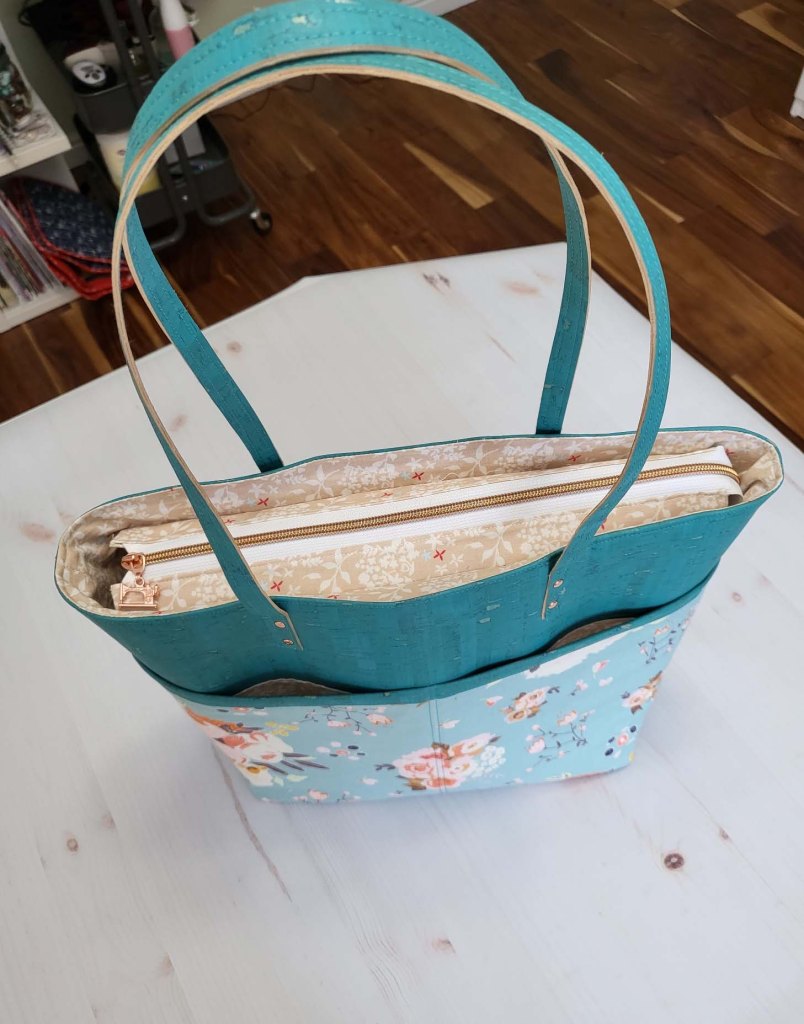
The Miranda Tote is a quick, satisfying sew. The instructions are well written, and as a bonus, Sallie Tomato has a sewing tutorial on You Tube. So if you are fairly new to bag making, this might be a good option for you.

The finished dimensions are 11.5″ wide x 12″ high x 5″ deep. That’s a good size tote! Here I have it loaded up with some orders from my shop. Time to head to the post office!

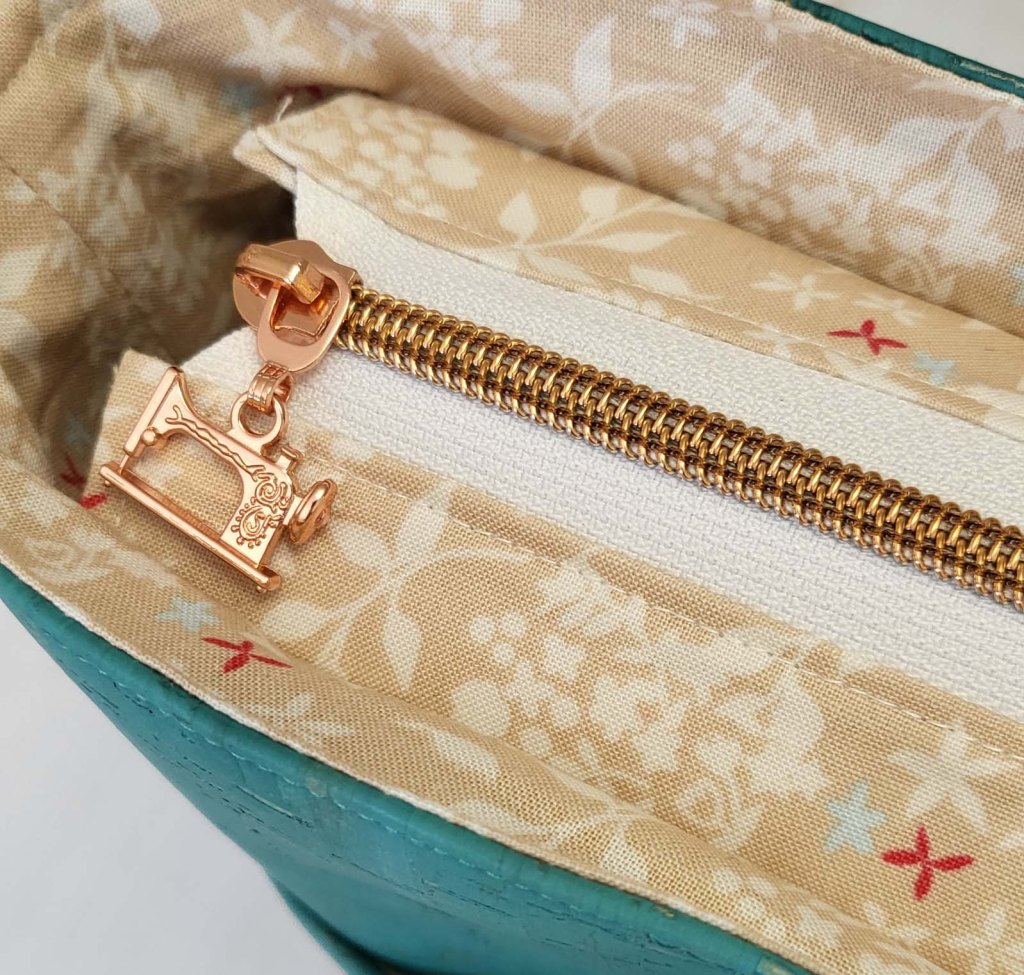
The bag features a recessed zipper top closure to keep your contents secure. I used a Sallie Tomato zipper by the yard in white with rose gold zipper teeth.

I added a rose gold sewing machine zipper pull for a cute touch.

And a copper zipper end gives a polished finish to the zipper as well as stability when pulling the zipper closed.

After inserting the lining and turning the bag right side out, I added a plexiglass insert into the bottom of the bag between the lining and the outer bag. This gives lots of stability when the bag is full. No saggy bottom!!!

I simply purchase a small piece of plexiglass at my local Home Depot and my husband uses his table saw to cut it to the size I need. He then rounds the corners with his sander so they don’t poke through the fabric in my bag. I insert it through the opening that I left in the lining, then I hand stitch the lining closed.

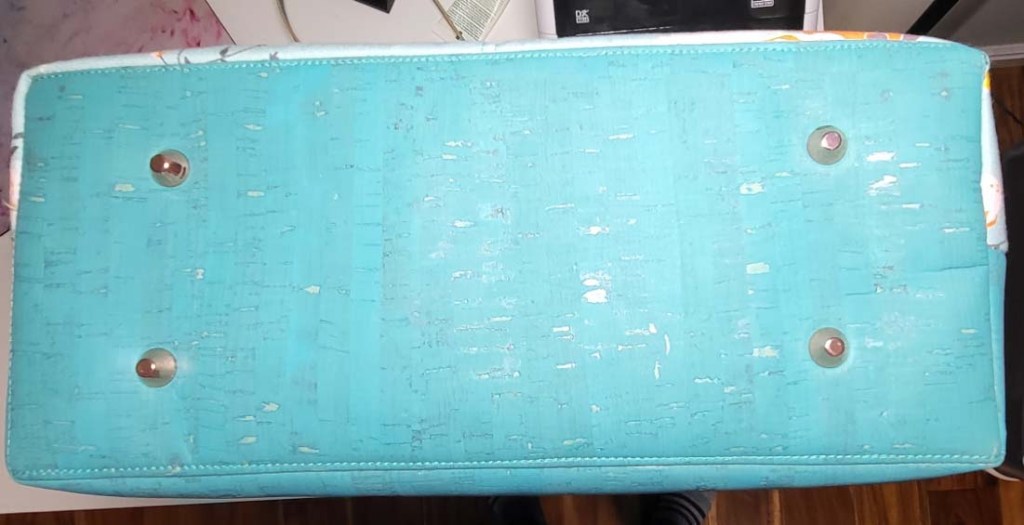
There are four rose gold, bucket style bag feet on the bottom of my bag. I used a small piece of foam stabilizer on the wrong side of the cork. Once I inserted the prongs of the bag feet through the cork and foam, I added some Gutermann Creativ glue to the prongs and foam for extra security.

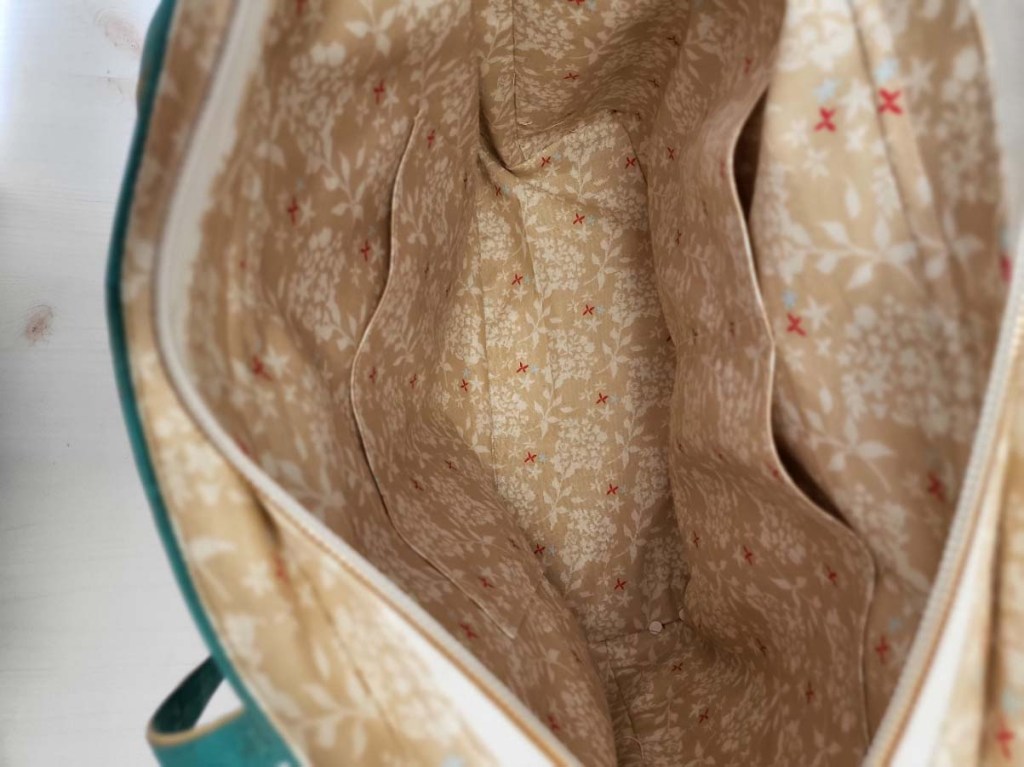
I sewed up the bag just as the instructions indicated with a single pocket on one side of the lining and a double pocket on the opposite side of the lining. One thing I would change in my next bag, is that I would add SF101 (or similar) interfacing to the inner pockets. The pattern does not call for interfacing on these pattern pieces (piece M and piece N), but I would highly recommend interfacing them. Without interfacing, the pockets are somewhat ‘floopy’.

The outside front of the bag has two large slip pockets. Those pockets don’t seem to need interfacing. They keep their shape just fine. I used Soft and Stable from byAnnie to give structure to the body of the bag. I used rose gold rivets to give added security to the stitched on handles. The handles are only 1/2″ wide. I find that size handle to be just a bit narrow for this size bag. My next one will have about 3/4″ to 7/8″ wide handles.

I used turquoise cork for my main fabric; quilting cotton from Minki Kim’s Hidden Cottage line for the outer pockets; and quilting cotton from Minki Kim’s Someday line for the lining. My Baby Lock Destiny II does not like to sew through cork, foam, and cotton, so I used my old Viking Mega Quilter to stitch my bag together.

All in all, this is a terrific tote. I highly recommend this pattern for confident beginner sewers to experienced sewers.

Thank you for spending some of your day with me today, sewing friends. Please leave me a hello in the comment section.

A Masculine Quilt

When my uncle flew out for a visit last fall, we took an RV trip to Idaho. Of course, any good RV trip involves some shopping – namely, fabric shopping! We came upon a lovely local quilt shop in Rupert, Idaho. Not only was the quilt shop lovely, but the little town was just as lovely. In the window of the quilt shop was a simple but attractive masculine style quilt.

My uncle was drawn to those muted primary colors and the basic style of the blocks. I had my husband distract him while I quickly purchased the fabric – two layer cakes in “Branded” by Sweetwater. This was to be a secret Christmas present for my favorite uncle.

The quilt top went together quickly as I just stitched together 10 rows of 8 squares each. Then I added a 4 inch border around the entire quilt. I made the border using a jelly roll of Wilmington Fabrics Essential Gems in Cookie Dough.

I quilted it with a quick all over stipple stitch and I added straight line quilting on the borders.

Thank you for reading my blog and please leave a comment.

Happy Sewing, Friends!

Silhouette Patterns #820 – Brenda’s Hoodie

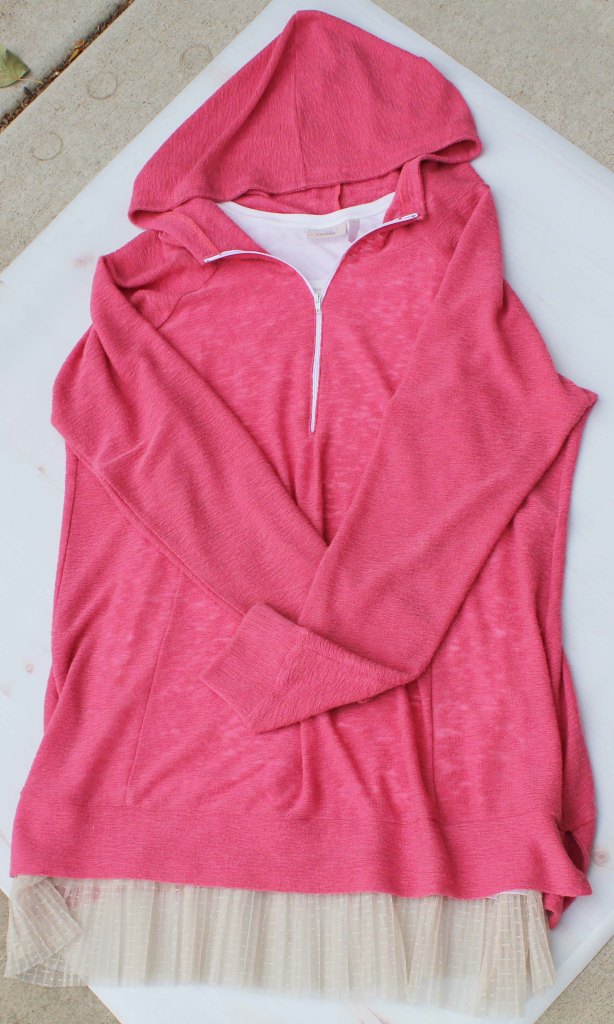
Like all the clothing that I have sewn from Silhouette patterns, this hoodie pattern has a good fit. For sizing, I cut a size 3 in the shoulders, bust, and waist, but I graded out to a size 4 at the hips. In hindsight, it was not necessary to grade up. Next time I will cut a straight size 3 because the sizing is not closely fitted. It is not a loose or boxy fit either. I would say it is semi-fitted.

I have shopped on QVC for years and years and years. They use four descriptive representations for style of fit: performance fit, slim fit, fitted, and semi-fitted. Their definition for semi-fitted is “follows the lines of the body with added wearing ease”. That is an accurate description of this hoodie style.

There are supposed to be pockets on the hoodie, but alas, my pockets are still on my sewing machine table! If you decide to sew one of these fantastic hoodies for yourself, please be aware that the pattern instructions left out the step to add the pockets. (I explain in greater detail in my video below)

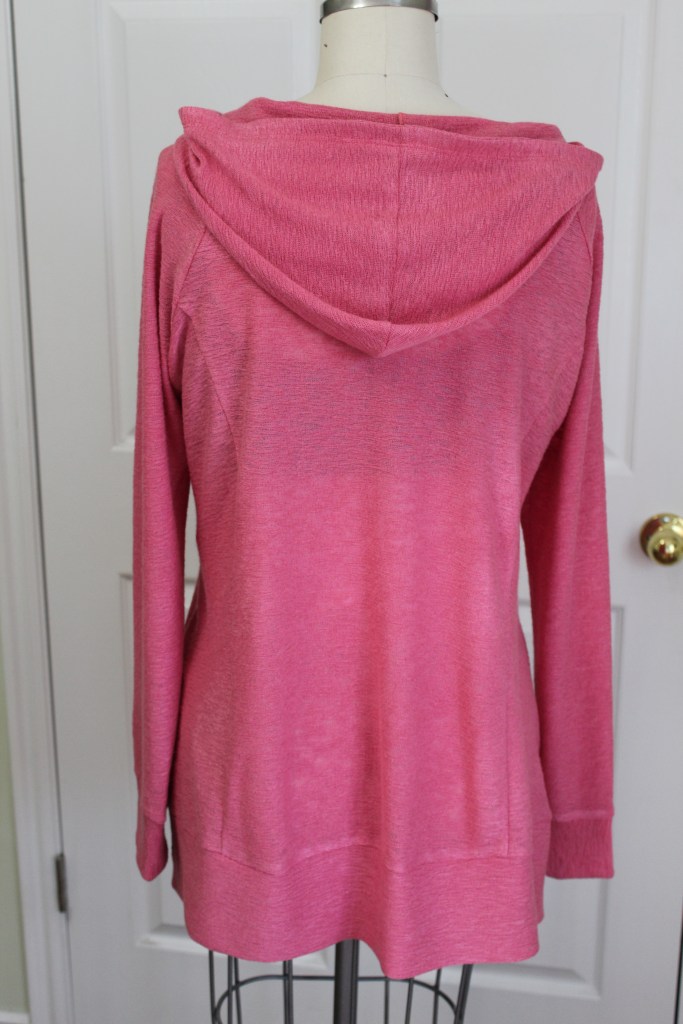
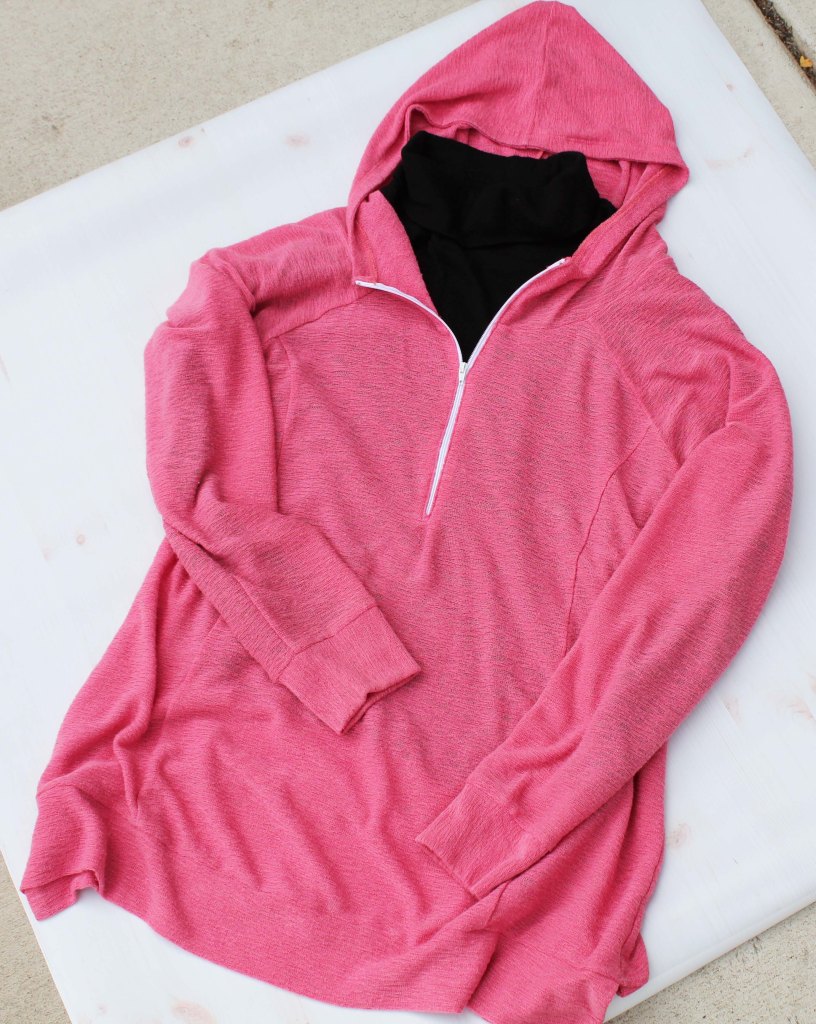
The fabric I used is Soft Gauze Texture Sweater Knit in Petal from Stylemaker Fabrics. It is no longer available in the Petal color, but they do have other colors still in stock. The fabric is just slightly sheer. If you take a look at my dress form photos, you can see the dark bra that I put underneath my hoodie.

You can pretty much choose how long you want to make the zipper. My zipper ends just shy of the bottom band of my bra. The pattern features knit bands at the wrists and two knit bands to finish off the bottom length. The back band is a bit longer than the front band giving your hoodie nice backside coverage.

In addition to wearing a tee underneath my hoodie, I have a couple other styling options to share with you:

For a day of running errands, grocery shopping, etc. I will pair it with my black Paola turtleneck and a pair of skinny jeans.
When I want to dress it up a bit, I will wear it over my RTW lace hem tank and a pair of black leggings.

All in all, I consider this a successful make and it will see a lot of use in my wardrobe this fall and winter.

Here’s my video review:

Thank you stopping by my little corner of the sewing blog world. As always, I enjoy reading your comments. Please let me know you are out there sewing with me.

New Look #6683 – Sweater Dress

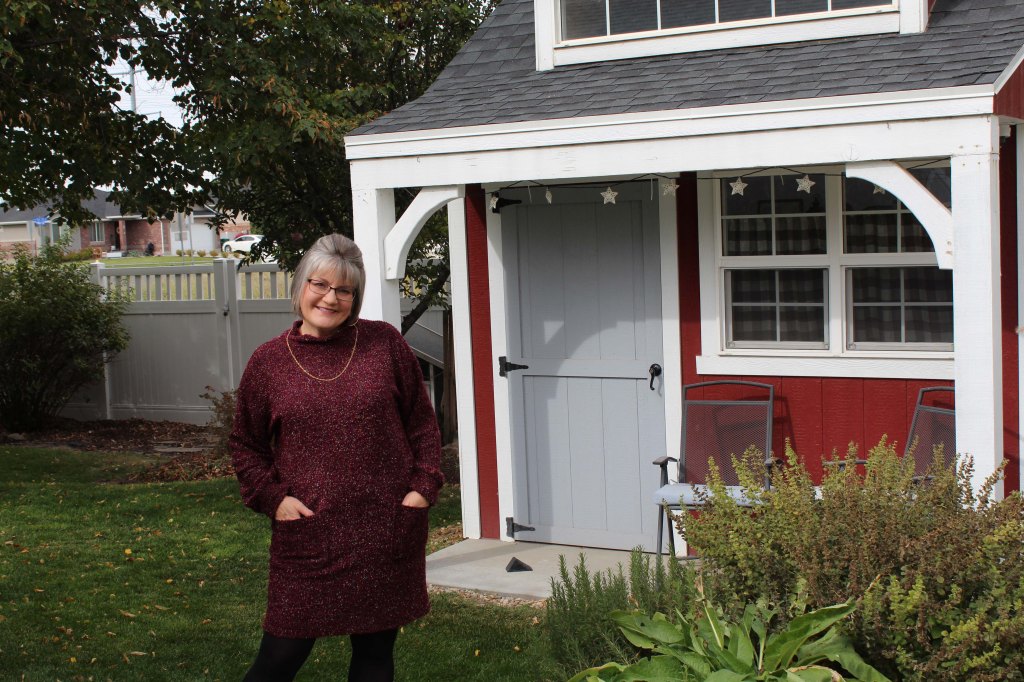
Baby it’s cold outside! Time for sweater dresses. This is one of the new Fall 2020 releases from New Look patterns. It features dropped shoulders and ribbed cuffs on the sleeves. There are two views from which to choose: View A – short stand up neck and patch pockets OR View B – cowl neck and side seam pockets. I chose to sew View A.
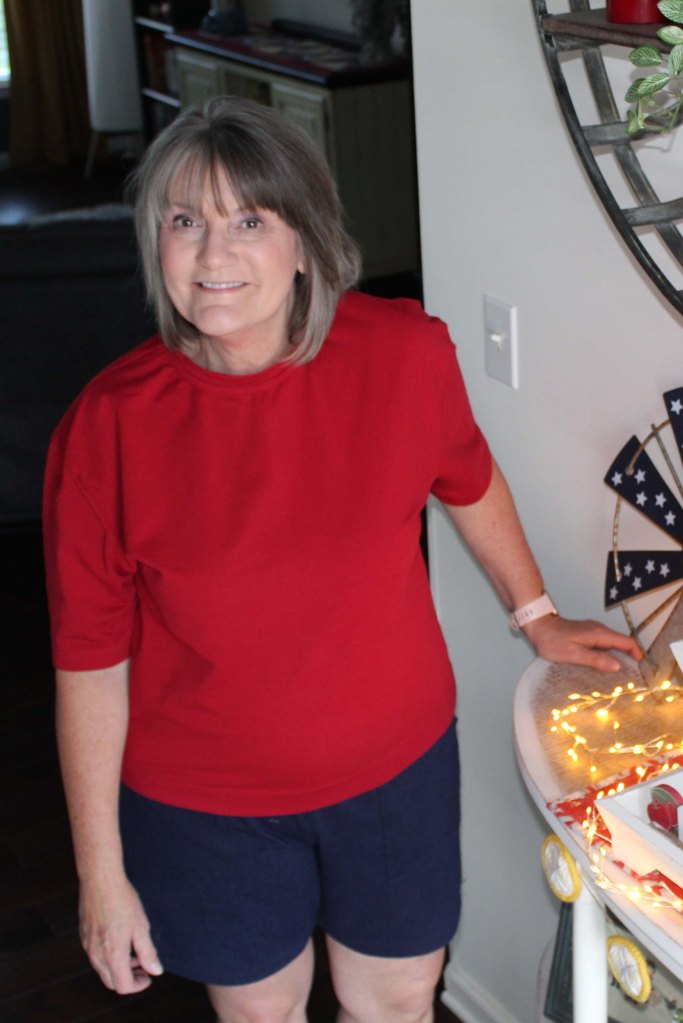
The neckline on my dress doesn’t stand up as straight as the pattern photo shows, but that is because my fabric has a substantial drape. If I were to sew this again with this same fabric, I would interface the neck piece so it would have more stability. That said, it still looks good and does not affect the wearability of the dress.

The neckline from View A allows for bold jewelry or scarves to be added without interfering with your accessories:

I chose the size 16, but I wish I would have gone with the 14. My dress fits great in the hips, but it is big in the bust/armhole area. If I sew another dress from this pattern, I will go down a size in the shoulder and bust area and just grade up a size toward the hips. I will also add bust darts, which would give the upper body some nice shaping.

The fabric is a boucle sweater knit from Stylemaker Fabrics (from last season).

All in all, I consider this a successful make and I plan to wear it throughout the winter.

If you are interested, I posted a video on my YT channel:

I would love to hear your thoughts on sewing with sweater knits. Please leave a comment.

Thank you for visiting my blog.

Silhouette Patterns #719 – DVF’s Blouse & A Giveaway

Here is what I sewed with the fabric from my #sewhayleyjane subscription box. I needed a blouse to coordinate with my RTW skirt and jacket. I’ve been wearing a simple white tee with this outfit, but I wanted to step it up a notch. This blouse does the trick.

Believe it or not, this is a pullover style blouse! No snap, no zips, no buttons. I sewed the bust darts and the vertical waist darts on the front, but I chose to eliminate the vertical waist darts on the back.
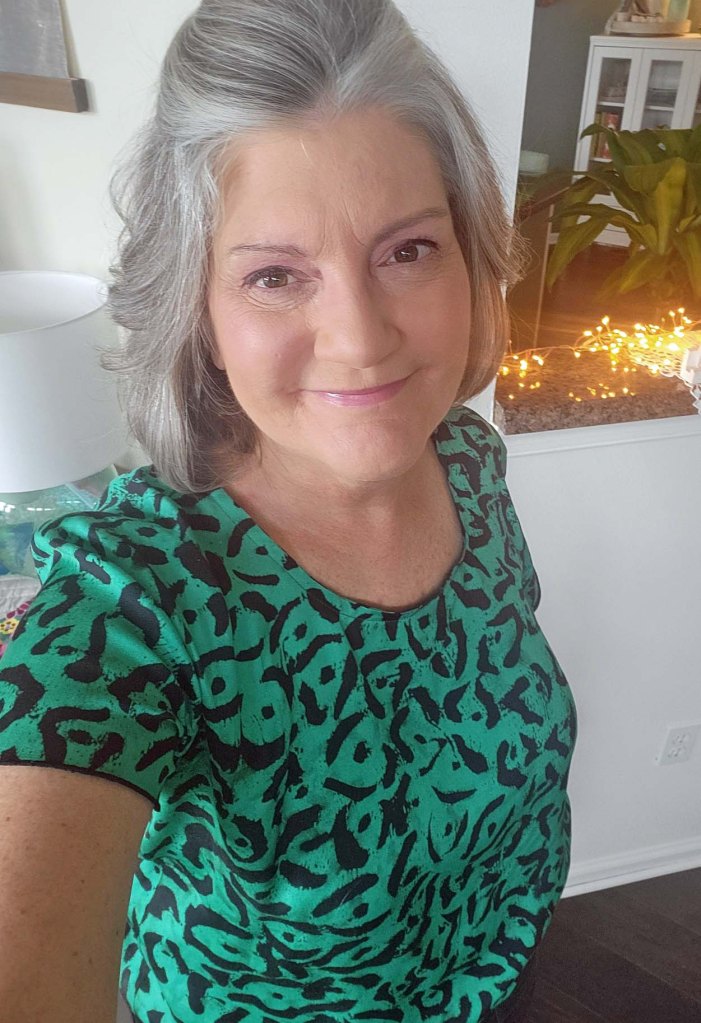
Since the fabric is 100% cotton, I prewashed it in warm water and dried it on medium heat. After I cut all the pattern pieces, I used a three thread narrow overlock to finish the edges of all the except the neck seam and the sleeve edge where the cuff is attached.

The pattern has good instructions and the fit is spot on. This was a satisfying sew and I am so glad to add this blouse to my wardrobe.

Here’s my video with an additional review of this pattern. I am also doing a giveaway. The instructions on how you can enter the drawing are in the video.

Thank you for reading my blog and be sure to enter the giveaway.

Happy Sewing!

#SewHayleyJane Box and A New Quilt

Do you subscribe to any sewing or quilting boxes? For my first dive into the subscription sewing box world, I tried the Sew Hayley Jane box. It offers a smattering of goodies for both garment sewing and for quilting.

Here is a video of the unboxing:

If I am honest, my first impression was “okay”. Those were not fabrics I would have chosen, but the whole premise is that the contents are a surprise.

Ater I had time to ponder uses for the fabric, I shared my thoughts (and a new quilt) in a follow up video:

The quilt pattern is from the book titled Charm School by Vanessa Goertzen. It is called “Rock Star” and is 69″ x 81″. I used fabric by Cyndi Walker called Serenade. I still have a few of those fabrics available in my shop, if you are interested.

Thank you for reading my blog today, I appreciate that you take time out of your busy day to take a peek at what I’ve been sewing. I am a bit of an eclectic sewer – I sew a myriad of items depending on what I have A Notion to Sew at any given time. Do you stick to a plan for sewing? Do you generally have one sewing focus (i.e. garments, quilts, toys, home dec, etc)? Or, are you like me, all over the place? LOL

Please drop a note to say hello. I enjoy reading your comments.

Sewing Workshop Noto Tee

The Sewing Workshop offers a year-long series titled Sew Confident. With the series commitment, you receive a monthly digital magazine, 4 exclusive digital patterns, and access to a private Sew Confident Facebook community along with several additional perks. If you are interested in checking out the Sew Confident Tutorial Series, you can find it here.

The digital magazine is worth the price of admission! 🙂 It includes gorgeous photography, helpful sewing and style articles, and the current pattern instructions, changes, and helpful tips.

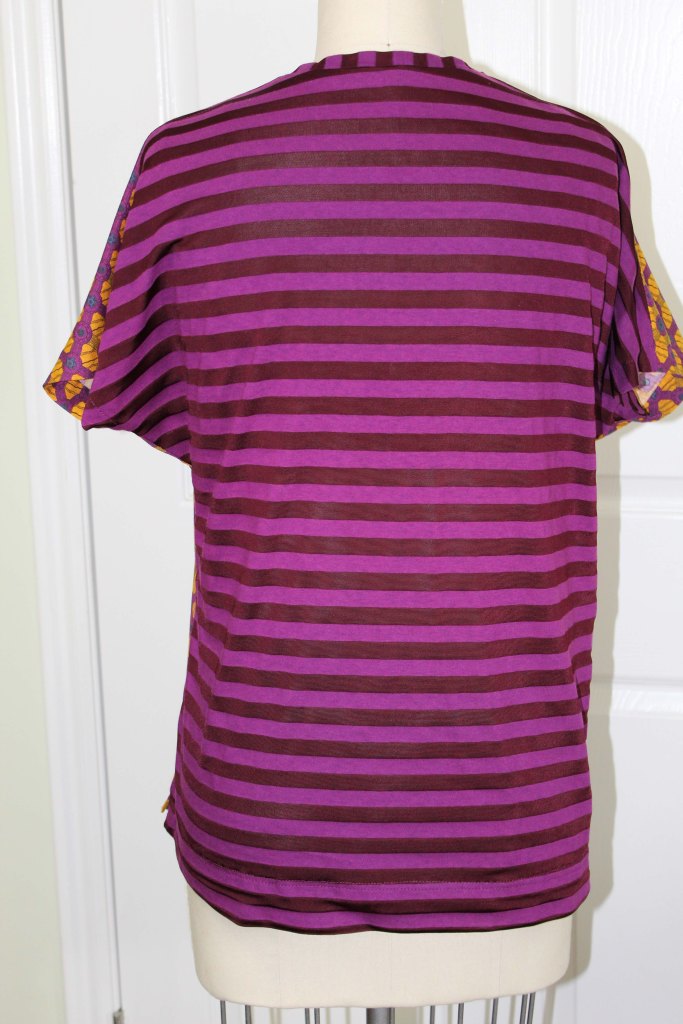
The Noto Tee is one of the four digital patterns for Series 9. The patterns are added to your account once every three months. The digital magazine give you style and fabric inspiration along with sewing instructions for your pattern. Then, each month between pattern releases, you will get instructions on how to change up the original pattern. The original Noto Tee is a shorter length, no side slits, and it has a crew neckline.

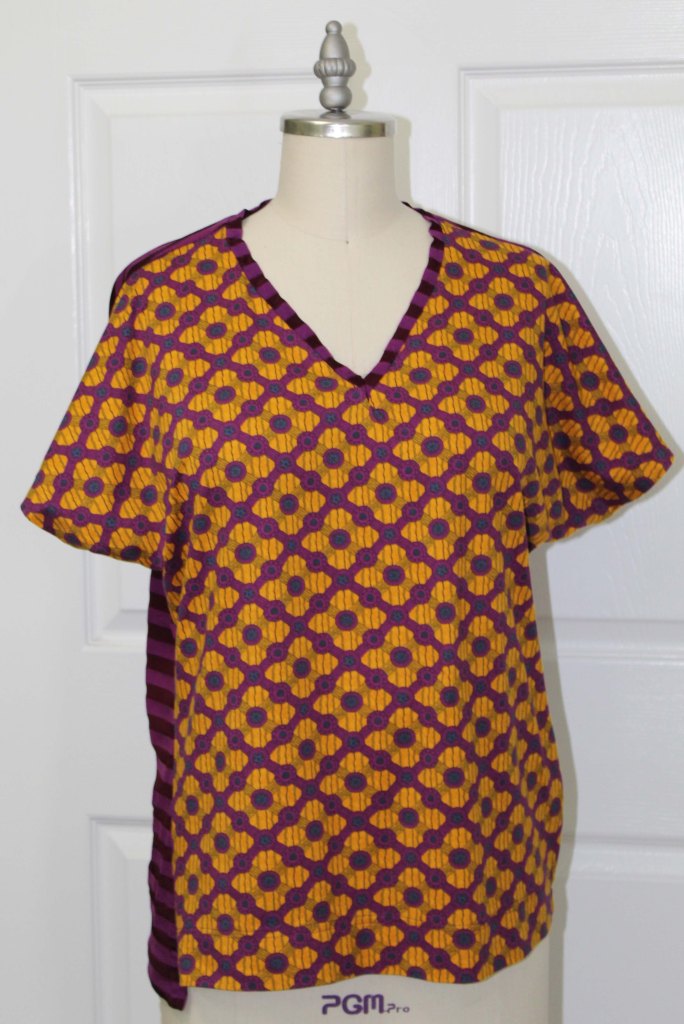
The version I am showing you today is a twist on the original pattern. It has a V neck, is a longer length, and has a slightly modified side seam. I am so very happy with this version of the Noto Tee.

I unashamedly copied the exact fabrics from The Sewing Workshop’s digital magazine. I love them so much!

The side seam is adjusted to gradually come forward as it approaches the stomach and hip area. I added an extra inch to the length on the back of my tee.

And can I just say, I love a good V neck style.

For a closer look at both versions (the original and this new V neck style) head on over to my YouTube channel:

I would really enjoy hearing your thoughts. Please leave a comment below and let me know what you are sewing.

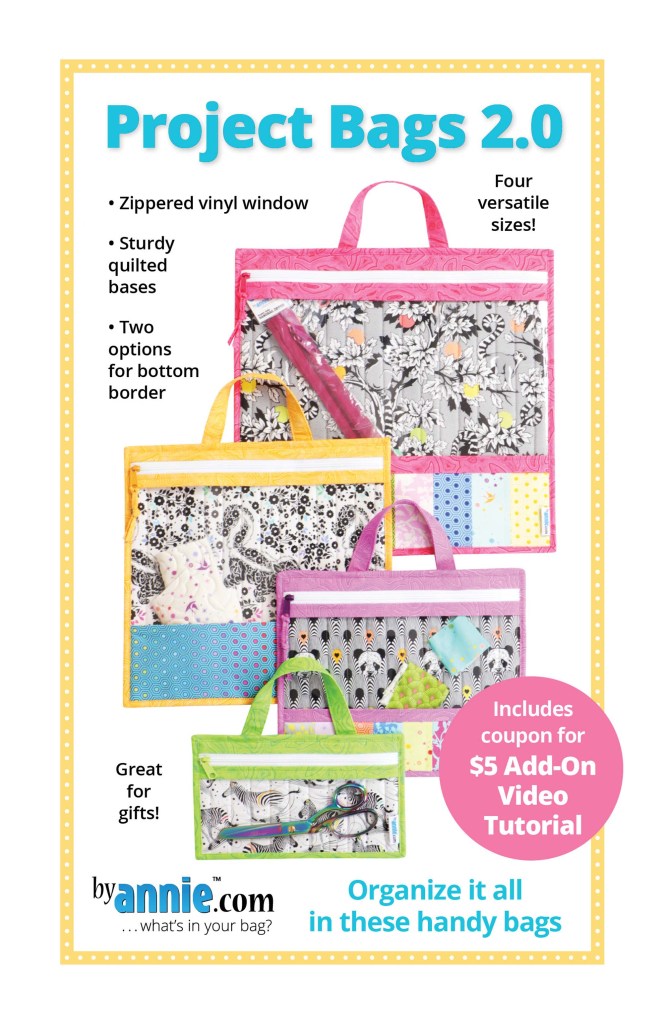
Patterns by Annie Project Bags 2.0

In addition to sewing and crochet, I also enjoy cross stitch. I usually toss my current cross stitch project in a basket or plastic zipper bag. Somehow those methods of storage seem to bother me. Perphaps it is because I can sew and I feel a bit guilty about using such conventional means for storage solutions!

When Patterns by Annie released their new, updated version of the Project Bags pattern, I ordered it immediately to stock in my Etsy shop.

I started a sweet little fall cross stitch project a few weeks ago, and whilst listing this pattern in my shop and holding it in my hand, I had an epiphany! Make one of these in which to carry my cross stitch supplies! (I bet you already knew that’s where I was going with this story)

Here it is housing my fall stitchery:

The pattern includes instruction for four sizes. I stitched up the size large and I explain my reasoning in the below video. The background (mermaid fabric) is from a previous project. Oh, and I made that cute tassel with my granddaughter.

For a closer look at this handy project bag, click on the video below:

Thank you for stopping in for a visit, my sewing friends. I would really enjoy hearing from you so please leave a comment.

Until next time, Happy Sewing!!!

Silhouette Patterns #120: Patty’s Princess Seam Top

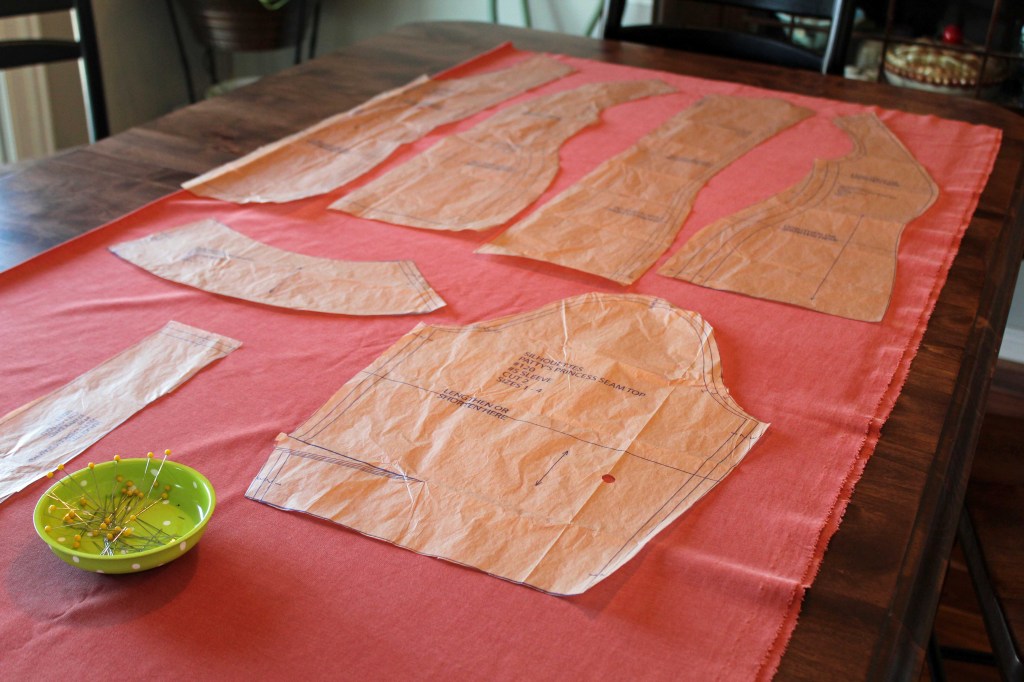
Here’s my test version of this princess seam top. Overall I’m quite pleased with the outcome. The color washes me out a bit, but that has nothing to do with the pattern and everything to do with the fabric. 🙂 BTW, the fabric is a medium weight, stable knit from Joann Fabrics.

I sewed a size 3, and the pattern calls for 2 yards of 60″ wide fabric. This is how I laid out my pieces. I did not measure the length of fabric, but I know it did not use 2 yards. I’m guessing it was about 1 1/3 yards of fabric.

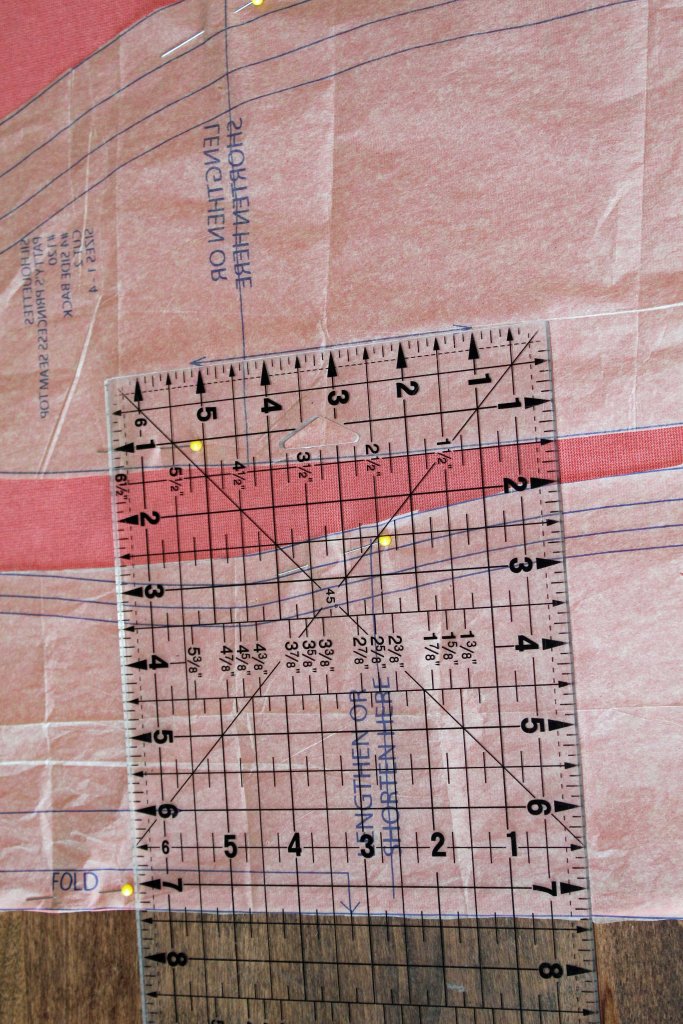
I always use my quilting ruler to measure from the straight of grain pattern line to the fold of my fabric so I don’t get any garments that hand with a skewed drape.

These odd little marks are on the side back pattern piece along the princess seam edge. I’m not sure for what they are to be used. There is no indication on the instruction sheet and this is the only pattern piece on which they showed up. I just ignored them!

The sleeve pattern has a dart, which was an interesting addition that I’ve not come across until now. Here is what it looks like when finished:

I discuss the arm dart more in my YT video. There is a link at the end of this post.

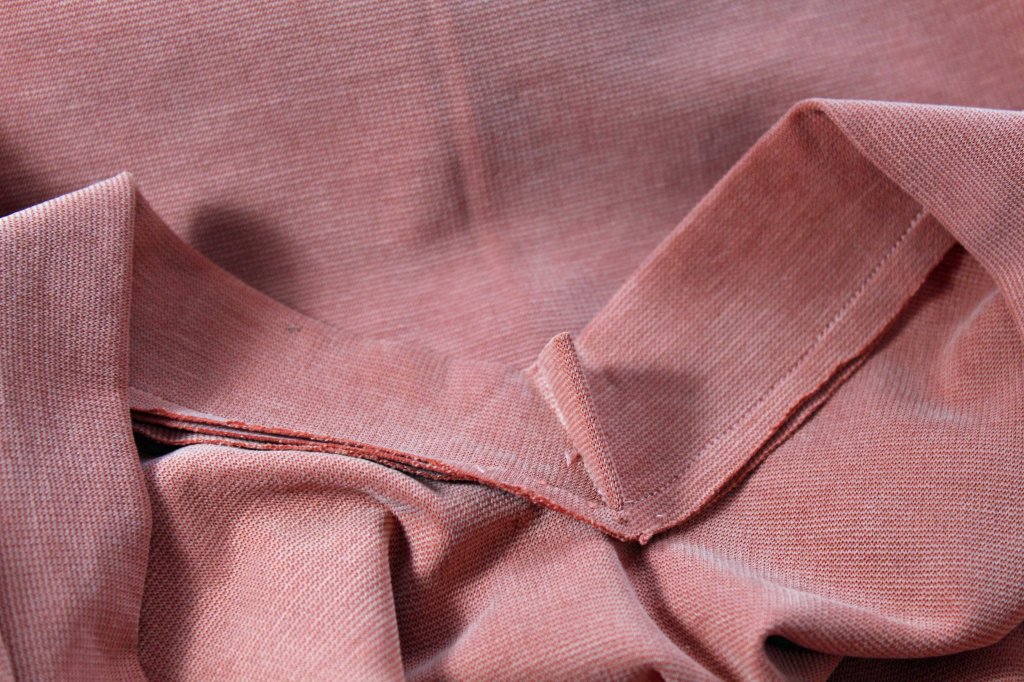
The neckband is attached in a continuous loop, then the “V” is made by sewing a small dart into the band. Here is a look at the inside of the neckband where that dart is sewn:

When you sew the dart, be careful to sew ONLY the neckband being careful to not catch any of the garment under neath your presser foot (do not go past the seam line or you will have a pucker at the point of the “V” – trust me, I speak from experience.

Thread sinks into knit fabric and it is a real challenge to pick out stitches without making a hole in the fabric (see example above) *sigh*.

This is an easy top to sew and I like the little bell sleeve.

Here is my YT video:

Thank you for spending a few minutes of your day with me. 💜

If you have questions or comments, please leave them in the comment section below. I really enjoy feedback from my readers. Until next time, happy sewing!!!

Experimenting with Longarm Quilting


Over the years, I have dabbled in piecing and quilting. I completed several small projects (wall hangings, table runners, etc. on my domestic machine) before deciding to invest in a small longarm. I purchased a BlockRockit 15″ machine several years ago. I used it on a Bernina 5′ frame and it worked nicely to again complete small projects (wall hangings, table runners, etc.). I also used it to quilt fabric and foam for bags and totes. You can see a video of that process here:

That set up was great for small projects, but I was limited in the size of quilt I could manage on that frame. So a few months ago I invested in this 10′ Continuum frame from Grace Company:

I purchased the frame through Leah Day’s Website. I live about 40 miles from the Grace Company, but it was less expensive for me to purchase it through Leah Day and have it shipped to my home, that it would have been to purchase it locally and pick it up at the warehouse. I ordered the frame on a Friday and it was delivered the following Tuesday!

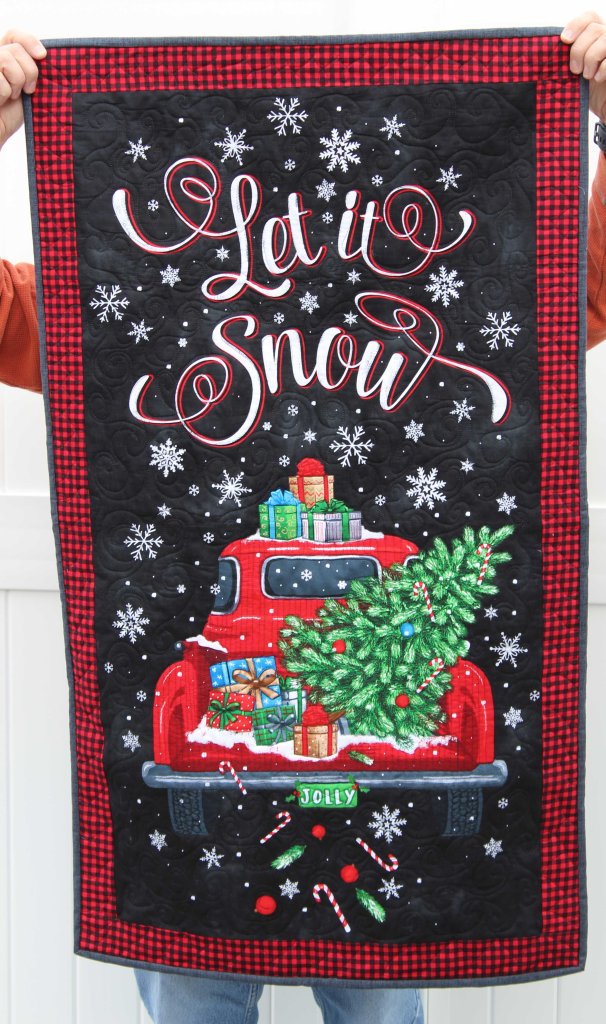
I love not being so limited in the size of quilt I can sew. But first, to familiarize myself with the new set up and to practice using my new frame, I quilted this small wall hanging. It is a printed quilt panel, so no piecing (other than the borders) was involved.

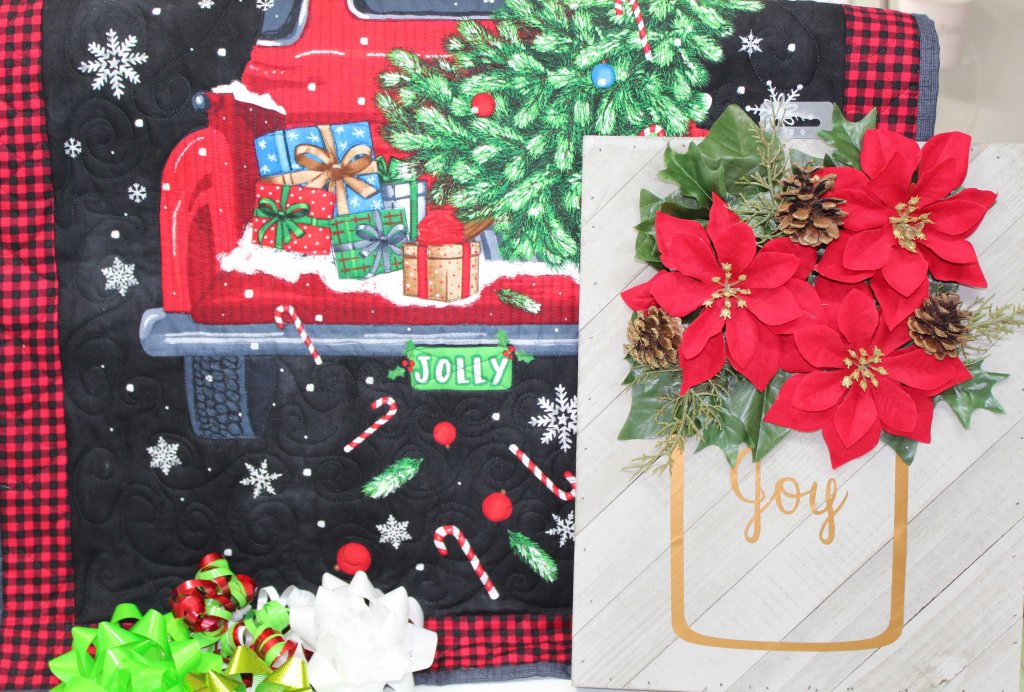
I still consider myself a beginning quilter, so please don’t judge me too harshly. 😊 I stitched an all over swirl on the background, I outlined the truck then added vertical straight line quilting to the body of the truck, and I added jagged line quilting to the tree to mimic pine needles. It was a great learning process.

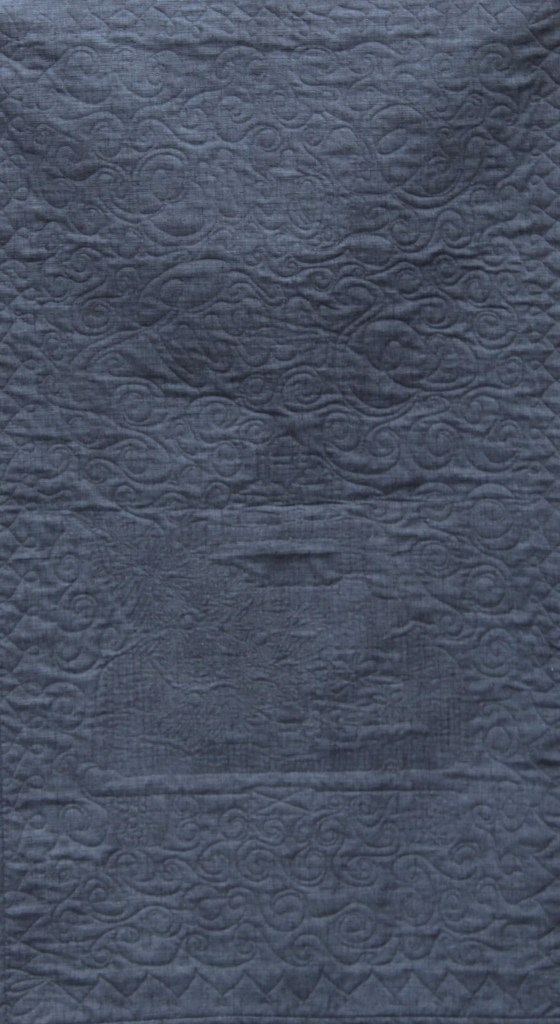
I used white batting because that is what I had on hand and it worked out okay, except there was a bit of batting show through on the back where the needle pierced the fabric:

I’m okay with the batting show through, since this will be hanging on a wall, and it was, after all, a practice project. But in the future, I will be certain to use dark batting with dark fabrics.

I have since completed a queen size quilt top and plan to load it onto the machine later this month.

I would love to hear your quilting experiences (domestic and longarm). Please leave me a comment below.

Until next time, keep sewing my friends!

Silhouette Patterns #600: Classic Blouse

**Please Note** Links to the pattern, fabric, interfacing, etc. are listed on YouTube below my video (video link at the end of this post)

I don’t own a lot of blouses, therefore, I don’t wear a lot of blouses. I’m not sure why. Perhaps it is because RTW button up blouses seem a bit stiff – the collar stands up too high and rubs my chin line, so I end up with makeup all over the collar of my blouse – the bodice area is too snug, so all my rolls show – if I purchase a blouse that is not so snug in the bodice area, then the shoulders are too wide and droop down my arm! This blouse pattern addresses all those issues. I shall be wearing more blouses in the future!

I sewed this blouse with a cotton/rayon blend voile shirting that I purchased from Stylemaker fabrics. It is so lovely and soft, no stiffness at all.

The collar is attached to the blouse body. No collar stand so it does not stand up high enough to rub my jaw line.

The bodice features front and back waist darts that can be sewn into the garment, or left off completely. I sewed the waist darts (front and back) because I like the little bit of added shaping that they give. The blouse has shape without being too snug and the shoulders still fit nicely.

To give a little stability to the under collar and the placket, I used Pro Tricot Deluxe Knit Fusible interfacing from Fashion Sewing Supply. The pattern suggests fusible knit interfacing, but Peggy Sagers discourages using interfacing on her sew along video on YouTube. In my video, which I link below, I address this discrepancy and why I chose to interface the collar and the placket.

The pattern notions listed on the back of the envelope, indicate you will need 8 buttons – 6 for the blouse and 2 for the cuffs. I used 10 buttons – 8 for the blouse and 2 for the cuffs. That was a personal preference choice.

The sleeve does not have an actual cuff such as one thinks of a traditional sew-on cuff. But rather, the sleeve has extra circumference that is folded over at the wrist to create a sort of psuedo-cuff effect.

This is what the sleeve looks like when it is not buttoned.

Here’s a photo of the placket/yoke on the inside of the blouse.

I would love to hear your thoughts. Please leave a comment below.

If you are interested, here’s a video of my review:

Closet Case Patterns Cielo Top & Dress

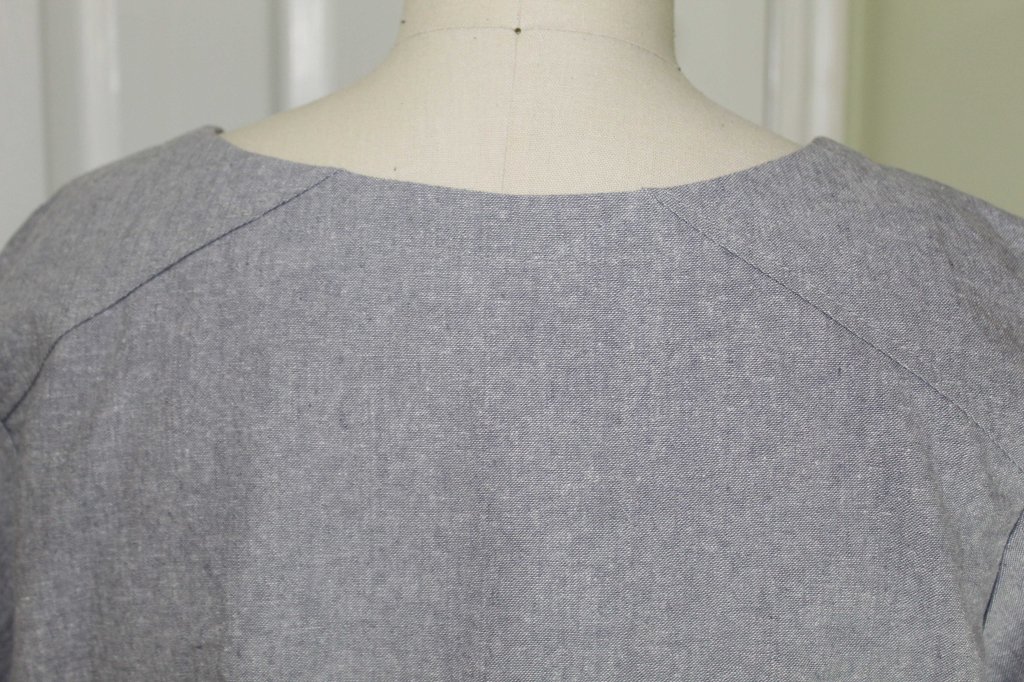
Hello Sewers! Here is a look at my muslin-testing process to bring me to the point of stitching up my version of the Cielo Dress.

I used a cotton/linen blend fabric from Hobby Lobby to make my muslins. I used the same fabric to make two muslins. For the first one I sewed a size 12 straight from the envelope with no adjustments and no design changes. On the second muslin I used my Silhouette Pattern Armhole Templates to change up the fit in the armhole area. Take a look at my video at the end of this post to see which version I prefer. 🙂

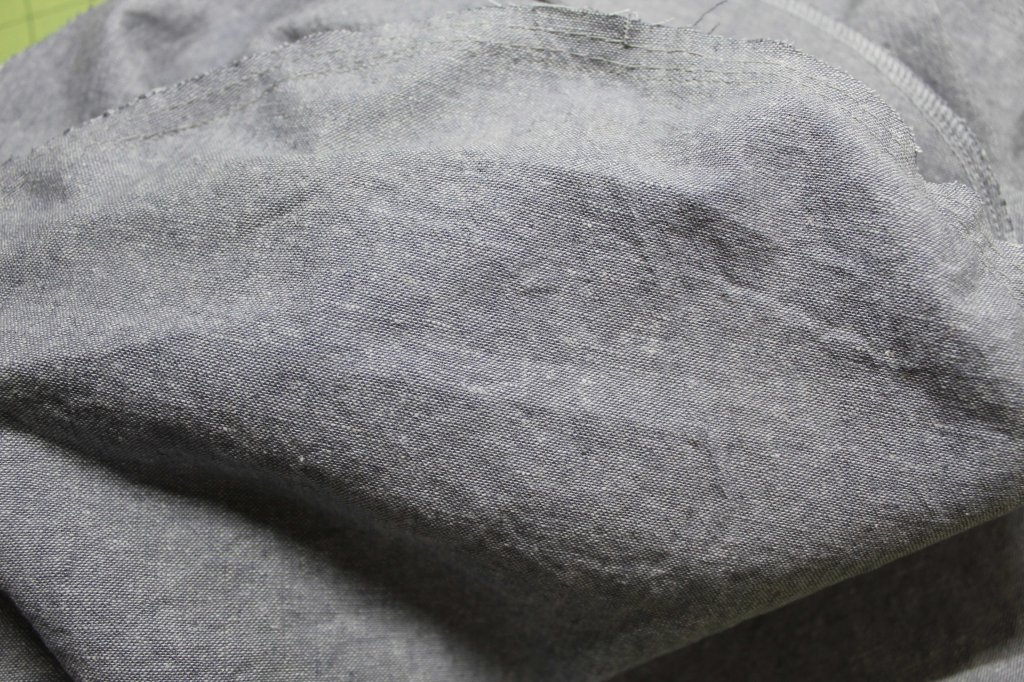
Close up of the fabric

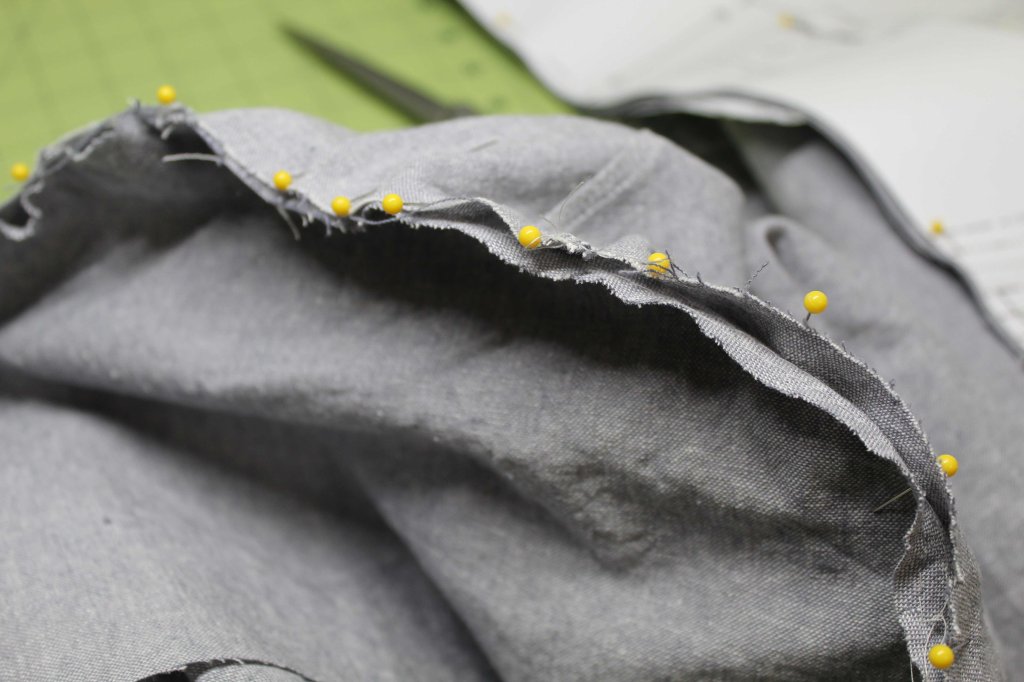
When I stitched the sleeves to the armholes (both versions), I used the Silhouette Patterns method of stitching with the sleeve on the bottom and the bodice on the top, which is opposite of how I was taught to insert sleeves. Sewing with the sleeve on the bottom makes it so I don’t have to stitch two rows of basting stitches and pull up the threads to fit the sleeve into the armhole area. It just naturally eases into the area beautifully.

I use LOTS of pins when I do this
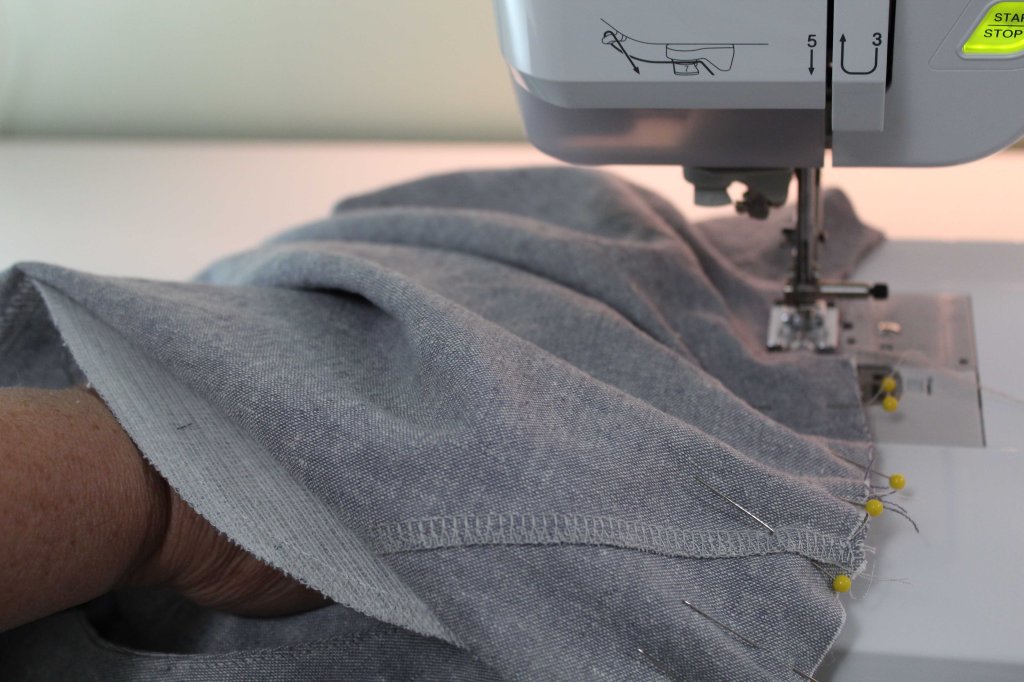
If you are inserting your sleeve with this method, be certain to check underneath periodically to make certain you are not getting any of the actual sleeve caught up in the seam.
Sewing with my left hand between the bodice and the sleeve helps me feel any wrinkles or rogue fabric that might be working its way into the seam

A unique dart in this dress is the bust dart that comes in from the armhole. I’ve never seen a pattern with a dart placed at that position.

I like the design details such as the sewn down cuff and the insert in the back yoke area.

The pattern piece for the bottom half of the dress and the in-seam pockets is rather odd shaped. I have to be honest, even after reading the instructions, I wasn’t quite sure how this was going to go together!

Per the pattern instruction, I marked three sewing lines on my pattern piece (you can see them in white). I sewed the three lines with the pattern piece right side together with the bodice pattern piece. Then the fabric above those lines is folded down (so it is right side up) over those two U-shaped portions of the pattern (those are the pockets). The sewn lines form the front seam and where it is not sewn – those are the openings to the pockets. Clever..

I used my serger to sew this dress together, so all the seams are nicely finished.

Here is a video review of my Cielo Top & Dress:

Thank you for stopping by today, I appreciate the time you take to read my blog posts.

Silhouette Patterns #196: 4-Way Cardy

For such a simple sew, this was a complicated journey!

My original plan was to use this really pretty dimensional cotton knit:

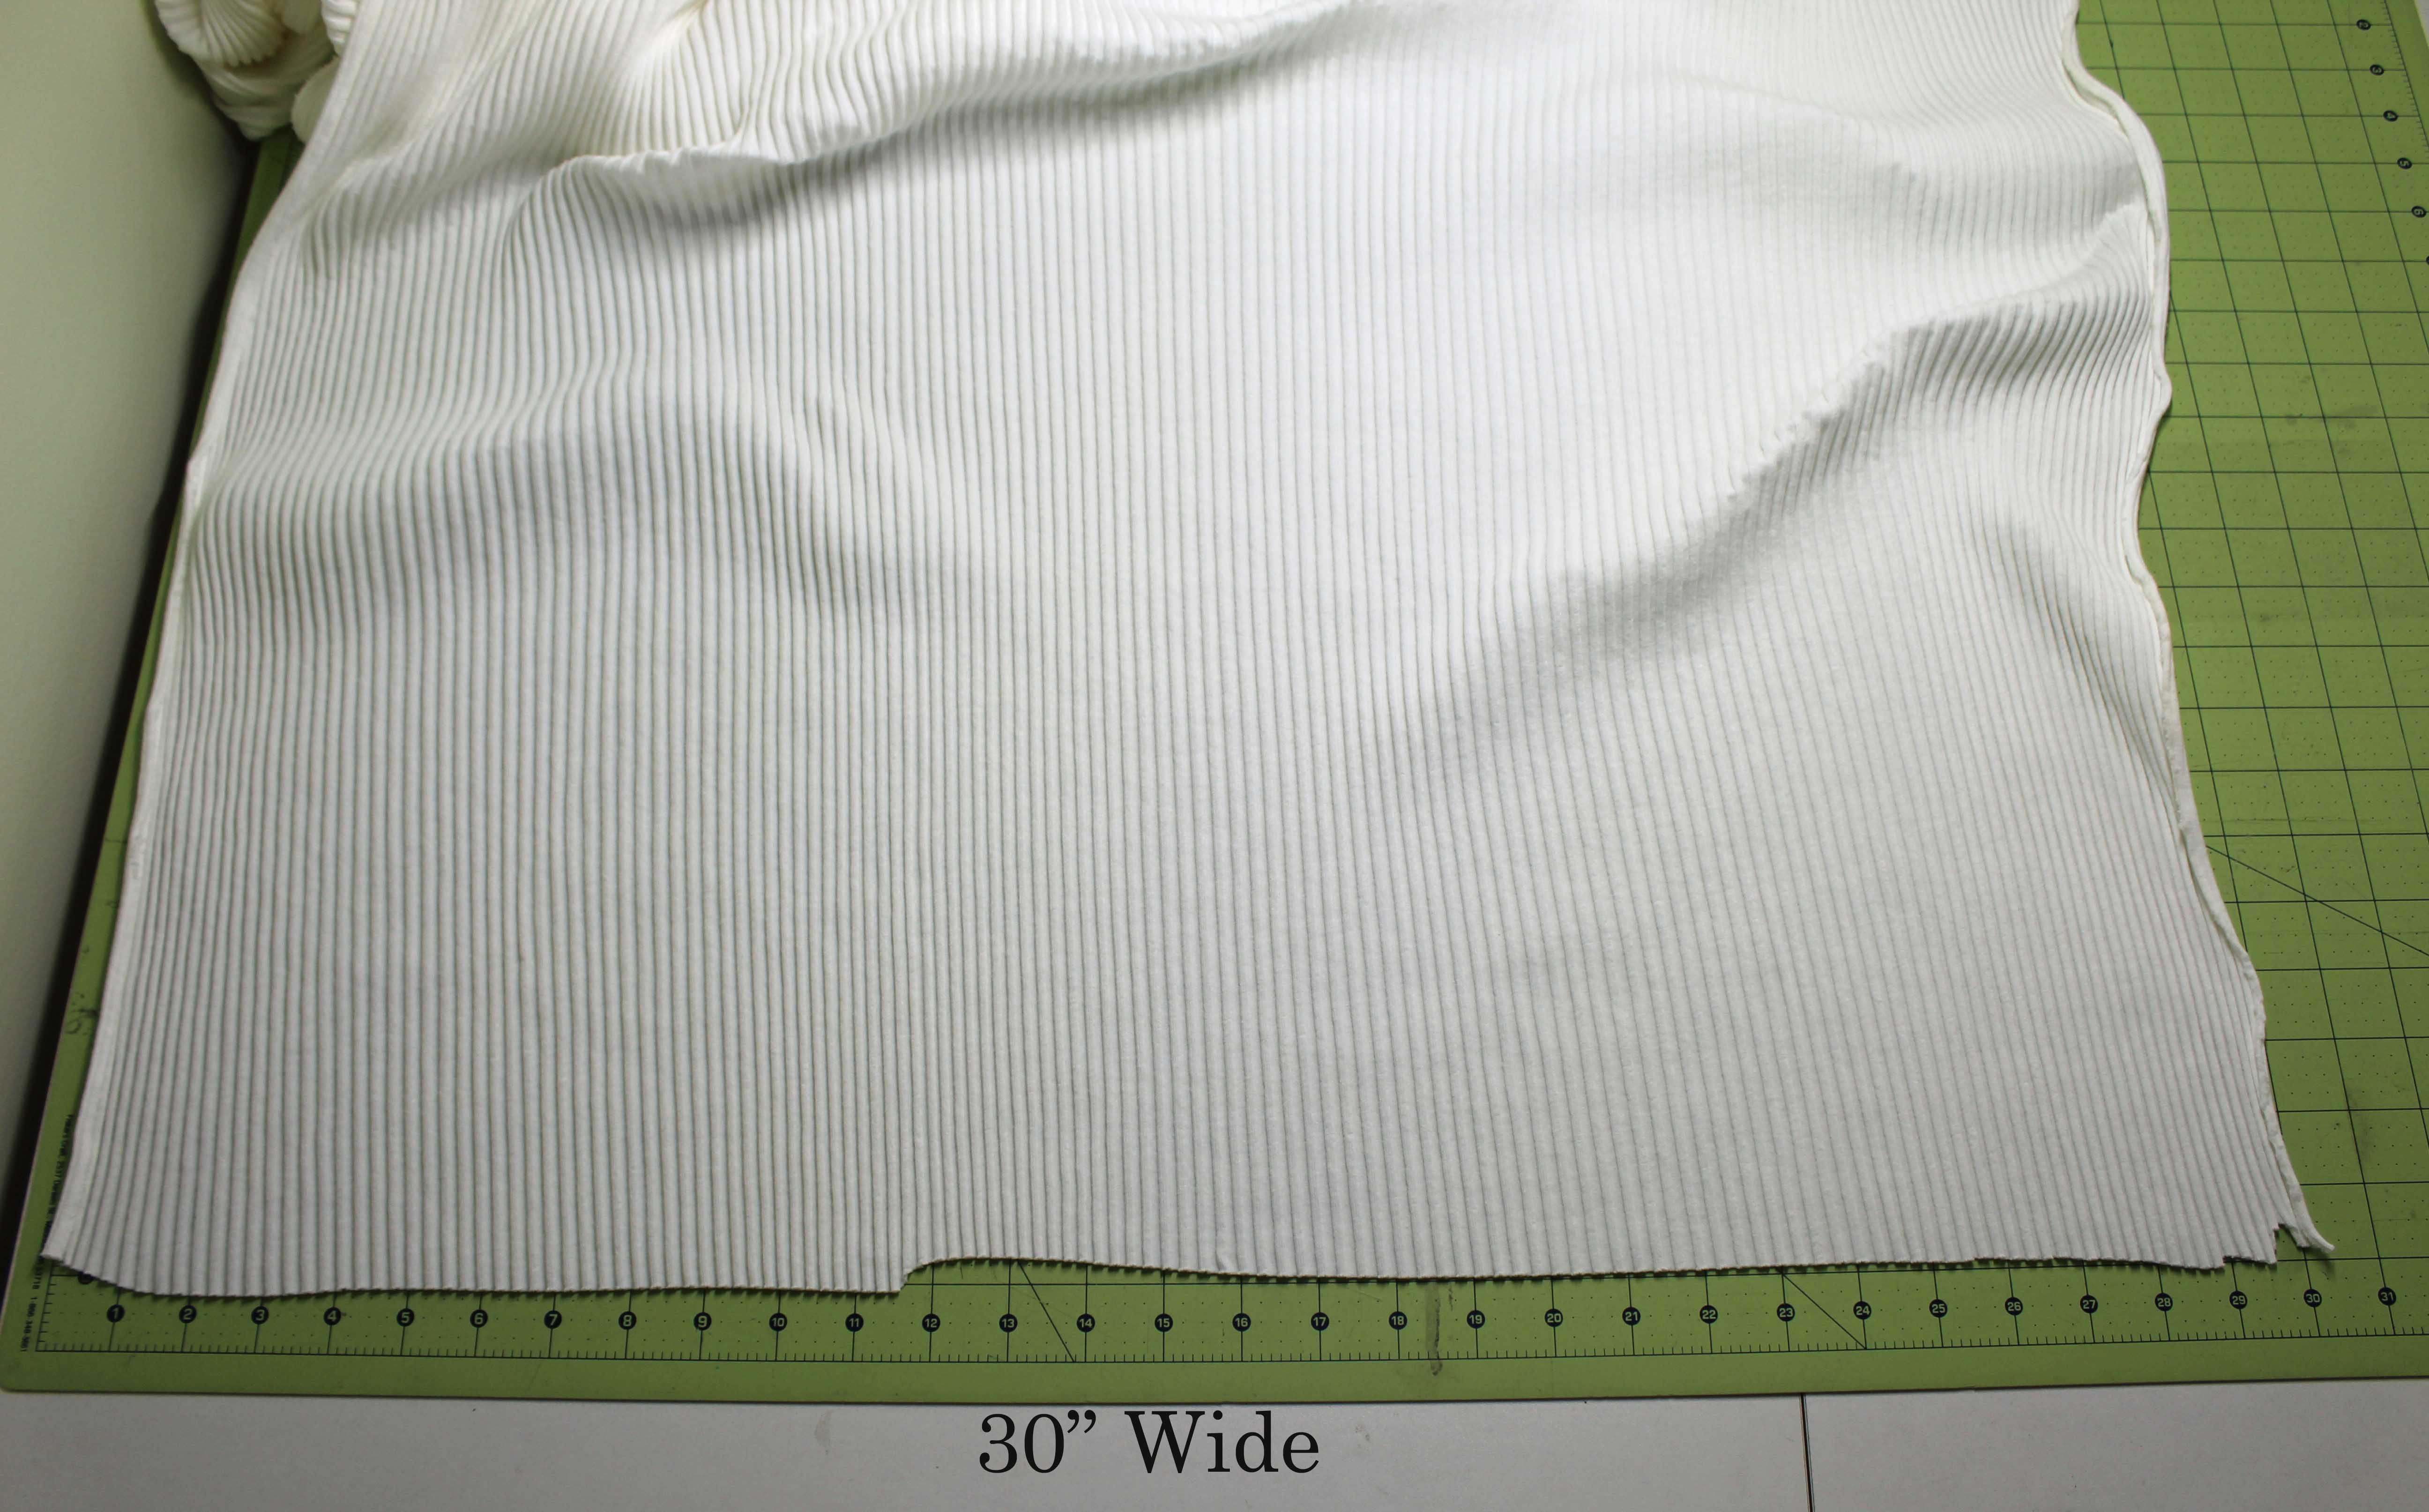
My First Obstacle: The knit is only 30″ wide. Ugh!!!

I had two yards of this knit, but because it was so narrow, there was not enough to cut the long sleeves. So, I improvised and cut them shorter. I had to get creative because after cutting the bodice pieces, this is all that was left for the sleeves:

After stitching the cardy together, I was sooo excited to put it on and admire the result of my efforts – what a disappointment!!! (See video link below)

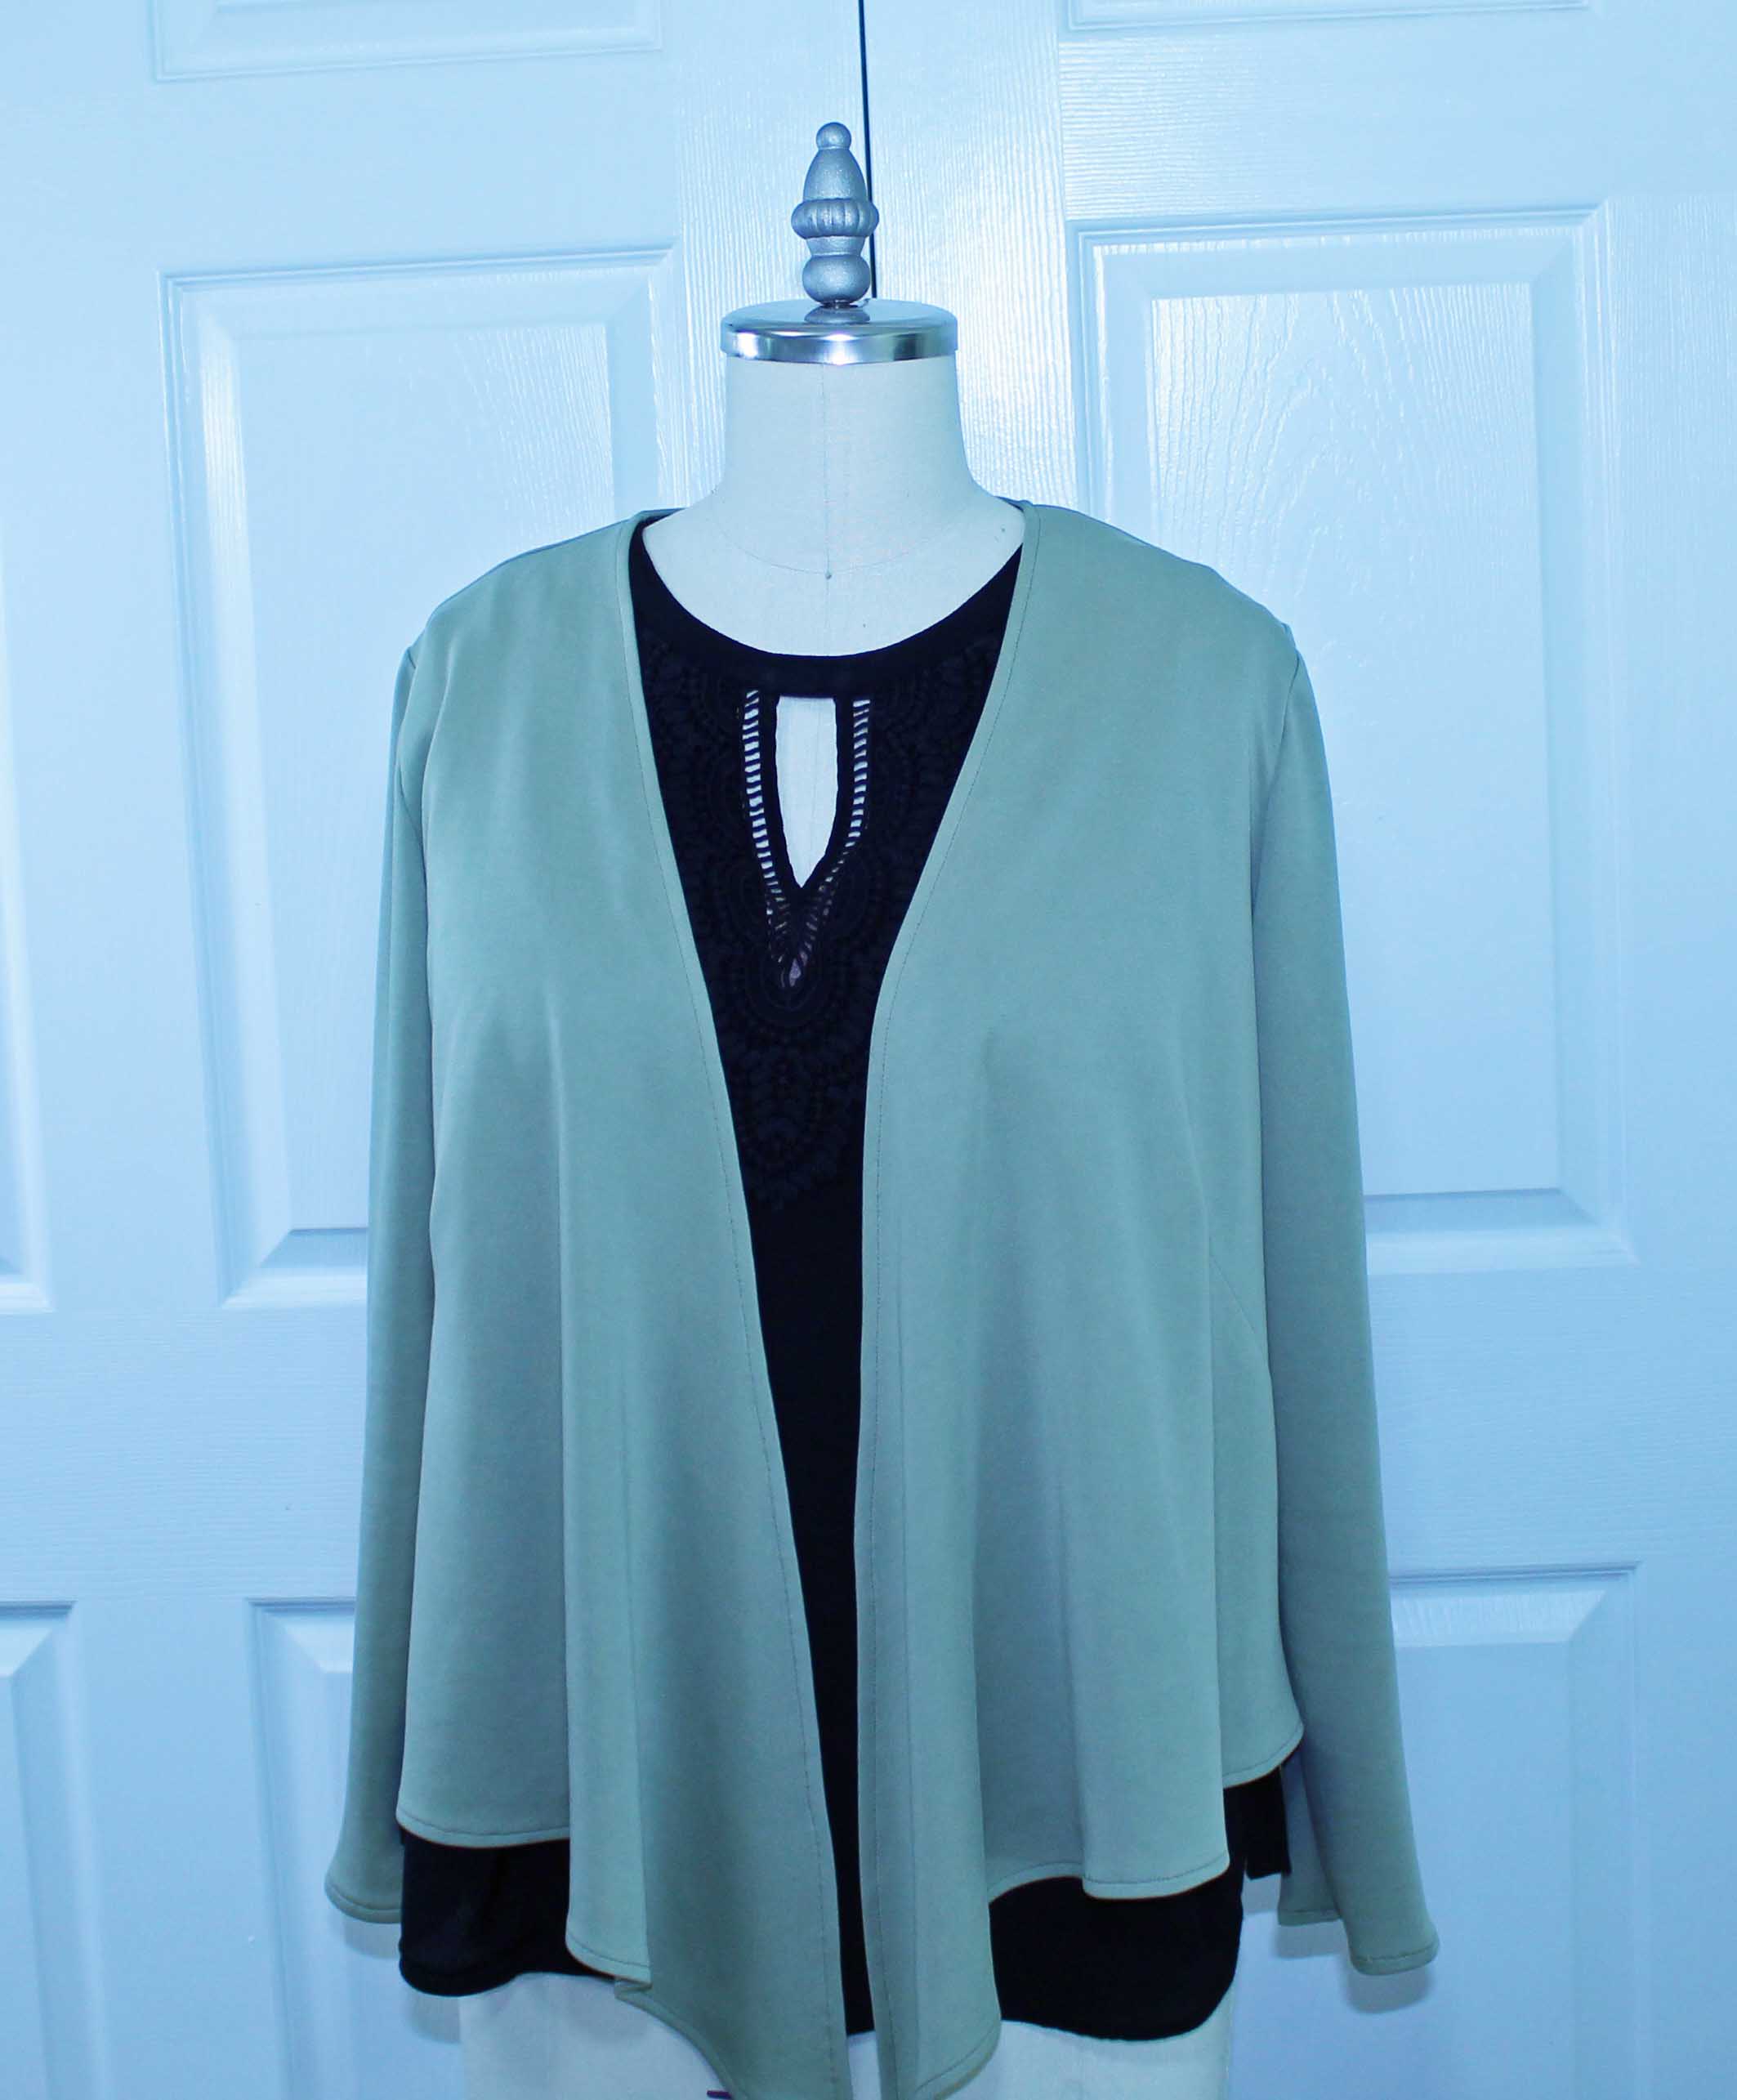
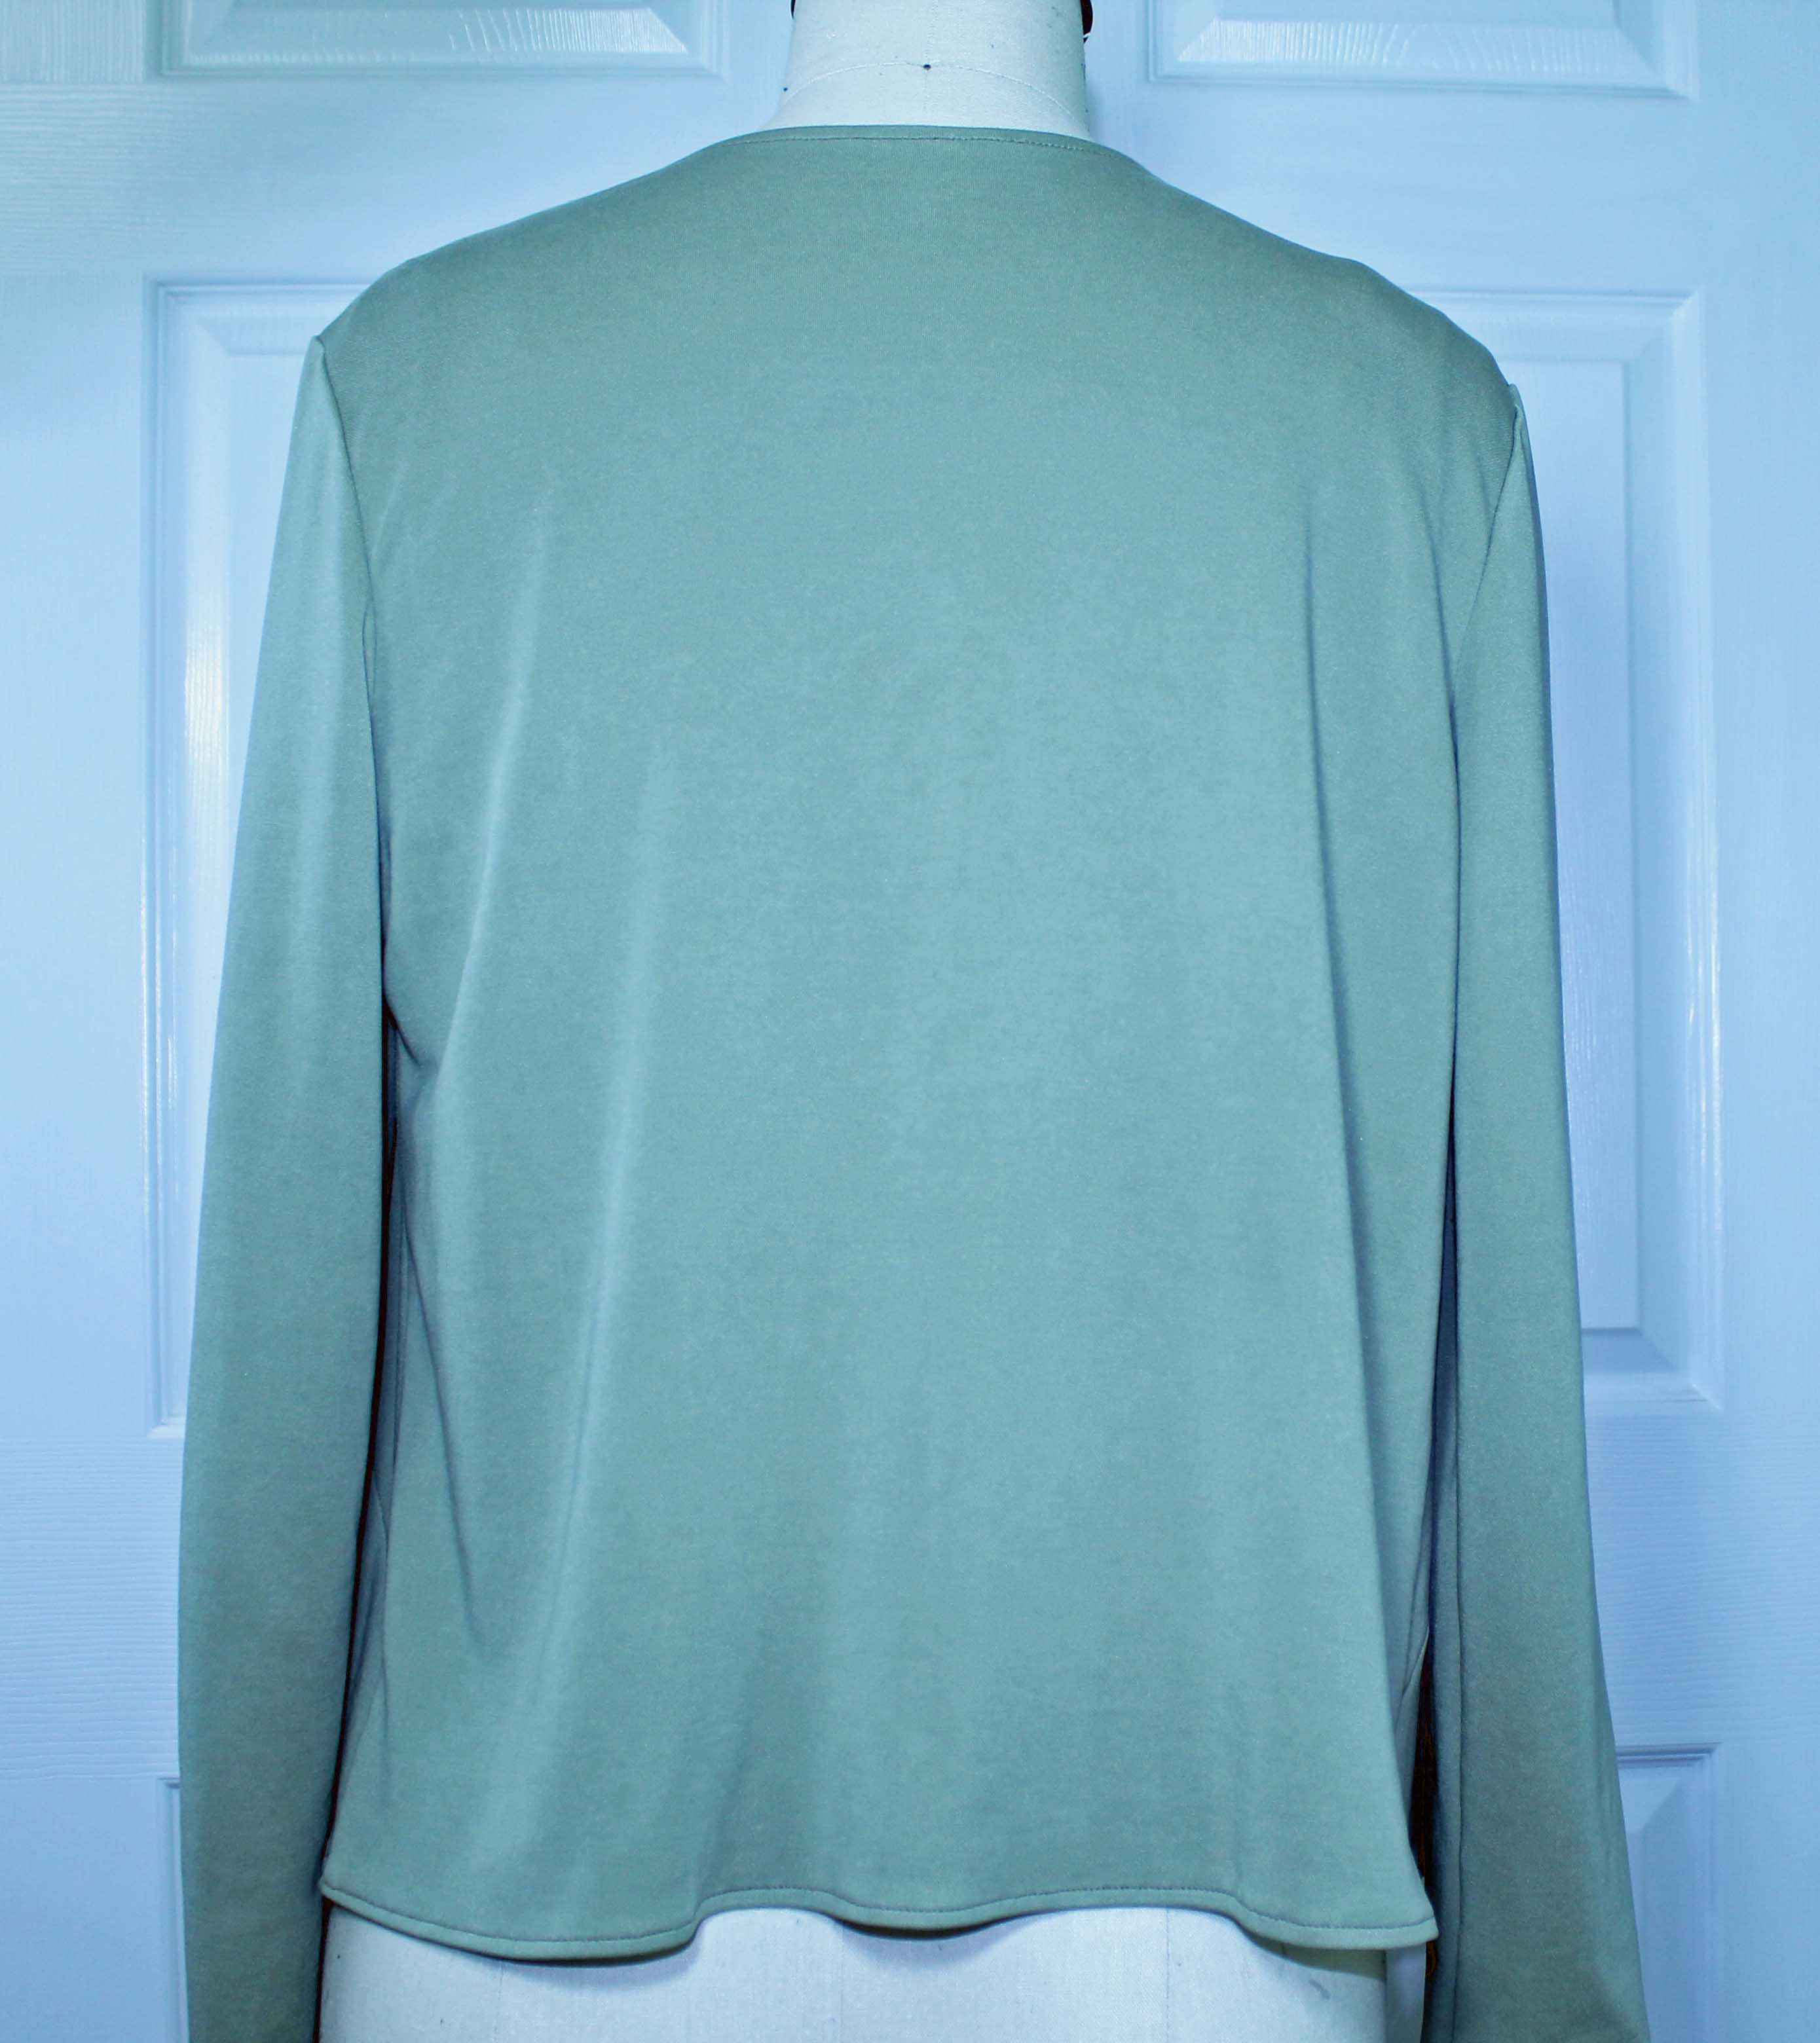
So I shifted gears, searched my stash, and pulled out a polyester knit with lots of beautiful drape. The green was not my first choice for my new cardy, but it is still a lovely garment. Here is a look at the back of it. It shows off the drape:

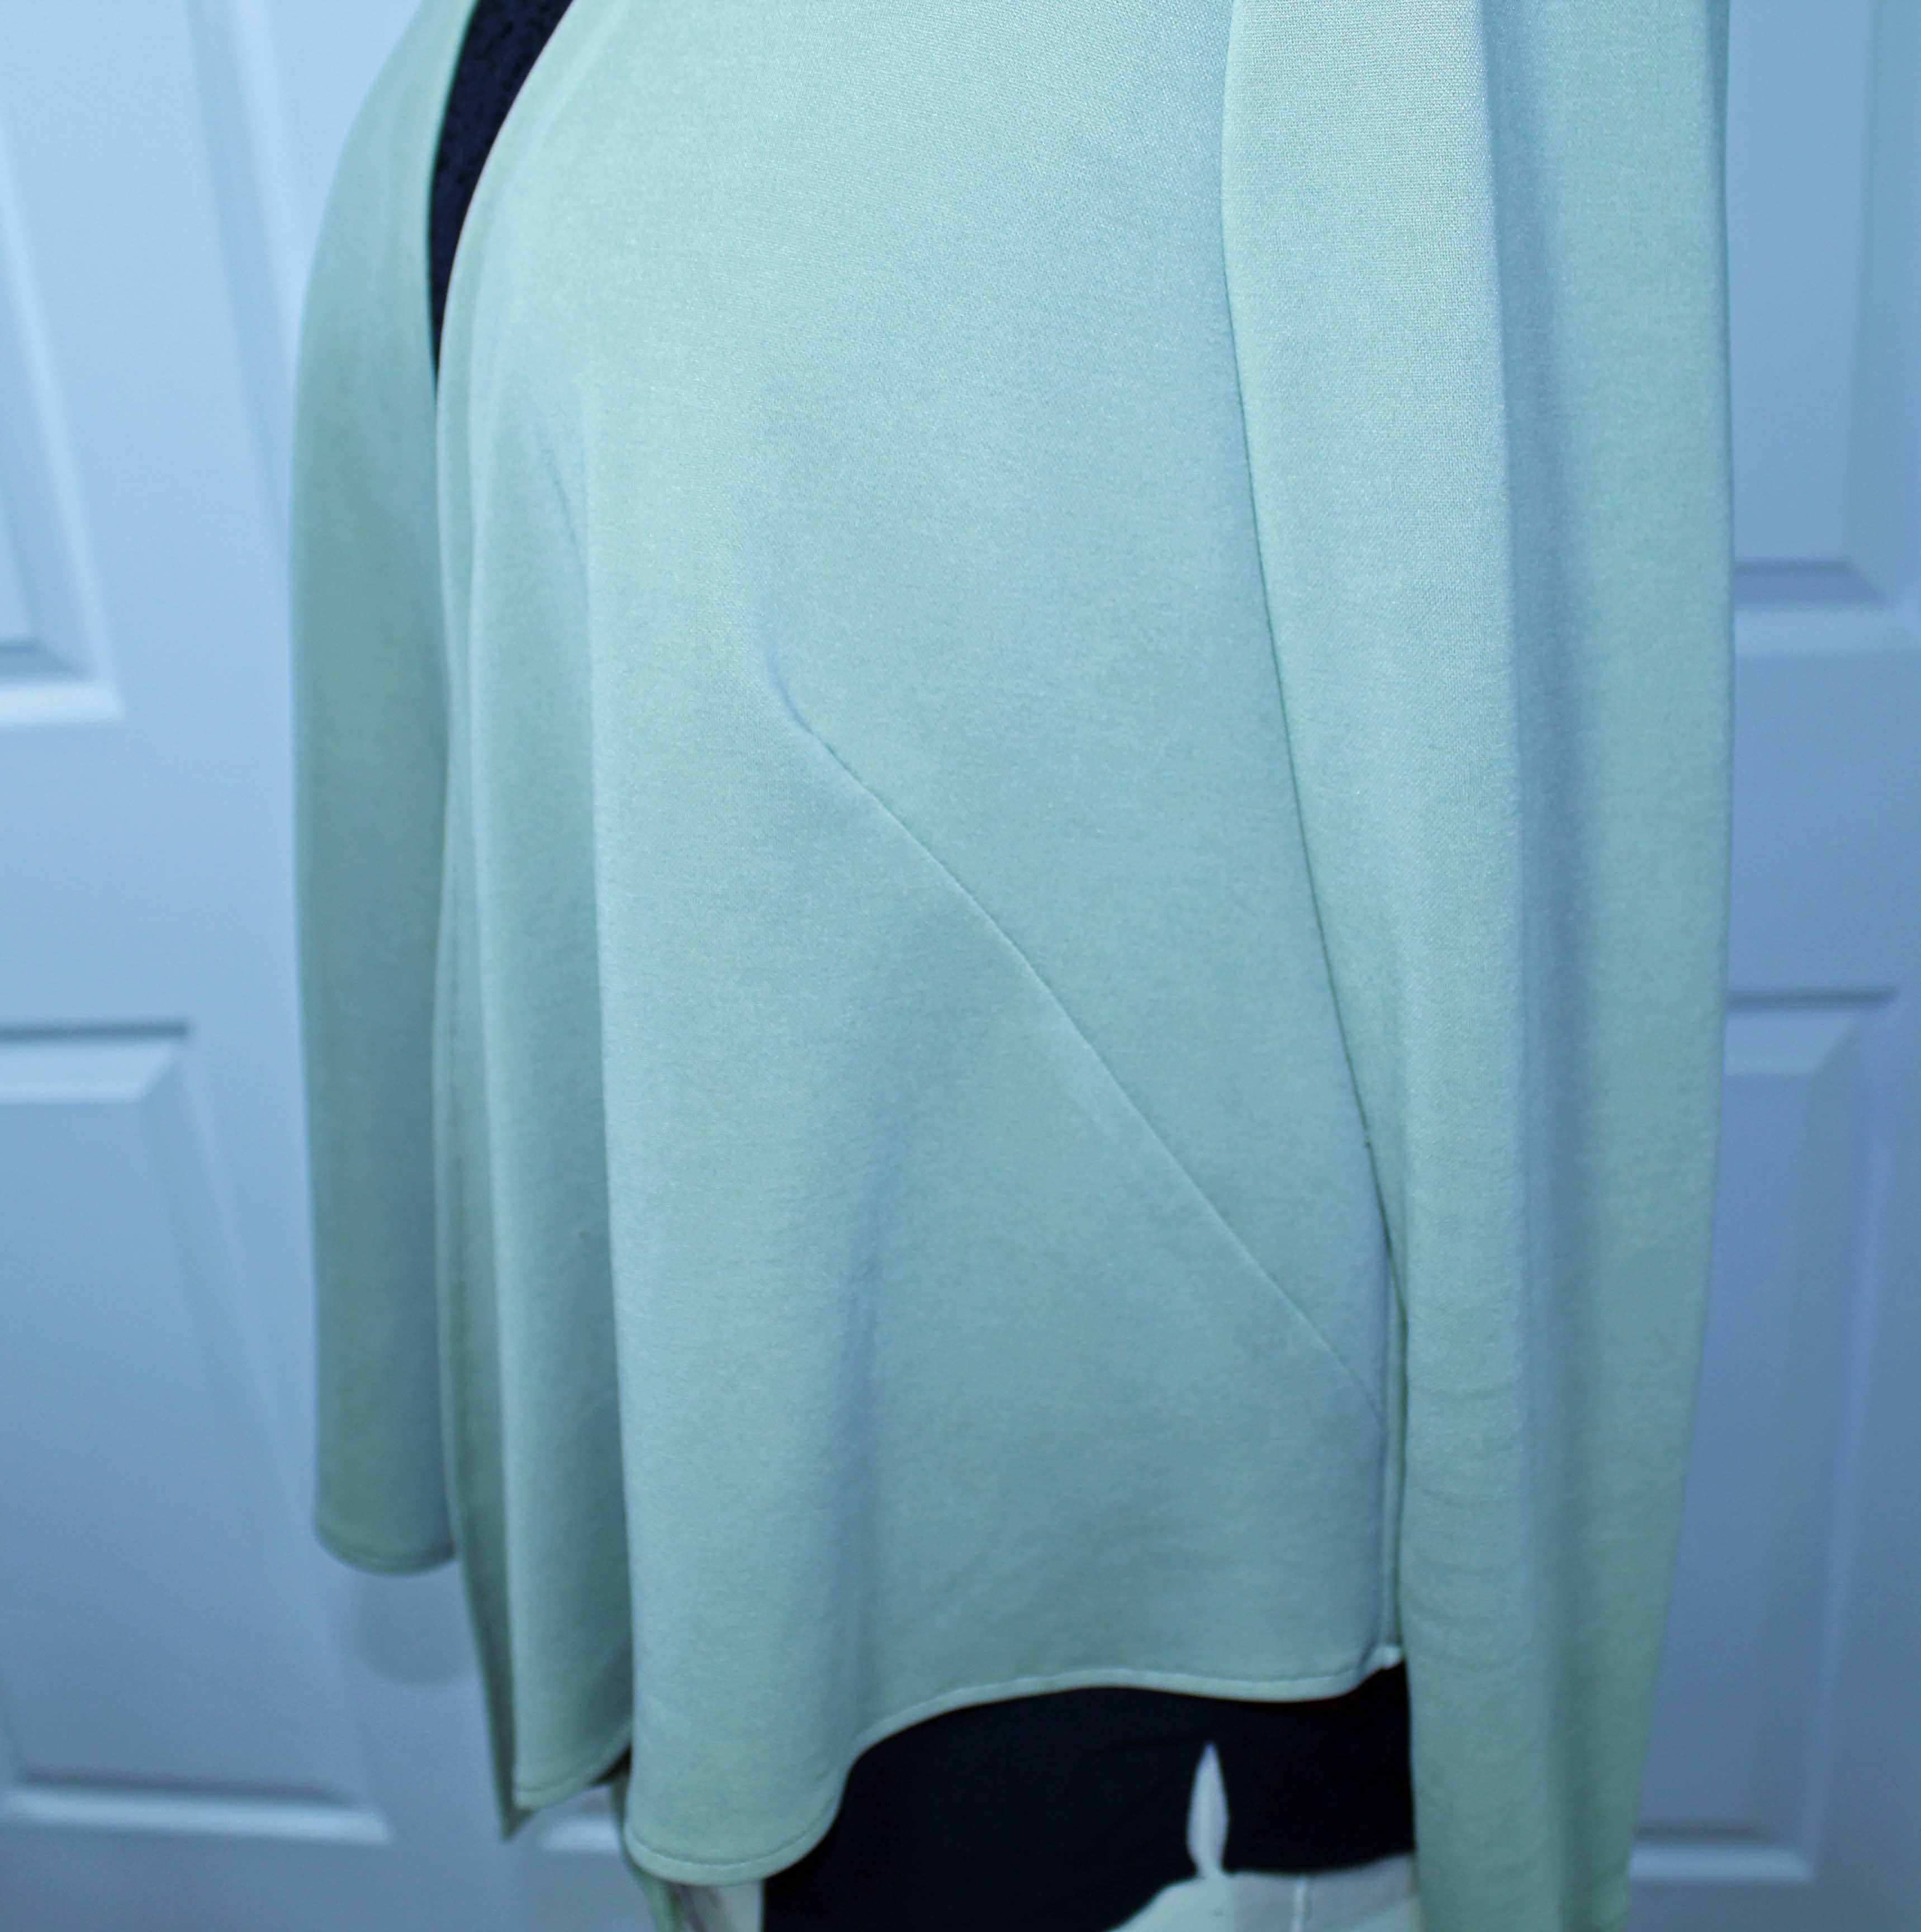
The cardy has french darts for shaping.

I like to use Hug Snug to stabilize the shoulder seams in my knit garments:

Here is a video review of my experience with this pattern: