Monogram Accent Pillow

Happy September, sewing friends!
Today I’m sharing this quick little accent pillow that adds a personal touch to your home décor

I used a built-in font on my Baby Lock Alliance to add an embroidered initial
If you don’t have an embroidery machine,
an applique letter or hand embroidered letter would be lovely
The steps to completing this little 12″ x 12″ home dec beauty are:

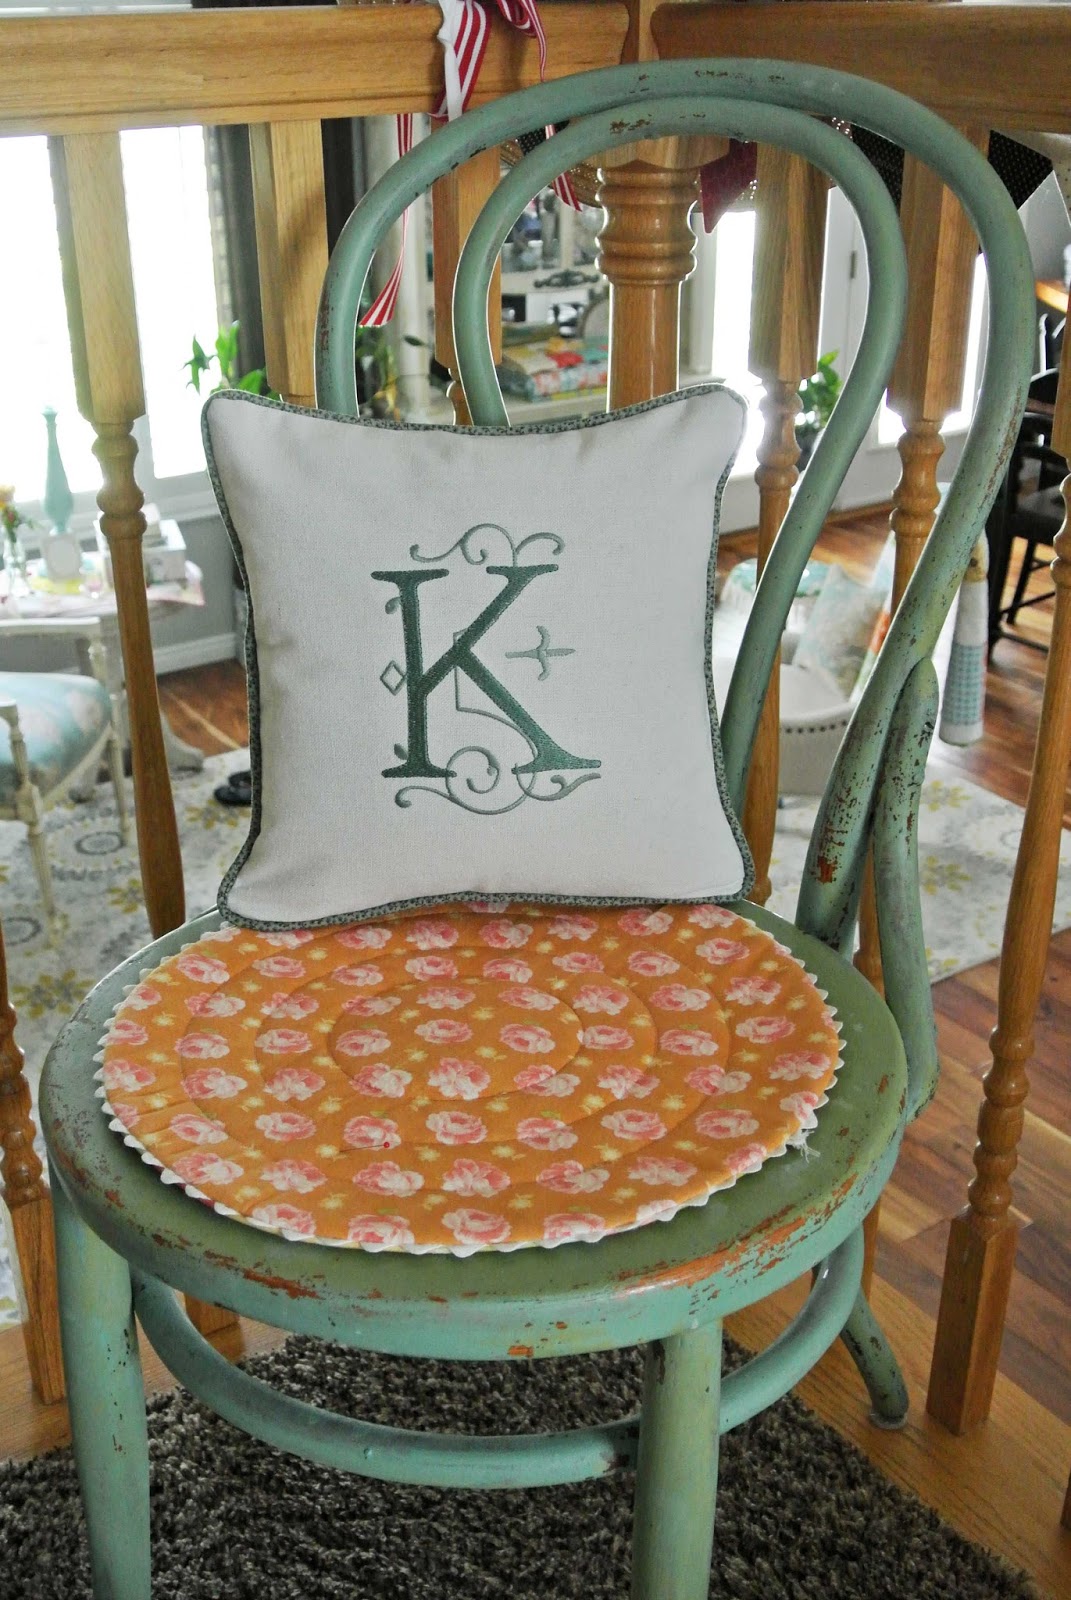
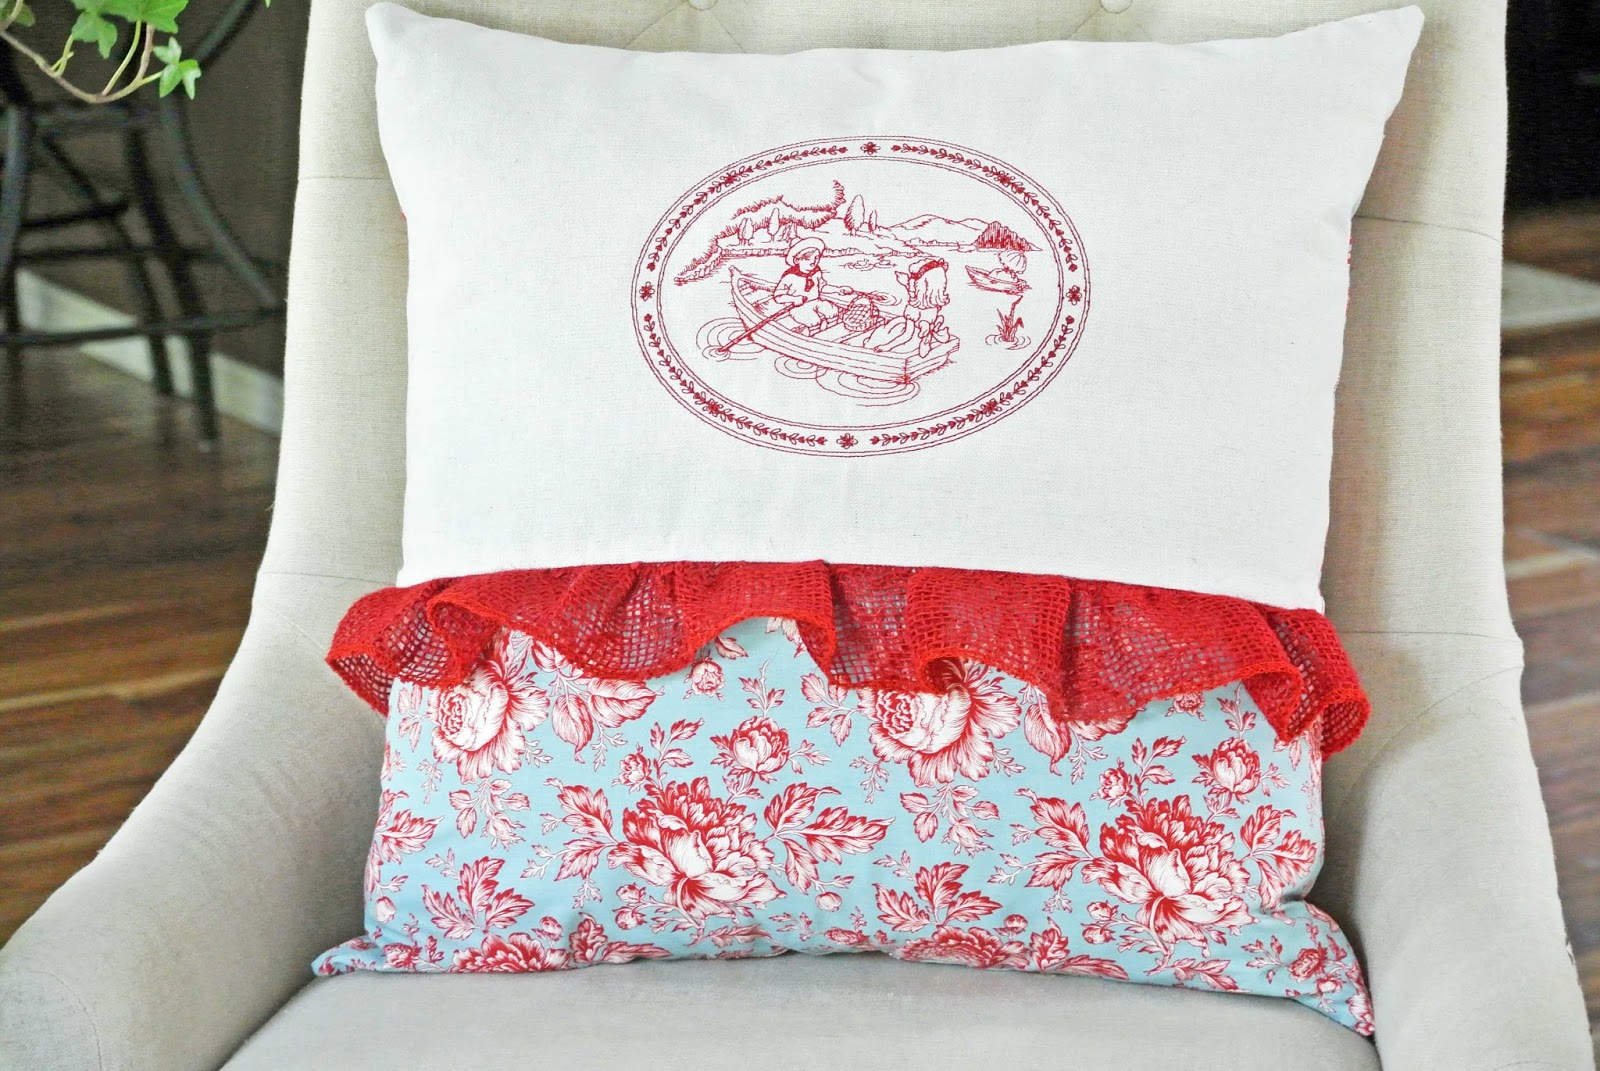
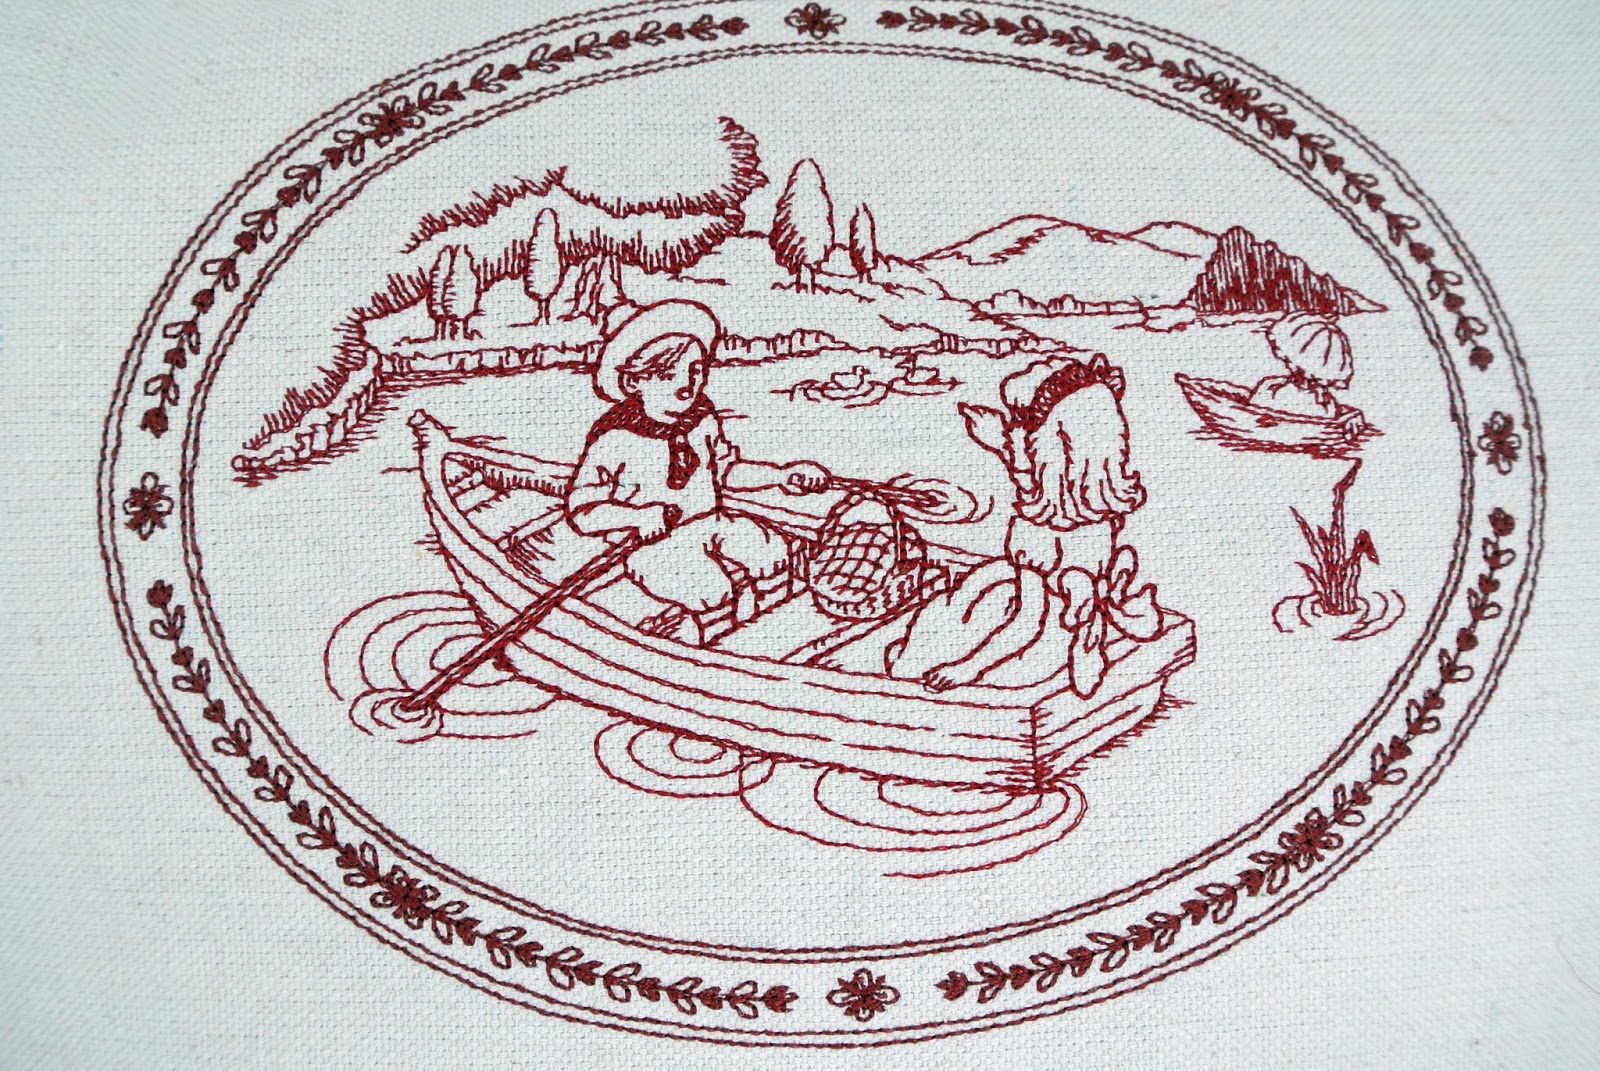
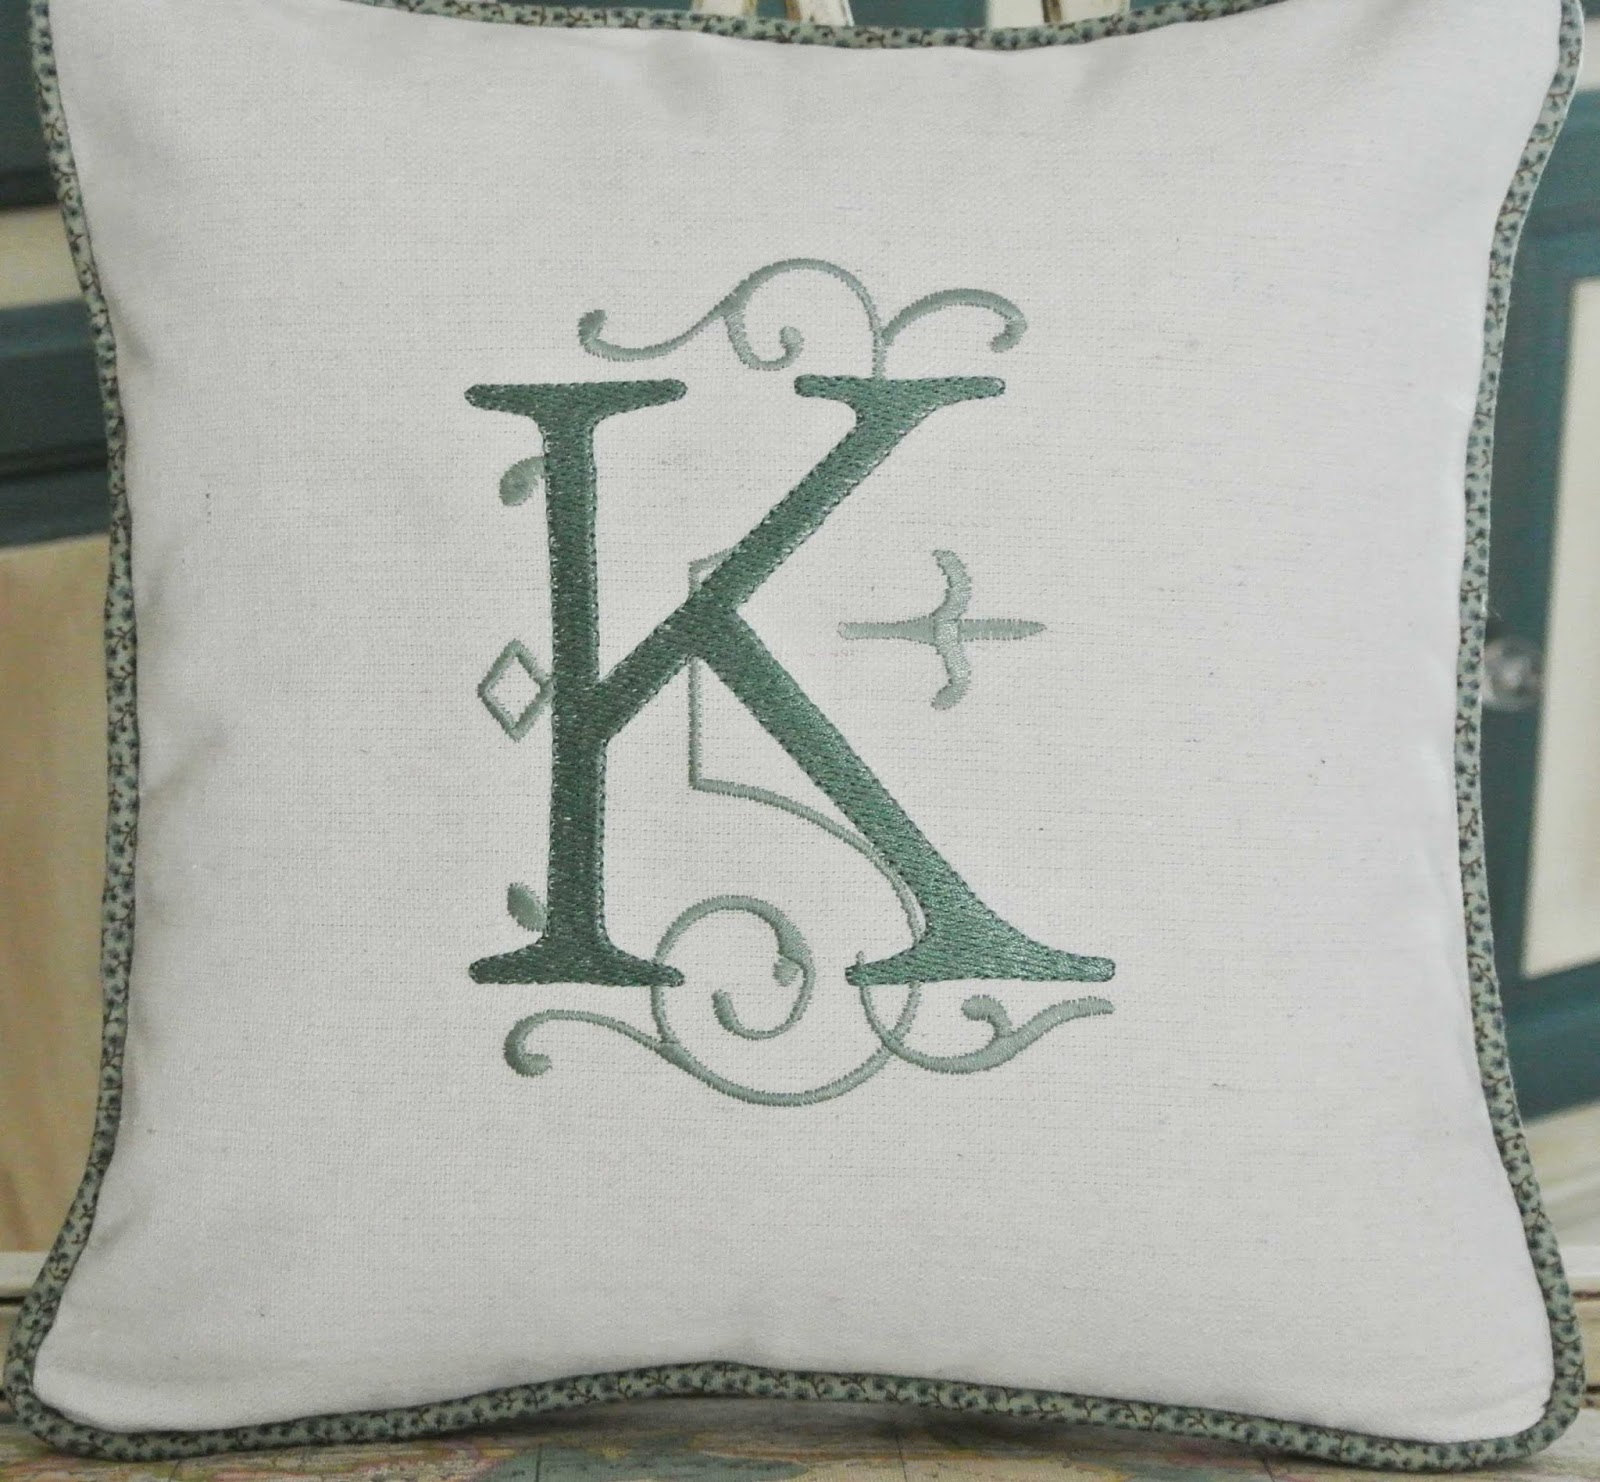
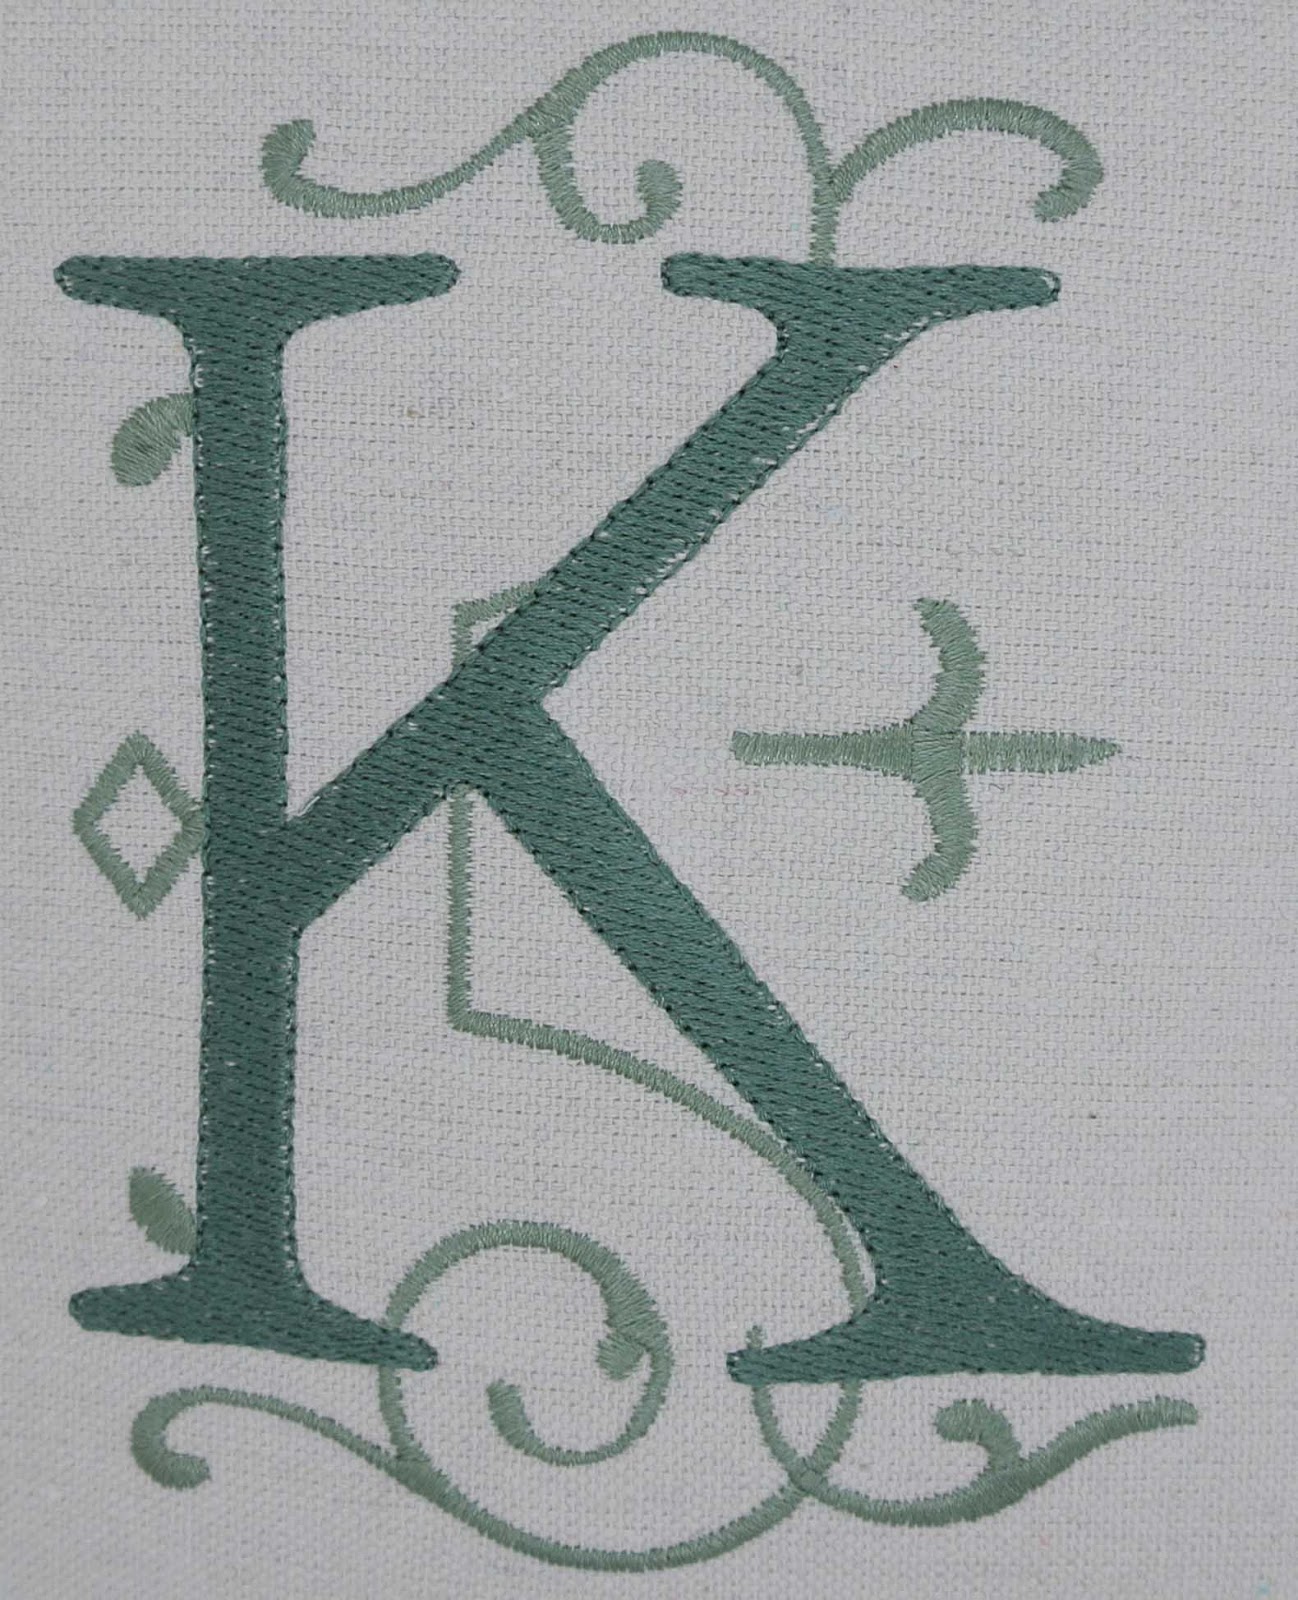
1.  Center & stitch out your monogram on a 12 1/2″ x 12 1/2″ cut of fabric

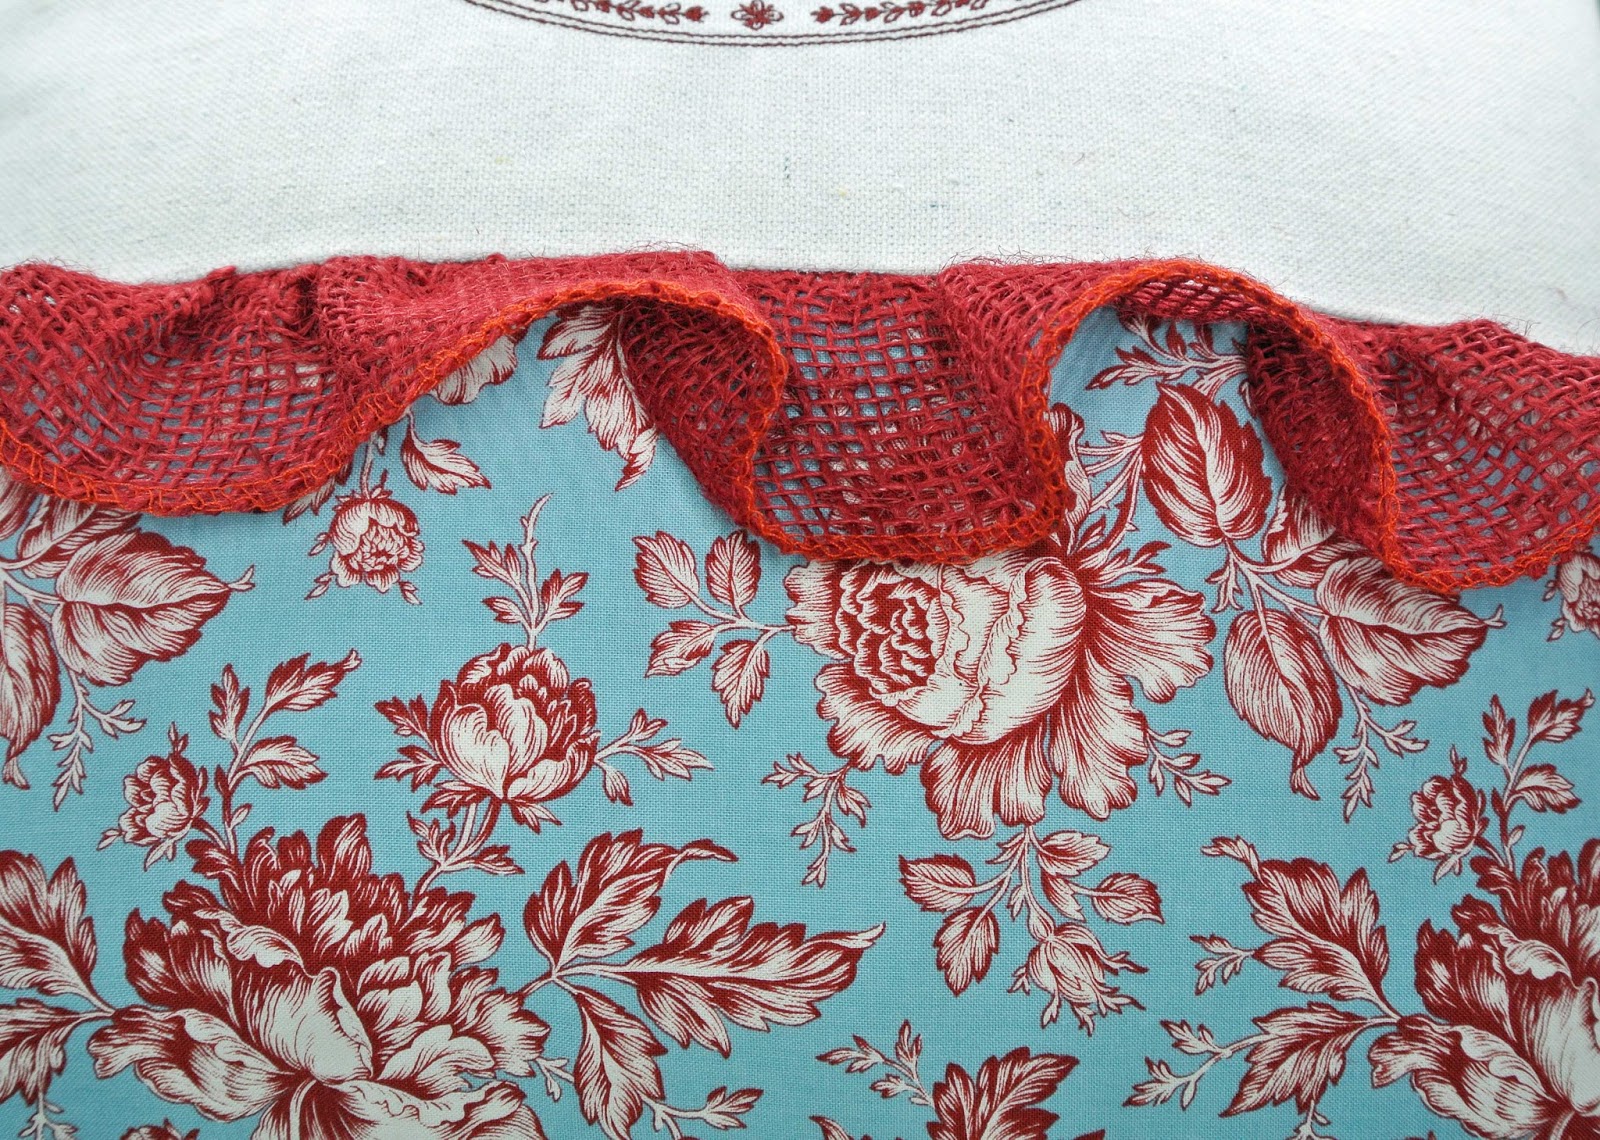
2.  Make or purchase piping at least 56″ long

3.  Attach piping to all edges of the monogrammed fabric

4.  Sew one side of an invisible zipper to the bottom edge right along the piping
     (this is a smoother process if you use a zipper that is longer than your finished size)

5.  Cut the backing fabric 12 1/2″ x 12 1/2″

6.  Sew the other half of the invisible zipper to the bottom of the backing fabric

7.  *IMPORTANT*  open zipper at least half way

8.  Close the zipper and layer bottom fabric right side to monogrammed fabric right side,
     matching all edges

9.  Cut ends of zipper (remember, it was longer than your finished pillow size) to match fabric

10. Stitch 1/2″ seam around remaining three sides of pillow form (remember, the bottom edge has
      your zipper stitched in it, so no need to sew a seam)

11. Press seams to set stitches and turn pillow form through open zipper

12. Insert 12″ pillow form and enjoy your new custom pillow
                                              – OR –
      I’d be glad to hand make your custom pillow, just click on the Etsy link

Back of pillow
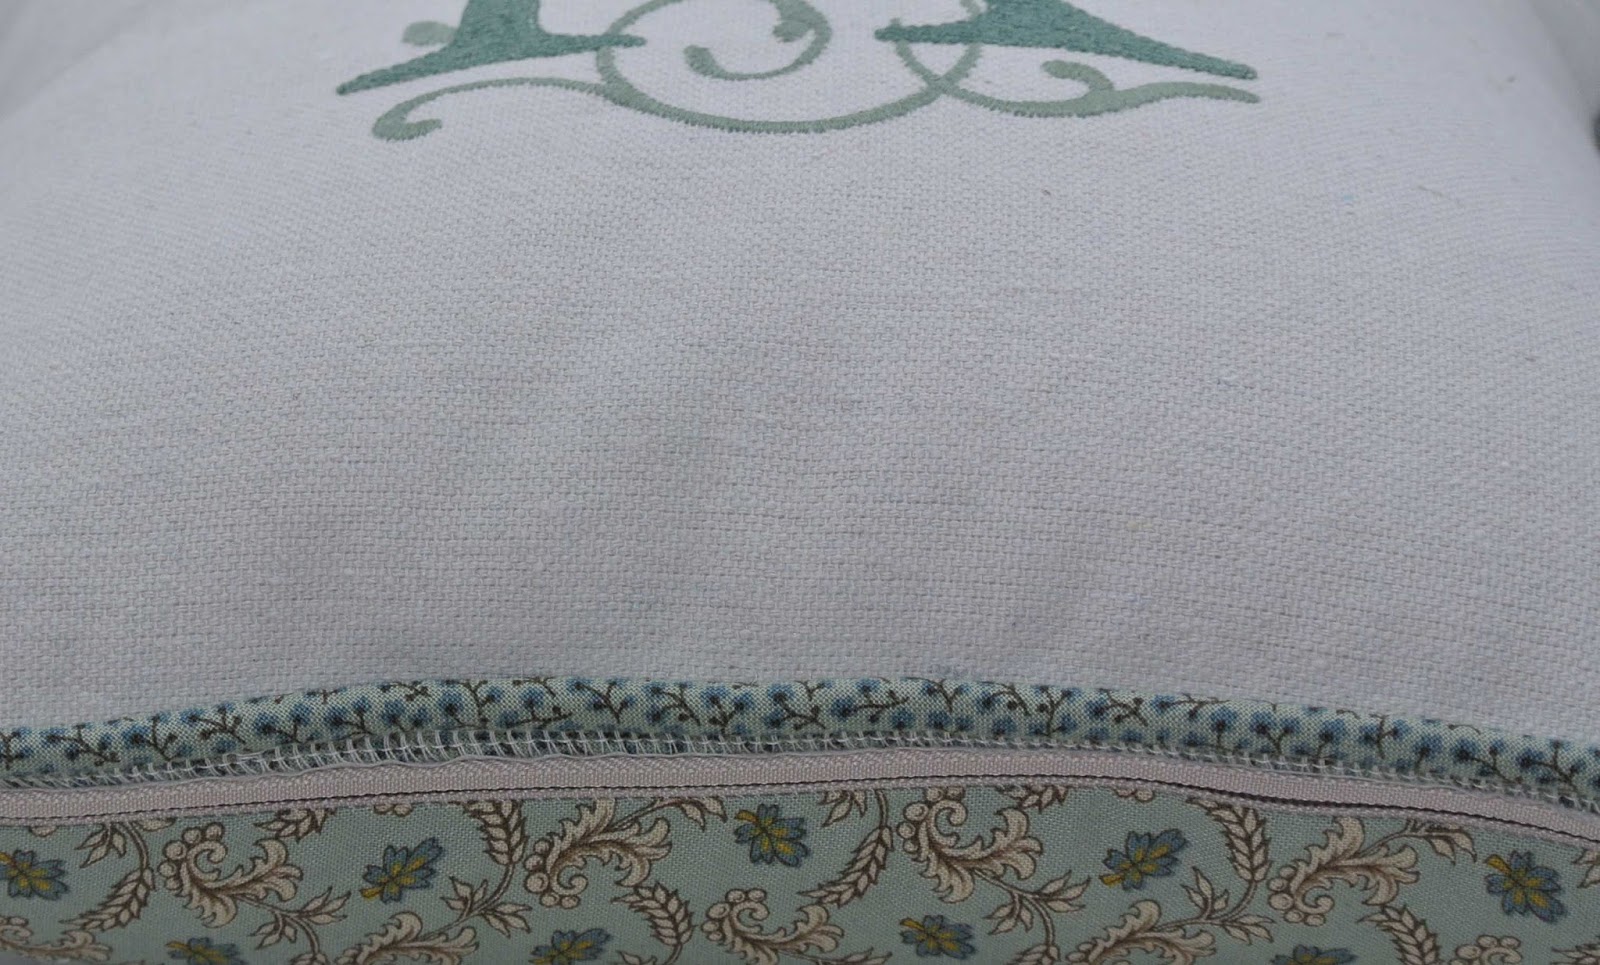
Invisible zipper inserted at bottom of pillow

Okay, time to get started on the fall decorating!
Thank you so much for taking time to visit with me today
I love to read your comments, so don’t be shy
If you sew one of these pillows (or anything else for that matter), please share photos

French Country Cottage Inspired Accent PIllow

Welcome back to my little home on the Web, sewing friends!
I’ve always admired French Country decorating
It’s very difficult to find French Country inspired
fabric and supplies here in Utah

One of our local quilt stores does carry a small amount of French General for Moda
That fabric, neutral fabric, red burlap,
and this great machine embroidery design

came together for a beautiful French Cottage accent pillow

The zipper is hidden up there under the burlap ruffle where the two fabrics meet

This one is up for sale at ANotion2Sew – or –
If you would like to make one of your own,
contact me and I would be pleased to share some tips
on how to insert that zipper so nobody knows it’s there
Have a lovely week and please visit again soon.

Kwik Sew K213 Children’s Pajamas and How to Add Trim

Hi Sewing Friends!
If you are doing some pajama sewing for some littles in your life,
I am pleased to recommend this pattern – Kwik Sew Ellie Mae Designs K213
The pattern features a top w/short sleeves, ribbon & lace trim, 
and a casing with elastic at the neck and sleeves,
and pull-on pants with elastic in waist casing
There is also a gown and matching doll pajamas
I made the top and pull-on pants (view A and C) in size S(6),
but I made the pants into shorts
I chose double gauze fabric for this summer weight version
The sizing runs pretty much with RTW
Little Miss Model wears a size 6-7 in RTW
and the only alteration I made was to cut the waist elastic 2″
smaller than what the pattern called for
Here’s the front ribbon detail
The components of my trim are a length of Anna Maria Horner ribbon
flanked on either side by some tiny baby pompom trim
Here’s a short walk through of an easy way to stitch trim together
and apply it to a project:
1.  Use wash away wonder tape,
      it is sticky on both sides
2.  Stick it to the backside of your focal trim piece
(in my case, the Anna Maria Horner ribbon)
3.  Peel off the protective paper and stick the secondary trim to your focal trim
4.  Now add another strip of Wonder Tape to the back side of the entire trim piece
and stick it to the right side of your project
(the Wonder Tape was actually wider than my little pompom trim
so I didn’t have to stick more tape on the back side of my trim piece)
Now it stays in place for you while you stitch it down
Ordinarily, I would add a piece of stabilizer to the back of my project,
but this double gauze didn’t need it, it stayed nice and flat as I stitched
5.  Okay, attach your edge stitch foot (for Bernina it is #10) to your machine,
line up the guide between two pieces of trim,

and select a stitch that catches the left and right sides (on my Bernina, I used stitch #723)
and sew that beautiful trim to your project
Be sure to make a sample first so you know what stitch settings work the best
I narrowed my stitch to 7 mm

Here’s a close up of the completed right side
The left has not been stitched yet
So there ya’ go
Have fun stitching for your littles
and/or adding decorative trims to your projects
These little details add one-of-a-kind personal touches to your sewing
Enjoy!
Thanks so much for visiting today.