I prefer to cut my own binding rather than to purchase the prepackaged type.
That way I have access to an endless assortment of colors and prints.
I was making a cute wrap skirt for my cute granddaughter (more on that in a future post),
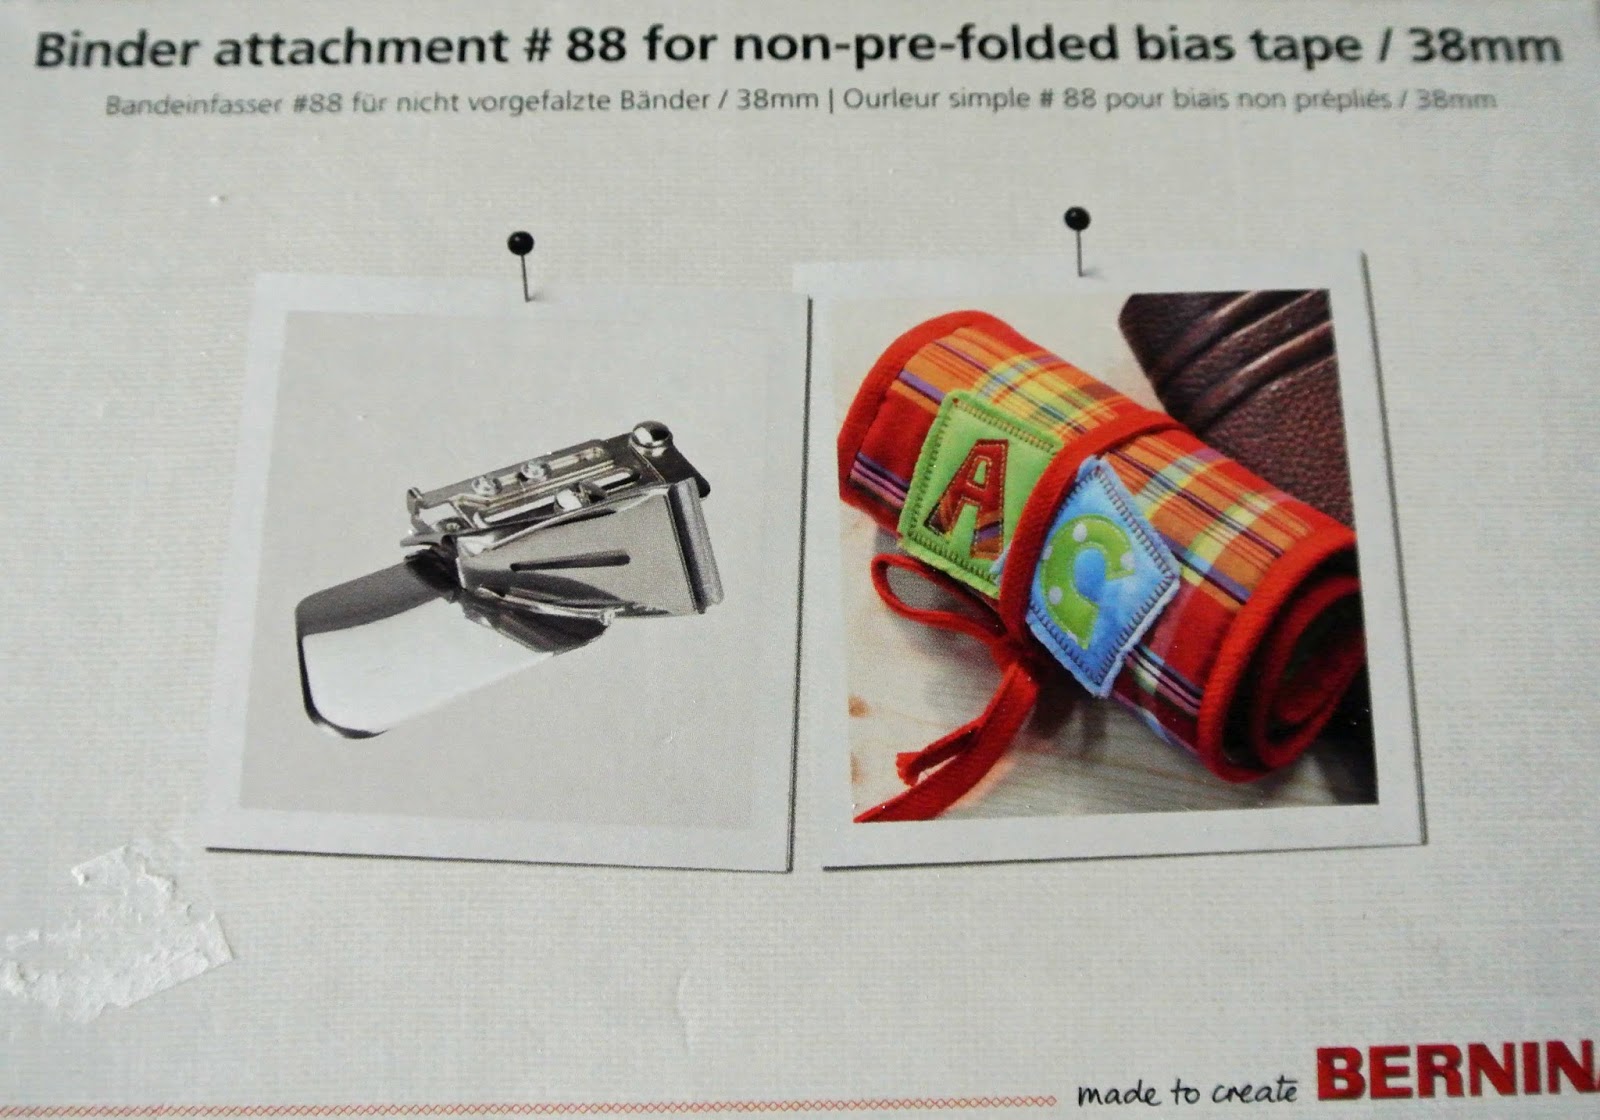
and I wanted to use my handy dandy Bernina binder attachment for the skirt binding,
so my binding strips had to be cut at 1 1/2 ” wide.
Now there are oodles of tutorials out there on how to make continuous bias binding,
so I won’t try to reinvent the wheel.

It doesn’t look like that small piece of fabric (I used a 12″ square) will yield much binding
but you might be surprised at the results.
I’ve always wondered just how much binding could a sewist cut with varying size squares of fabric.
I’m here to tell you that a mere 12″ square will result in a whopping 200 inches, or 5 1/3 yards,
of beautiful 1 1/2″ bias binding strips.
Your bias binding can be used to finish armhole edges, neckline edges,
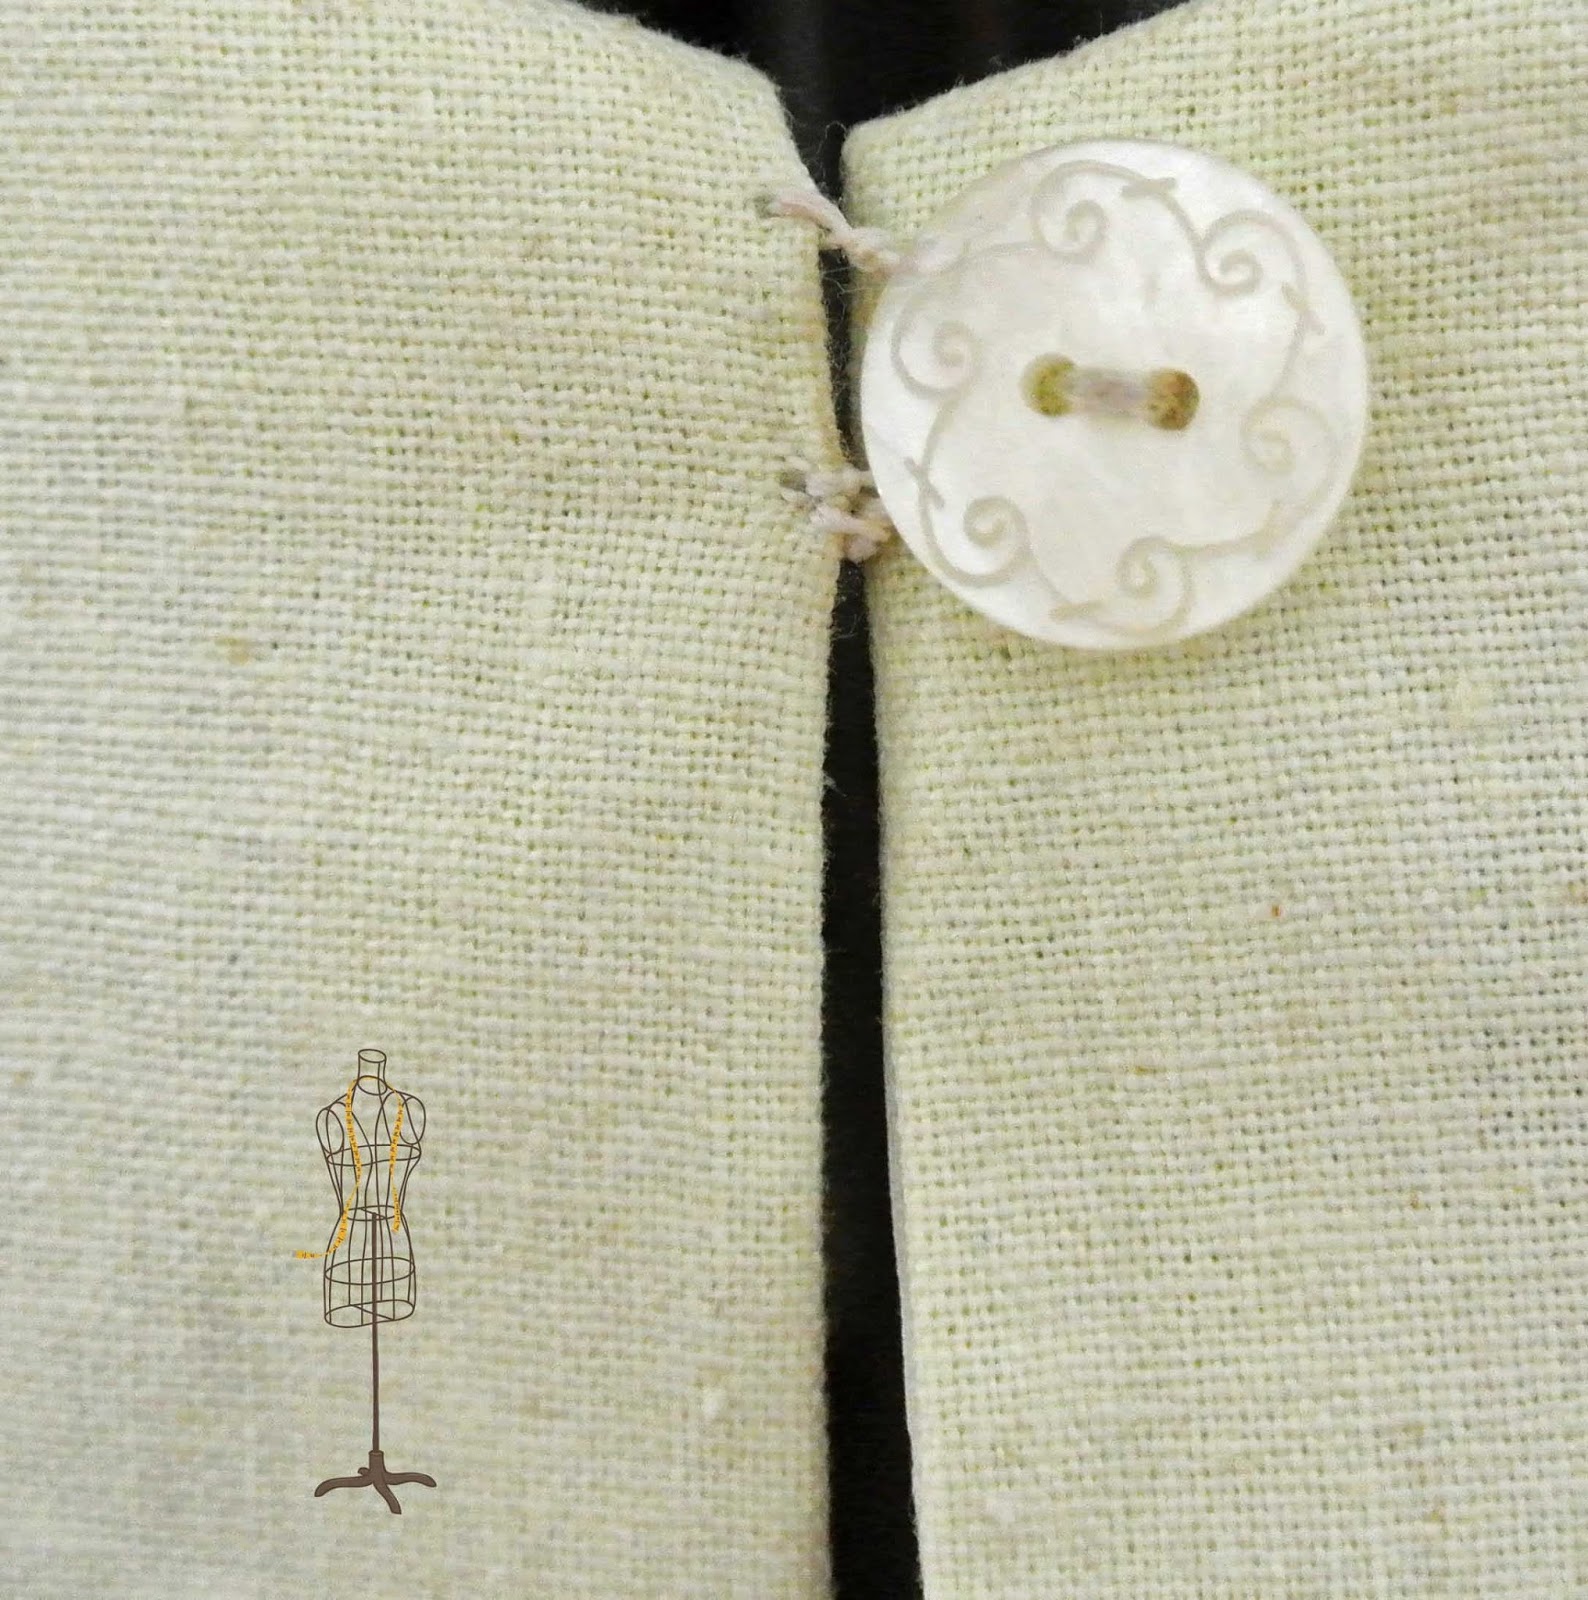
or outside edges of anything from aprons to cute, little granddaughter wrap skirts.
or outside edges of anything from aprons to cute, little granddaughter wrap skirts.

When you use the bias binder attachment, roll up your flat binding strip and drop it into
a container such as a mason jar
(a beautiful blue jar enhances the sewing enjoyment).
That way, the binding strip won’t tangle or knot as you’re sewing.
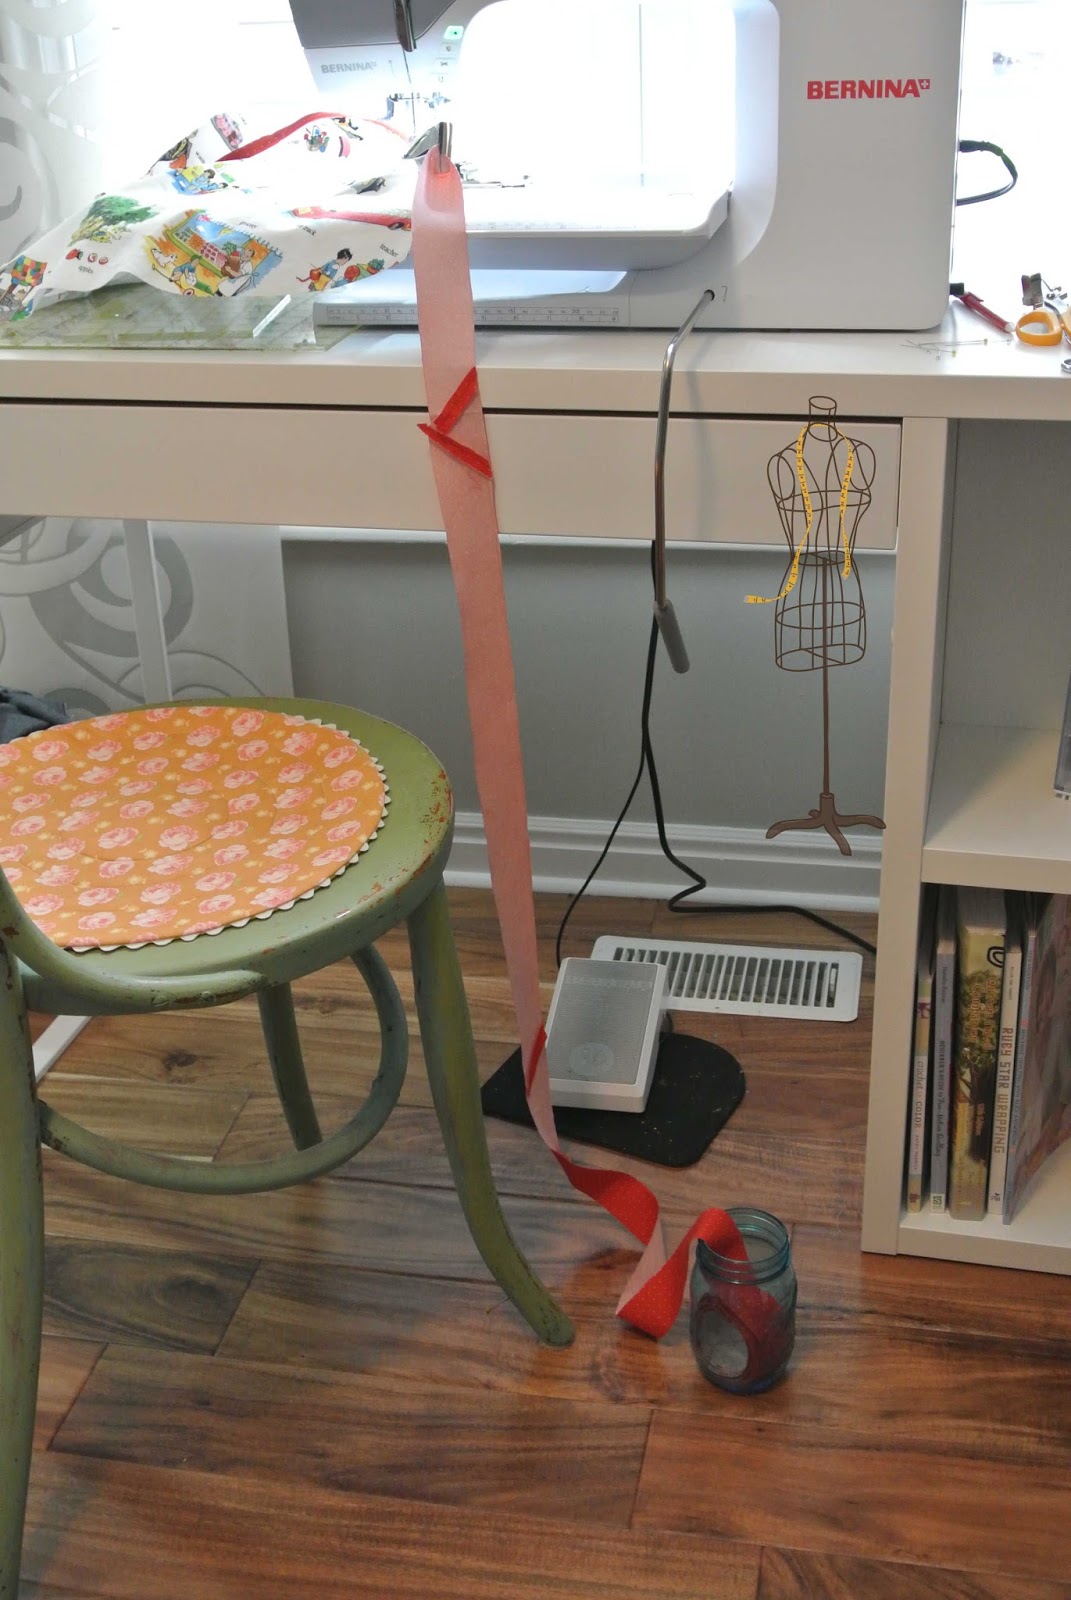
I found that when I placed the jar on the floor in front of my machine,
the binding twisted just as it entered the bias binder attachment.
Not good.

However, when I positioned the jar next to and in front of my sewing machine,
all went smoothly.
Good.
I hope this helps you, my friends.
As I have occasion to make other widths of continuous bias binding,
I will update this post with those results as well.
Or . . . if you have made continuous bias binding with this method,
by all means, share your results with us.

Until next time, bind away!