Skirt and Cape Combo

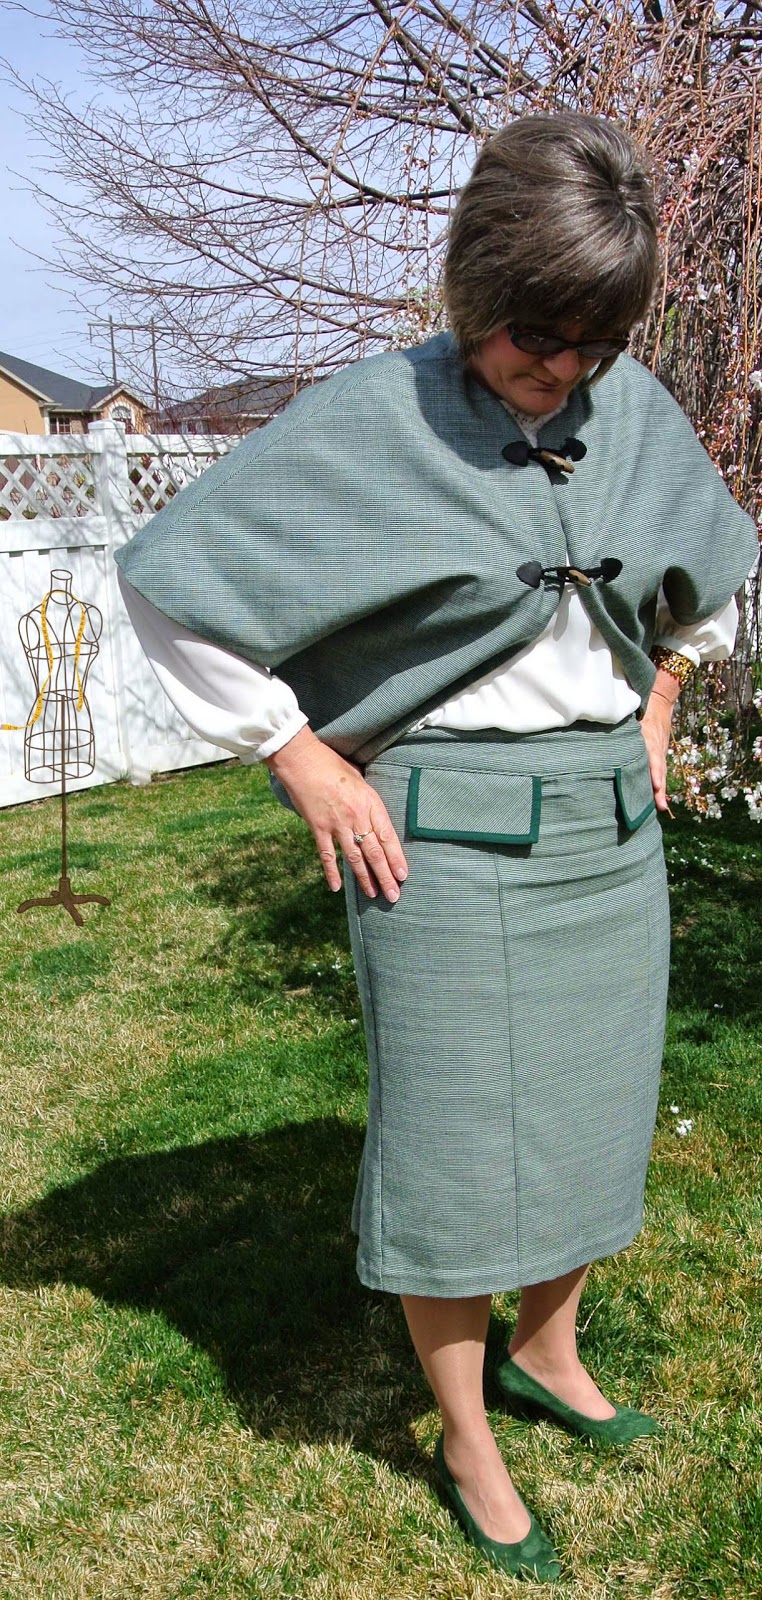
Cape:  Liesl & Co. Woodland Stroll Cape   Skirt:  Simplicity 2475
First off, my apologies because this fabric does not play nice with the camera.
It is a beautiful green wool plaid from the Pendleton stash gifted to me from my friend Linda.
Second, my apologies for the skirt wrinkles, but I did just return from church service,
and well, this is real life and sometimes life gets wrinkled!!!

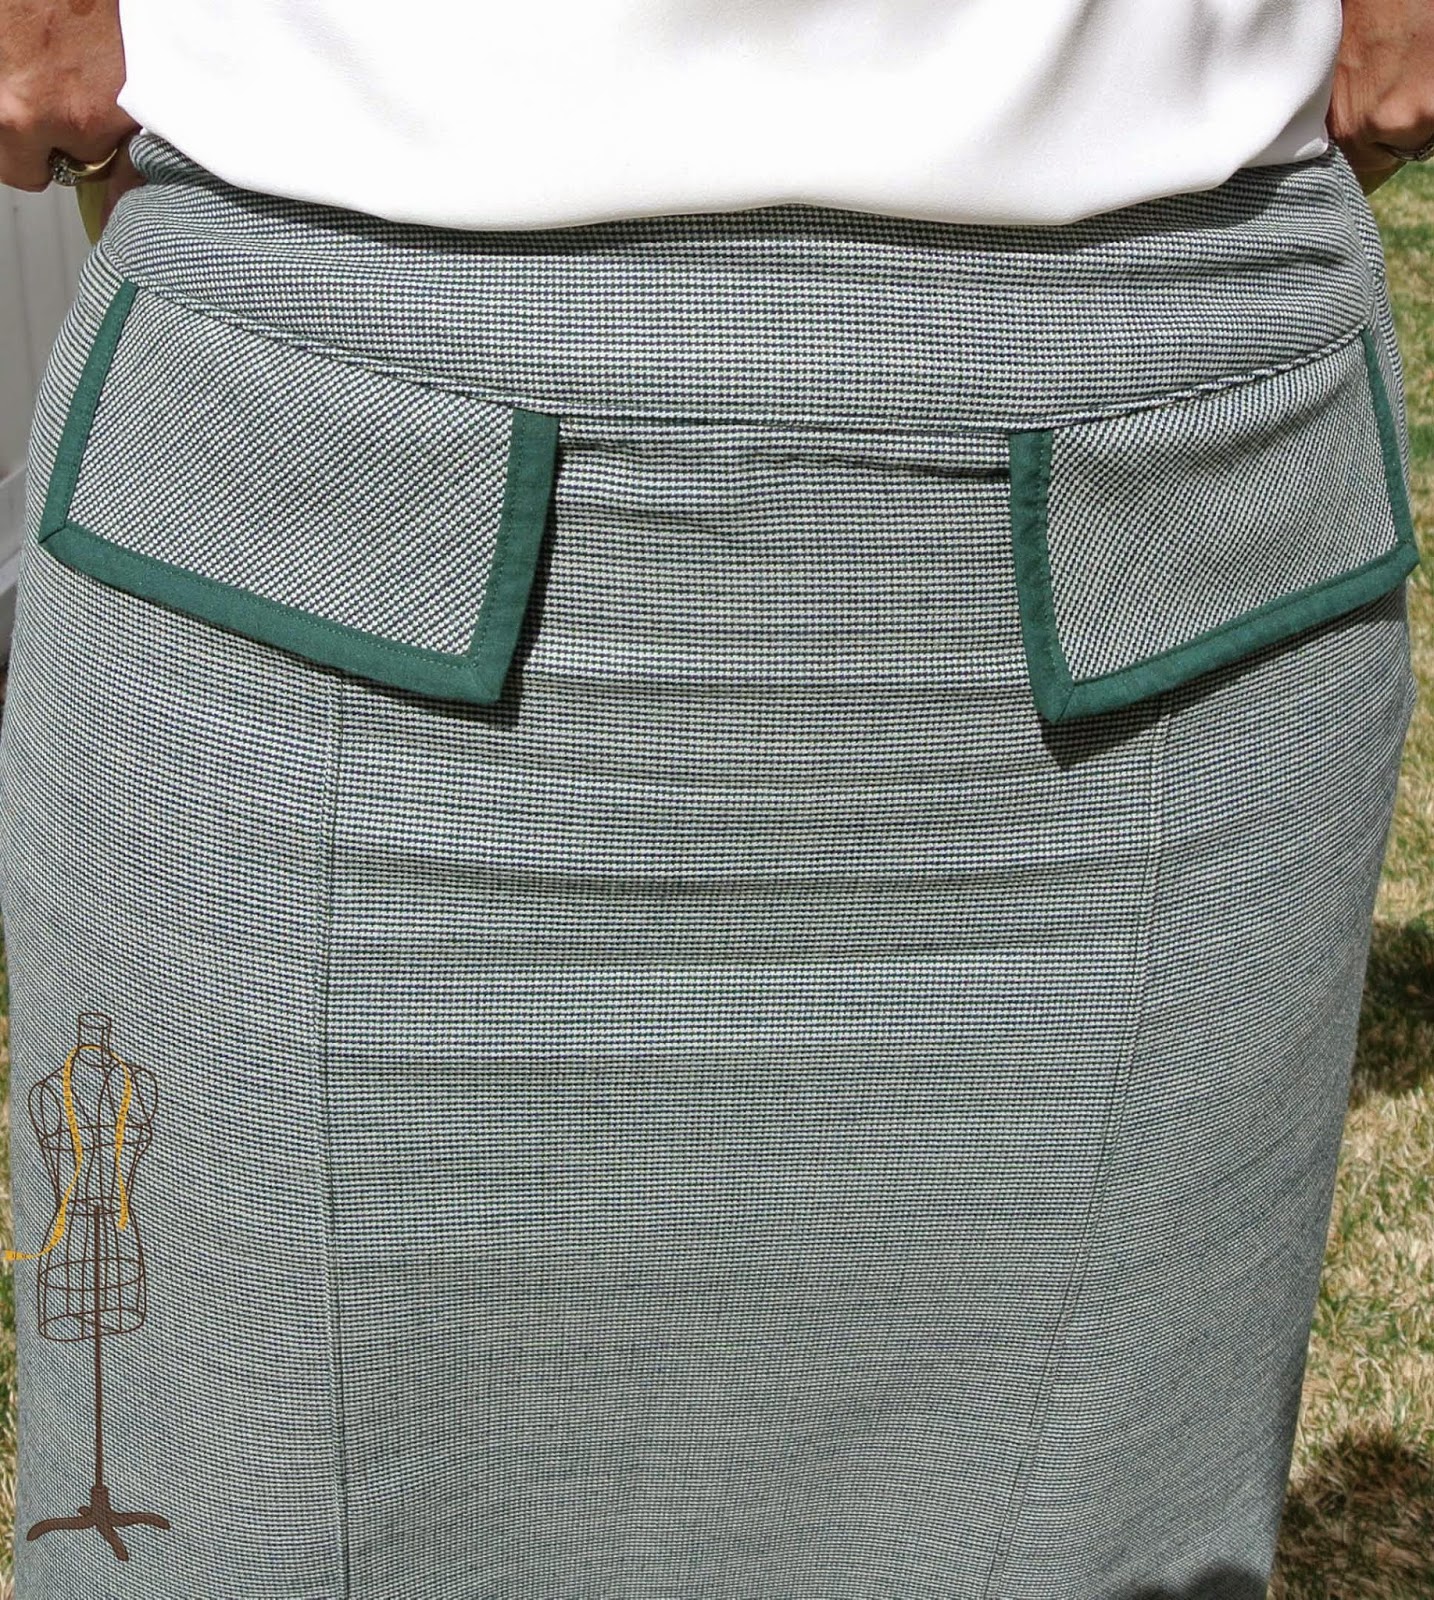
The pocket flaps are edged with purchased green bias tape.
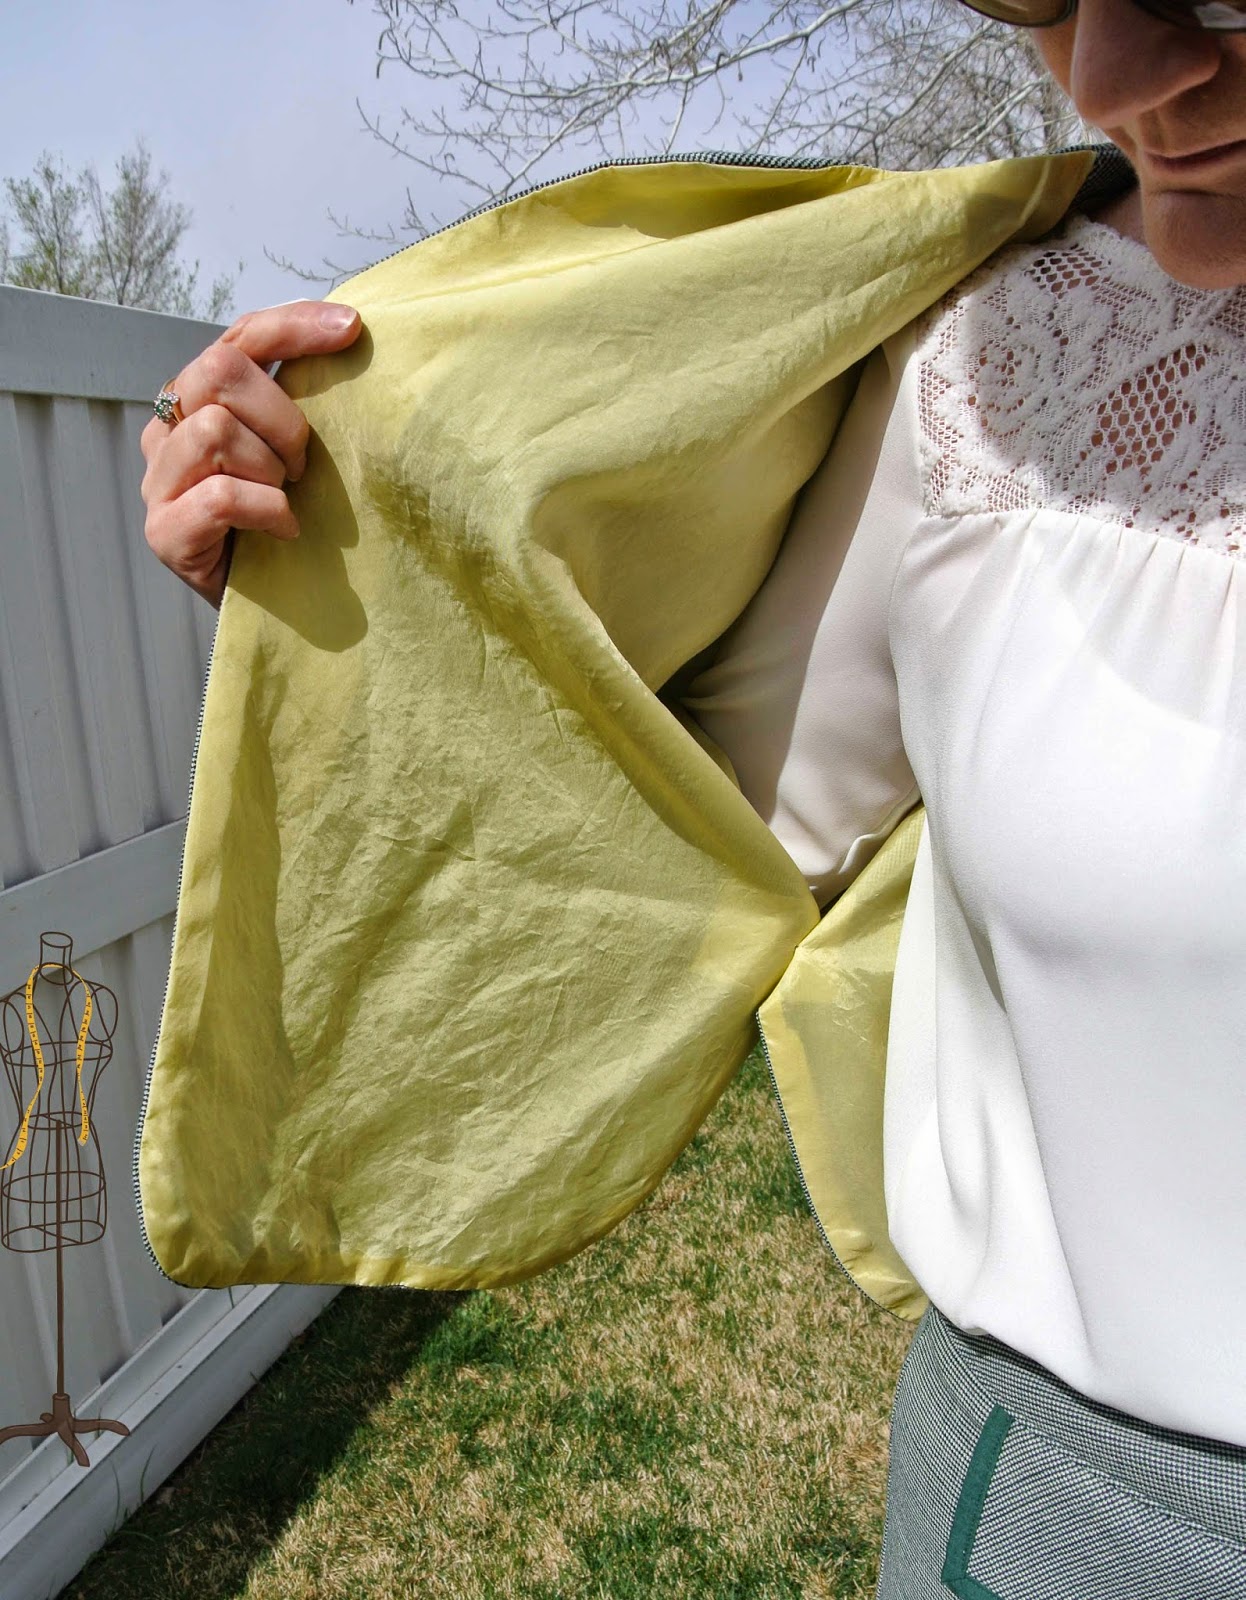
I’ve sewn the Simplicity 2475 pattern a couple of times,
but this is the first time I’ve tried the Woodland Cape pattern.

 The pattern is quick to sew, fits true to size with no alterations,
and is extremely comfortable to wear.
I have big plans for this one in the fall.
I’ve already purchased the fabric and plan to sew it up in August or September.
I will post an in-depth review at that time, so stay tuned!

Until we next cross paths again, my friends, keep sewing.

Lotus Blossom Hoop Wall Art

Here’s another stampin’ and stitchin’ project for you, my friends.

The lotus blossoms are stamped with the Lotus Blossom stamp set from #StampinUp.
Sorry, but you can’t buy this stamp set – it is free!
Yes, that’s right, it can be yours for free when you place a $50 order.
But it’s only available until March 31.
It’s part of the annual #Sale-A-Bration:
 
To step up my stamping, I added some sewing.
A few free-motion stitches on top of those lotus blossoms
adds a nice touch of depth and dimension to an otherwise ‘flat’ surface.
 With just a few stitches, you can go from one-dimensional:
without stitching
To three-dimensional lotus blossoms:
I like to use the quilting foot (Bernina foot #29)
because it is clear and it has a nice amount of surface space
with an enclosed needle area
so my threads don’t get caught on the presser foot toe.
Just drop the feed dogs, and use some stabilizer on the back
(I like OESD’s Ultra Clean n’ Tear)
with stitching
My thread color is Isacord #1730 (persimmon)
Then I took it a stitching step further and added
some Asian-inspired machine embroidery.
 This is a built-in design in my Bernina Designer Plus v7 embroidery software.
The thread is Isacord (#3953 & #3853)
To line up the embroidery design with the center of the stamped images,
fold the stamped image in half and finger press.
That gives the vertical center line-up point.
For horizontal line-up, I matched the bottom of the embroidery design
with the bottom of the stamped image.
Most embroidery software programs allow you to print
a copy of your design (use that to line up the design).
A water-soluble marker works great for marking the center point.
Be certain the stabilizer from your free-motion stitching
is still on the back of your project
and use your see through grid to line up the center point,
then hoop it and let your machine stitch away.
 For my fabric, I used an inexpensive tea towel from Wal Mart.
When your design is complete, tear away the stabilizer,
use a water bottle to lightly mist the water soluble ink, and let it dry.
I then added iron on non-show mesh to cover the back,
but feel free to use a light-weight fabric of your choice.
Just be aware that a dark color or print might show through to the front.
Then line it up in the hoop
in which you plan to display your new wall art
and trim away the excess fabric and backing.
Back of design covered with no-show mesh
Ta da!
That’s how easy it is to add stitching to your stamping.
Enjoy your weekend, my friends!

The Big, the Bold, and the Beautiful

There are a few designers whose fabric I really love,
but sometimes I have a hard time figuring out how to incorporate
their fabric designs into a quilt or garment.
A couple of those designing women are Anna Maria Horner and Amy Butler.
Their prints are so very different from most of the quilting cottons that are
readily available in my area.
They are big, bold, beautiful prints but they don’t always lend themselves
easily to standard quilt piecing.  


Sweet Life quilt pattern by Camille Roskelley, however,
is the perfect pairing with those big, gorgeous prints.

The finished block size is a whopping 18″ x 18″.
The center square itself is 12″ x 12″.
The 92″ x 92″ quilt requires 16 of these large blocks.

The fabric I’m using for this quilt is Pretty Potent by Anna Maria Horner.
Do you like to use big prints when you sew garments or quilts?