Diapers on the Go

These are diaper carriers that I made for baby shower gifts.  The pattern is from All My Bags & Quilts Too! (Diapers to Go! #150).  This is a favorite go-to pattern for gifts.  It is quick to make, it only takes about two hours start to finish, and it is also inexpensive as it only requires a small amount of yardage.


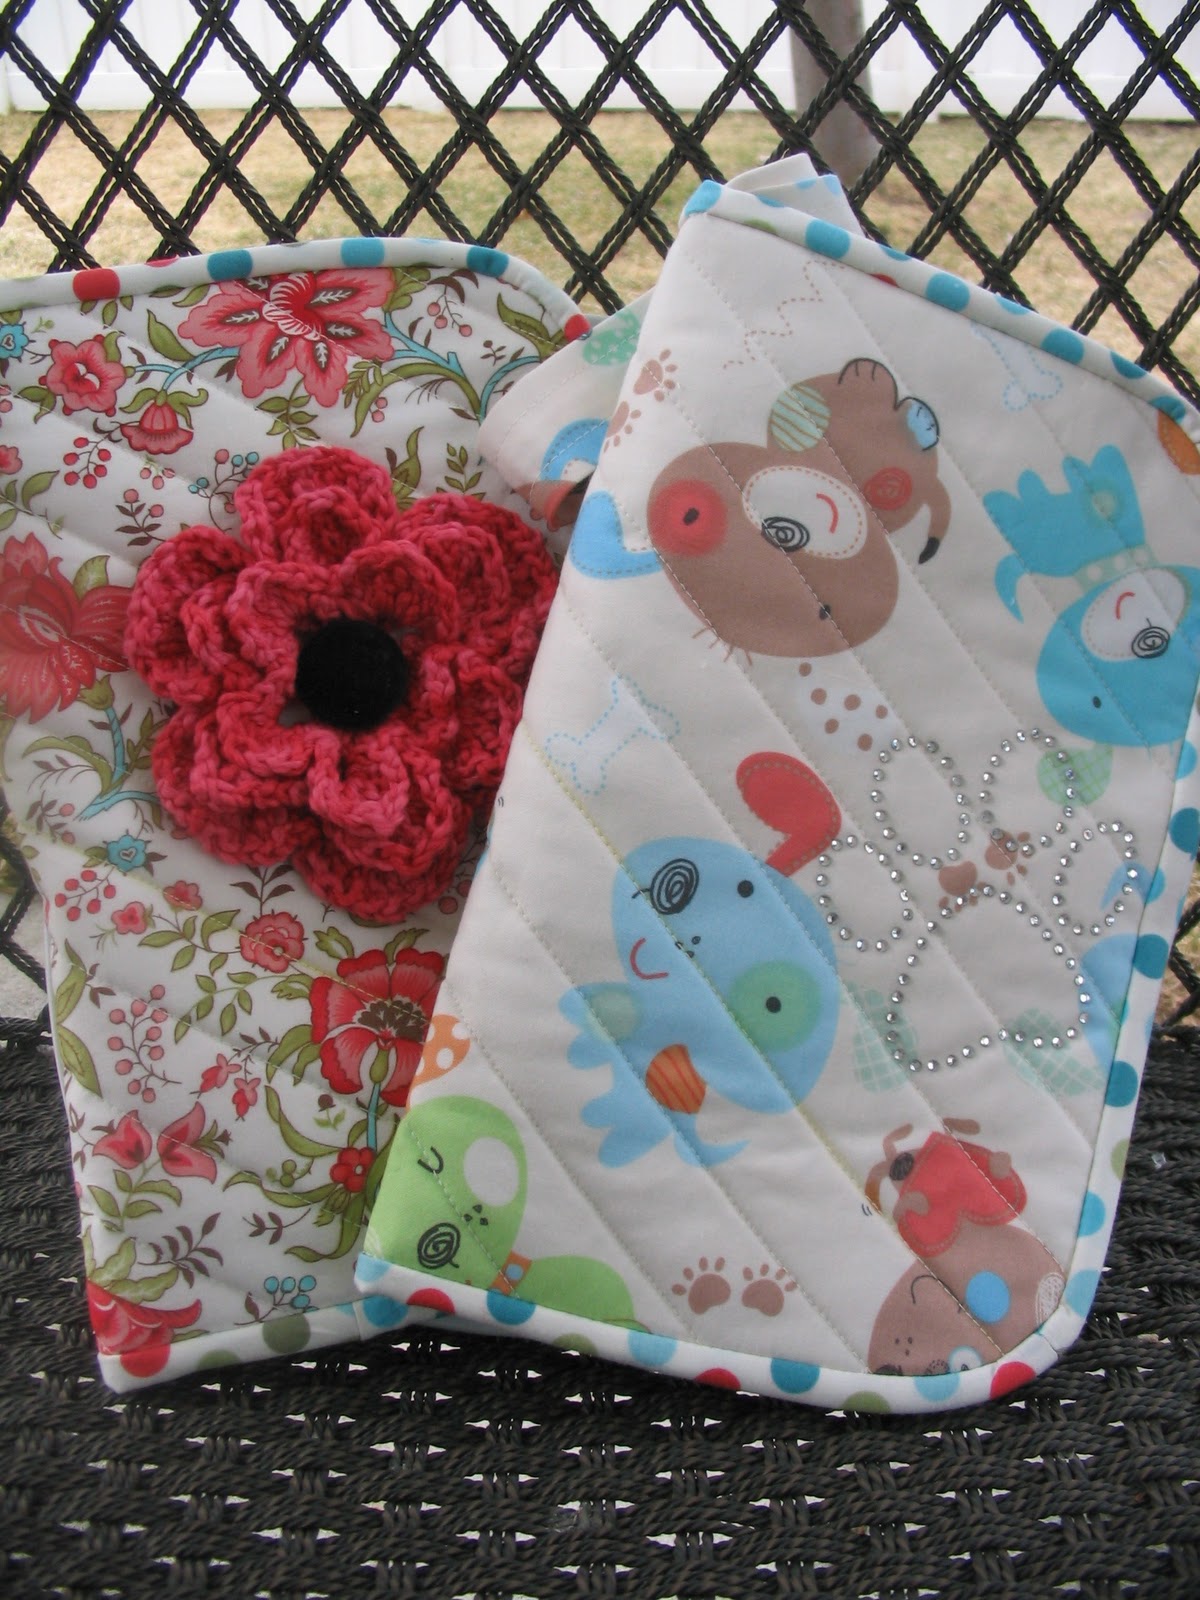
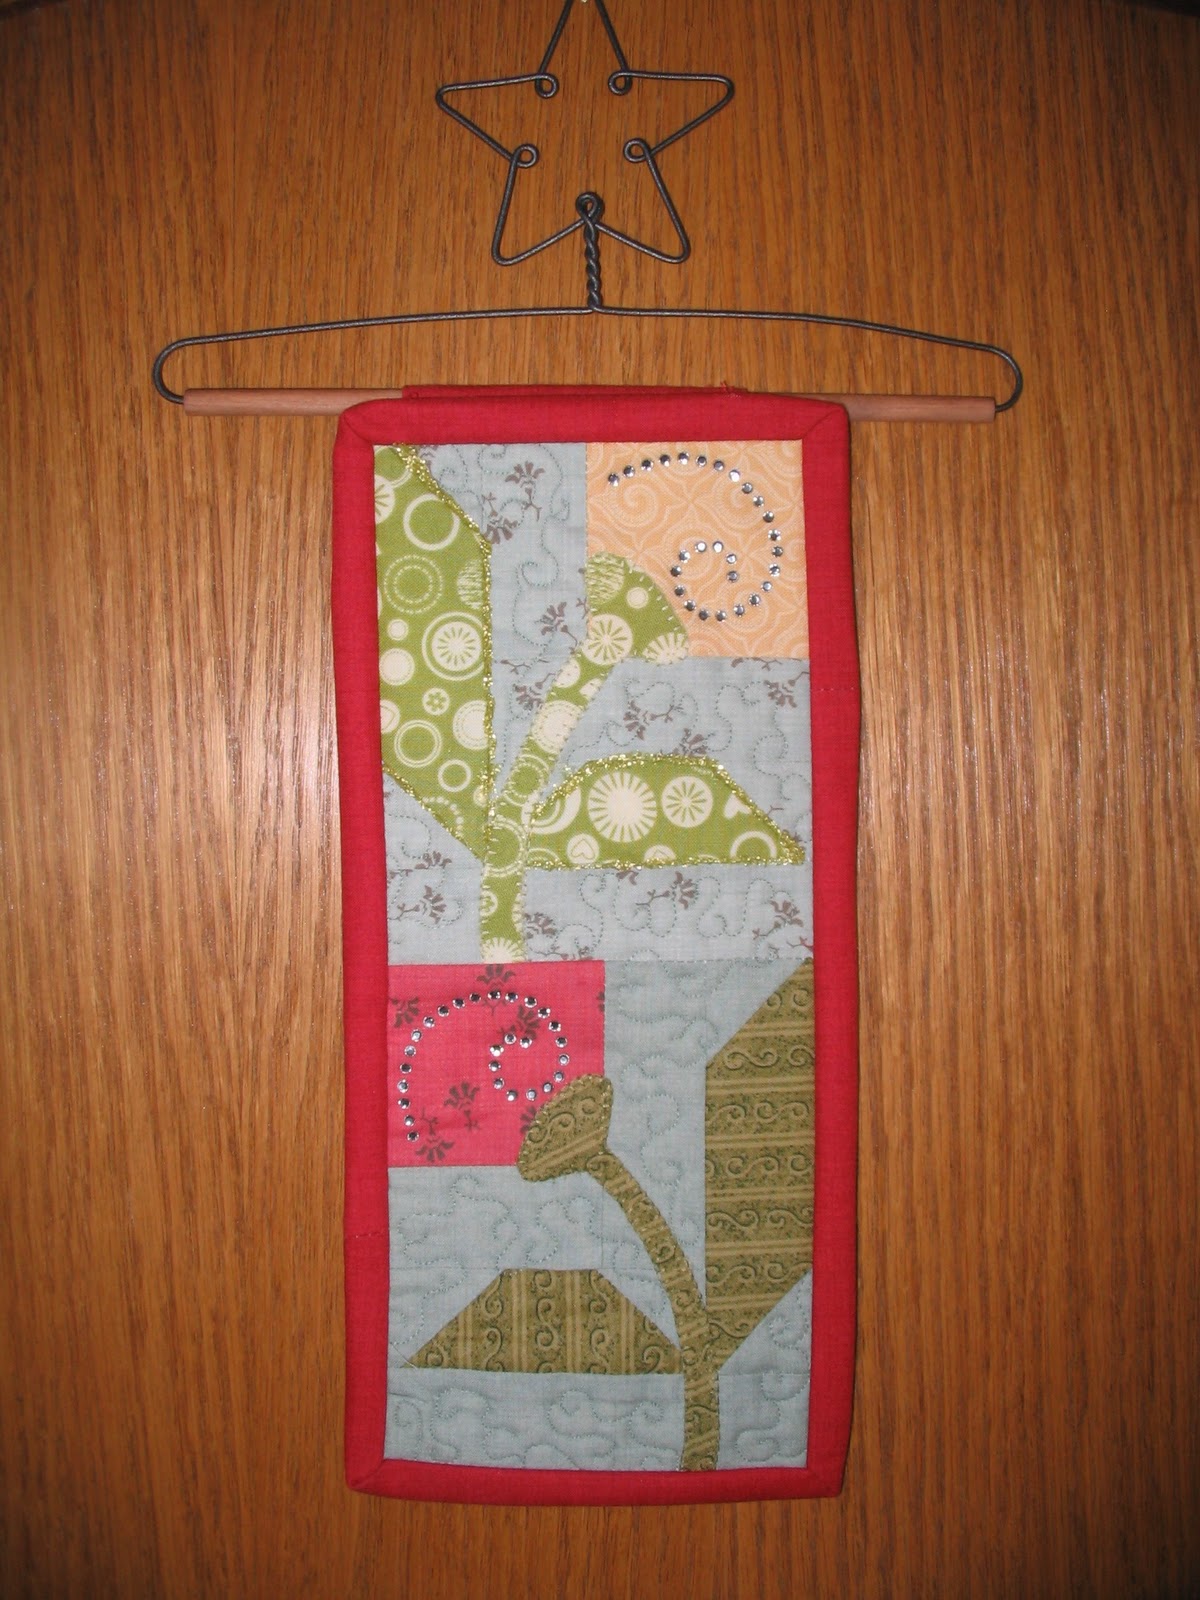
The crochet flower is from a previous post.  I made the rhinestone bling paw print with my Silhouette digital die cut machine.  It is design number paw_print_C20091123162012_2581 from the Silhouette online store. 


Here’s what the inside looks like.  Diapers are inserted in one pocket and a small package of baby wipes fits in the other.

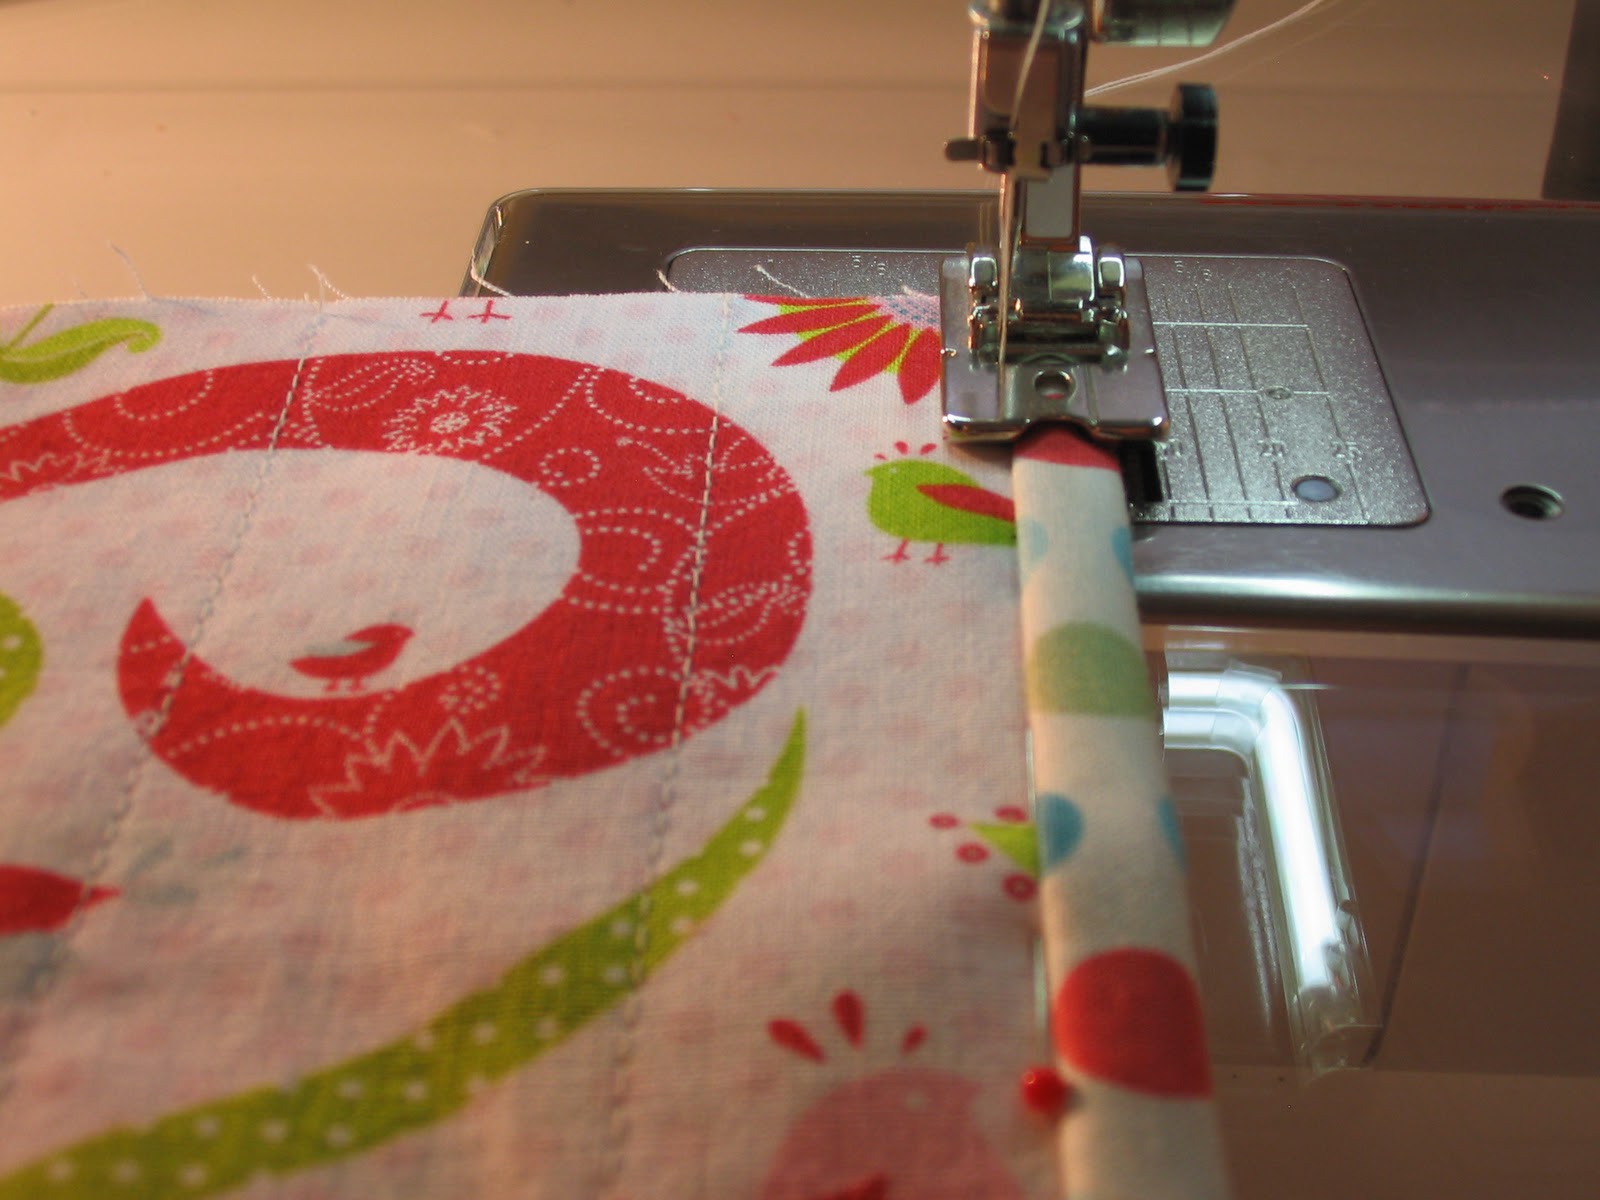
To attach the binding across the top of the pockets, I fold the binding in half, wrong sides together and press.  Then I attach it to the top of the pocket raw edges together.  I flip the pocket over, pulling the folded and pressed edge of the binding to the back side and sew on the front side using my Bulky Overlock Foot #12C.  Here’s what it looks like as I attach the binding.

Easter Cards

Here are my 2011 Easter cards:

The card itself is made from Gina K designs pure luxury cardstock (lemon drop) which I cut to 5 1/2″ x 8 1/2″ and scored with my Scor Pal at 4 1/4″.  Then I stamped and embossed the fabulous design from Gina K designs (Christ has Risen by Nina Brackett) in black embossing.  Then I stamped the background stripes (Hero Arts Repositionable Rubber Stamp) with Vivid ink (lemon ice).  The greeting is from the same Christ is Risen stamp set from Gina K designs and I cut the label (labels #14 by Spellbinders) using my Cricut.  The pearl embellishments are from Close to my Heart.

Here is the inside of the card.  Again the sentiment is from the Christ is Risen stamp set.

Garden Stake Banner

Here’s a new little banner to hang on my hall tree.

The pattern is from Nancy Halvorsen’s book, Garden Song.  I followed the pattern instructions exactly, except I omitted the side border strips and used the red fabric as binding instead.  Why did I do this, you ask?  Because I wasn’t paying attention and I quilted the little block together before I added the border strips.  Oops!  Oh well, it still turned out cute and I have it hanging in my living room as a reminder that Spring really will arrive in a few weeks (or months).

When I finished the block, hung it up, and stood back and looked at it, I noticed that the flowers (particularly the top yellow flower) blended into the background and the banner looked a bit blah.  My awesome daughter suggested adding stamen to the middle of the flowers.  I was too lazy to add any more sewing to this little project, so enter my Silhouette die cut machine.  I cut the “stamen” shapes with my Silhouette and applied the iron-on rhinestones to bling my flowers.  I also used Tim Holtz Distress Stickles to outline the leaves on the top flower (the color I used was Shabby Shutters).  Much better!