This is a new to me pattern for unisex tops, shorts, and joggers. I purchased the red French terry fabric from University of Sewing. It is 95% cotton and 5% spandex. The recommended fabrics are knits such as cotton Lycra, jersey, and bamboo knits. Those knits are lighter weight than my French terry, but I went for it anyway. I will say that if you are planning to sew up this pattern, use a knit with similar weight to the recommended fabrics. Here is why:

See how the lower edge scoops up at the side and is a slightly longer length in back? That hem edge is completed by using front and back leg facing pieces. The written description on the pattern does not indicate this type of hem on the shorts. None of the line drawings show this type of hem on the shorts. And the actual photo on the pattern envelope does not show this hem. That said, I did notice the curve hem and the facing pieces when I was cutting the pattern. I went ahead and cut the pattern as it was printed on the tissue. When I sew a pattern for the first time, I like to sew the look that the designer intended for the pattern. As you can see from the above photo, my chosen fabric was waaaay too thick for this type of finish, but the length was also an issue. It finished just above my knee, which I knew it would, but being the glutton for punishment that I am, I figured I would just see how it looked for grins. I was NOT grinning. That’s not a flattering length on me at all. That, coupled with the thick fabric, made for a very ‘homemade’ looking pair of shorts. So here is what I did:

I sliced off almost 3 inches so I could serge the edge, turn up a 1 inch hem, and do two rows of topstitching to finish it off. So much better!

I eliminated the drawstring at the waist because I just don’t like the bulge from the drawstring to show under my top. I prefer a flat waist finish.

One of my favorite ways to wear my new shorts, is with my red and white striped tee that I made several years ago (it is the same Simplicity pattern that I shared in last week’s blog post). I liked these shorts so much, that I quickly sewed a second pair, but this time with a lighter weight knit fabric in blue.
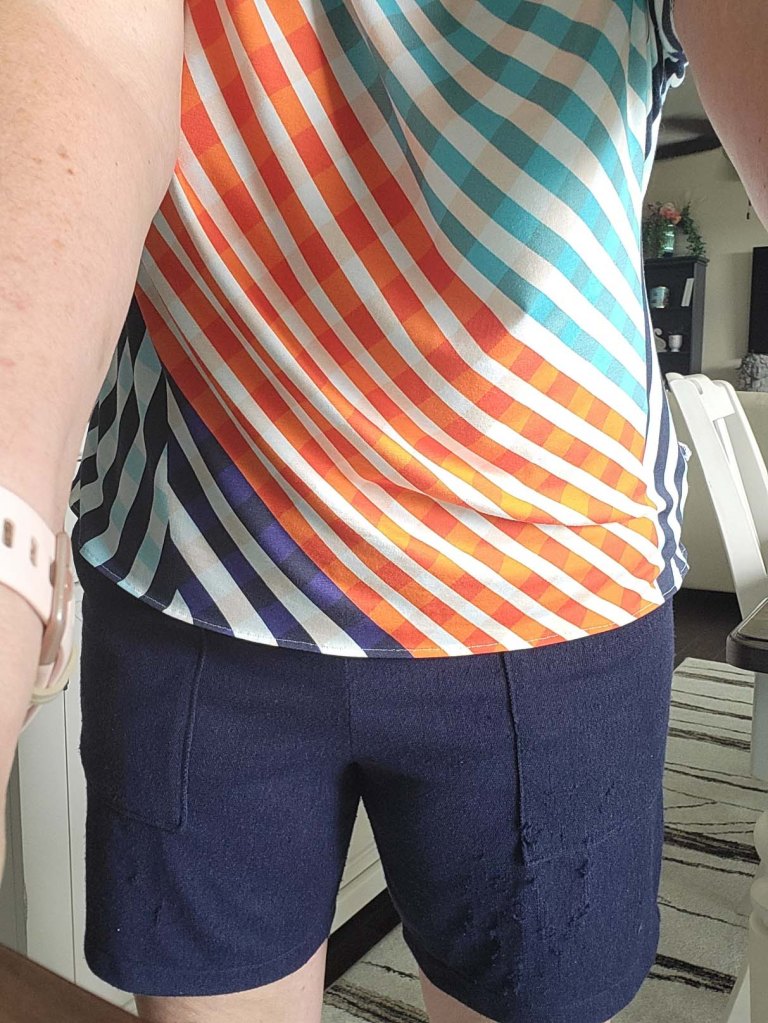
Much to my dismay, the second time I wore them, I caught the leg on a rough piece of wood and ‘pulled’ the fabric. I thought about trying a fabric shaver to smooth off some of the roughness from the pulling. Have any of you ever used a fabric shaver on knit fabric? Please let me know your results. I really love this pair of shorts and I wear them quite often.

Here is a close up of the flat waistband in the front. The shorts have elastic inserted into a casing, but I like to put most of the bulk from the elastic in the back. I put less elastic at the front and I stitch in the ditch at the waistband side seams to catch the elastic between the layers and keep it in place.
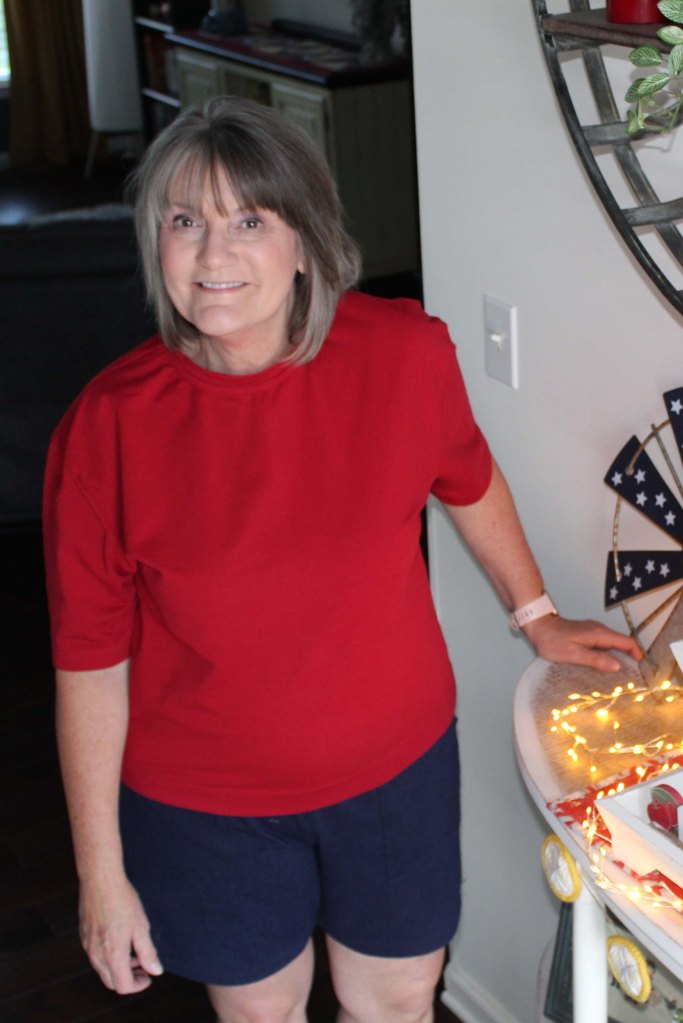
I had some of the red French terry fabric left after sewing my red shorts, so I made the View B top. I like the length a lot. This top is a little warm to wear for the hot summer months, but it will be very comfortable for fall weather.

It has drop shoulders and features a loose fit. In a lighter weight fabric, it would drape very nicely. My version is close to the feel of wearing a sweatshirt.
Okay, dear readers, thanks for hanging with me through this lengthy review. I appreciate the time you spend with me and I enjoy reading your comments. Please let me know if you have any recommendations about the fabric shaver.