Hi Sewing Friends!
If you are doing some pajama sewing for some littles in your life,
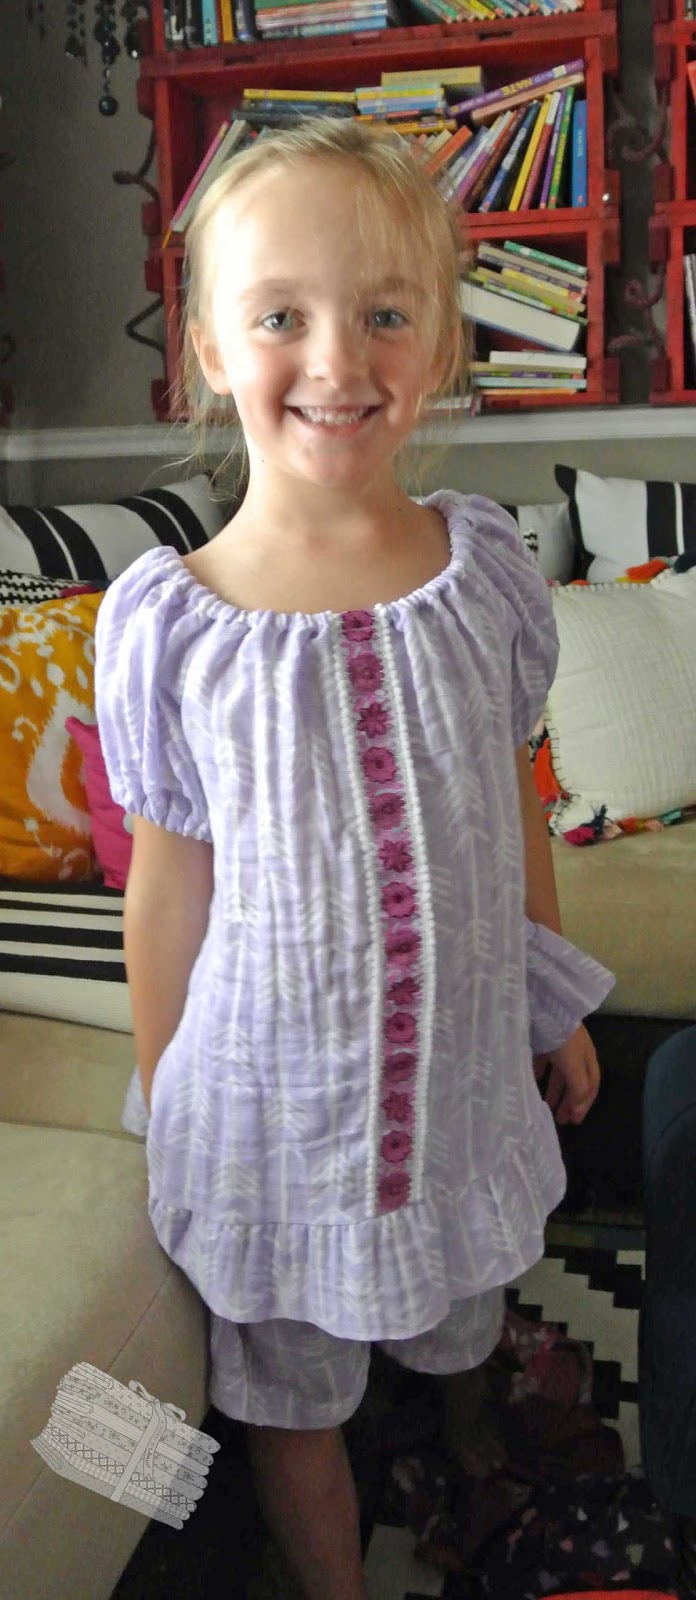
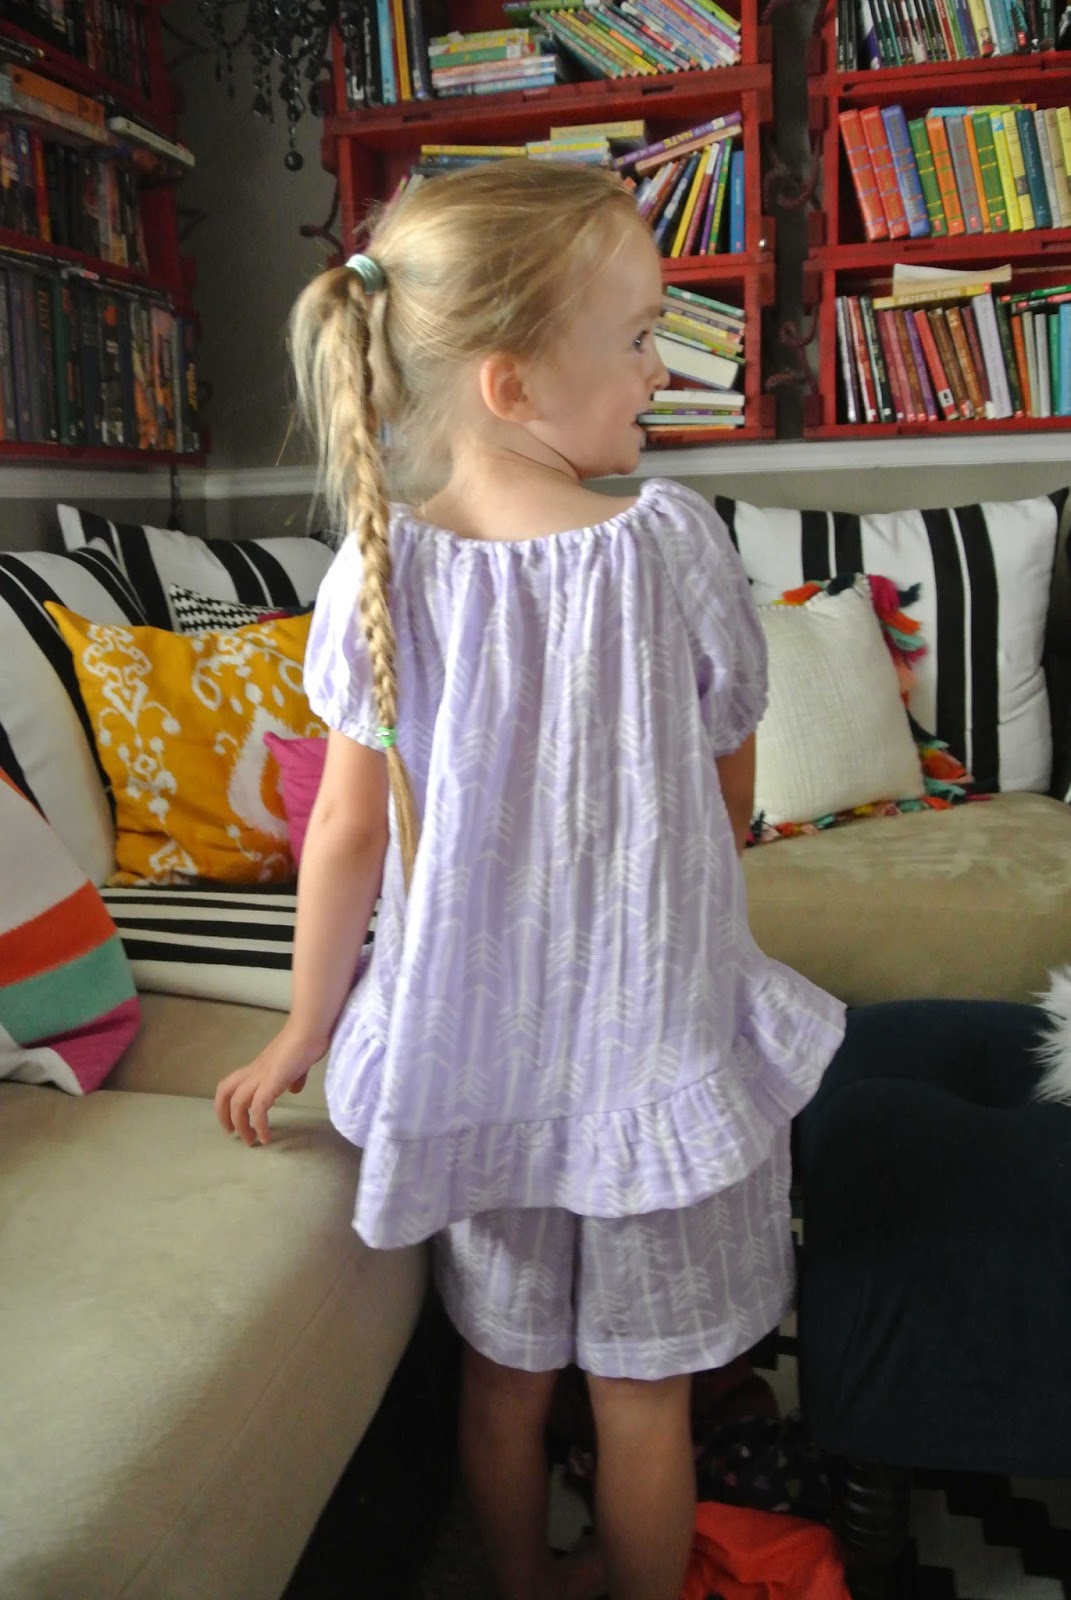
The pattern features a top w/short sleeves, ribbon & lace trim,
and a casing with elastic at the neck and sleeves,
and pull-on pants with elastic in waist casing
There is also a gown and matching doll pajamas
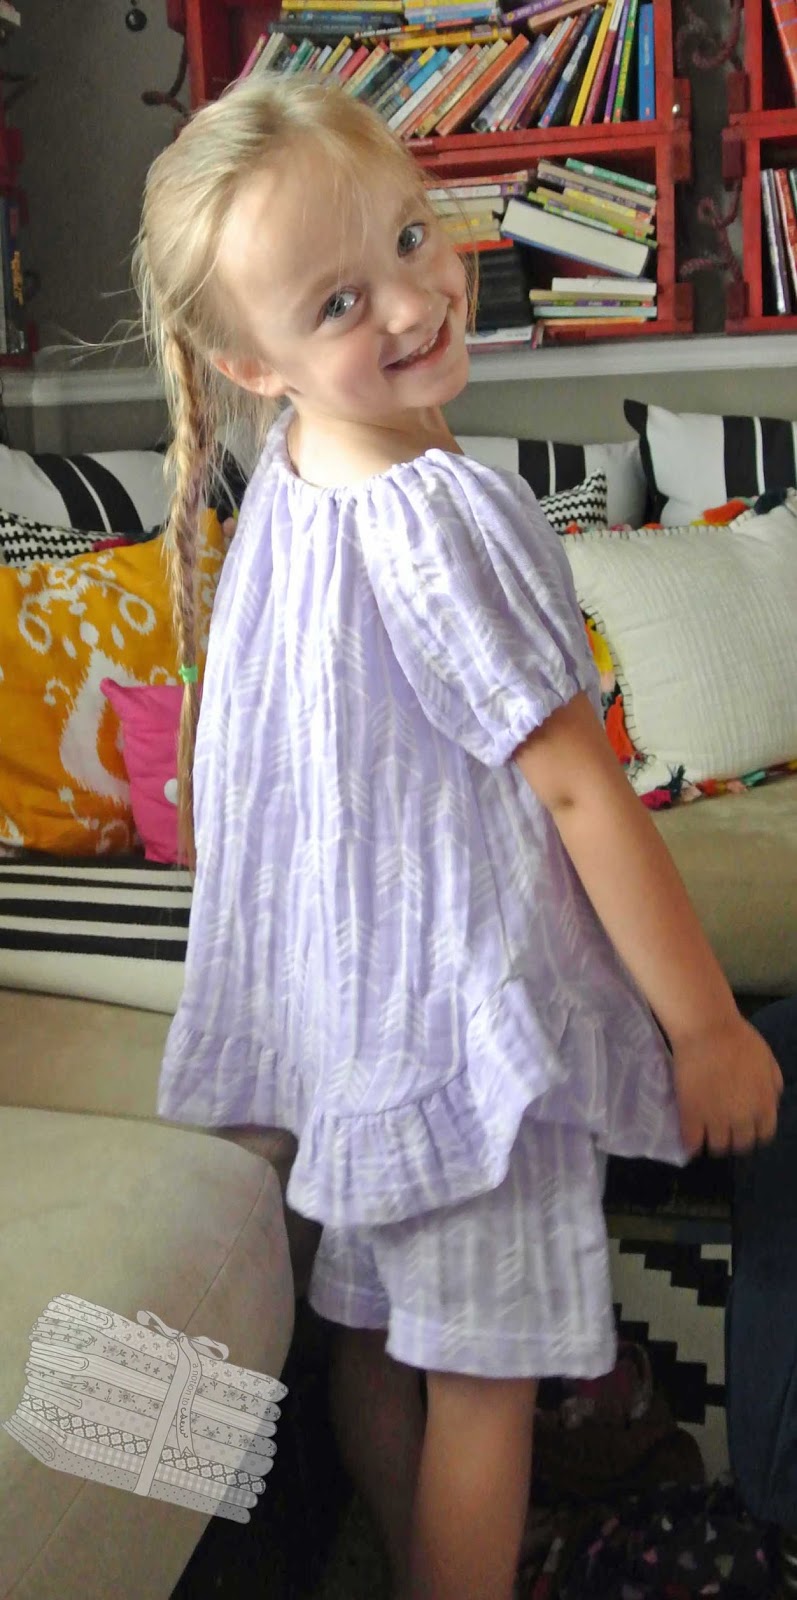
I made the top and pull-on pants (view A and C) in size S(6),
but I made the pants into shorts
I chose double gauze fabric for this summer weight version
The sizing runs pretty much with RTW
Little Miss Model wears a size 6-7 in RTW
and the only alteration I made was to cut the waist elastic 2″
smaller than what the pattern called for
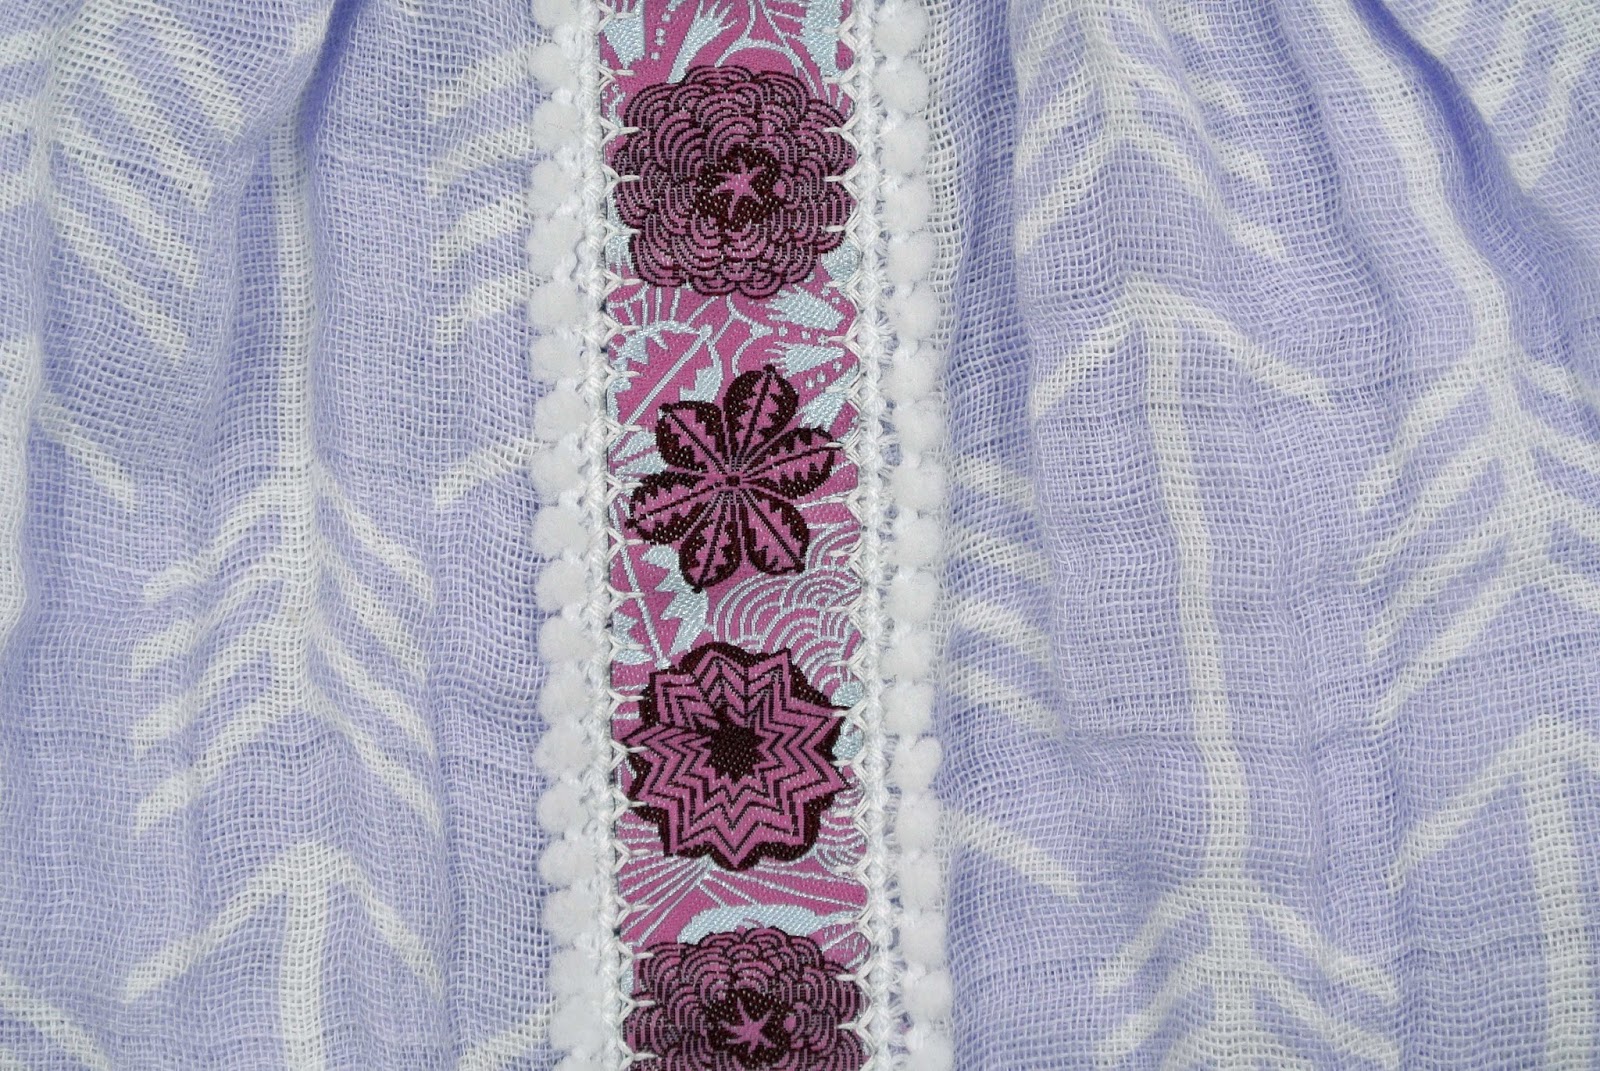
Here’s the front ribbon detail
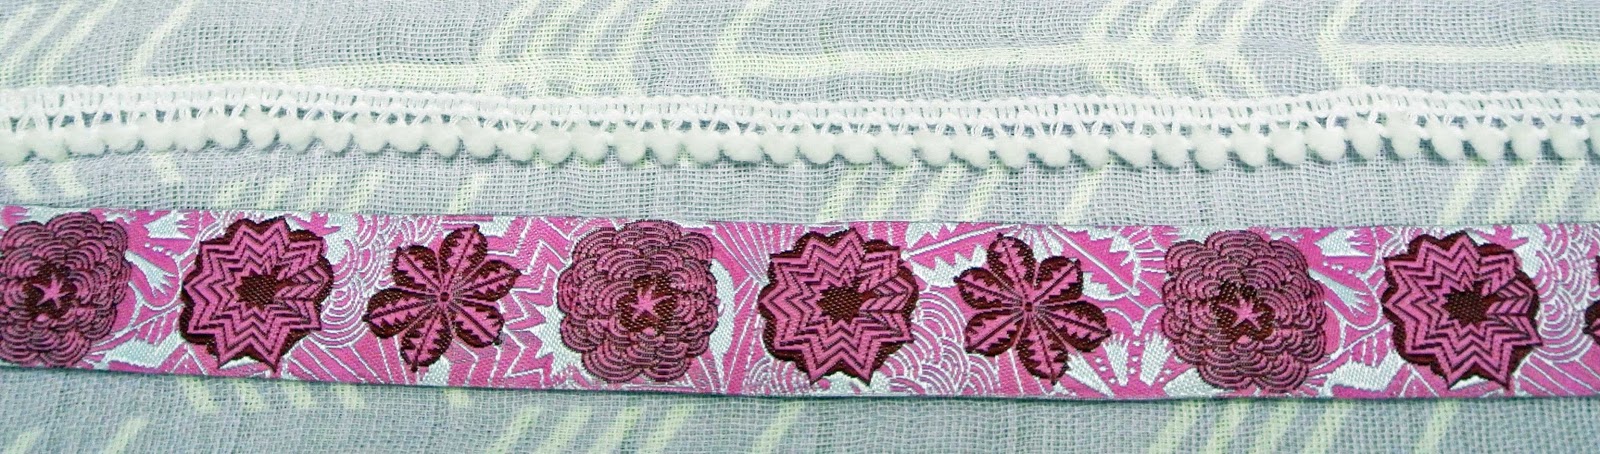
The components of my trim are a length of Anna Maria Horner ribbon
flanked on either side by some tiny baby pompom trim
Here’s a short walk through of an easy way to stitch trim together
and apply it to a project:
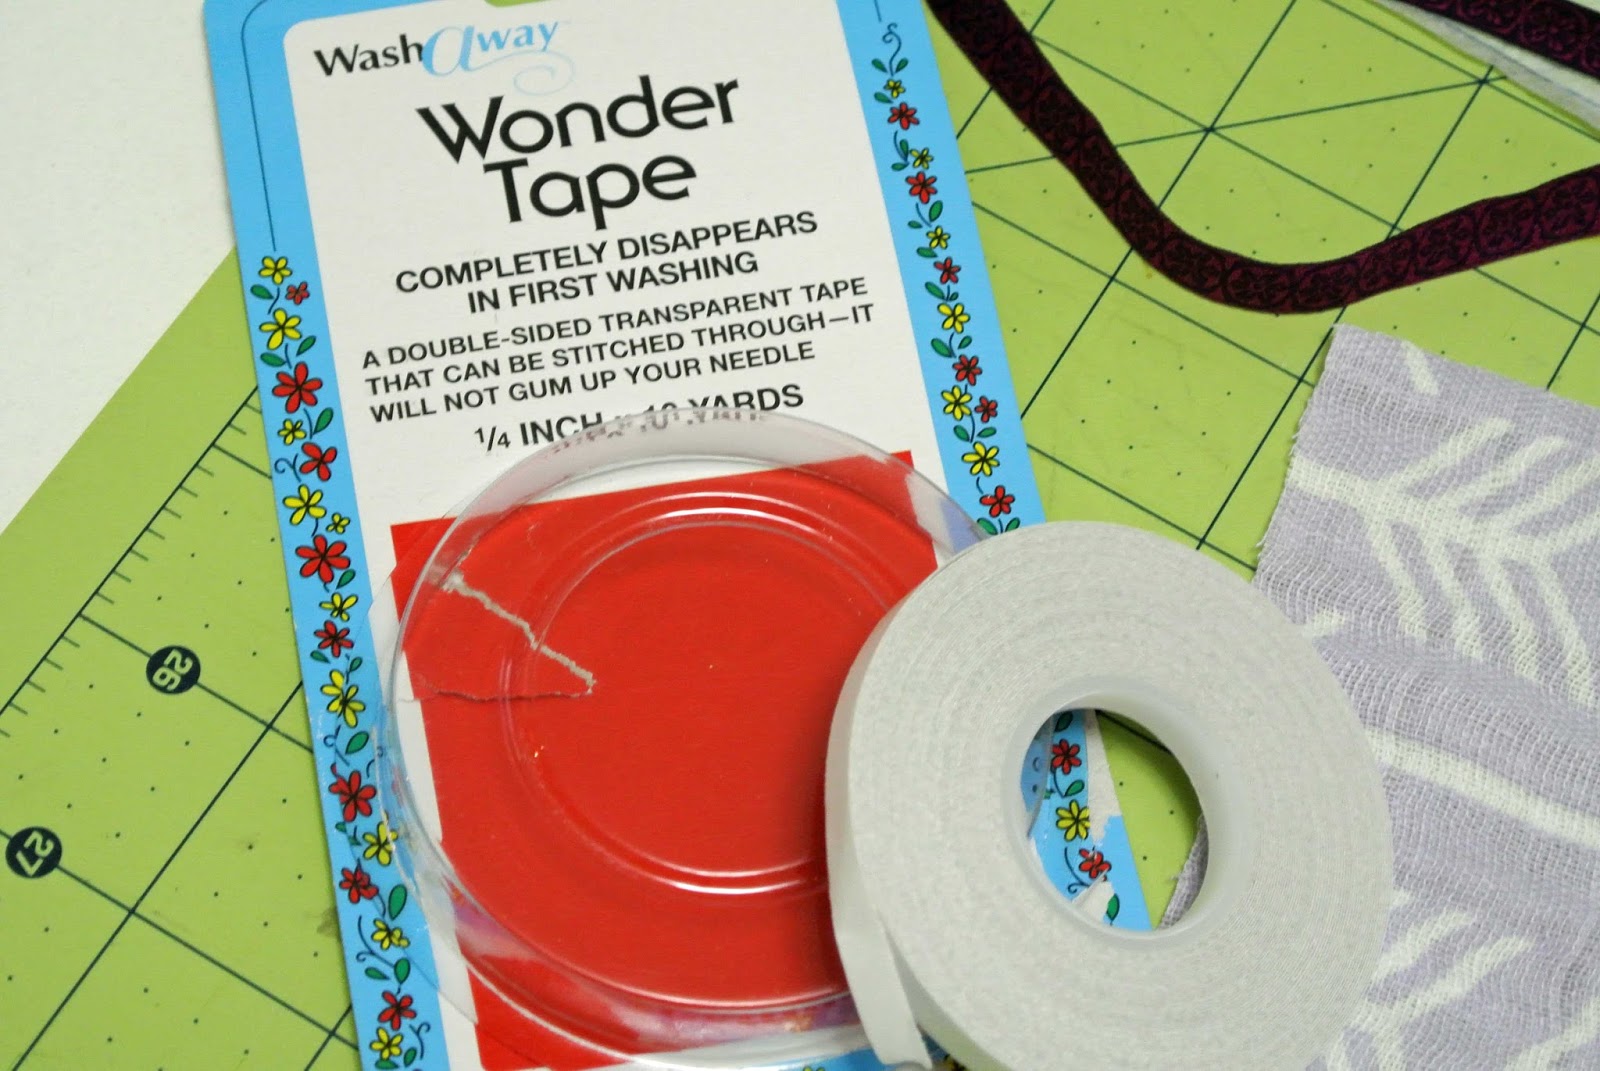
1. Use wash away wonder tape,
it is sticky on both sides
2. Stick it to the backside of your focal trim piece
(in my case, the Anna Maria Horner ribbon)
3. Peel off the protective paper and stick the secondary trim to your focal trim
4. Now add another strip of Wonder Tape to the back side of the entire trim piece
and stick it to the right side of your project
(the Wonder Tape was actually wider than my little pompom trim
so I didn’t have to stick more tape on the back side of my trim piece)
Now it stays in place for you while you stitch it down
Ordinarily, I would add a piece of stabilizer to the back of my project,
but this double gauze didn’t need it, it stayed nice and flat as I stitched
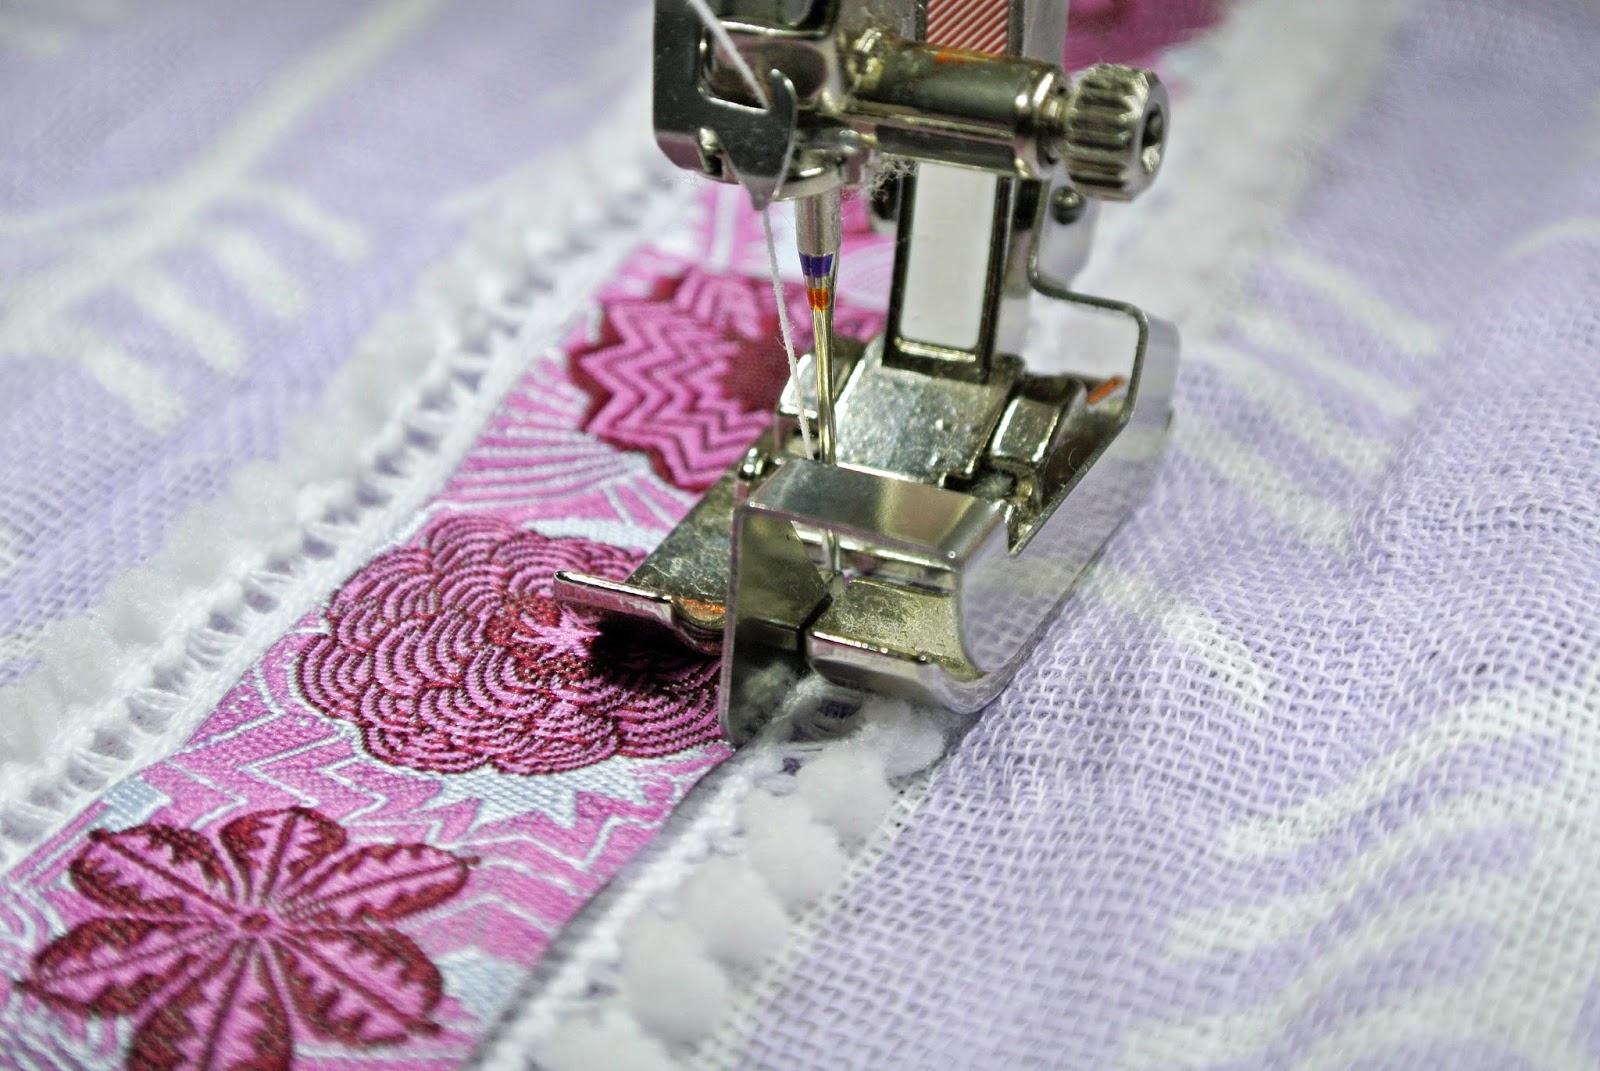
5. Okay, attach your edge stitch foot (for Bernina it is #10) to your machine,
line up the guide between two pieces of trim,
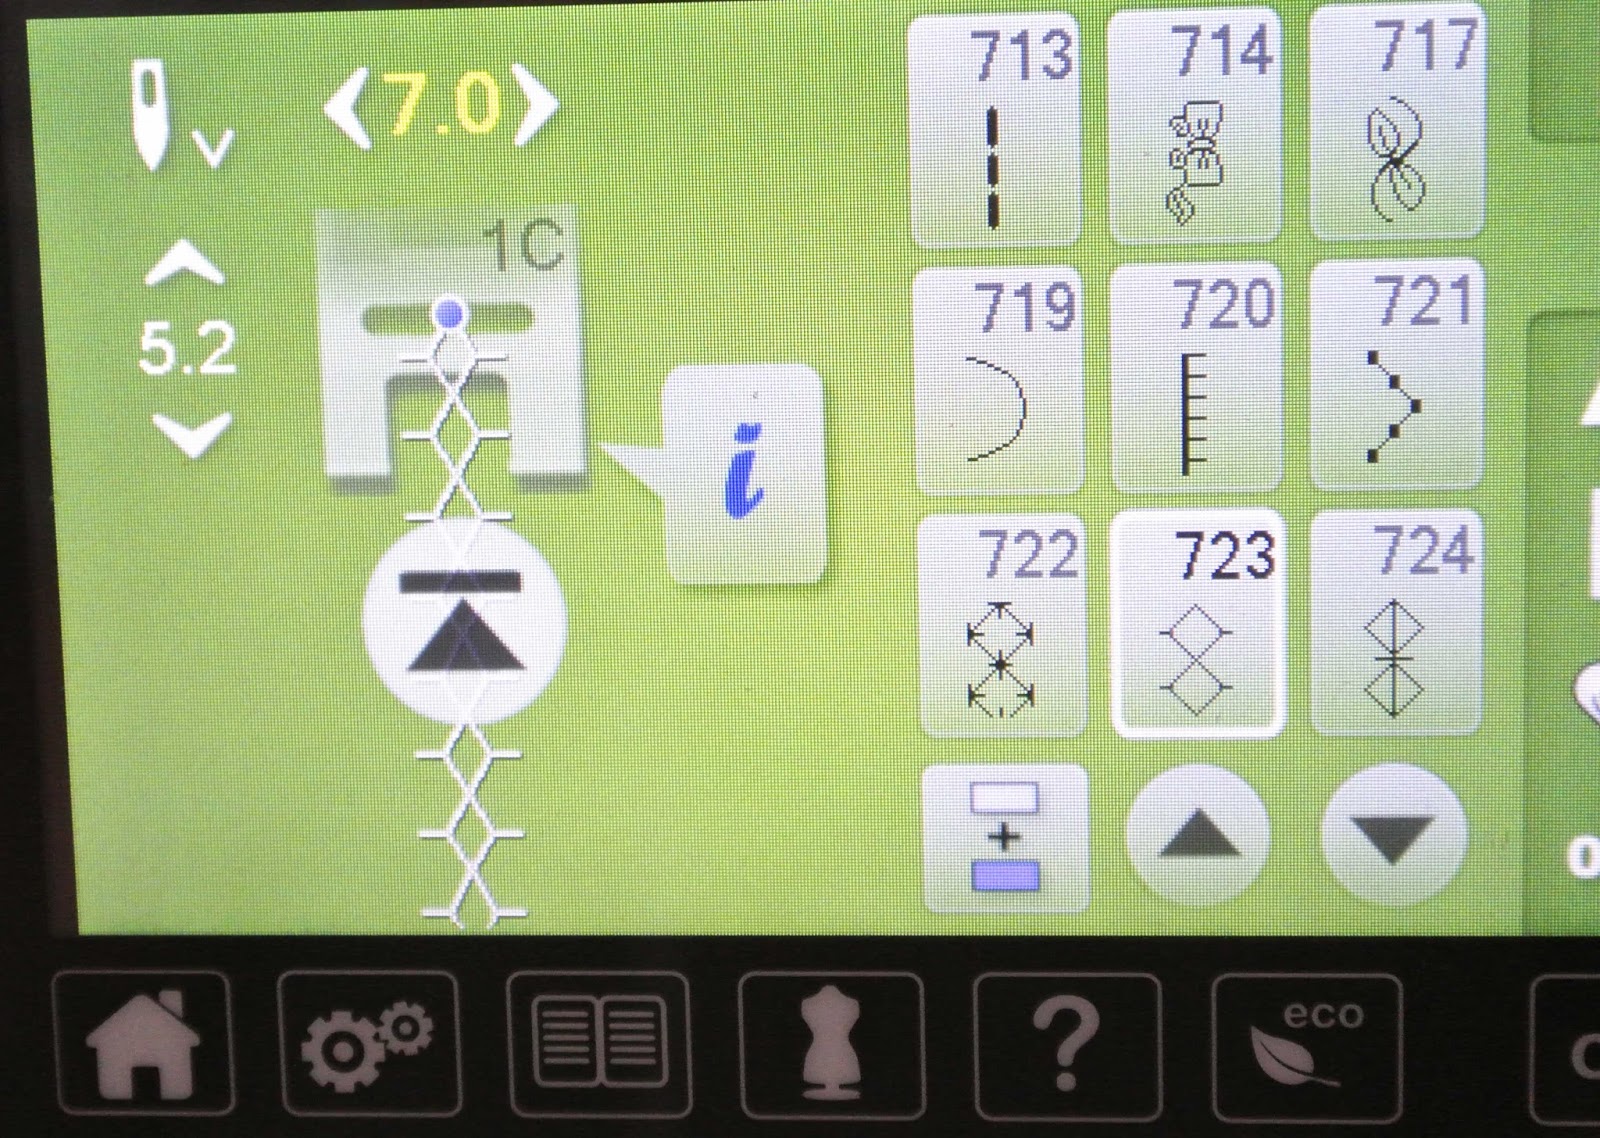
and select a stitch that catches the left and right sides (on my Bernina, I used stitch #723)
and sew that beautiful trim to your project
Be sure to make a sample first so you know what stitch settings work the best
I narrowed my stitch to 7 mm
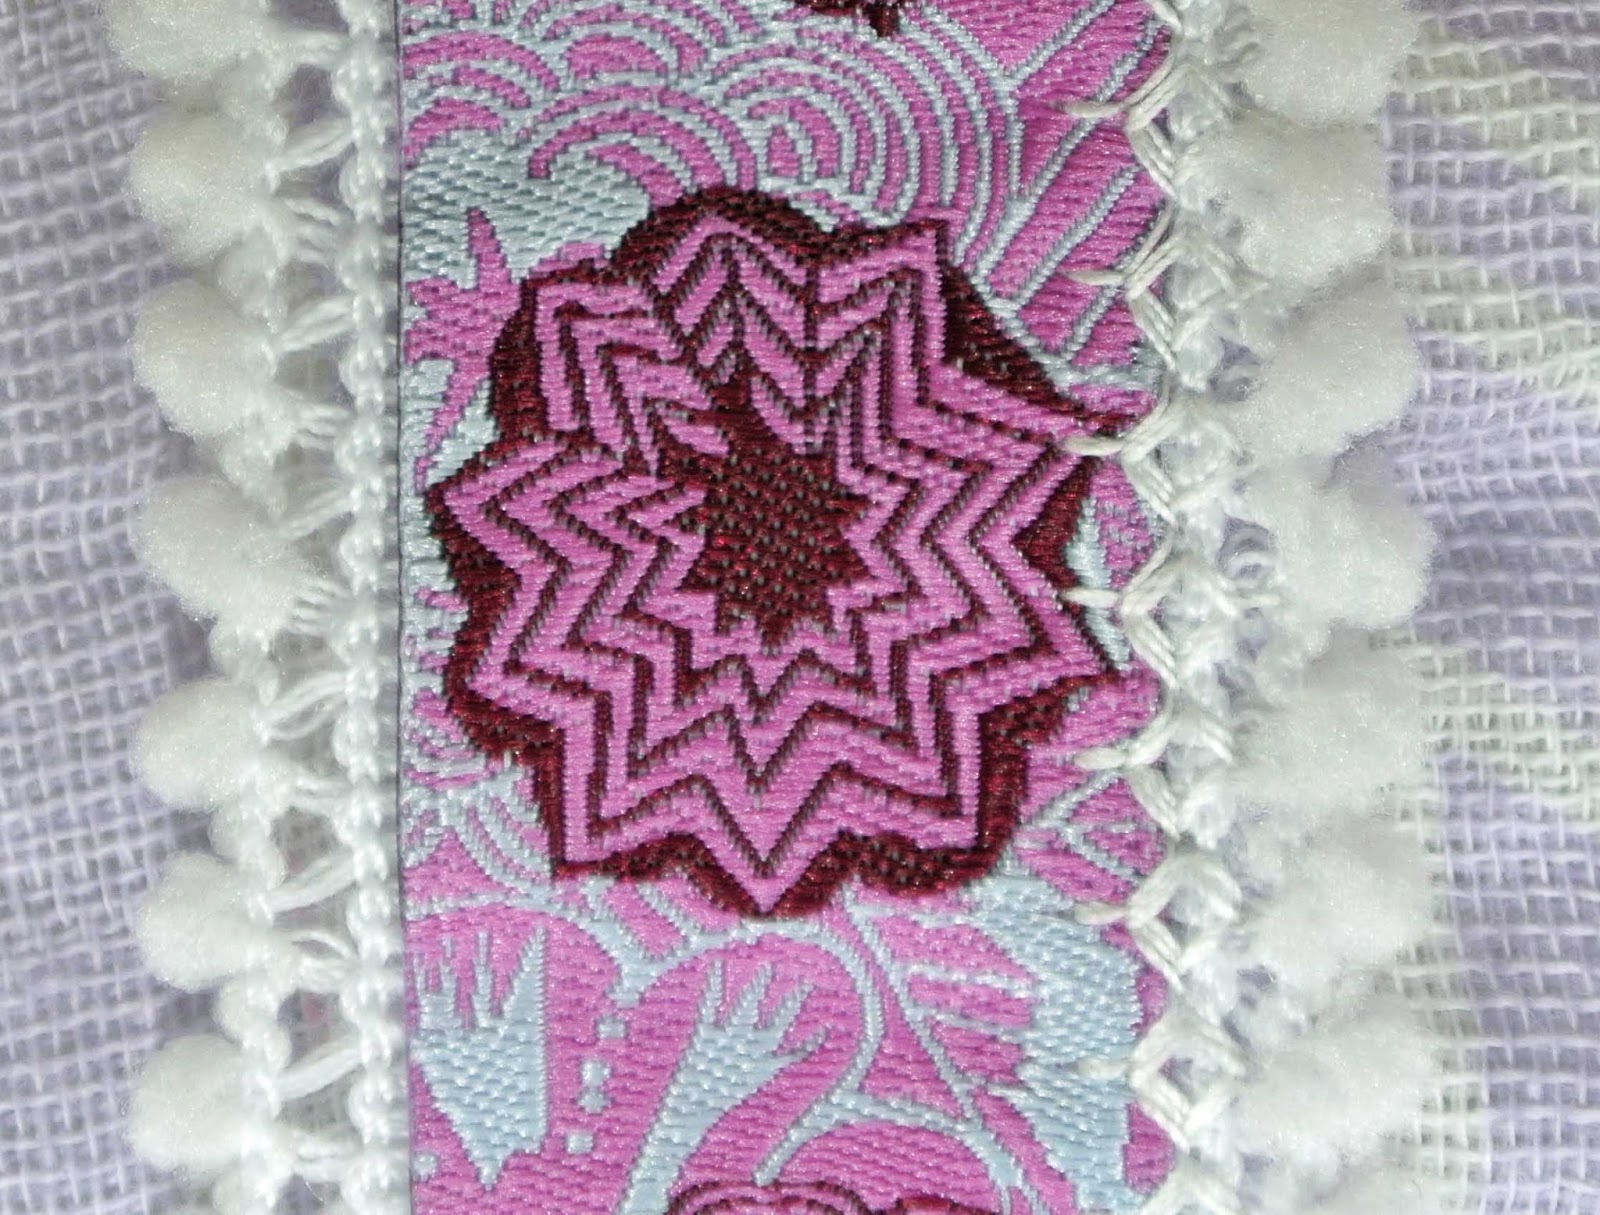
Here’s a close up of the completed right side
The left has not been stitched yet
So there ya’ go
Have fun stitching for your littles
and/or adding decorative trims to your projects
These little details add one-of-a-kind personal touches to your sewing
Enjoy!
Thanks so much for visiting today.