Colette 1016 (Green Silk Ginger Skirt)

As noted in this previous post, my second Ginger skirt is made from 100% 4-ply silk.

Here are my thoughts about silk fabric – buy it, sew it, you’ll love it!!!  Colette patterns designer Sarai Mitnick encourages the use of silk fabrics in her designs and I see why.  What a terrific fabric to sew and wear.  It behaves nicely with the sewing machine, it drapes beautifully, and it is comfortable to wear.  As with my first Ginger skirt (made last December) I did not make any pattern alterations with this one.  The fabric I used in December was heavier and bulkier than this silk.  I did notice that in the silk fabric I will need to take in the waistband 1/2″ next time.  Yes, there will be a next time because this skirt is quick to sew, fits great, and gives a flattering silhouette.  Here’s a picture of the back.  It’s very basic with a hidden zip.

As with my first version, I also added a lining to this one.  I plan to make one more this year and I will probably add some kind of detail like piping.  I will definitely be using silk again.  Whether it will be a print silk or solid, I’m not sure.  That’s part of the fun in perusing the fabulous silk fabrics at Yellowbird Fabrics in Salt Lake.

Simplicity 2215

Here’s my Easter dress:

I used a beautiful, almost batiste-quality, 100% cotton fabric in a pretty springtime floral print from Yellowbird Fabrics in Salt Lake City.  The bodice lining is 100% polyester hang-free lining from Hancock Fabrics.
I only made two minor design changes.  The first was that I chose to not add the pockets.  I’m not a big fan of pockets in dresses and skirts, so I left them off.  On my frame, they add attention and sometimes bulk at the hipline, ugh!  The second change I made was to use ruffled fabric as a design element along the hemline.  I’ve included a tutorial of my process for adding the ruffled fabric.
I like that this dress has both a side zip and front buttons.  Side zips in a dress are a good thing because if I happen to get the zipper insertion off a smidge, it’s not so noticeable since it is buried under my arm!  I also like that it has the added benefit of front buttons.  The two entry openings make the dress very easy to slide on over the head.  The bodice is close fitting, so it is necessary to have as much ease as possible in getting the dress over the head.  It also helps to not mess up the hair!
I love the fit of this dress.  I made the size 12 and I did not have to alter any of the pattern pieces.  It is a very girly dress and looks very “Eastery”, but I will also be able to wear it all summer with flip flops or strappy sandals.  The fabric I chose is extremely lightweight so it should be very cool in our hot summer months.  A heavier weight fabric, such as denim as shown on the pattern envelope, could be used for a year-round version to be worn with sweaters, jackets, or long sleeve tees.  If you are not yet comfortable with inserting invisible zippers and/or buttons and buttonholes, I would not recommend this pattern until you have some experience with those techniques. 

Here’s a shot of the side zip:

And here’s the buttons and buttonholes:

I did not follow the pattern instructions for either technique, so I can’t address how clear-cut the instructions are.  But the buttons and buttonholes are up front and center so they must be sewn with some precision. 

This is a great pattern and if it is your style I would encourage you to give it a try.

Ruffle Fabric Trim Tutorial

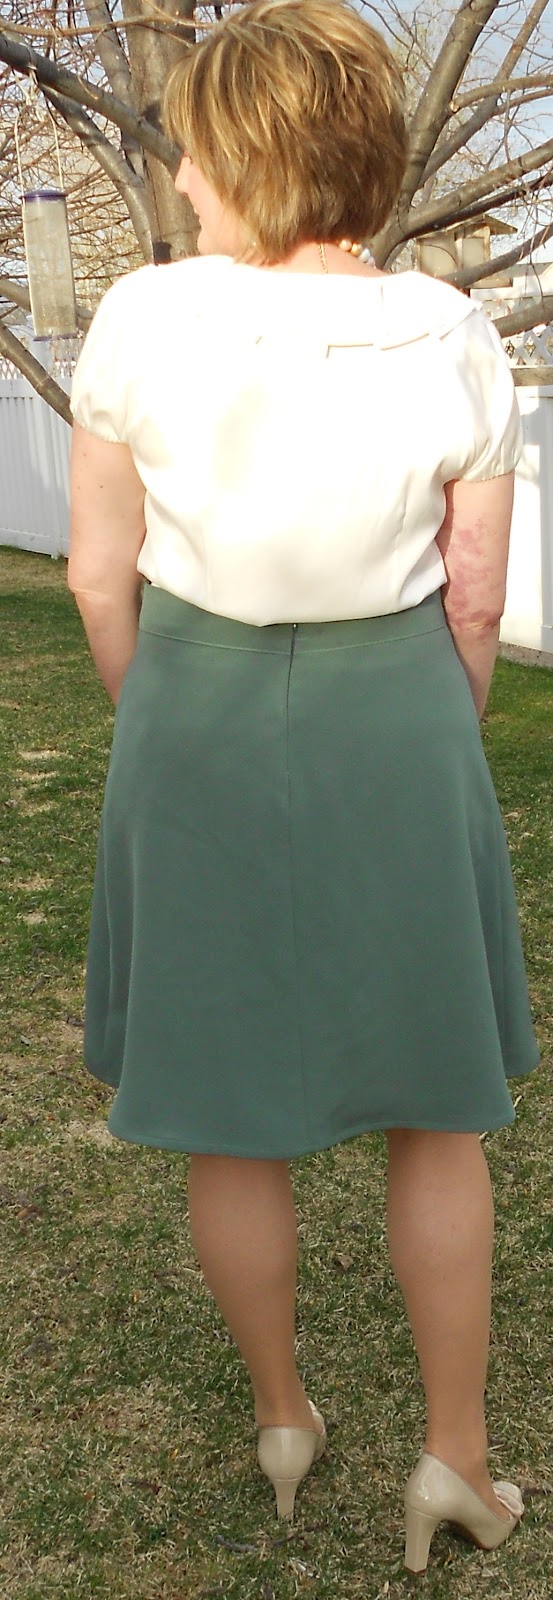
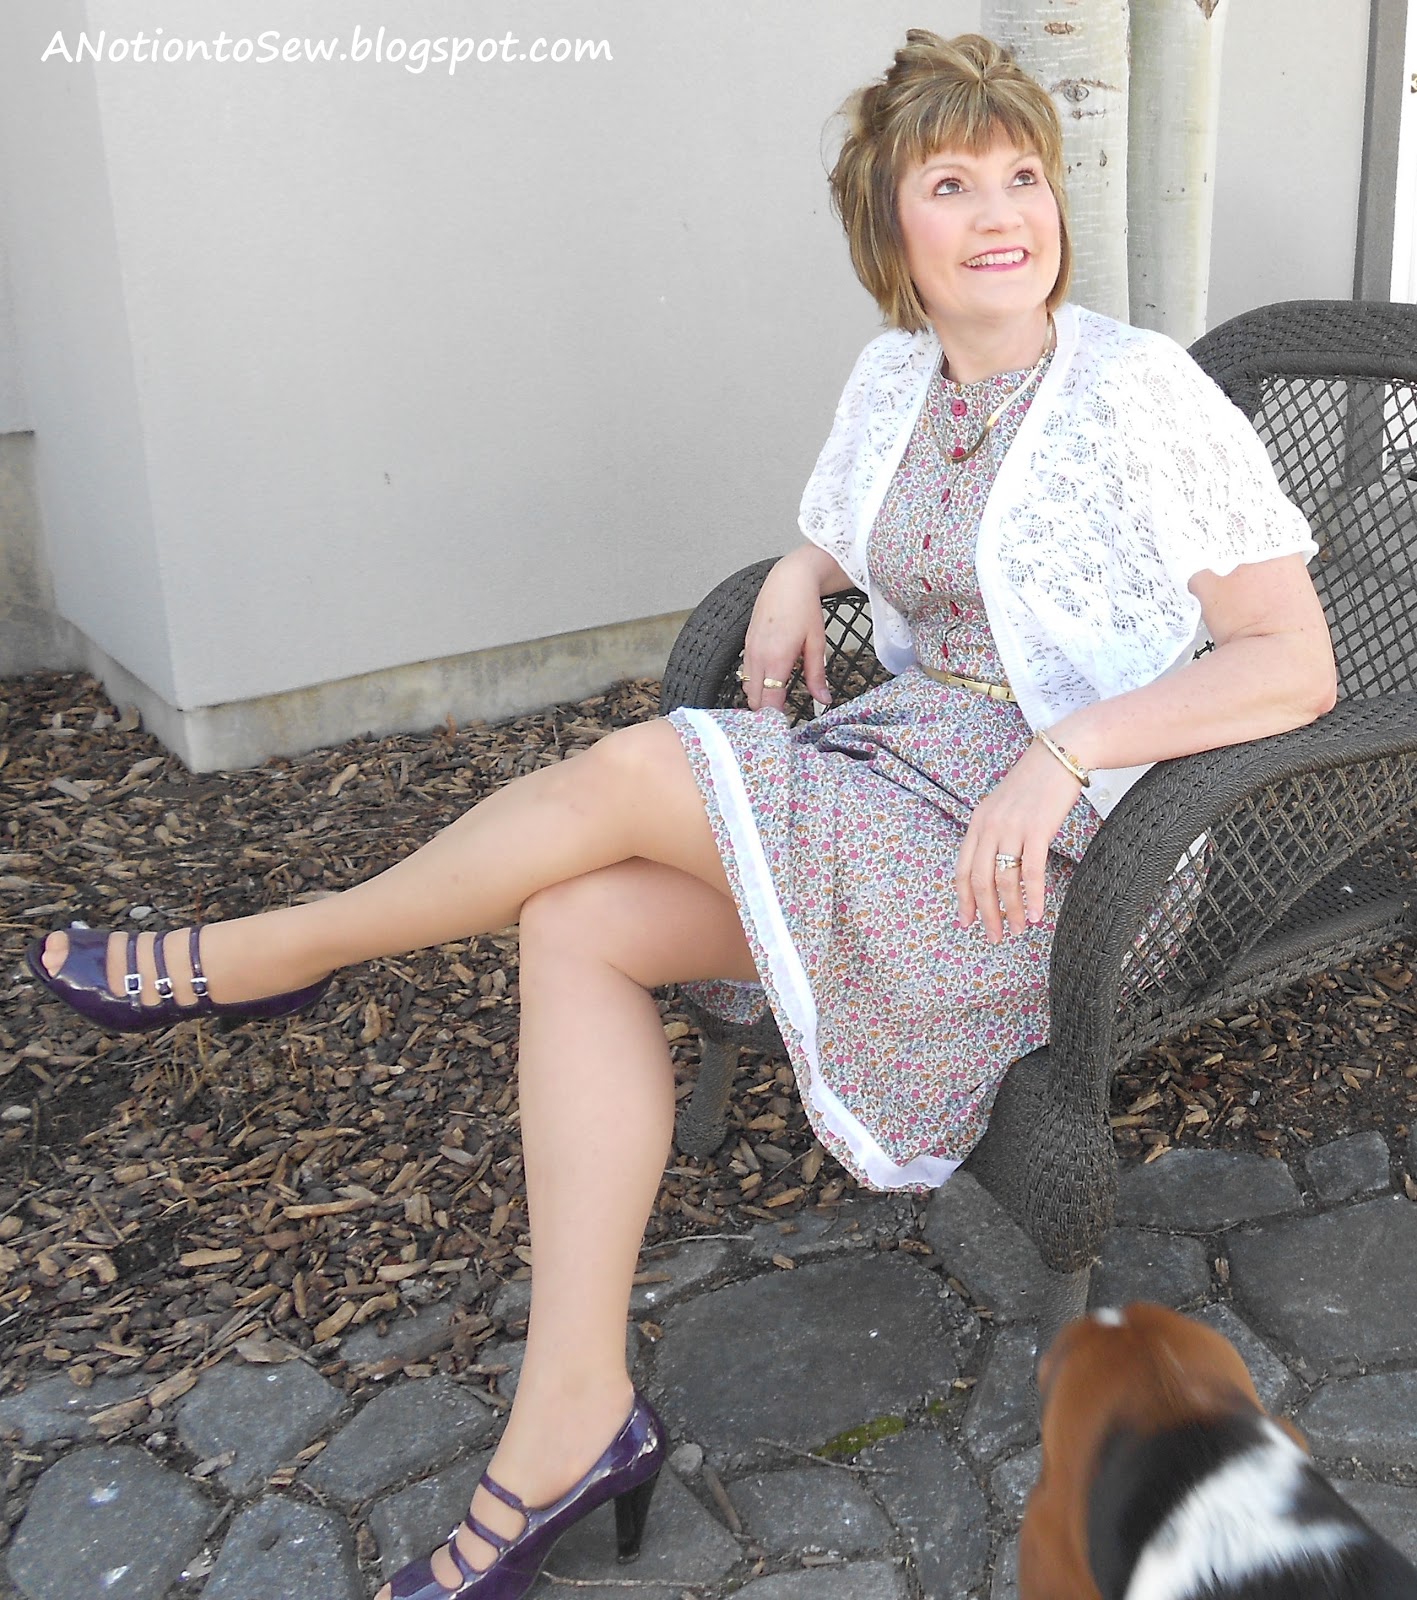
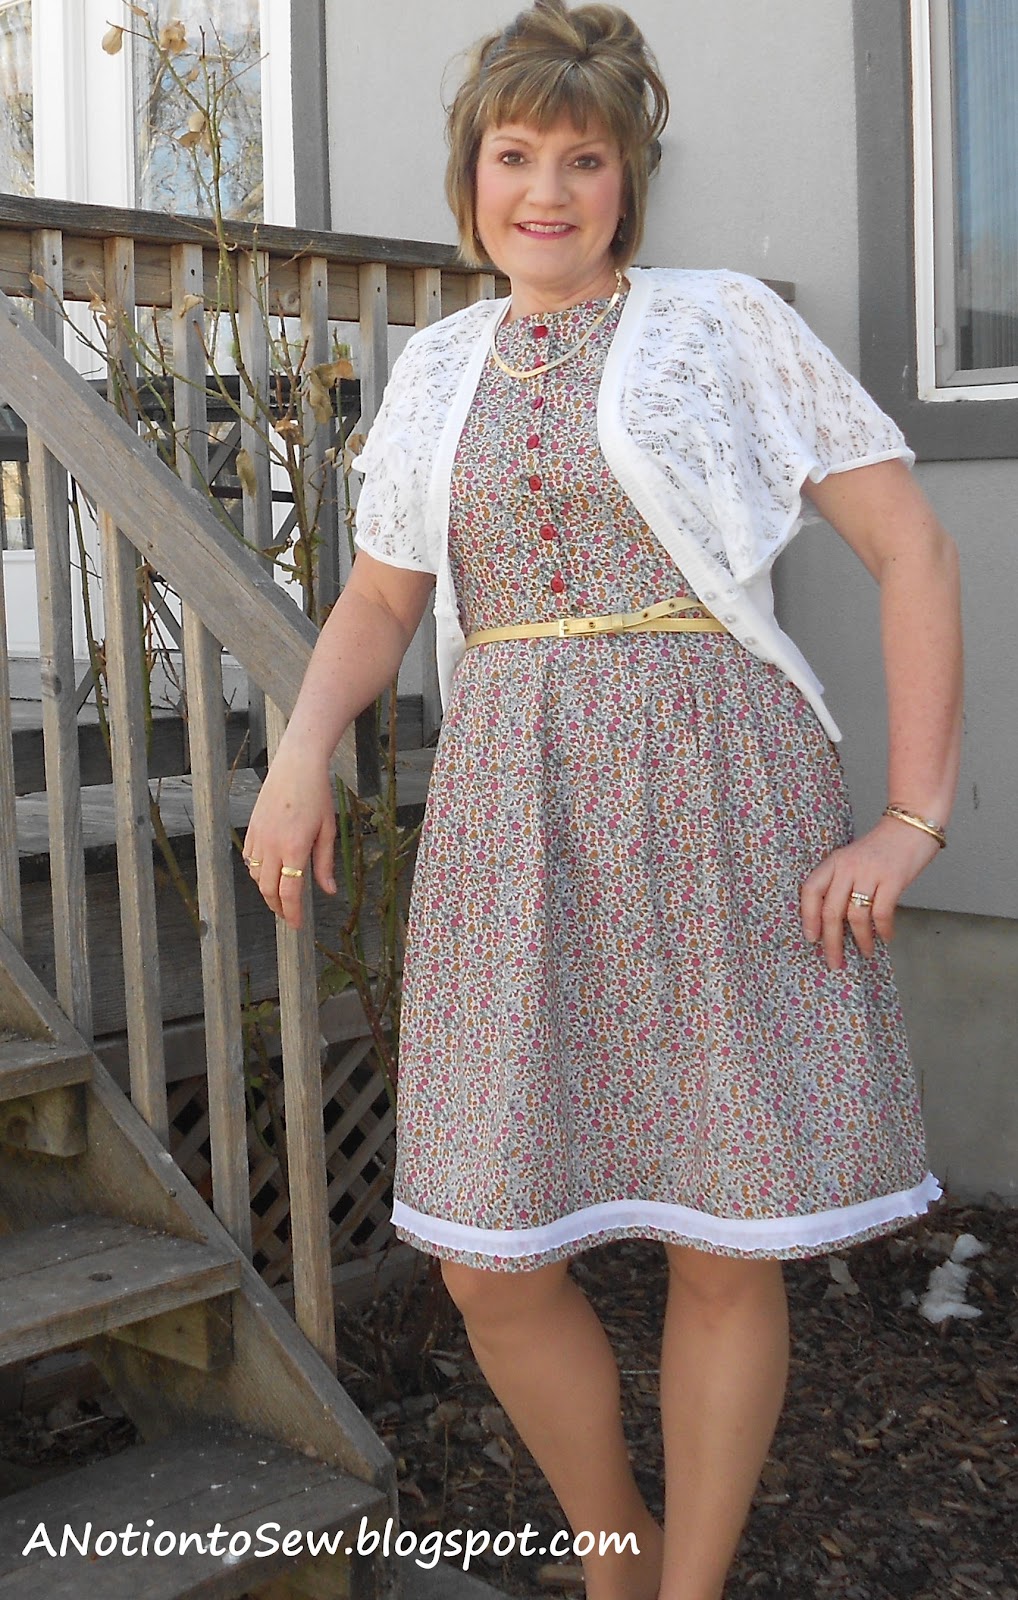
This ruffle fabric is very popular right now and I am seeing it made into women’s skirts and baby and girls’ apparel.  I purchased one yard a couple months ago with the plan to make it into a skirt or onesie/skirt combo for my little granddaughter, but there is plenty of fabric to use for other projects as well.  Being pricey, it is almost $20 per yard (for knit fabric, are you kidding me?), I wanted to put the extra yardage to good use.  So I used some as an accent to the hemline of my dress.


Let me start by noting that this is the same basic process as adding piping to a project.

Let’s begin:

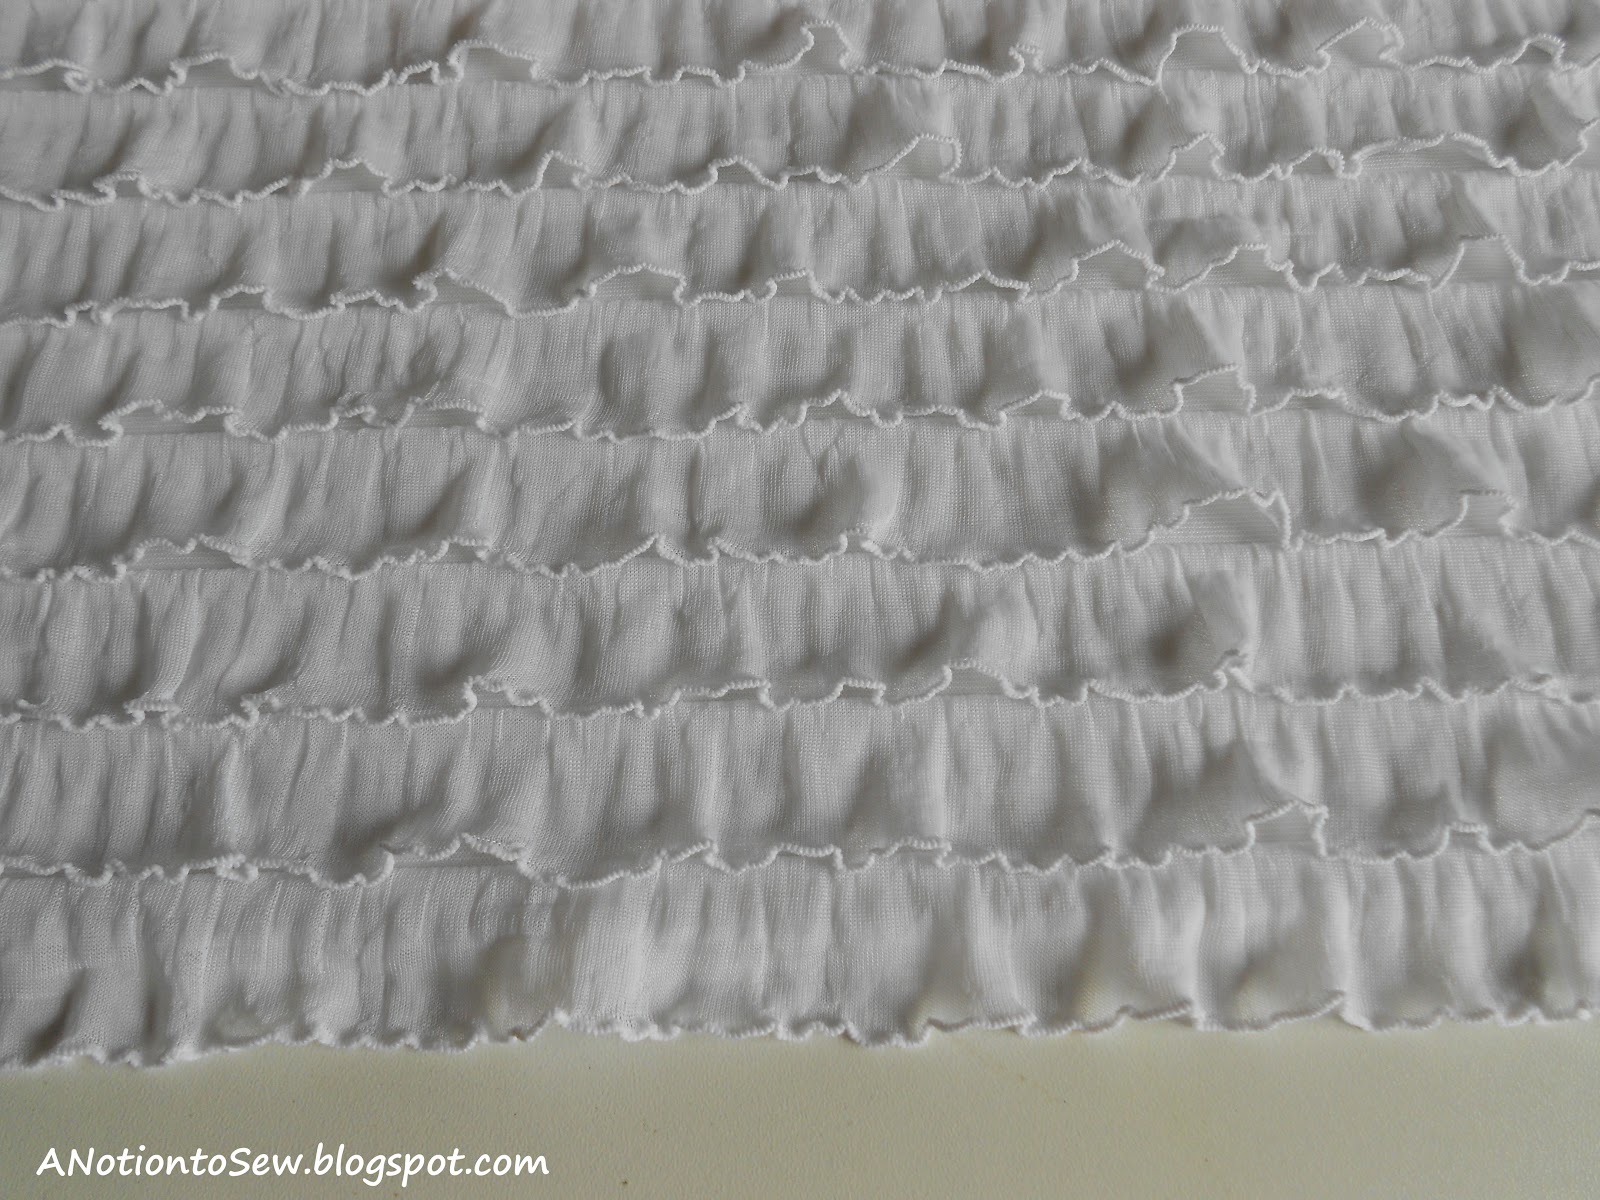
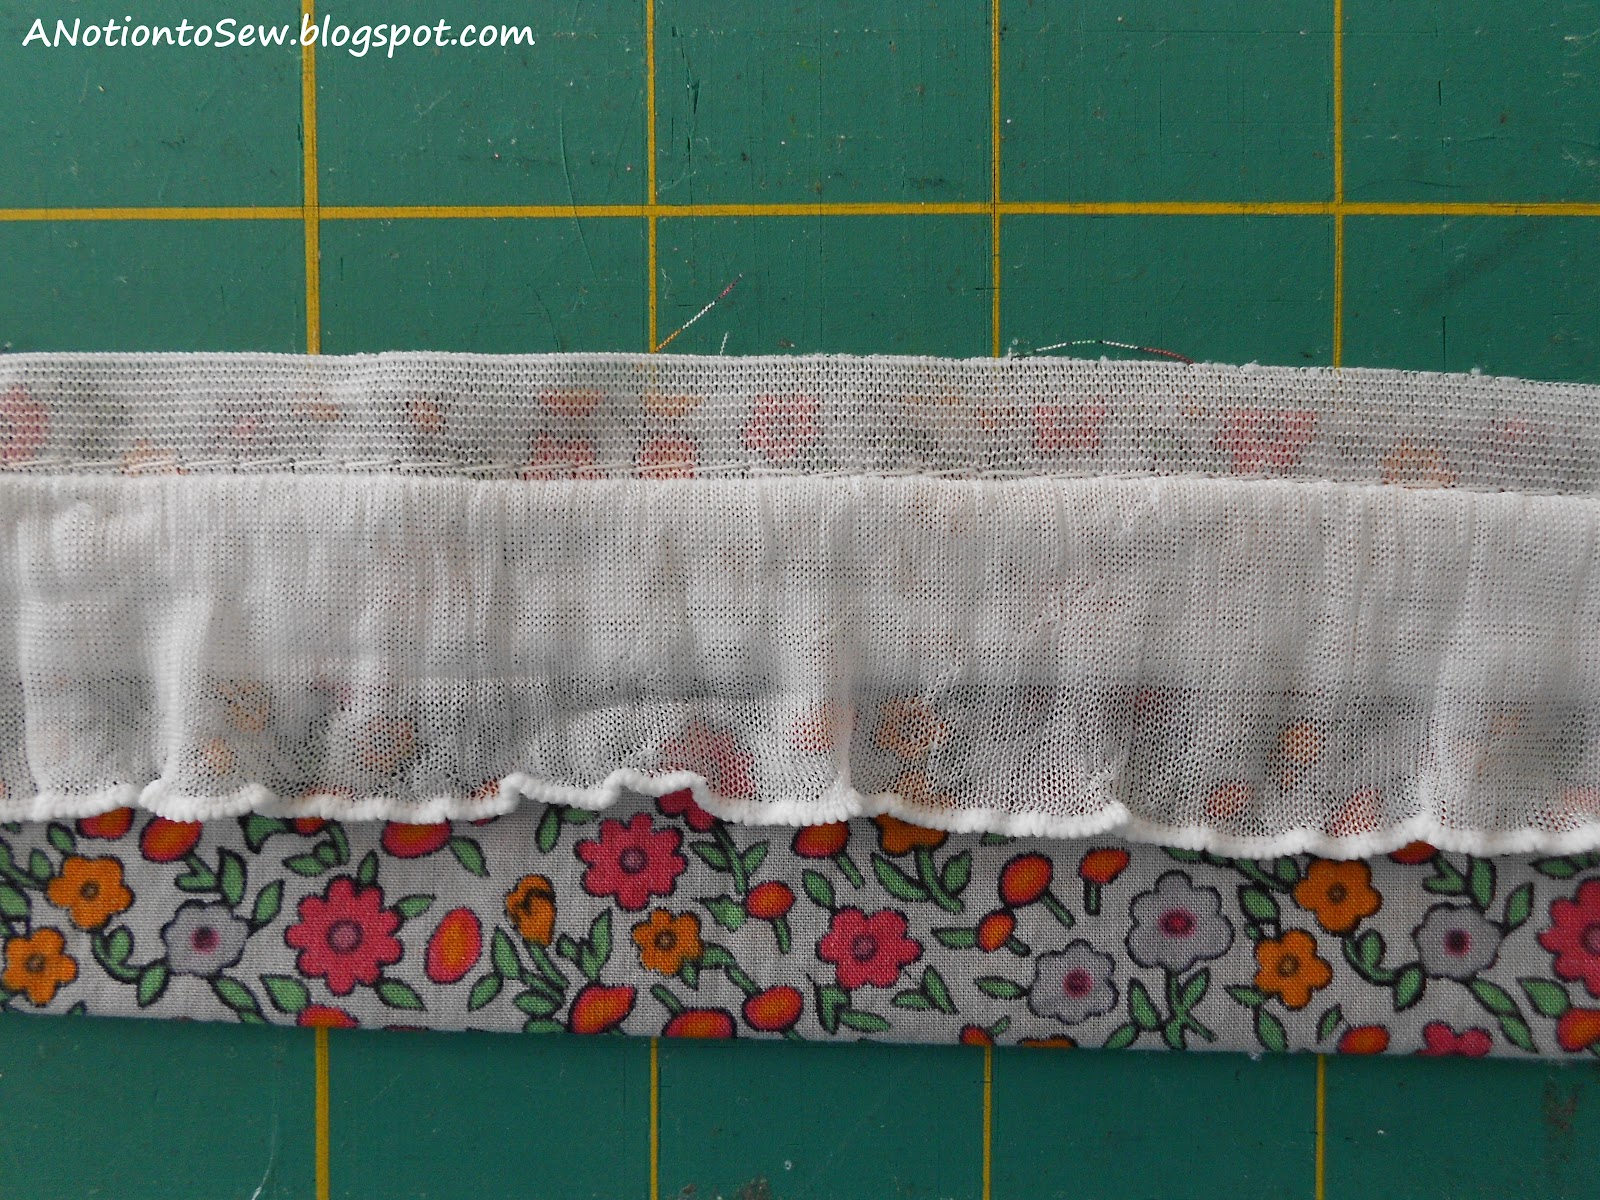
1.  First, lift up those ruffles and have a peak.  You will see that there is enough ‘flat’ fabric between each ruffle to allow you to cut off as many rows of ruffles as you would like.  For this dress, I chose to just use one row of ruffles.

It is simple to follow the lines already on the fabric as your cutting lines.  Remember, this fabric won’t ravel because it is knit.  It does, however, have a tendency to curl under once it has been cut.  Just be patient, it will all come together rather nicely.

2. 

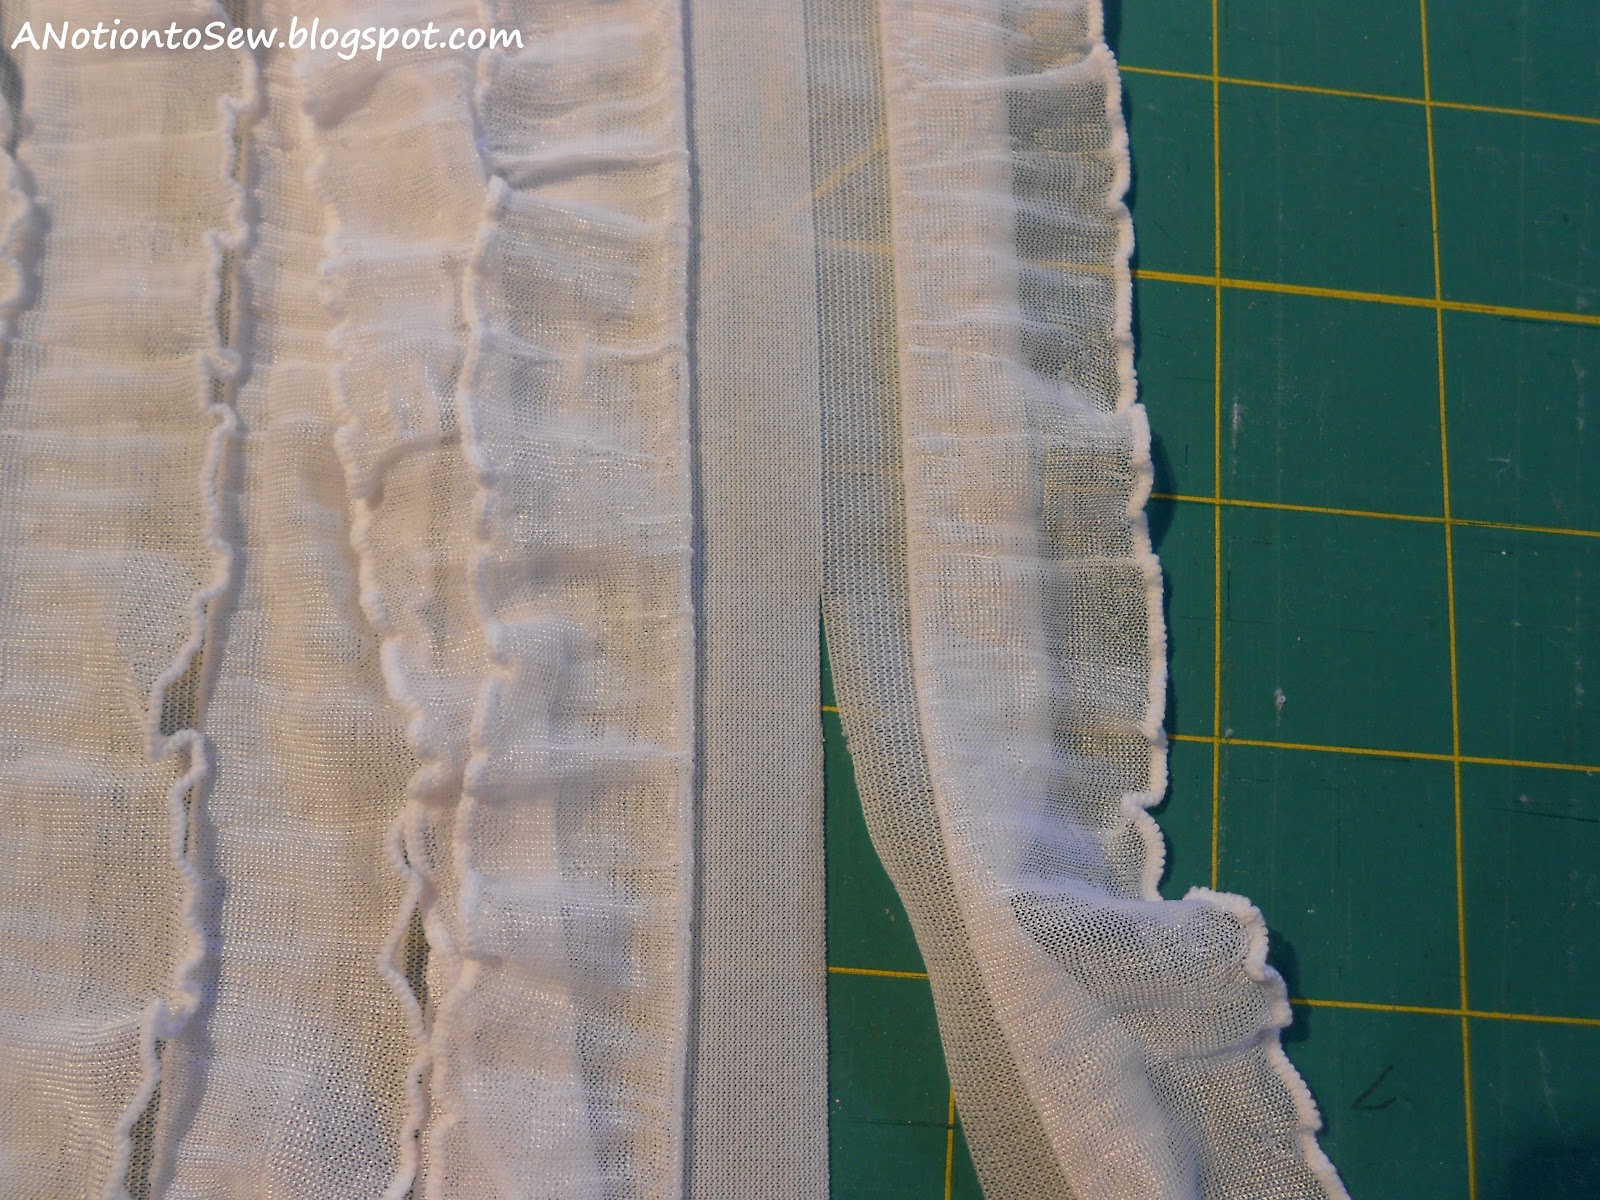
Your three best friends for cutting are the self-healing cutting mat, the rotary cutter, and the clear cutting ruler.  Line up the edge of the ruler on that pre-determined cutting line and simply run your rotary cutter over it.  This can be done with shears, but you will save your sanity by using the rotary cutter.


Ta da, you now have a nice row(s) of ruffled fabric with which to embellish your project.

3. 

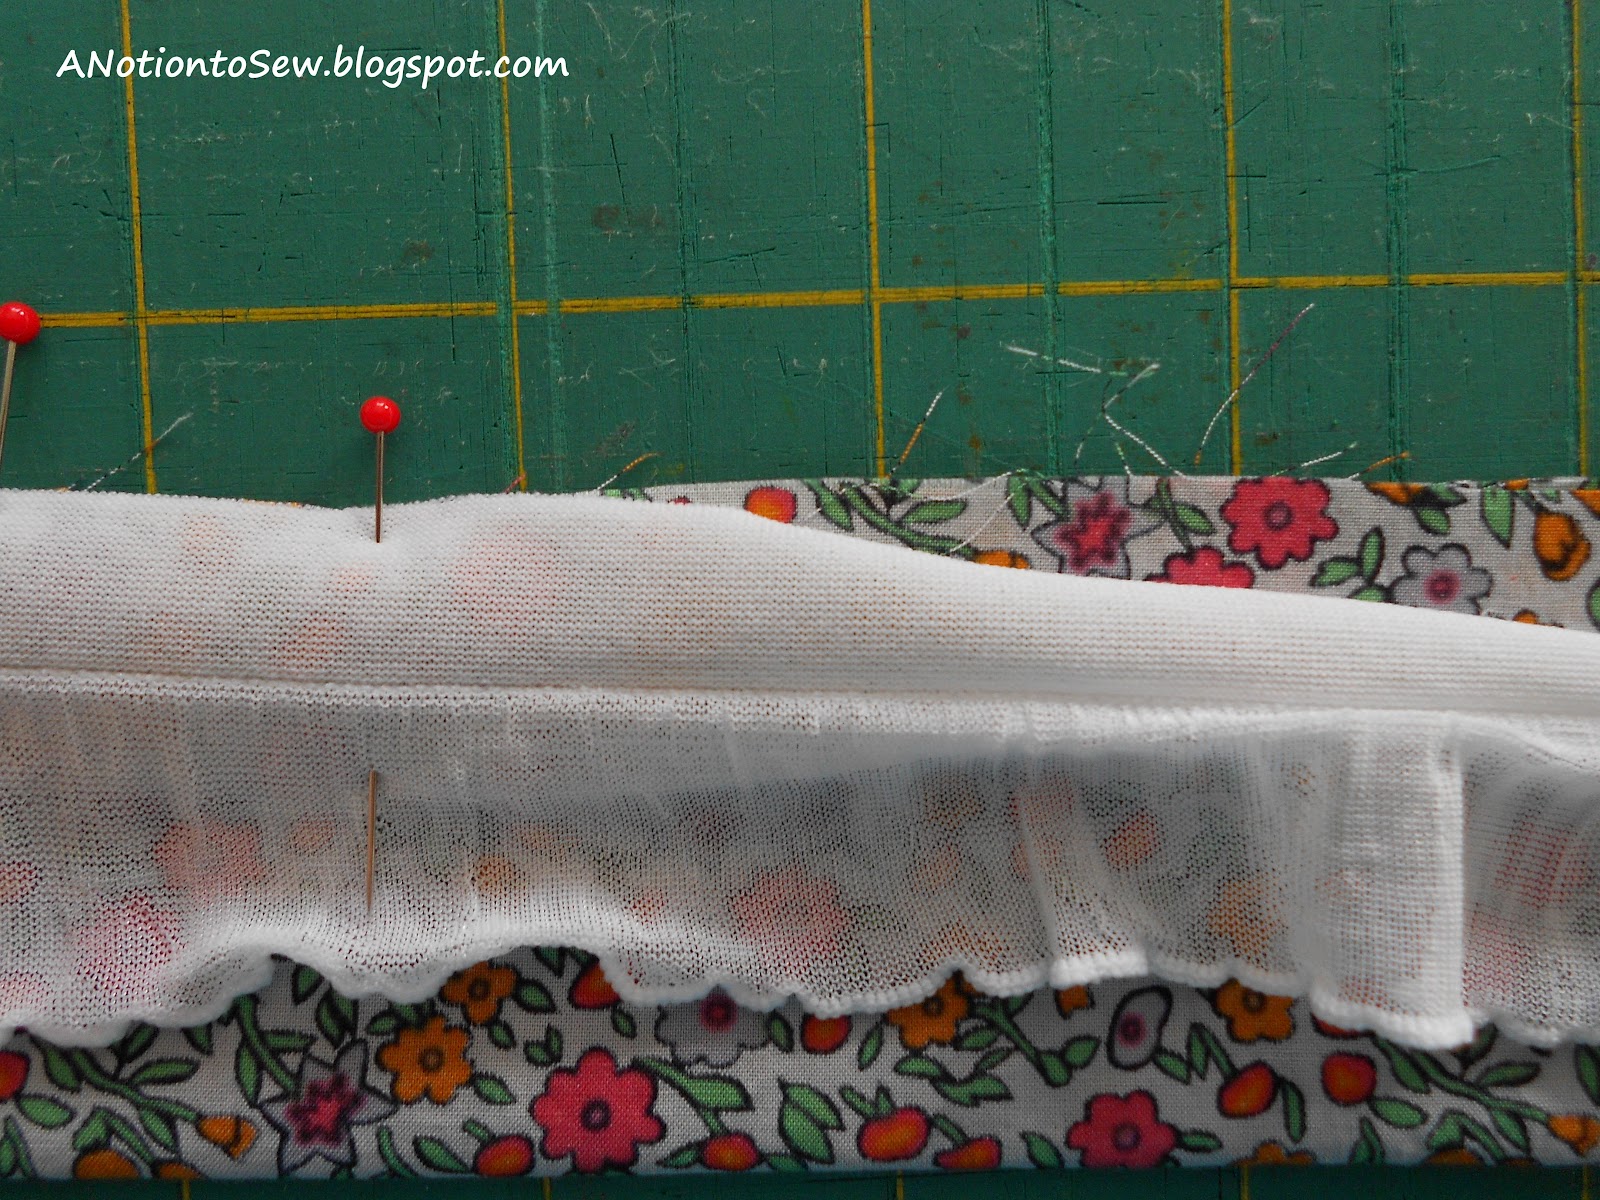
Simplicity pattern 2215 has a pattern piece number 10 (lower band).**  After seaming the band together as directed in the pattern instructions, fold the band in half lengthwise with wrong sides together.  Lay the ruffle fabric (right side up) on top of the folded band with raw edges together and pin.  Yes, it is necessary to pin because of that roly poly edge of the knit fabric.
**If you are using a pattern that does not have a bottom band piece, make your own.  Cut it 3″ wide (unless you are using more than one row of ruffles, then you will have to cut your band wider accordingly) and the length of the circumference of your hem (you may have to cut two lengths and piece them together), plus allowance for seaming it together to make it long enough to fit your garment.  Continue with the tutorial from the **
4. 

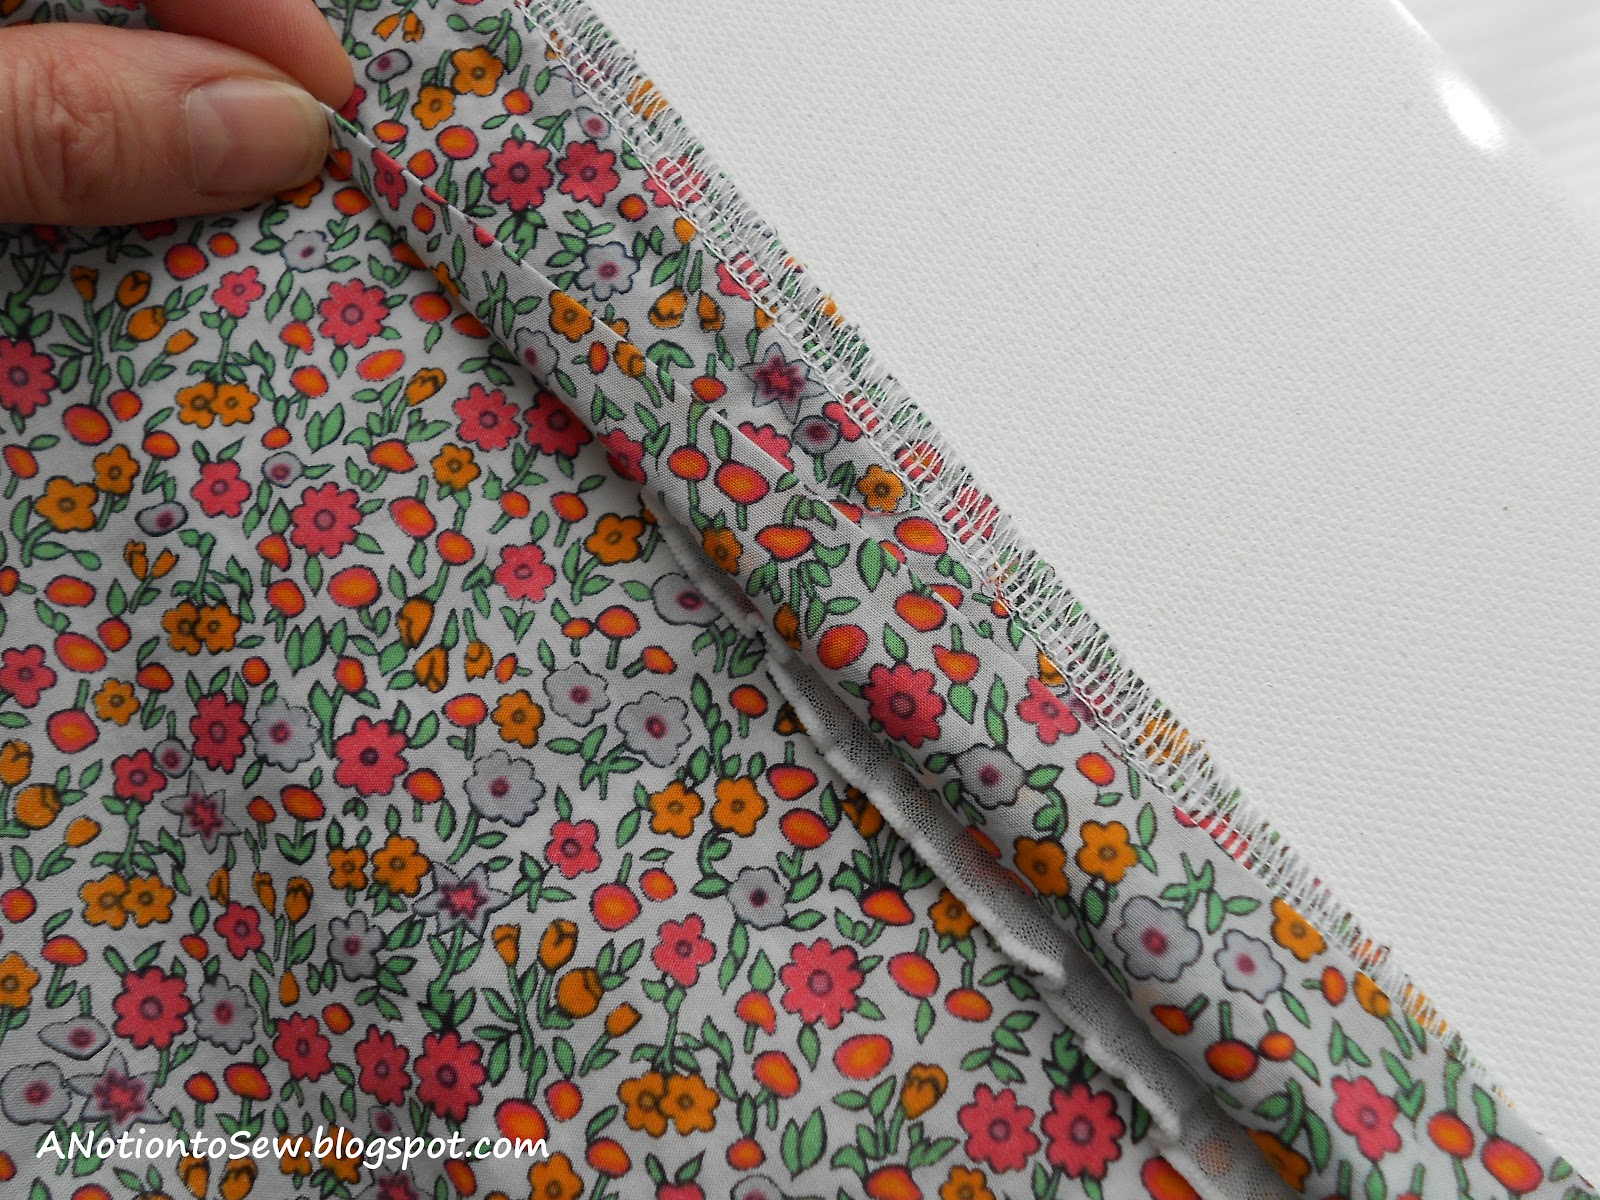
Okay, now you’re going to sew a straight stitch a scant above that ruffle.  I used a roller foot for this step because the knit ruffles kept getting caught under my regular presser foot.

You now have a nice straight line of stitching just above those ruffles.  There is also enough seam allowance left to allow room to stitch this ruffled band piece onto the dress.
5.  The final step is to pin the band/ruffle piece right sides together and raw edges even with the bottom of the dress.  Sew it with the band piece on top so you can see the stitching line from the previous step.  That becomes the line you follow for your seam.  I used my serger for this step so as to have a nice finished edge.  Here’s a picture of all those layers, serged together:
6.  Finally, press the seam up toward the garment and press the band and ruffle down.  This technique could also be used to add interest to a quilt or home dec project.  Have fun with it!