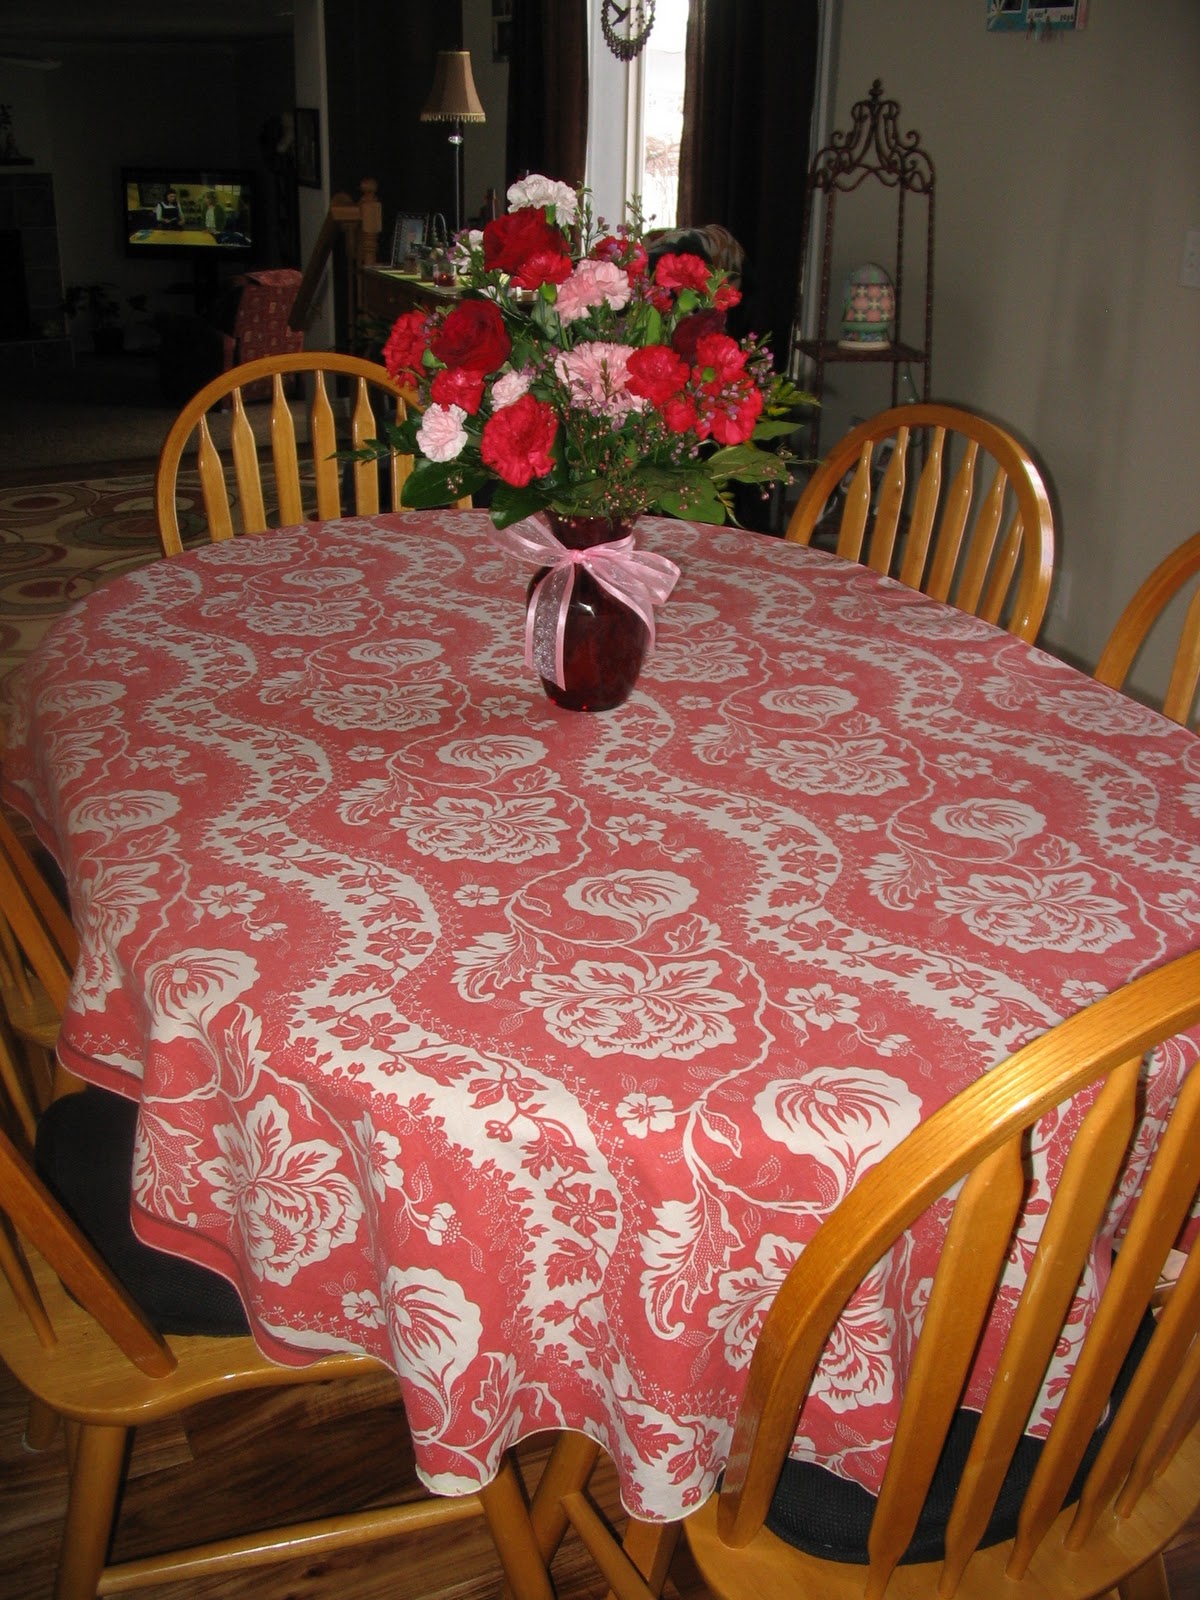
I’ve been in search of a new tablecloth for a couple of years now. I never realized finding an oval tablecloth (in anything other than a solid polyester, blah!) would be so difficult. Am I the only one on the planet who owns an oval table? And are oval table owners only worthy of ugly tablecloths??? This is when sewing skills prove priceless . . . if fabric manufacturers would see fit to produce fabric wider than 54″ for the home sewing market!!! That said, here is my newly sewn tablecloth, and I LOVE it.

My table, without the leaf, is 42″ wide and 60″ long. Therefore, the sides are slightly shorter than I would have liked them to be, but all in all I’m very satisfied with the result. The fabric I used is Rural Jardin by French General for Moda. It is a linen/cotton blend and is 54″ wide. I ordered 2 1/2 yards from one of my favorite fabric stores http://www.fatquartershop.com/ .
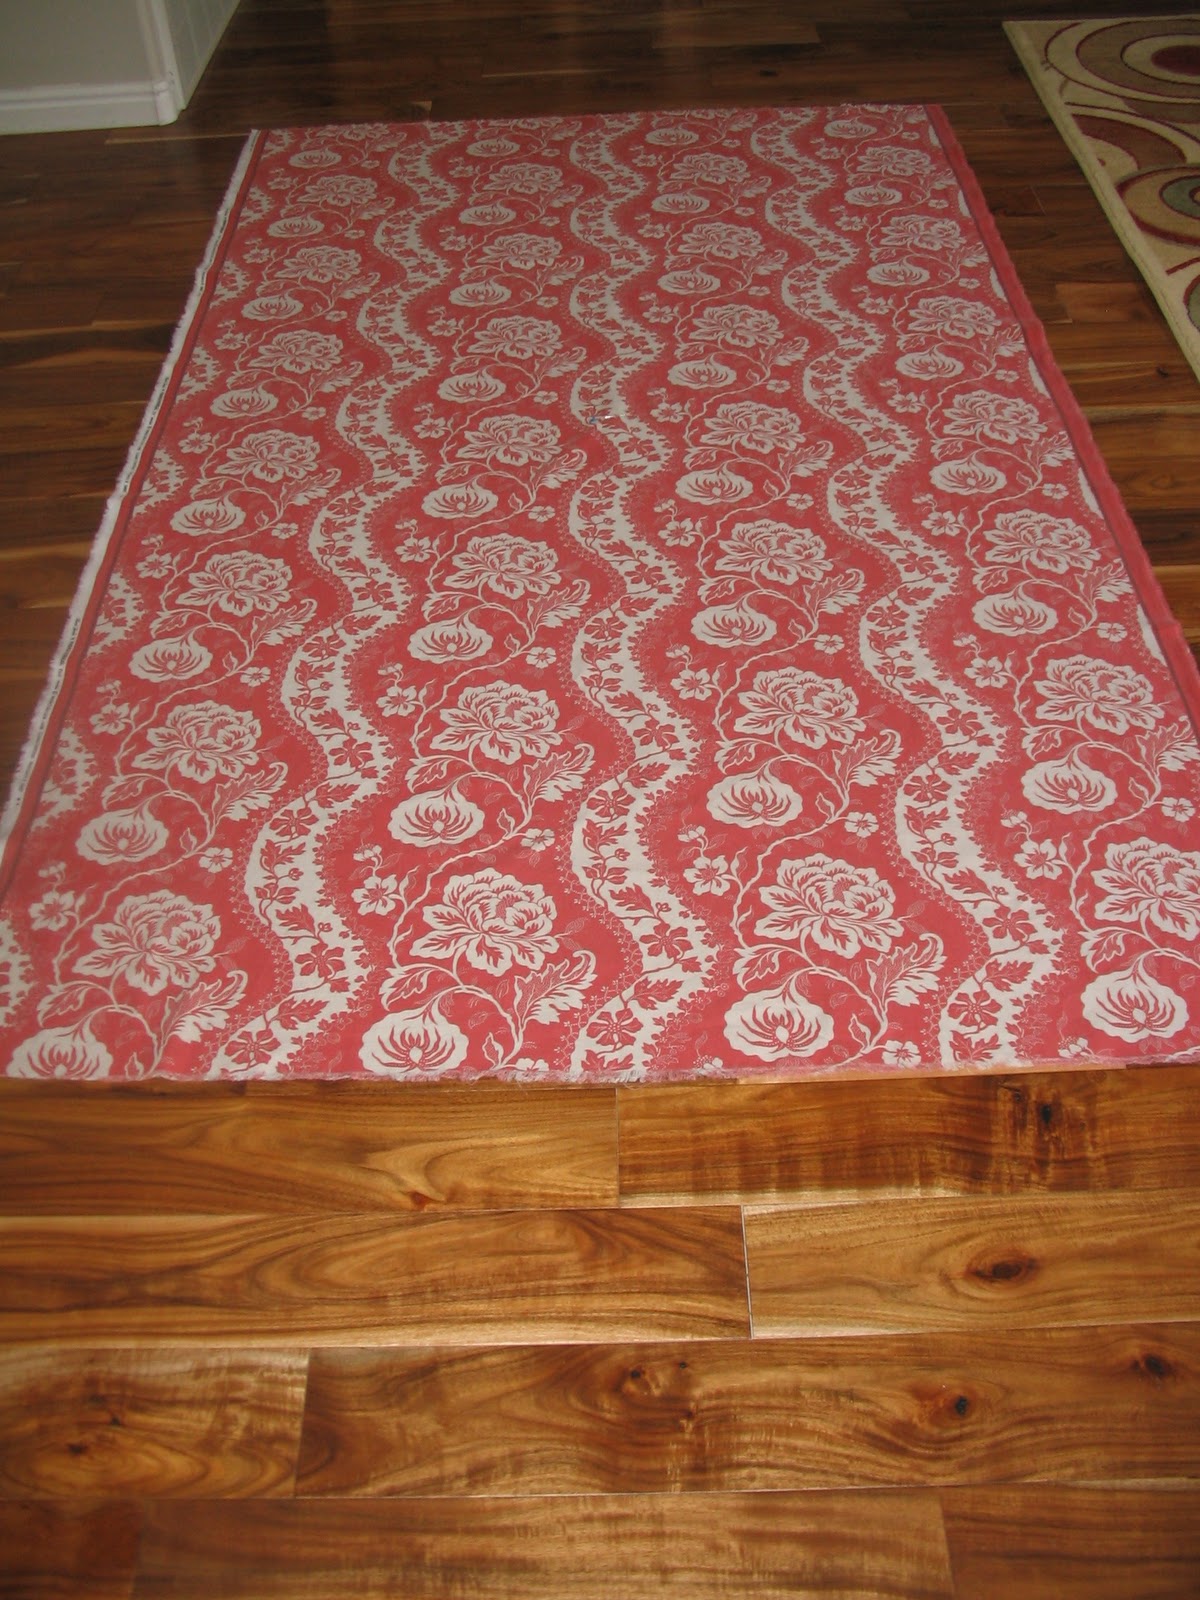
Here’s how I made it: I started by prewashing my fabric, ironing it, and laying it out on the floor to mark my sewing lines.
I then took an old tablecloth purchased a number of years ago and placed it over the top of my fabric so I could “draw” my sewing lines. Before layering in this fashion I did mark the center of my fabric and the center of my existing tablecloth by folding each in fourths and using a pin to mark the center. Then I matched and pinned the centers when I layered them. It then looked like this: (See how the fabric is not quite as wide as it really should be? Oh well, it can’t be helped.
I simply traced around the tablecloth with a washable fabric marker. I did not leave much of a seam allowance (only about 1/4″) because I knew I would finish the edges on my serger with a rolled hem. My tracing lines looked like this:
There was no need to even cut around my traced lines because the serger does all that for me. I just took it to my machine and stitched away.
Here is a close-up of the rolled hem:
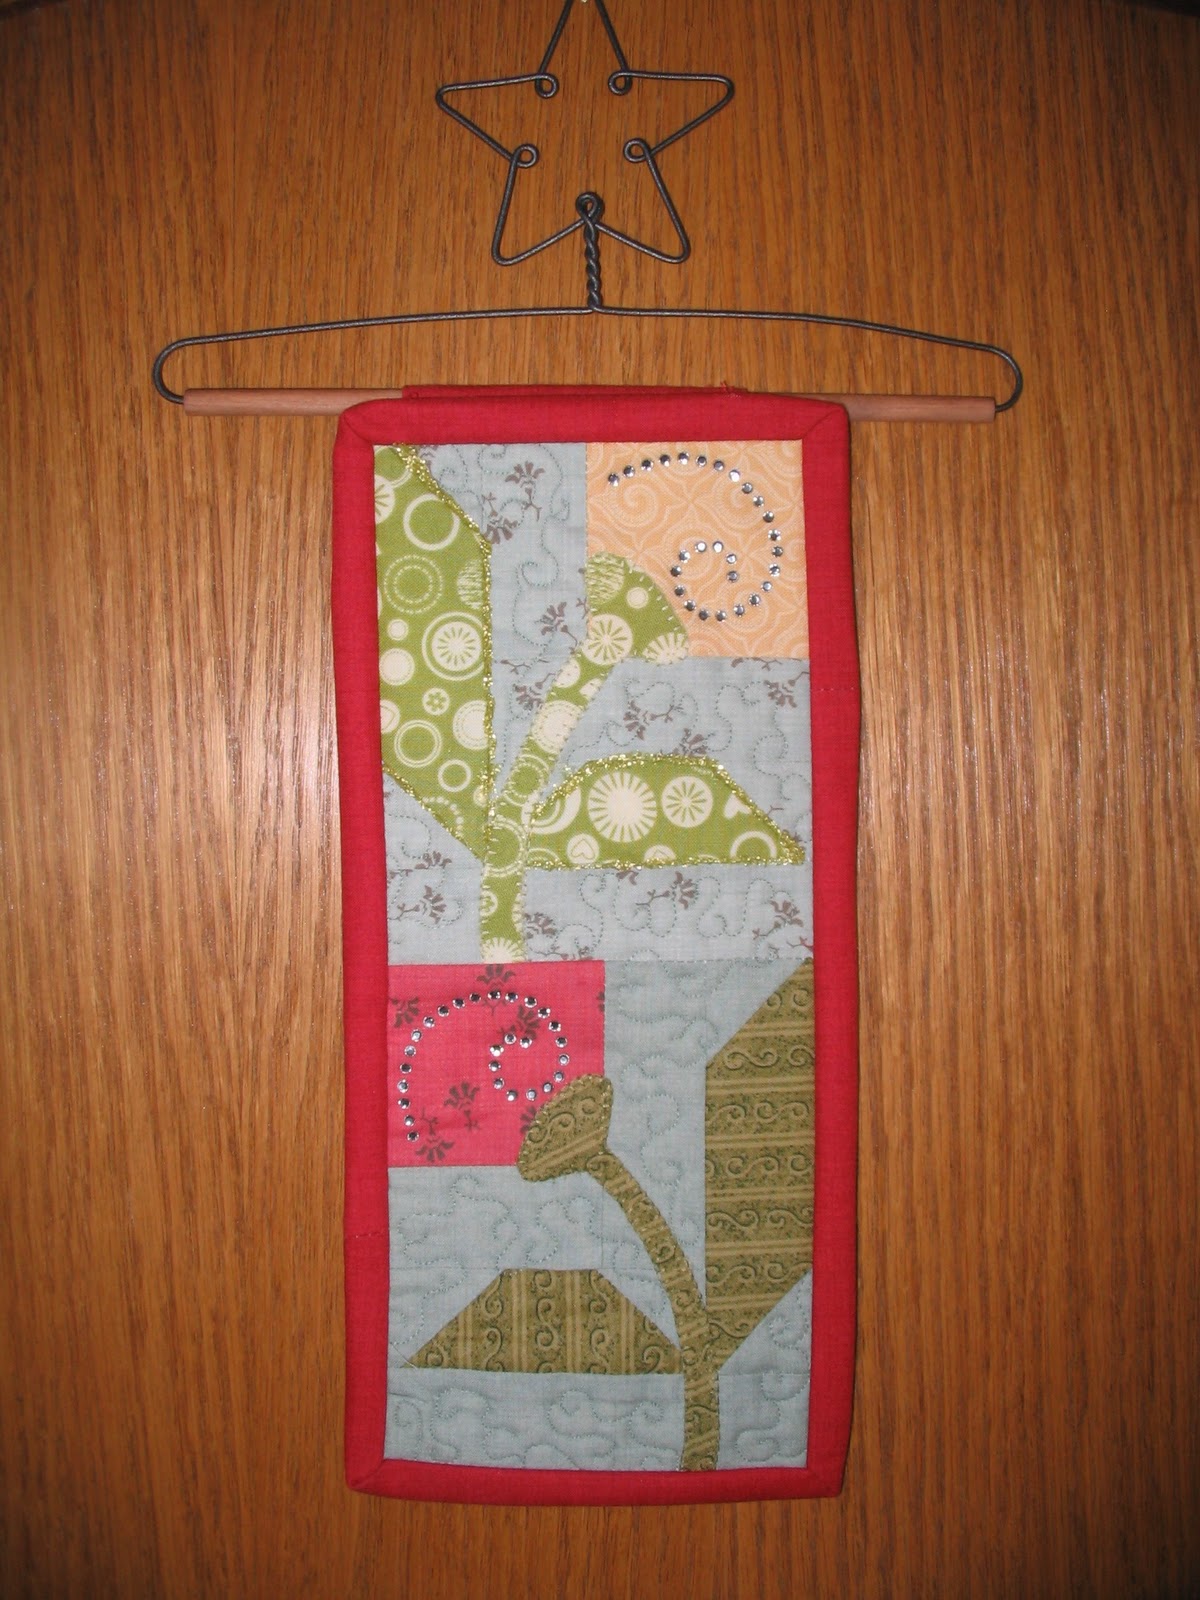
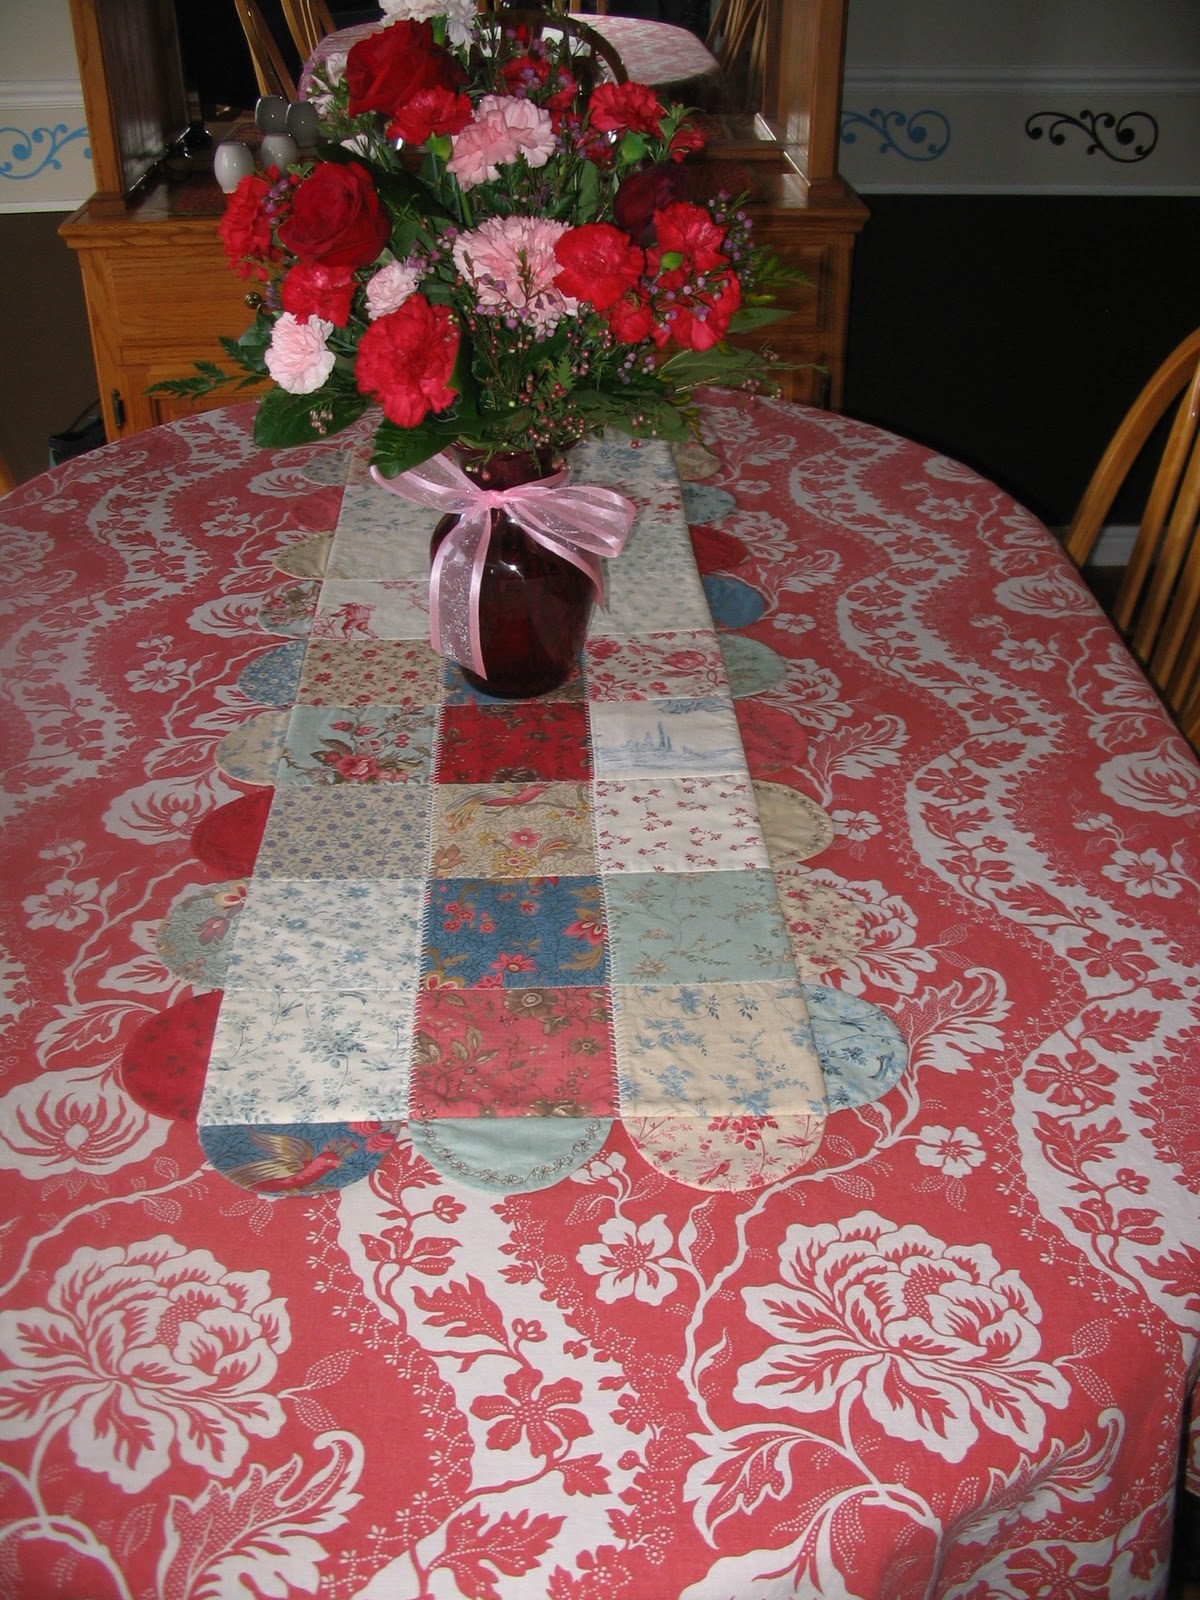
Some time ago I made a table runner using the same line of fabric (100% quilting fabric, no linen) and it looks great on top of my table with my new tablecloth.