Don’t get me wrong, the instructions included with the pattern are top notch
they are very thorough and very easy to follow
I just have a few additional tips if you are interested:
TIP #1
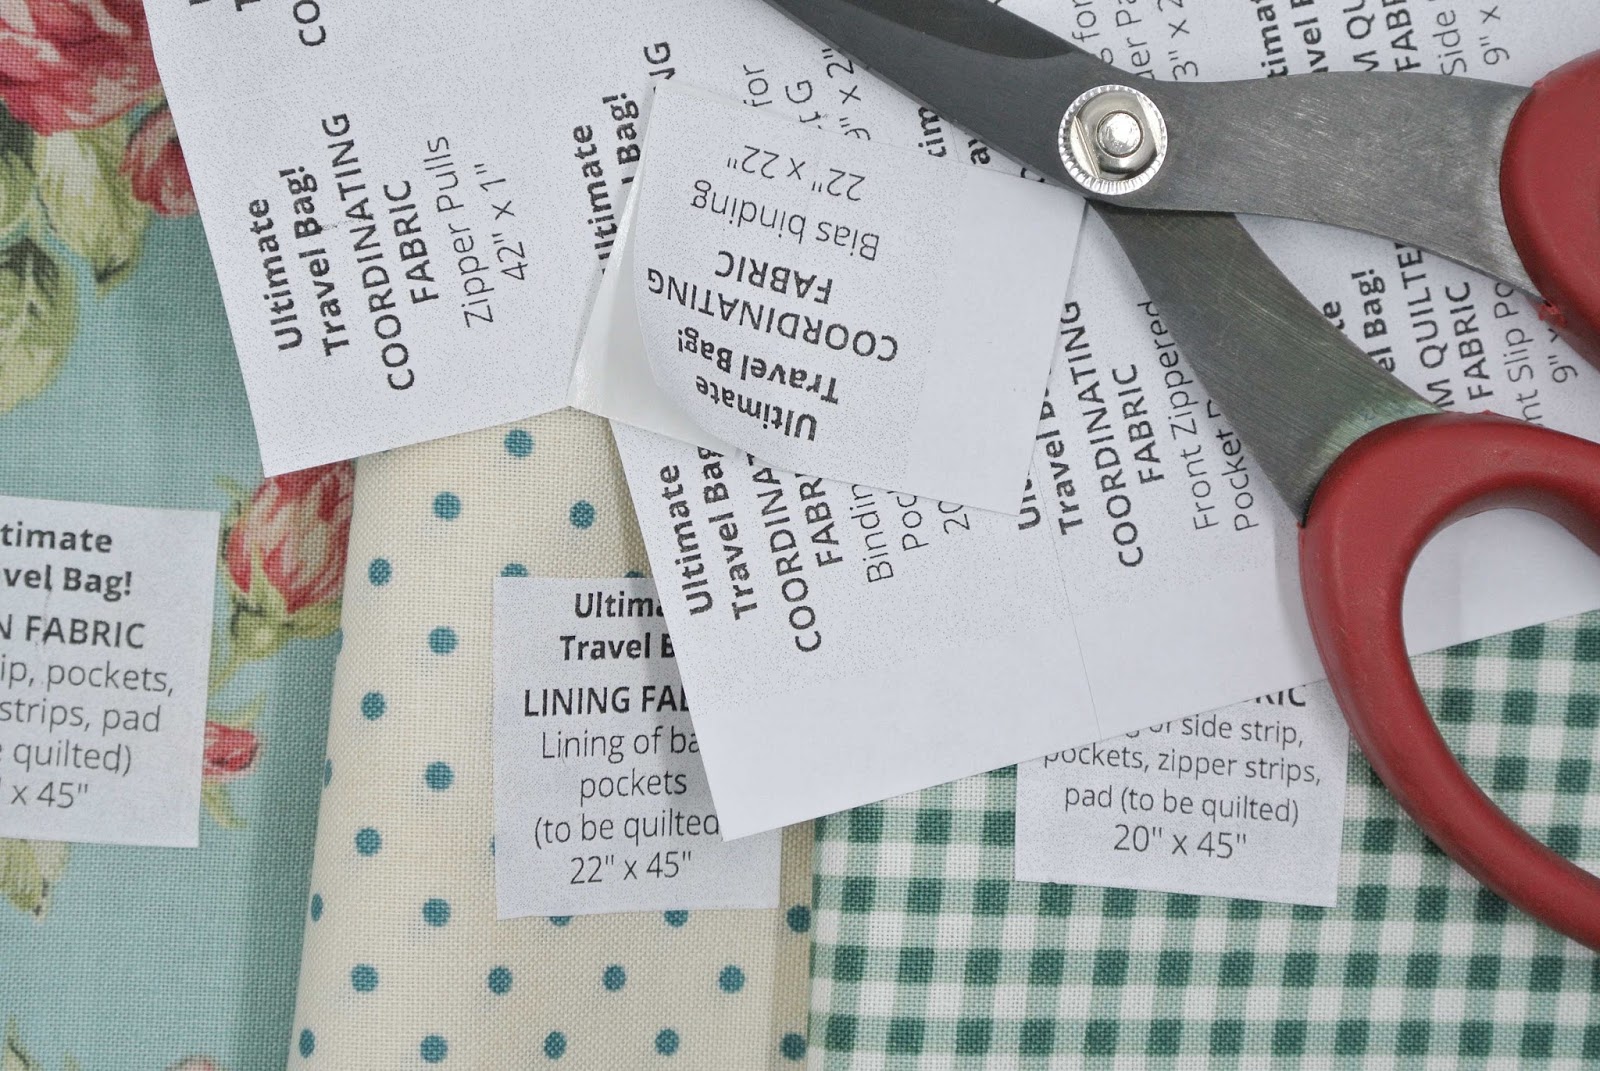
byAnnie includes a sheet of cut apart labels for use when cutting all the components of this bag
for your sanity, it’s pretty much a necessity to use those labels!
I scanned the sheet of labels and printed it on sticker paper
that made life so easy
all I had to do was cut each label as I cut the fabric,
then peel and stick to my fabric
remember to use your paper-cutting scissors for this step, not your fabric shears
-you’re welcome-
TIP #2
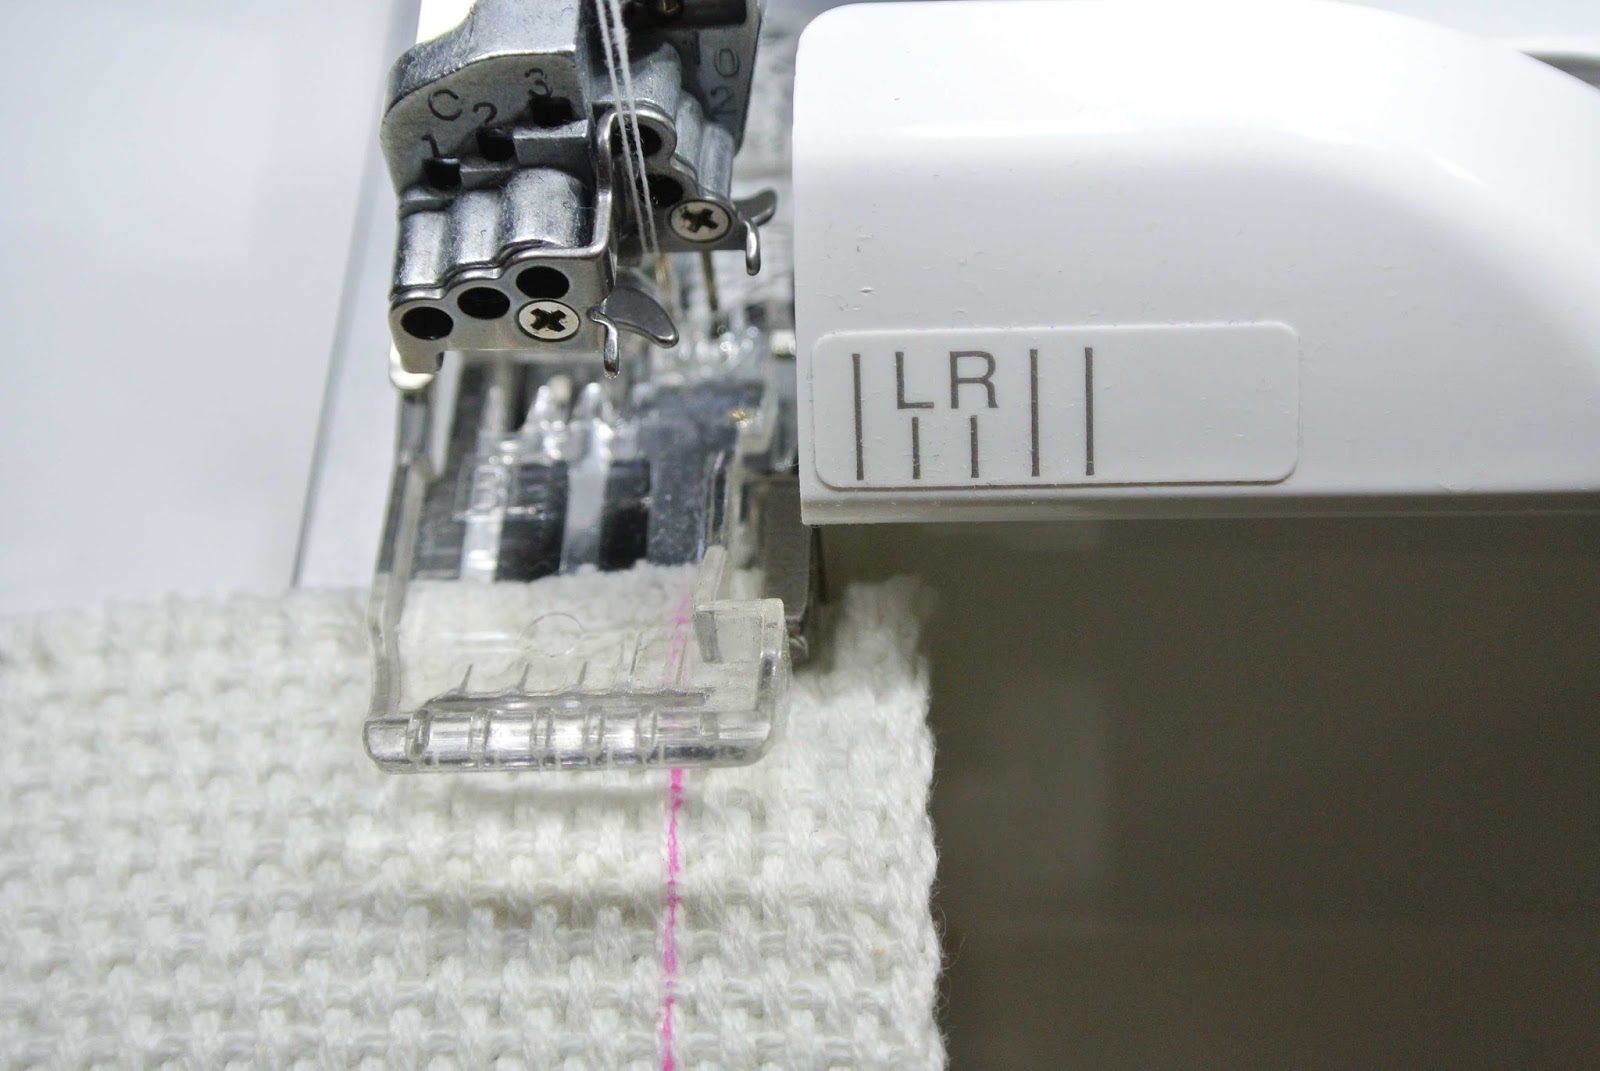
if you, like me, can’t find 1 1/2″ strapping,
just use the wider strapping
use a clear 24″ quilting ruler (or any other ruler you have handy),
mark the line where the strapping would measure 1 1/2 “
then take it to the serger and trim and finish that edge all in one
*an alternate method if you don’t own a serger*
mark your strapping the same as above
cut it using your rotary cutter or sewing shears
run an overcasting stitch or a zig zag stitch along the edge
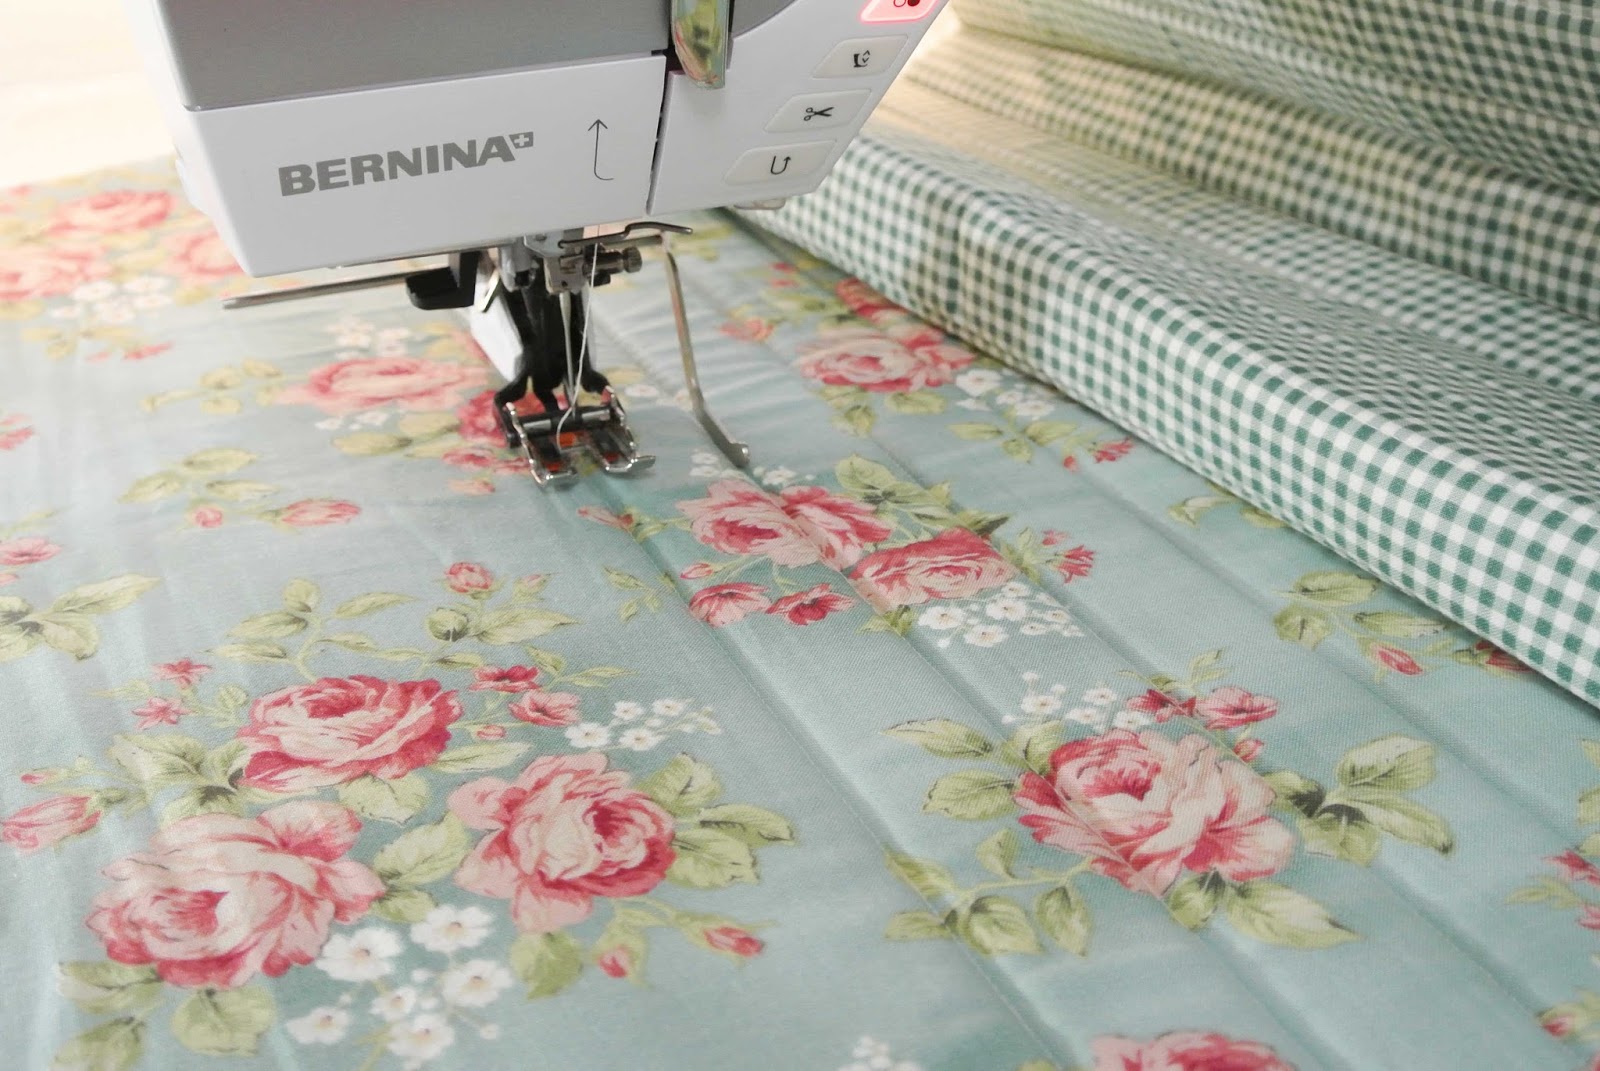
if you choose to straight-line quilt, rather than free-motion quilt
your lining, main fabric, and foam
use a walking foot with seam guide
I placed my seam guide at 1″
TIP #4
use binder clips instead of pins
where it is practical
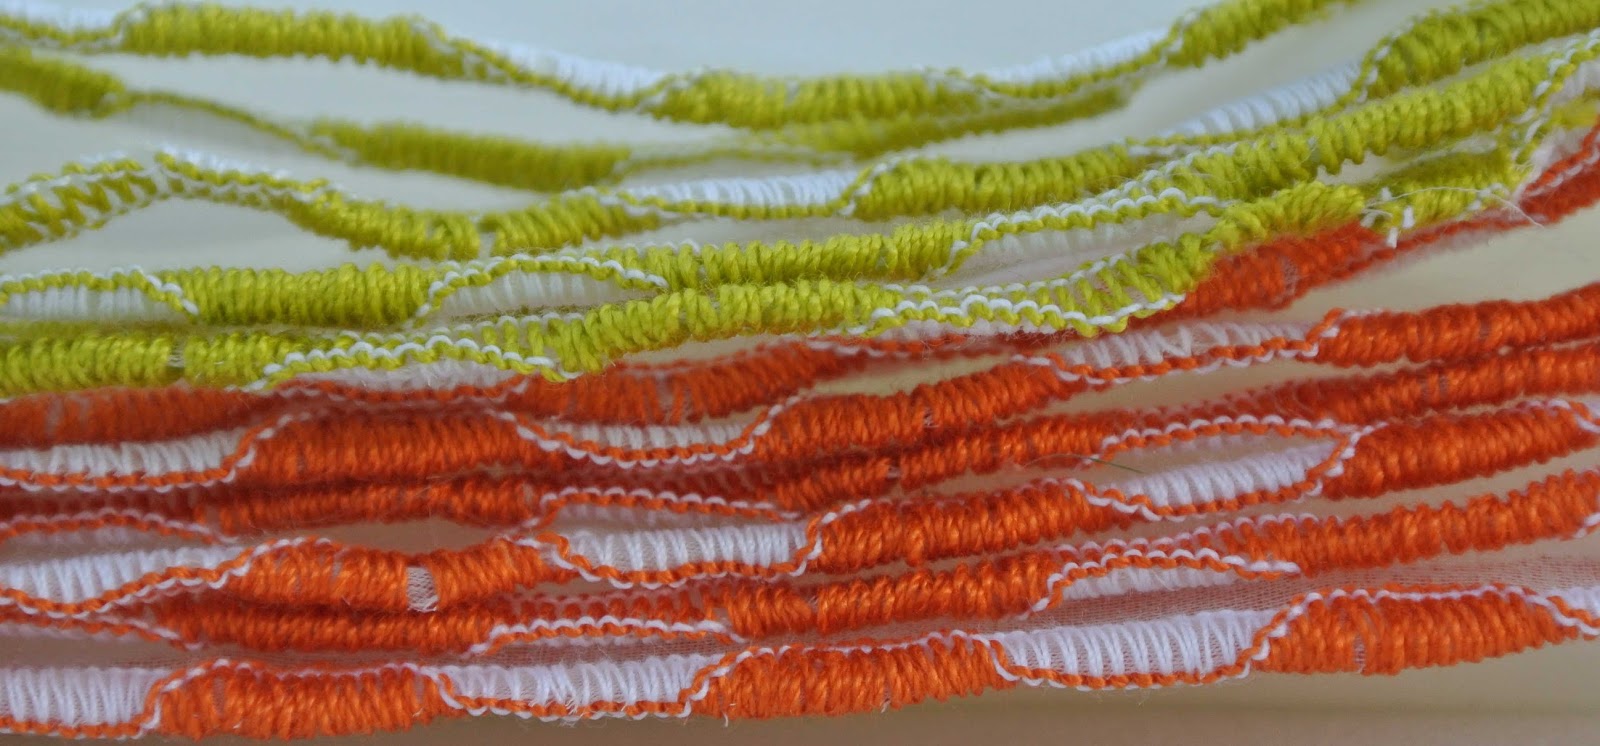
it is much easier to hold those mesh and binding
layers together with a clip instead of pins
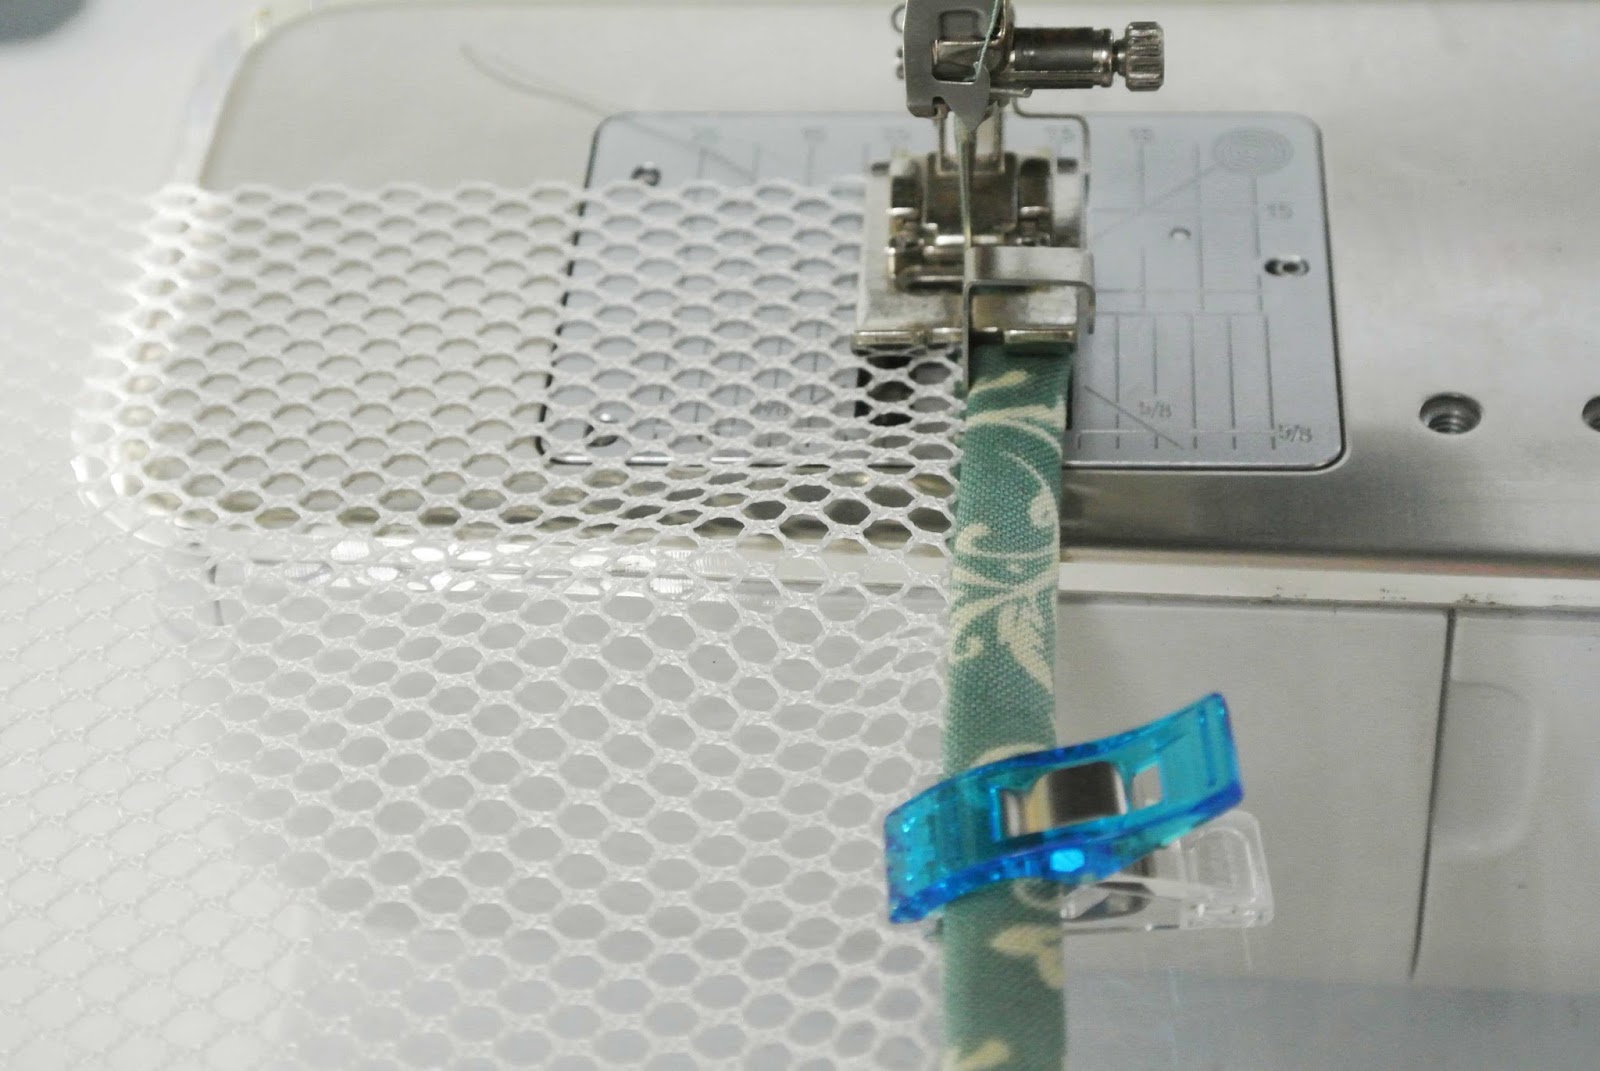
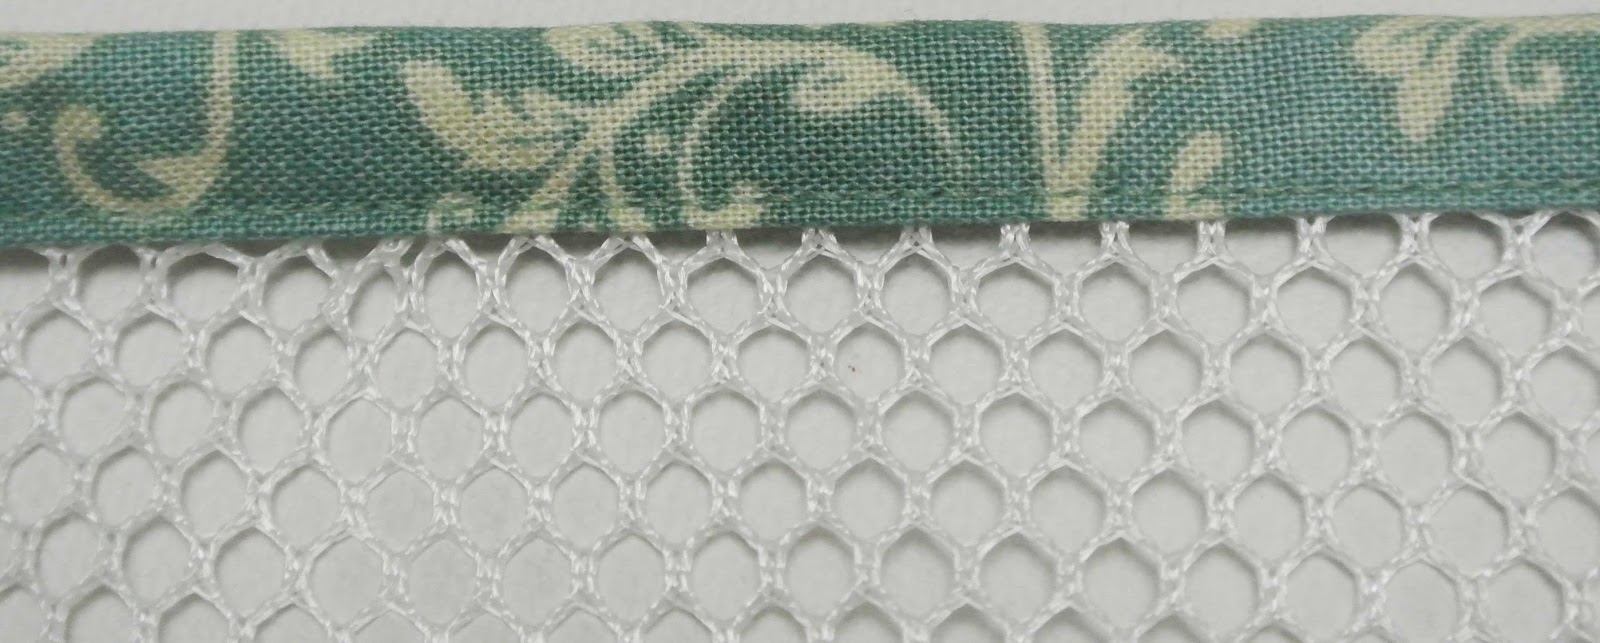
TIP #5
after attaching the binding to one side of the inner pockets,
flip the binding to the back side leaving about 1/8″ hanging down longer than the front
the beauty of the mesh is that you can see through it while you are stitching the back down
stitch from the top side, using your edge stitch foot (Bernina foot #10)
let the guide of that foot ride snug up against the front fold
use a straight stitch
and you will get a beautifully stitched back side of that binding
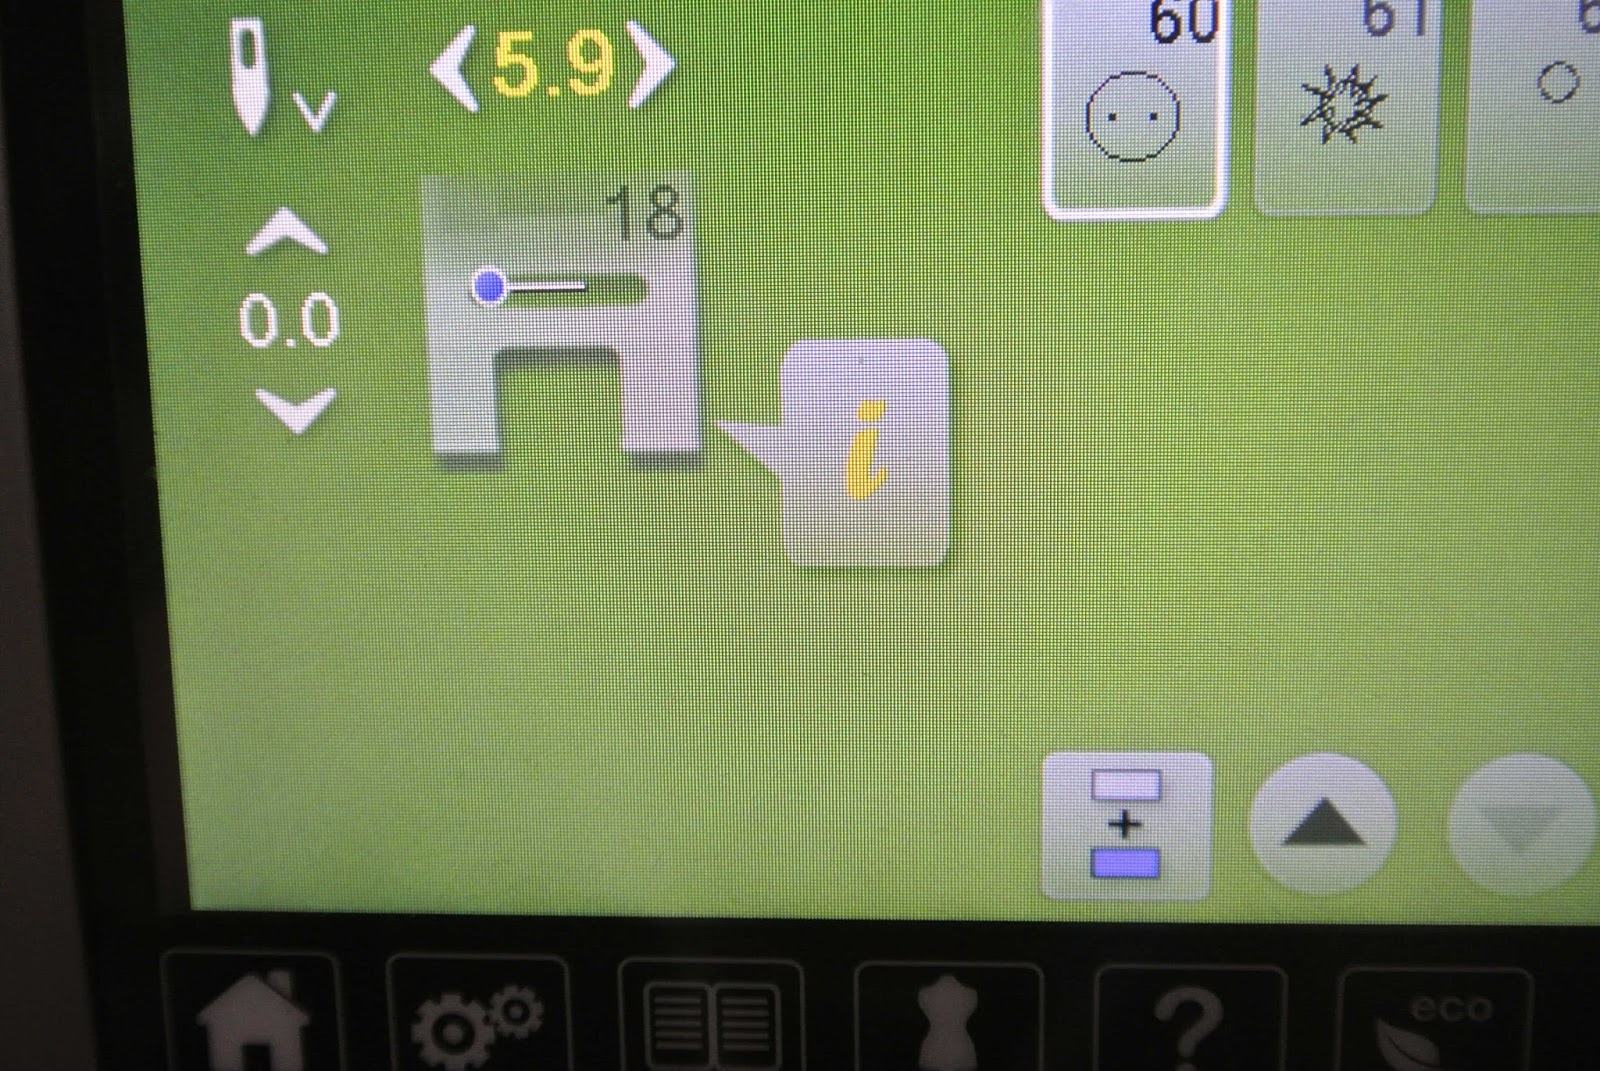
TIP #6
Instead of buttons, use extra large snaps for the ‘feet’ on the bottom of the bag
they are metal
they won’t break like some buttons
and they are very secure
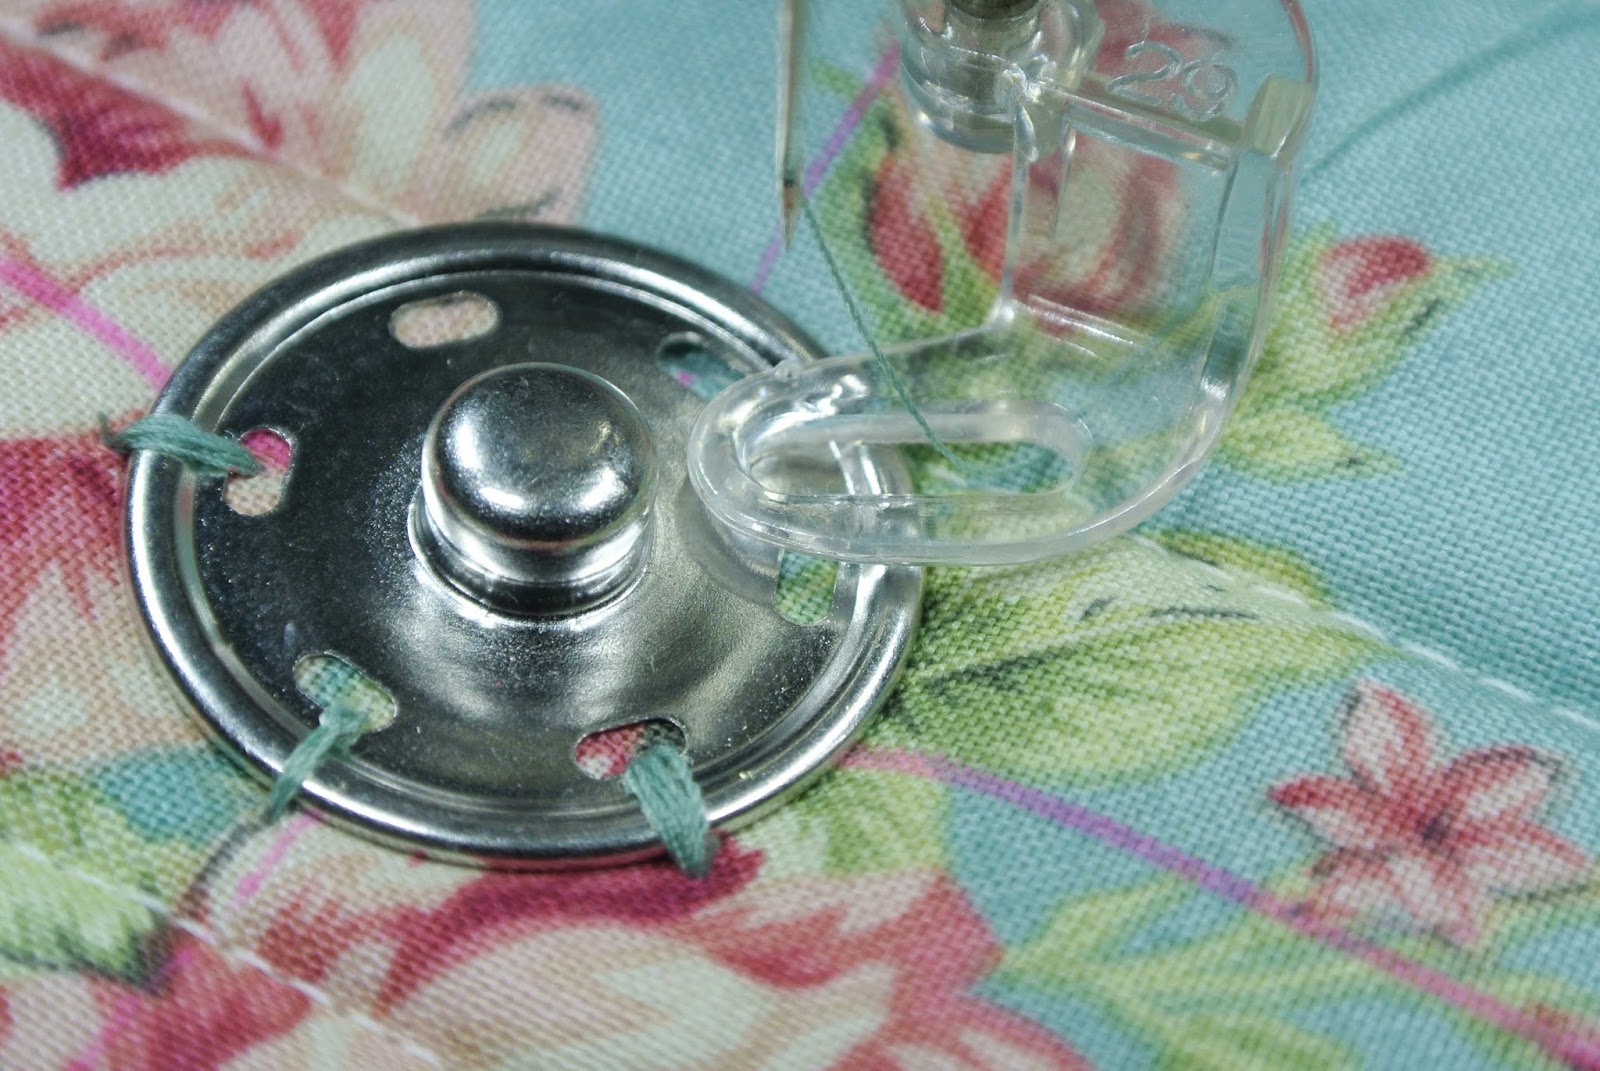
I used the button sew on stitch on my sewing machine
I moved the needle to the far left position
and changed the stitch width to 5.9mm
the clear quilting foot (Bernina foot #29)
was the perfect choice for this step
I could see through it to line up my snap hole
and by moving the needle to the far left position,
that foot was the perfect width to hold down the edge of the snap
and stitch it on at the same time
it made quick work of all those snap holes
and trust me, those snaps are not going anywhere!
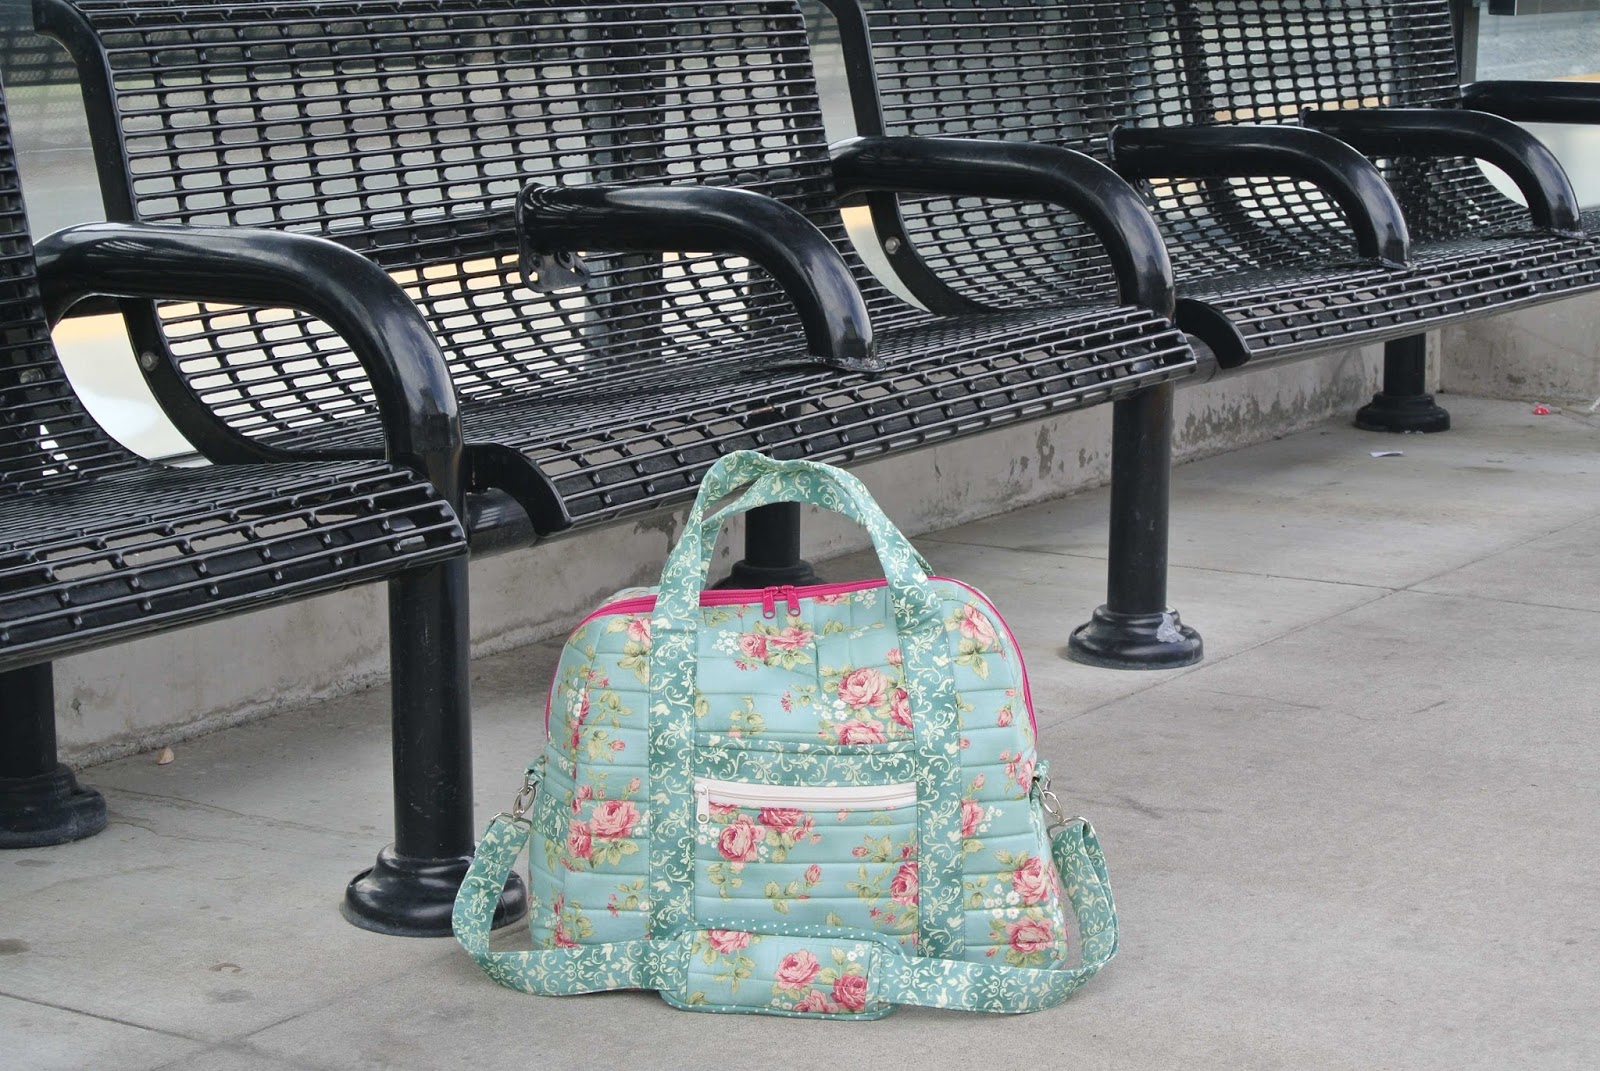
That’s it, sewists
Go ahead
Get busy on your Ultimate Travel Bag
Then go somewhere fun
You deserve it!!!