Hi sewing friends!
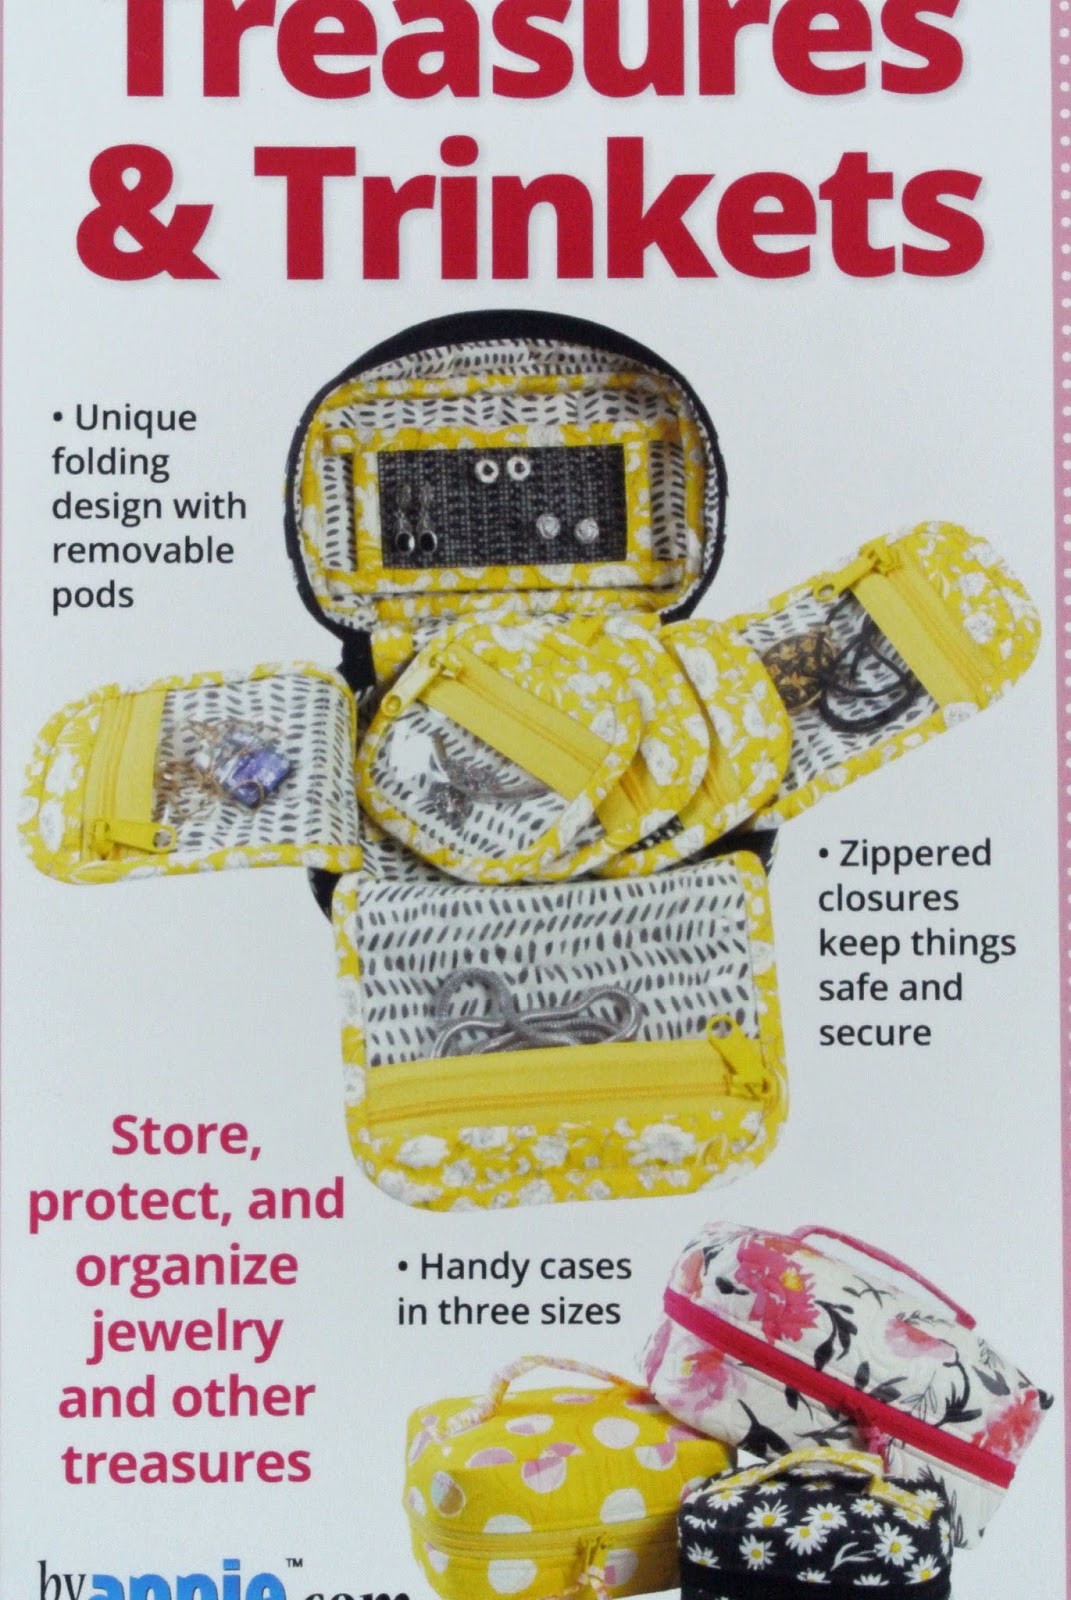
I received a custom request from a jewelry maker for an organizer
for her jewelry findings and supplies.
and my client made several clever change requests.
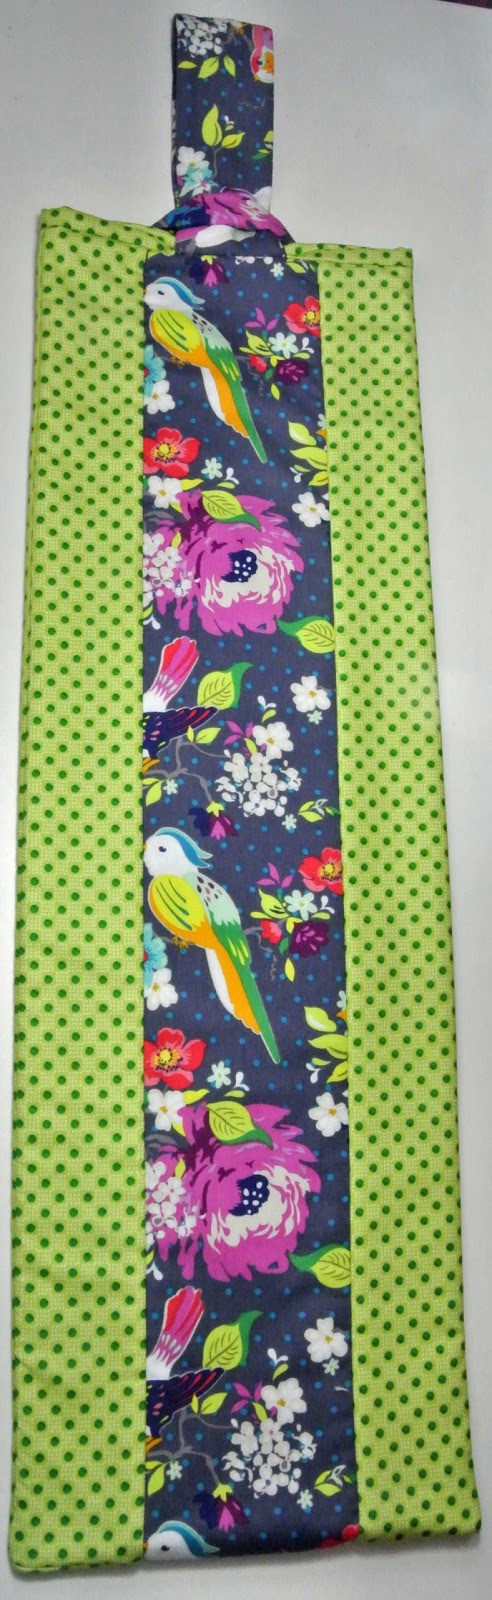
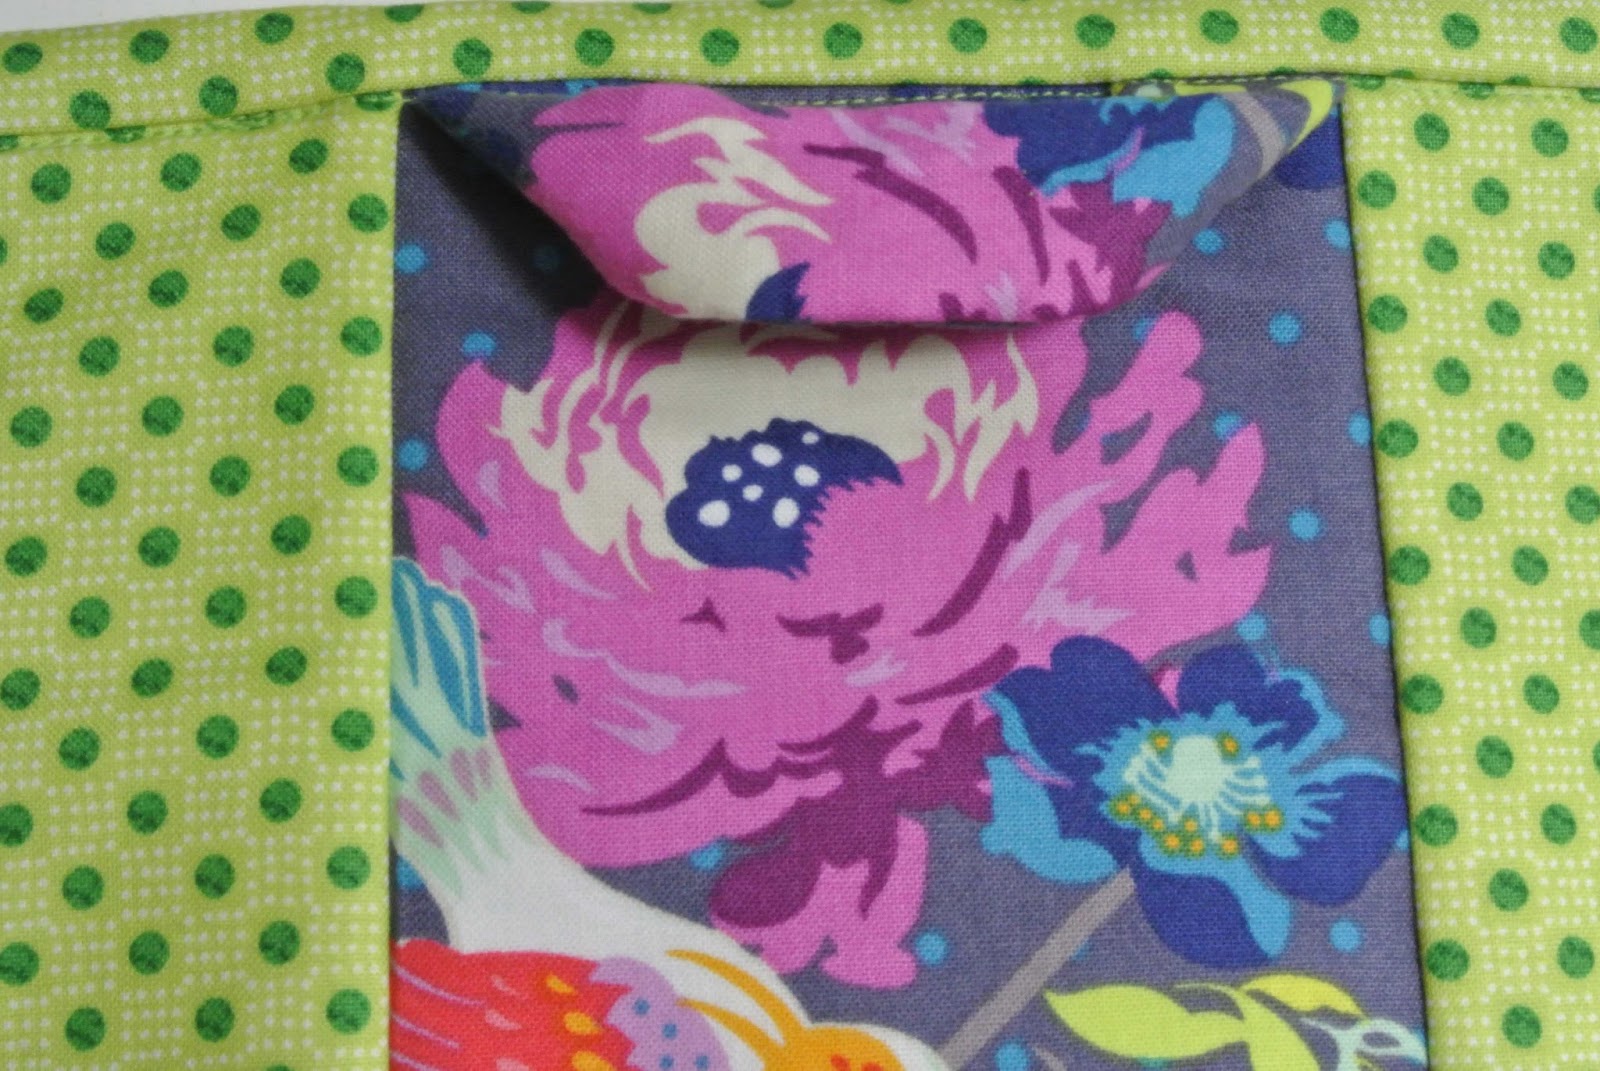
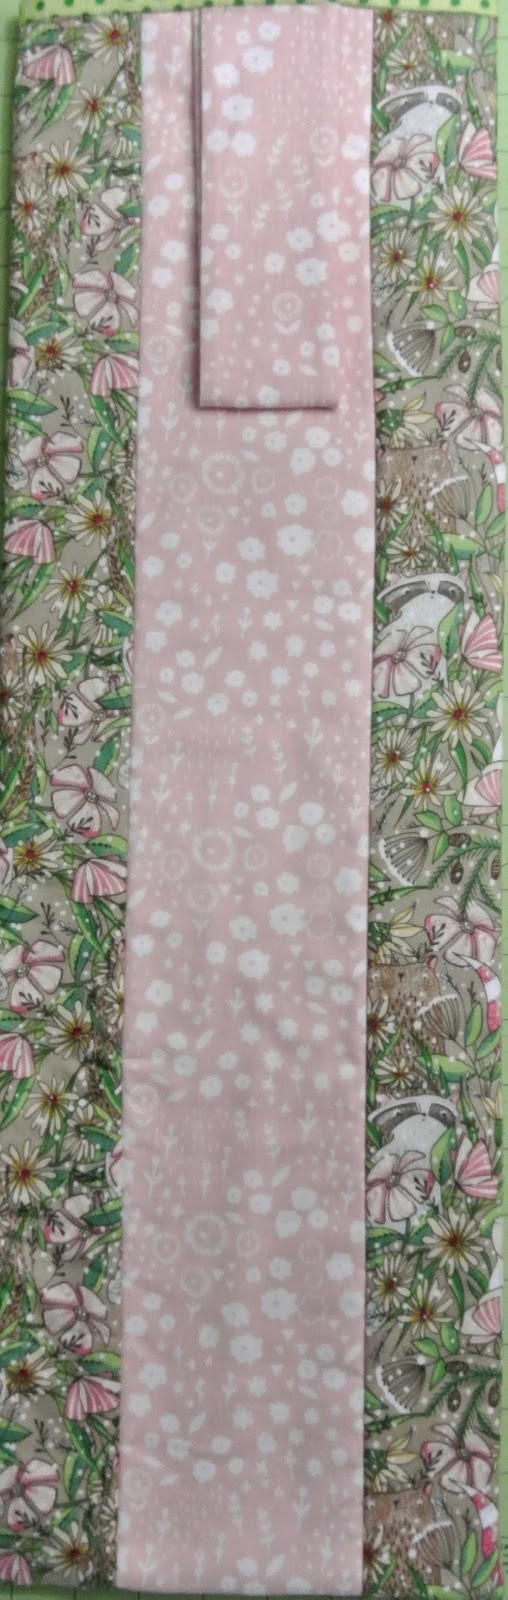
One major change was to ditch the fabric handle and use something more durable
(I chose marine vinyl for its durability and ease of cleaning, plus it looks like leather)
The pattern instructs attaching the handle at the other end (the spine) of the organizer
If the handle is attached as instructed,
then the organizer can’t stand up like a little suitcase because the zipper is in the way.
As per my client’s request, I attached the handles to the side front and back.
That makes a lot more sense.
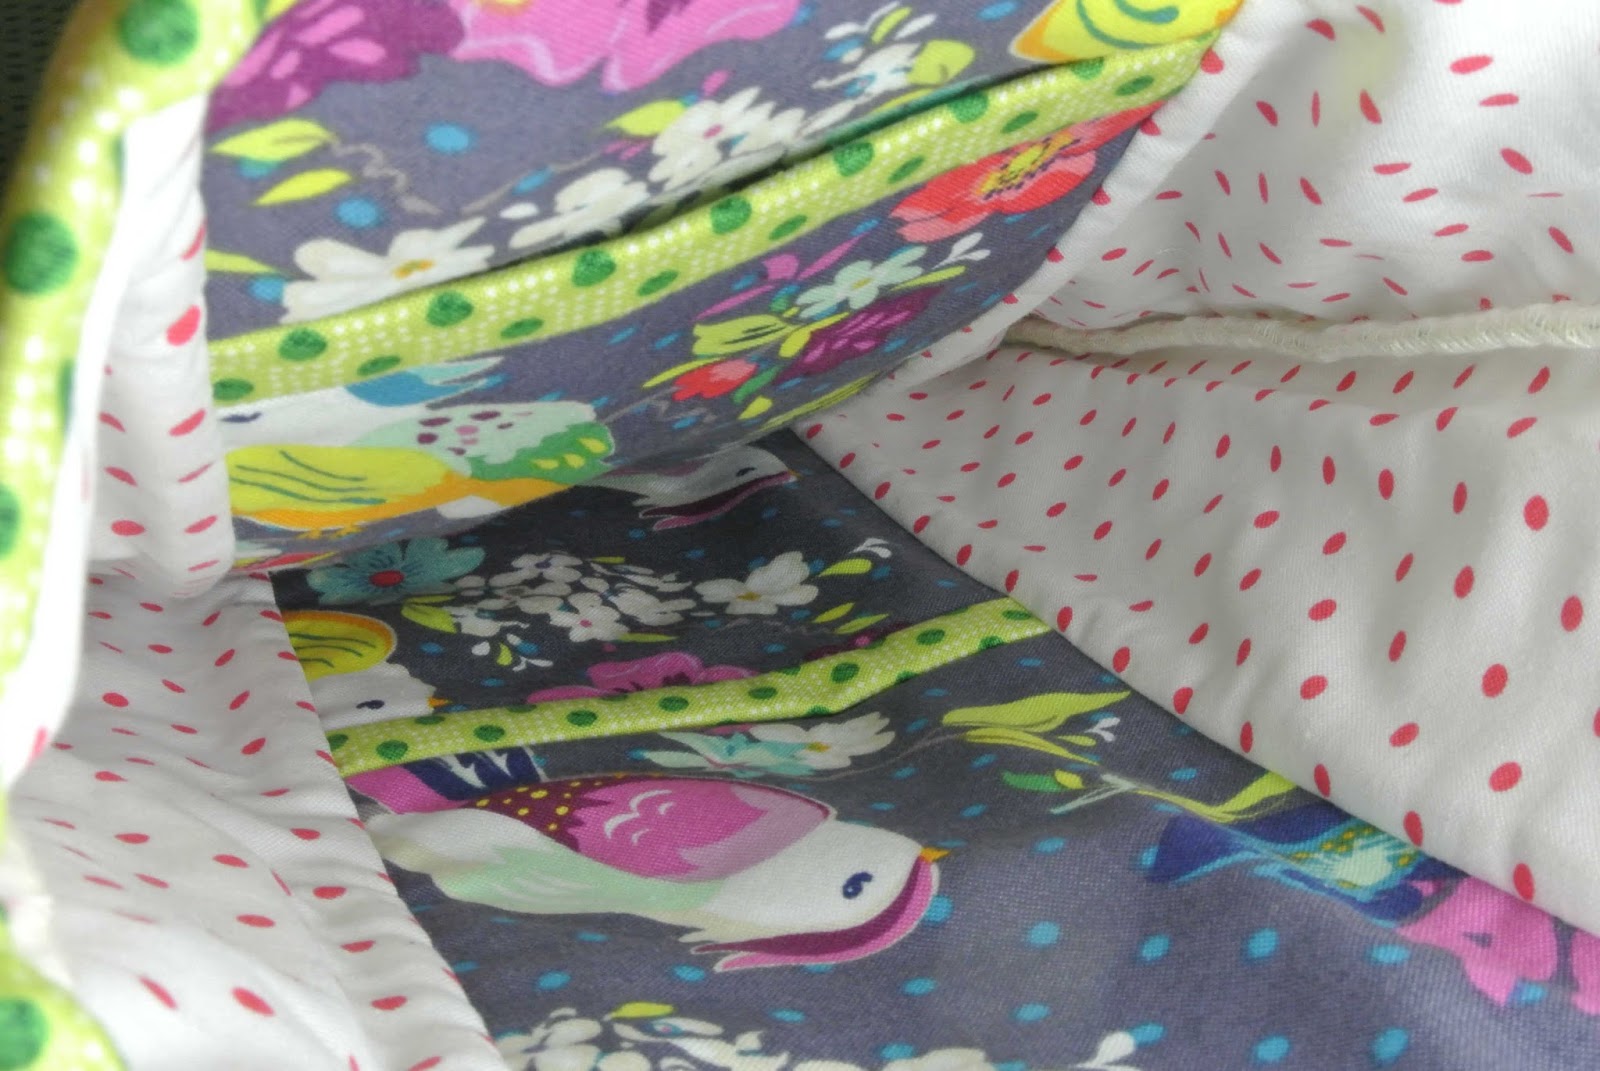
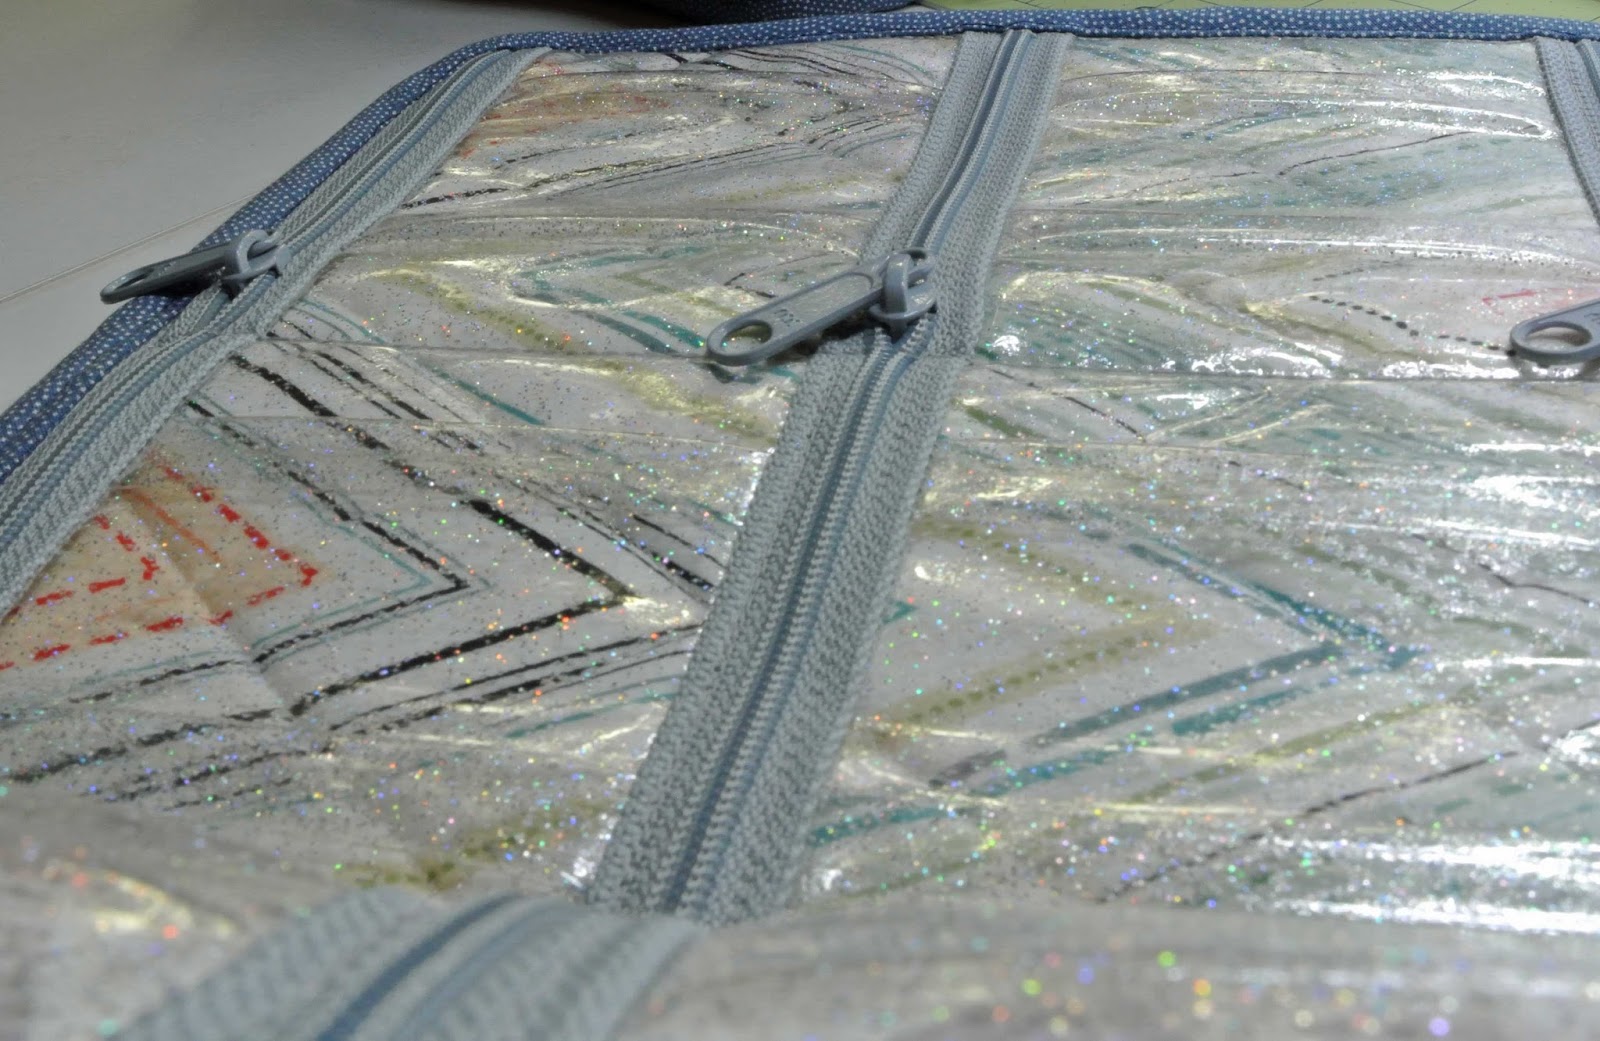
The inside of the organizer has 2 removable “pages” or inserts,
which have vinyl and zipper pockets on the front side,
and which stack on top of each other and are secured in place by hook and loop tape.
My client requested 4 “pages” instead of 2, and she also requested vinyl and zipper pockets on the front and the back side of each insert.
I suggested to her that she would not be able to stack all those inserts in the organizer at one time once she had the pockets filled.
She was okay with that as she did not plan to use them all at once,
but would interchange them as necessary.
Whew!
That was a LOT of vinyl pockets and zippers.
Her request gave her soooooo much storage.
Hooray!
The spine of the organizer has a sleeve that houses an acrylic insert (like the one in
this bag ). Thanks DH for your help with that.
There are mesh pockets on the inside front and back cover of the organizer.
I hope my client gets many years of use out of her new organizer.
Thank you V for allowing me to help your vision come to life.
If you are in the market for an organizer, give this pattern a try,
I don’t think you will be disappointed.
It does have a lot of materials cost and many hours of time,
but the finished result is so worth the investment.
Thank you for stopping by today friends.


