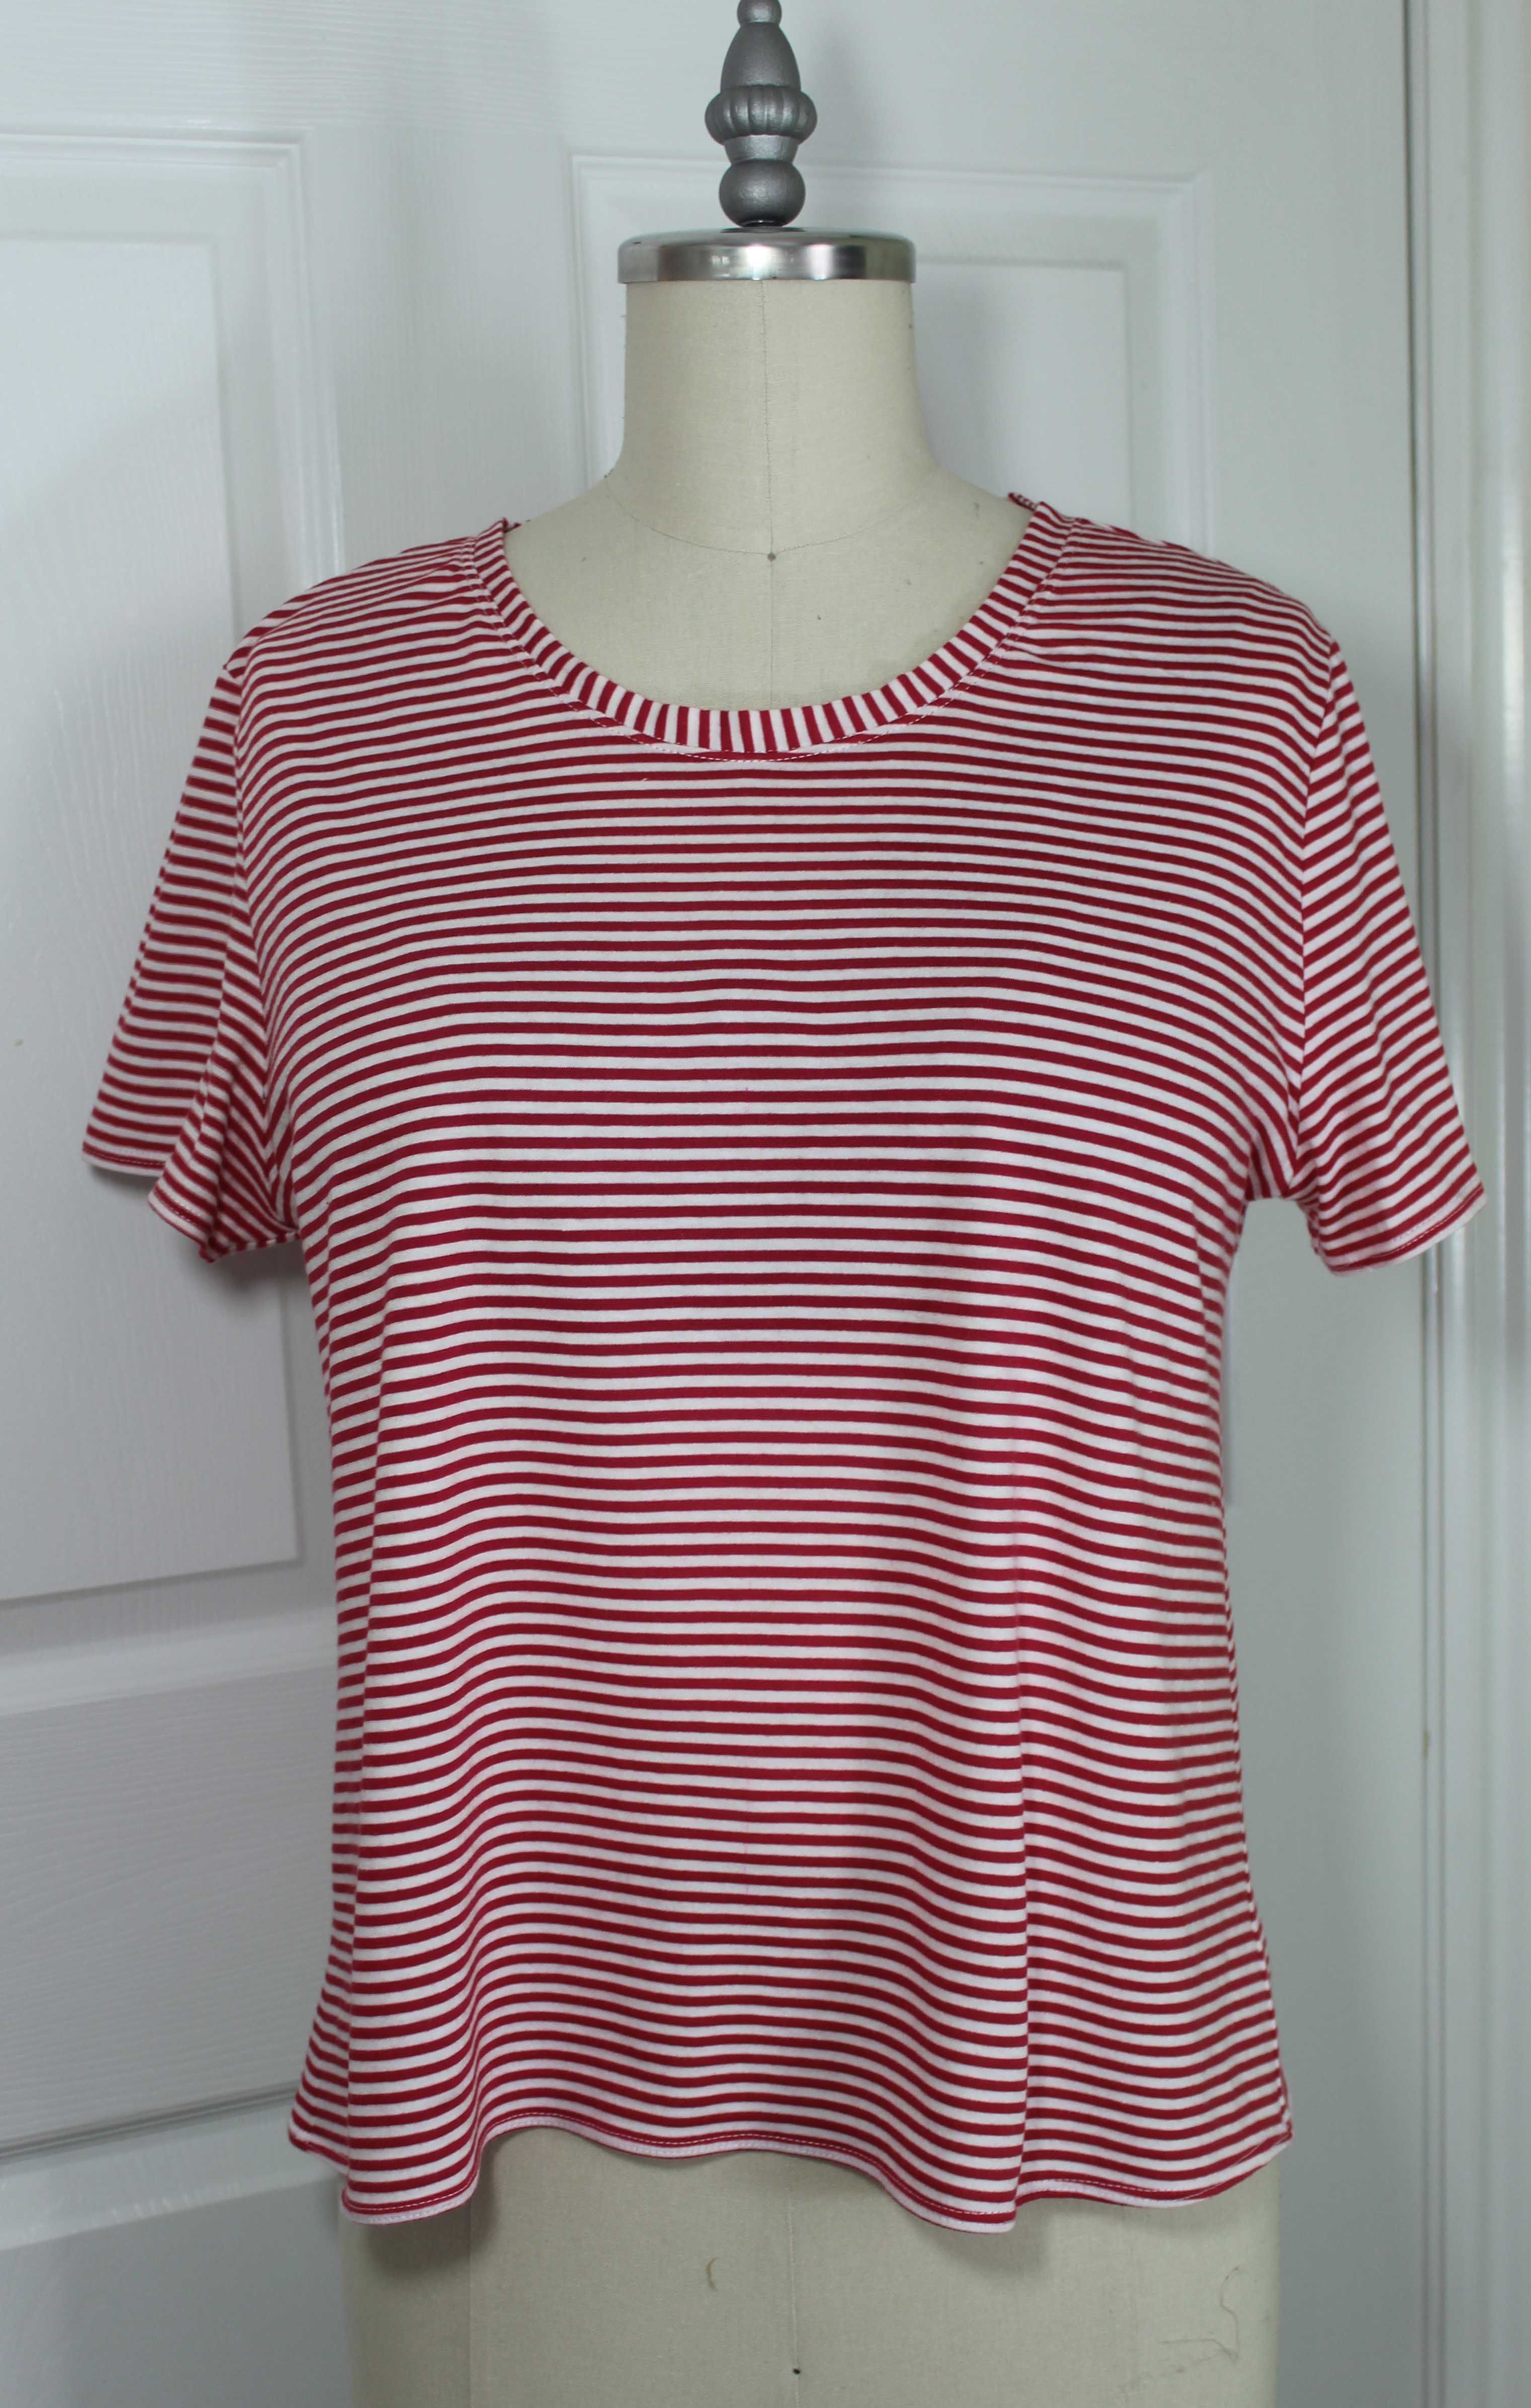
Here’s my test version of this princess seam top. Overall I’m quite pleased with the outcome. The color washes me out a bit, but that has nothing to do with the pattern and everything to do with the fabric. 🙂 BTW, the fabric is a medium weight, stable knit from Joann Fabrics.
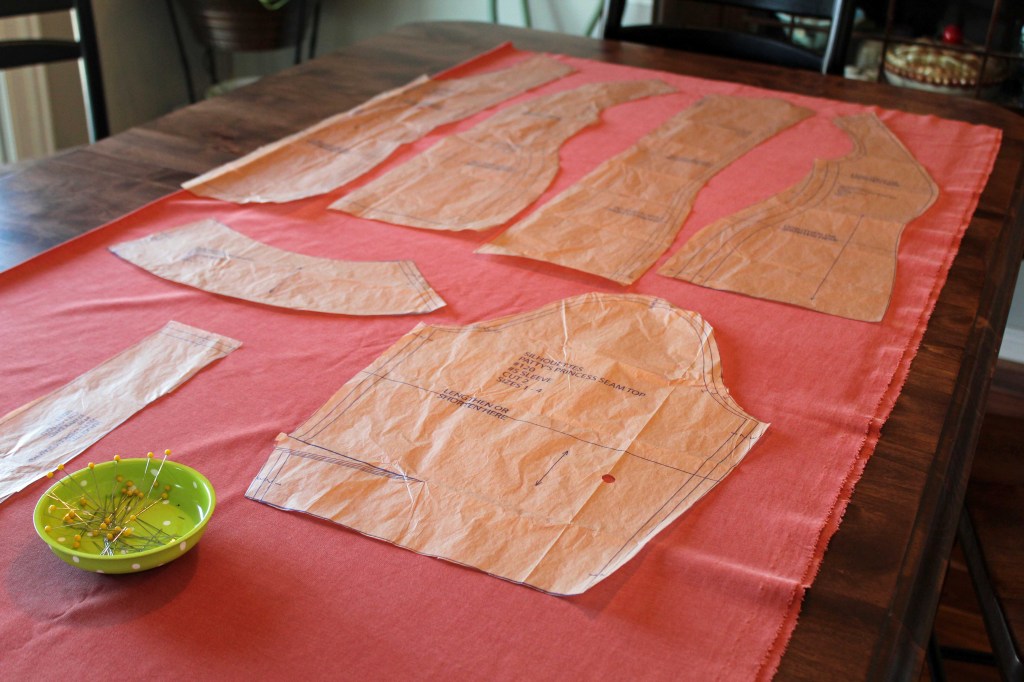
I sewed a size 3, and the pattern calls for 2 yards of 60″ wide fabric. This is how I laid out my pieces. I did not measure the length of fabric, but I know it did not use 2 yards. I’m guessing it was about 1 1/3 yards of fabric.
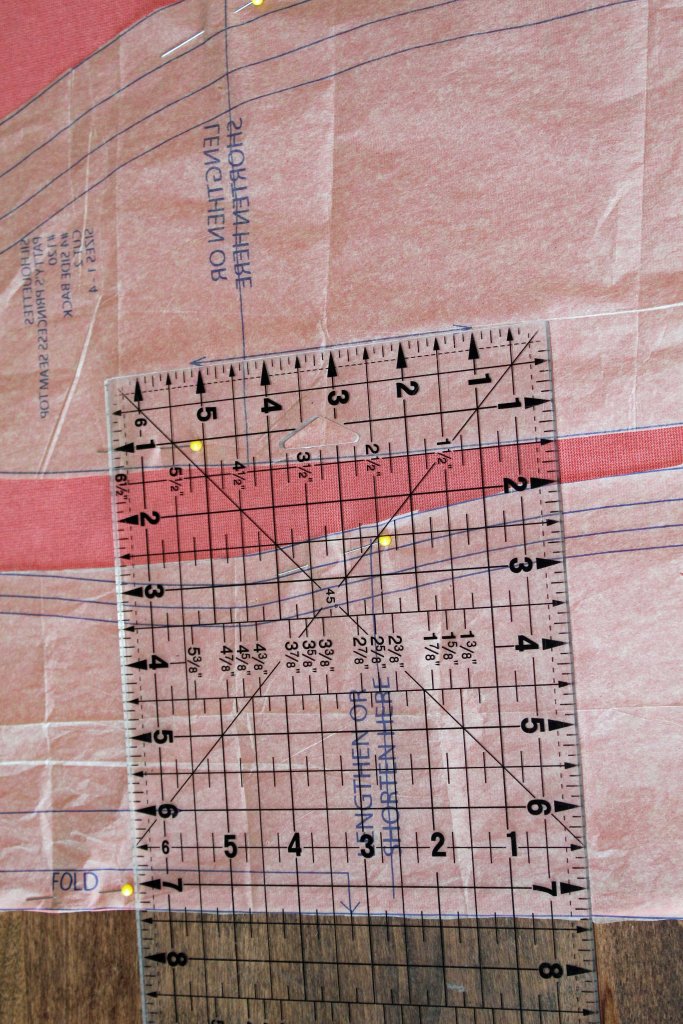
I always use my quilting ruler to measure from the straight of grain pattern line to the fold of my fabric so I don’t get any garments that hand with a skewed drape.

These odd little marks are on the side back pattern piece along the princess seam edge. I’m not sure for what they are to be used. There is no indication on the instruction sheet and this is the only pattern piece on which they showed up. I just ignored them!

The sleeve pattern has a dart, which was an interesting addition that I’ve not come across until now. Here is what it looks like when finished:

I discuss the arm dart more in my YT video. There is a link at the end of this post.

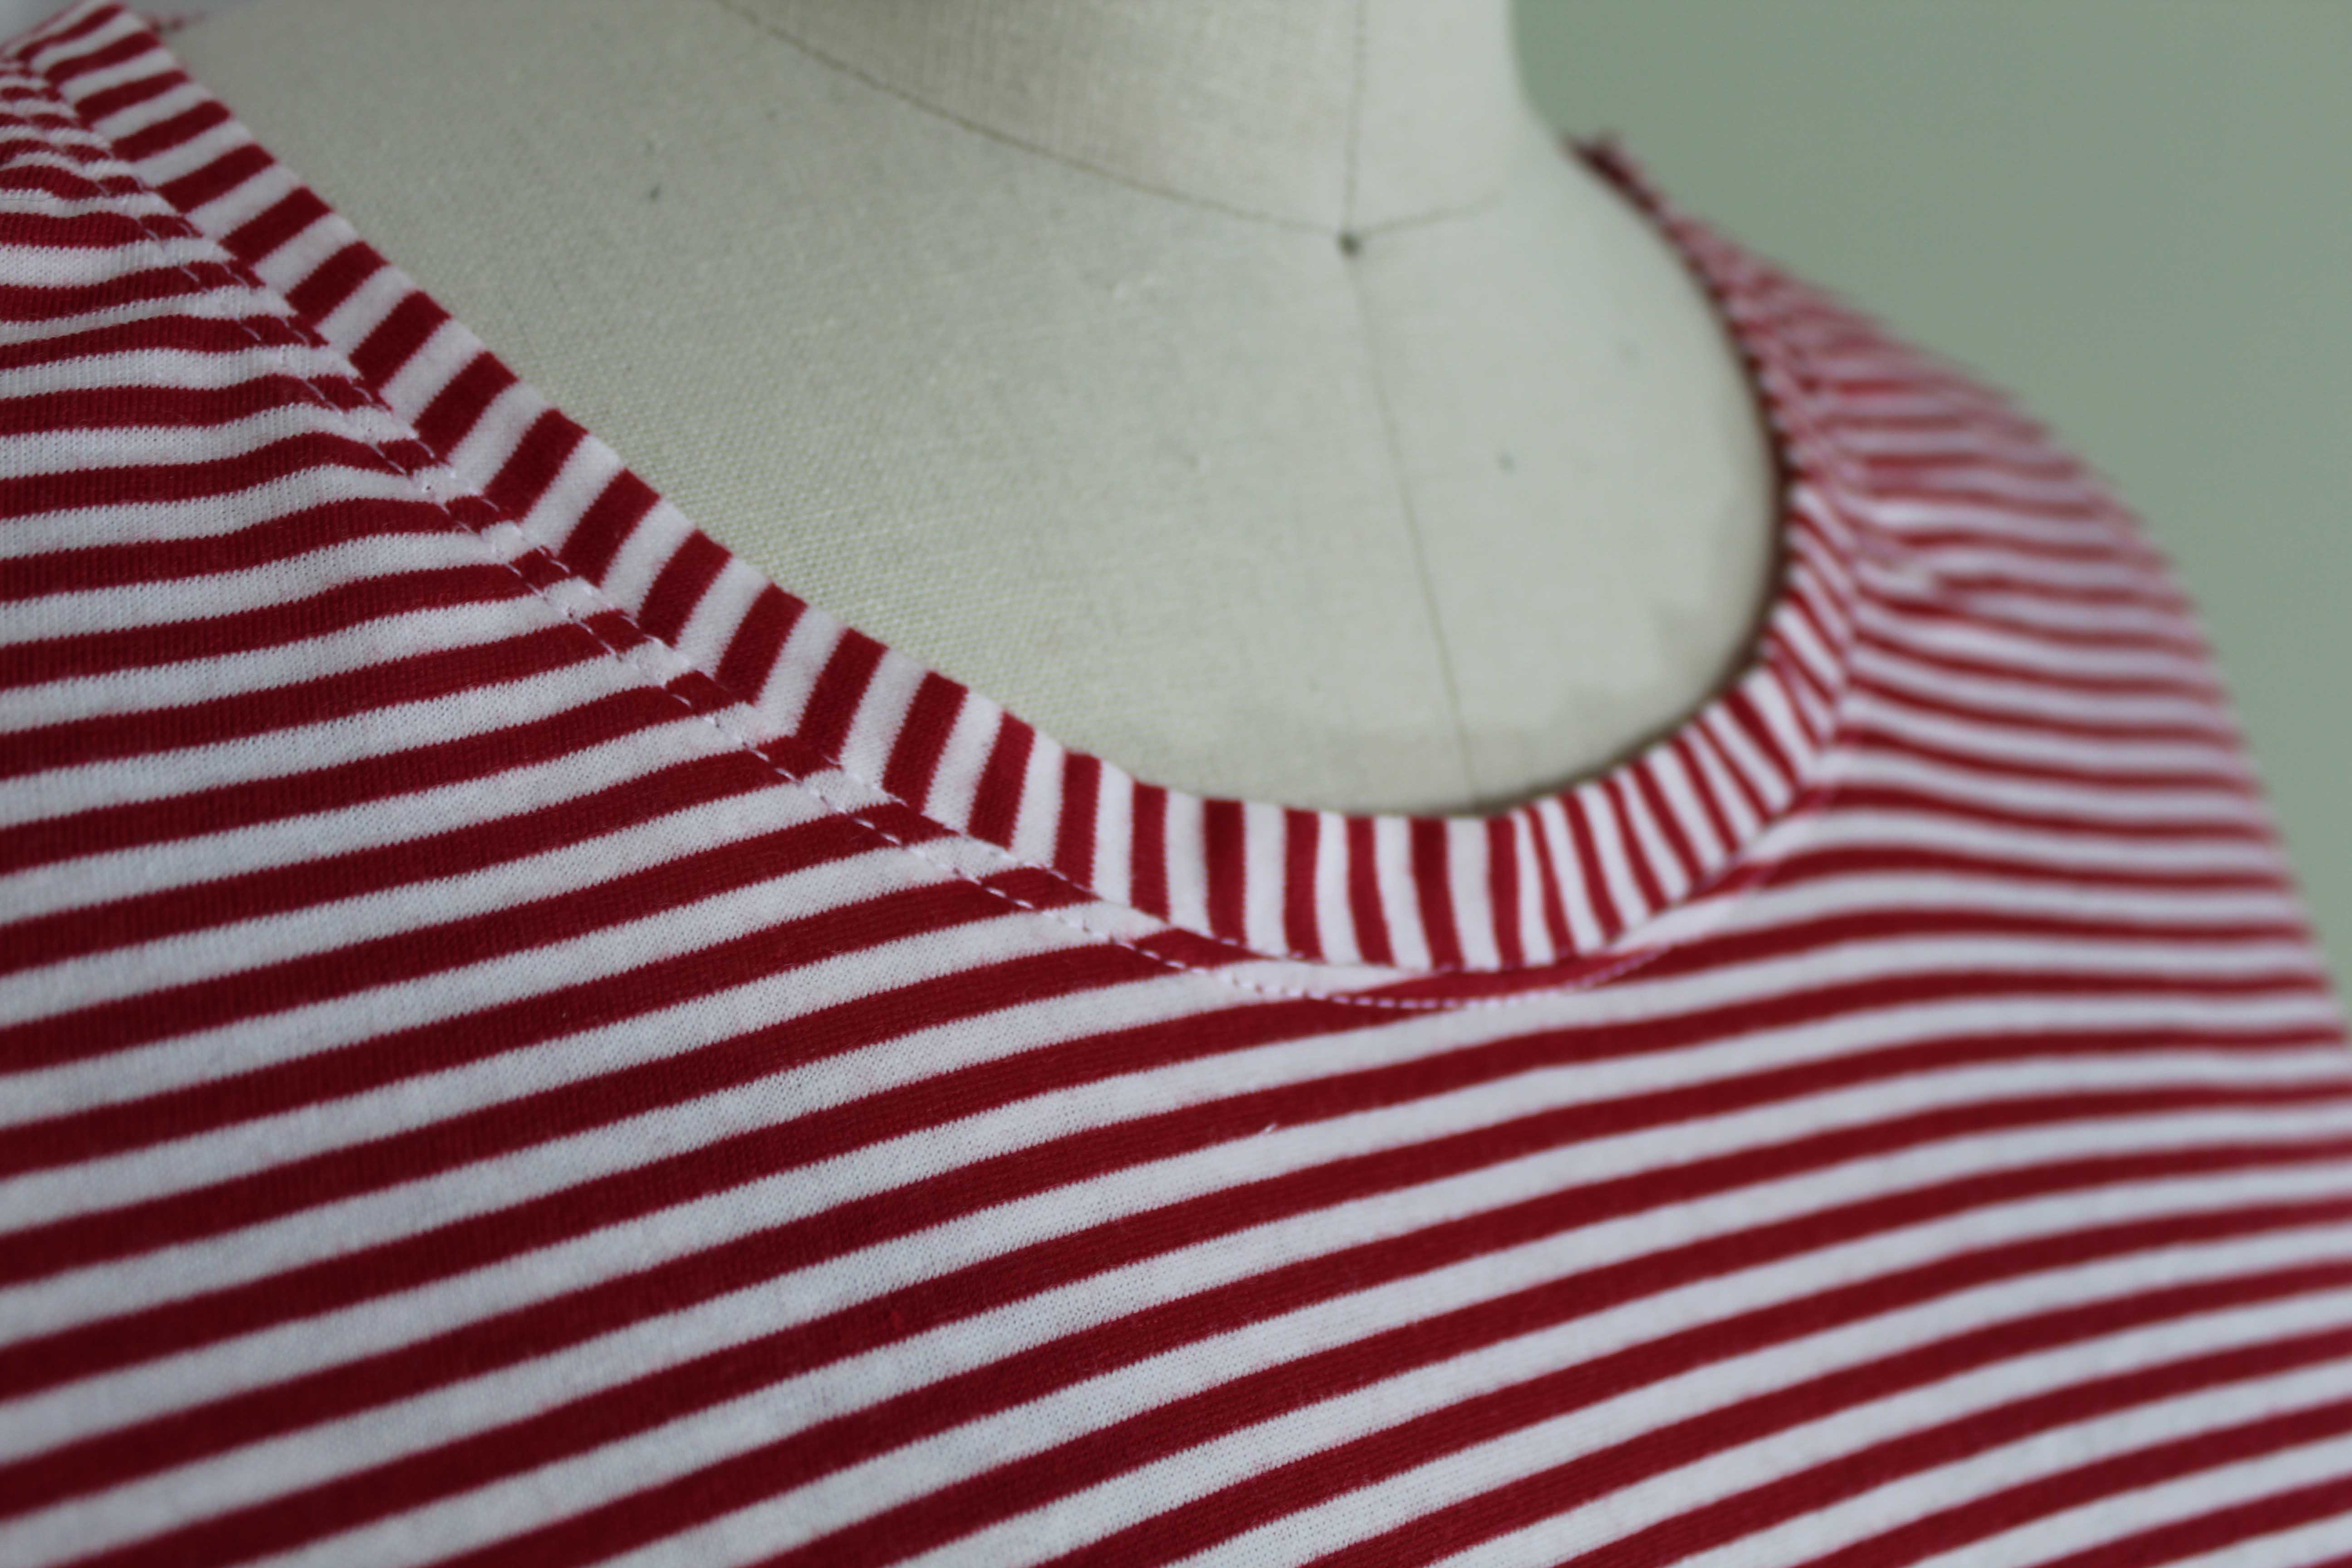
The neckband is attached in a continuous loop, then the “V” is made by sewing a small dart into the band. Here is a look at the inside of the neckband where that dart is sewn:

When you sew the dart, be careful to sew ONLY the neckband being careful to not catch any of the garment under neath your presser foot (do not go past the seam line or you will have a pucker at the point of the “V” – trust me, I speak from experience.

Thread sinks into knit fabric and it is a real challenge to pick out stitches without making a hole in the fabric (see example above) *sigh*.
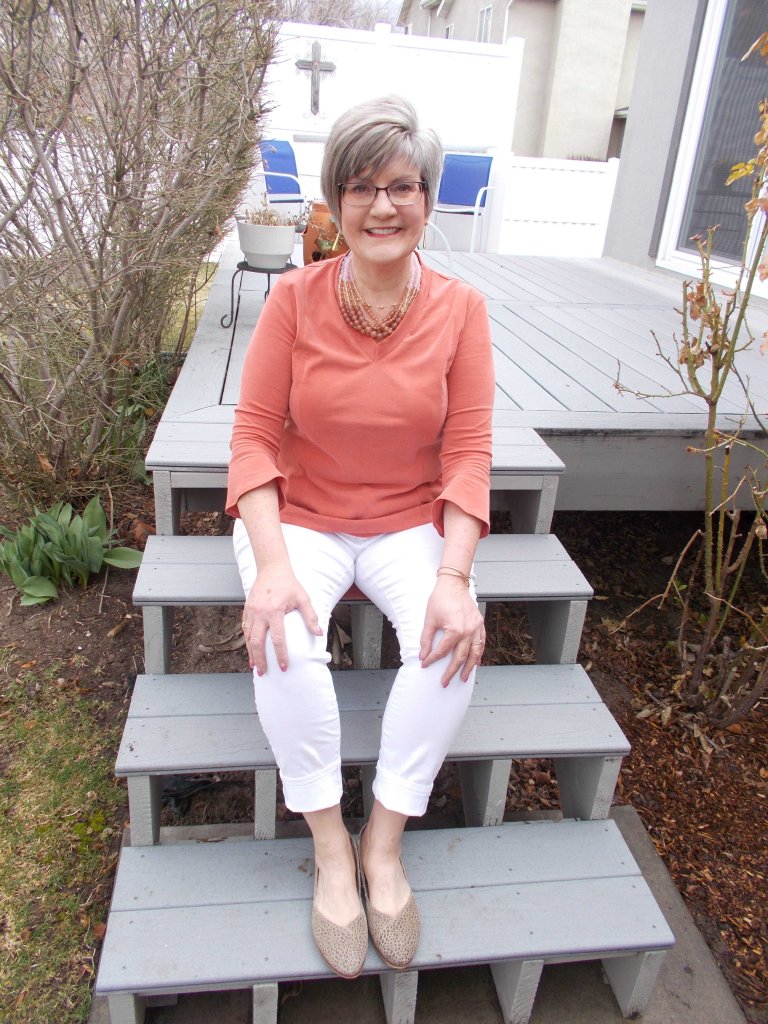
This is an easy top to sew and I like the little bell sleeve.

Here is my YT video:
Thank you for spending a few minutes of your day with me. 💜
If you have questions or comments, please leave them in the comment section below. I really enjoy feedback from my readers. Until next time, happy sewing!!!