Stampin’ and Stitchin’: Elf Shoes

Hey Sewers!
there’s lots of Christmas preparation and decoration going on around here
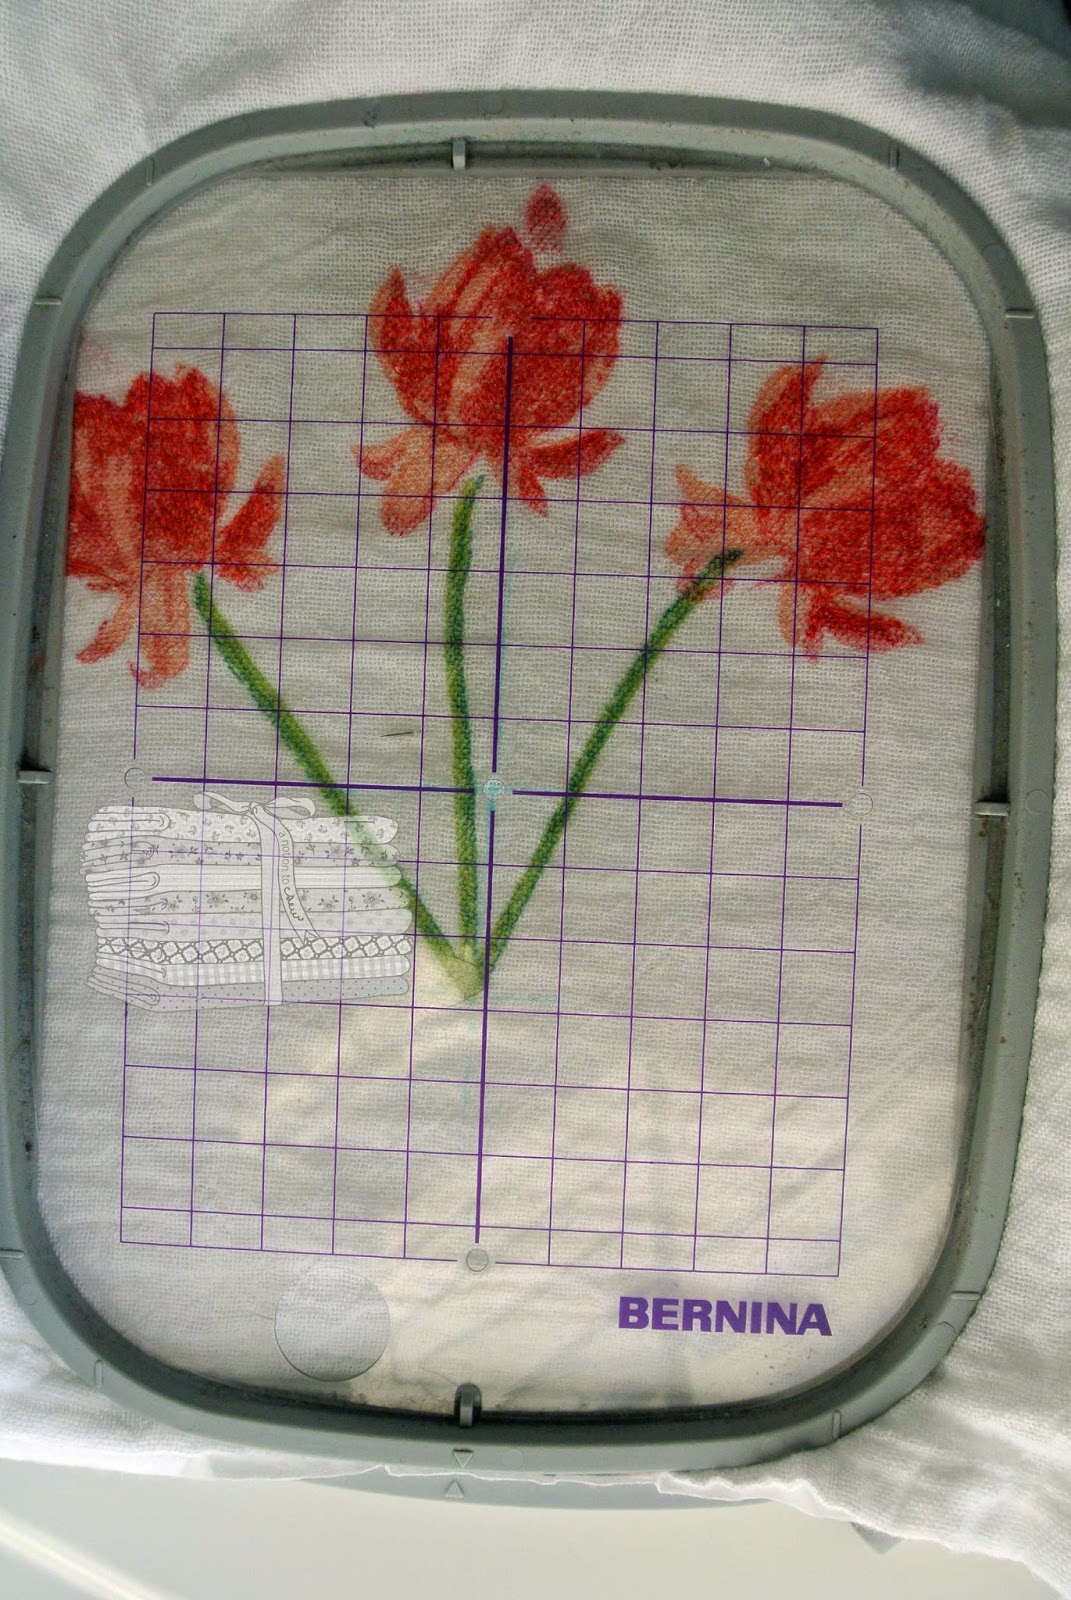
these cute, cute elf shoes were stitched using my Bernina 750 embroidery module
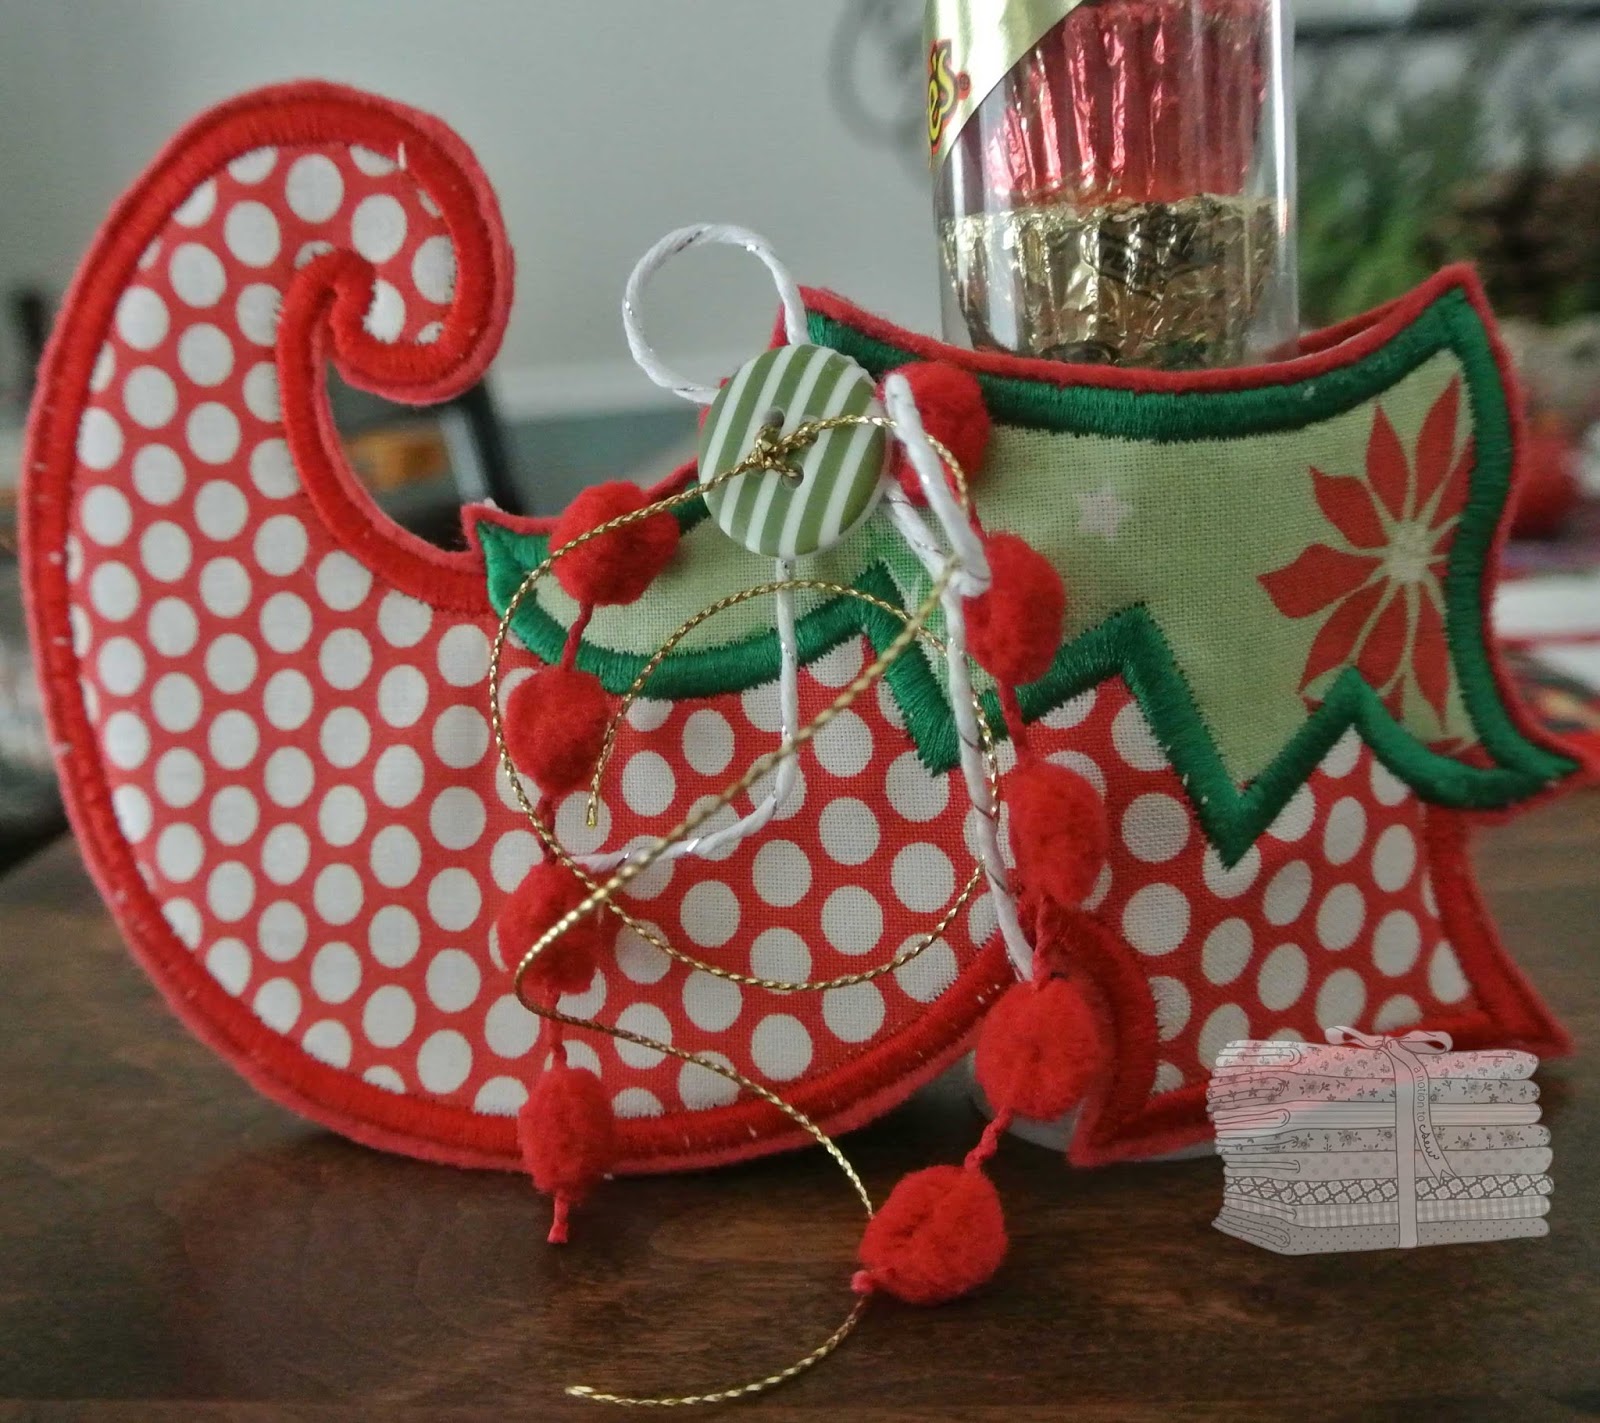
 the design is from Kimberbell
it is an in-the-hoop project
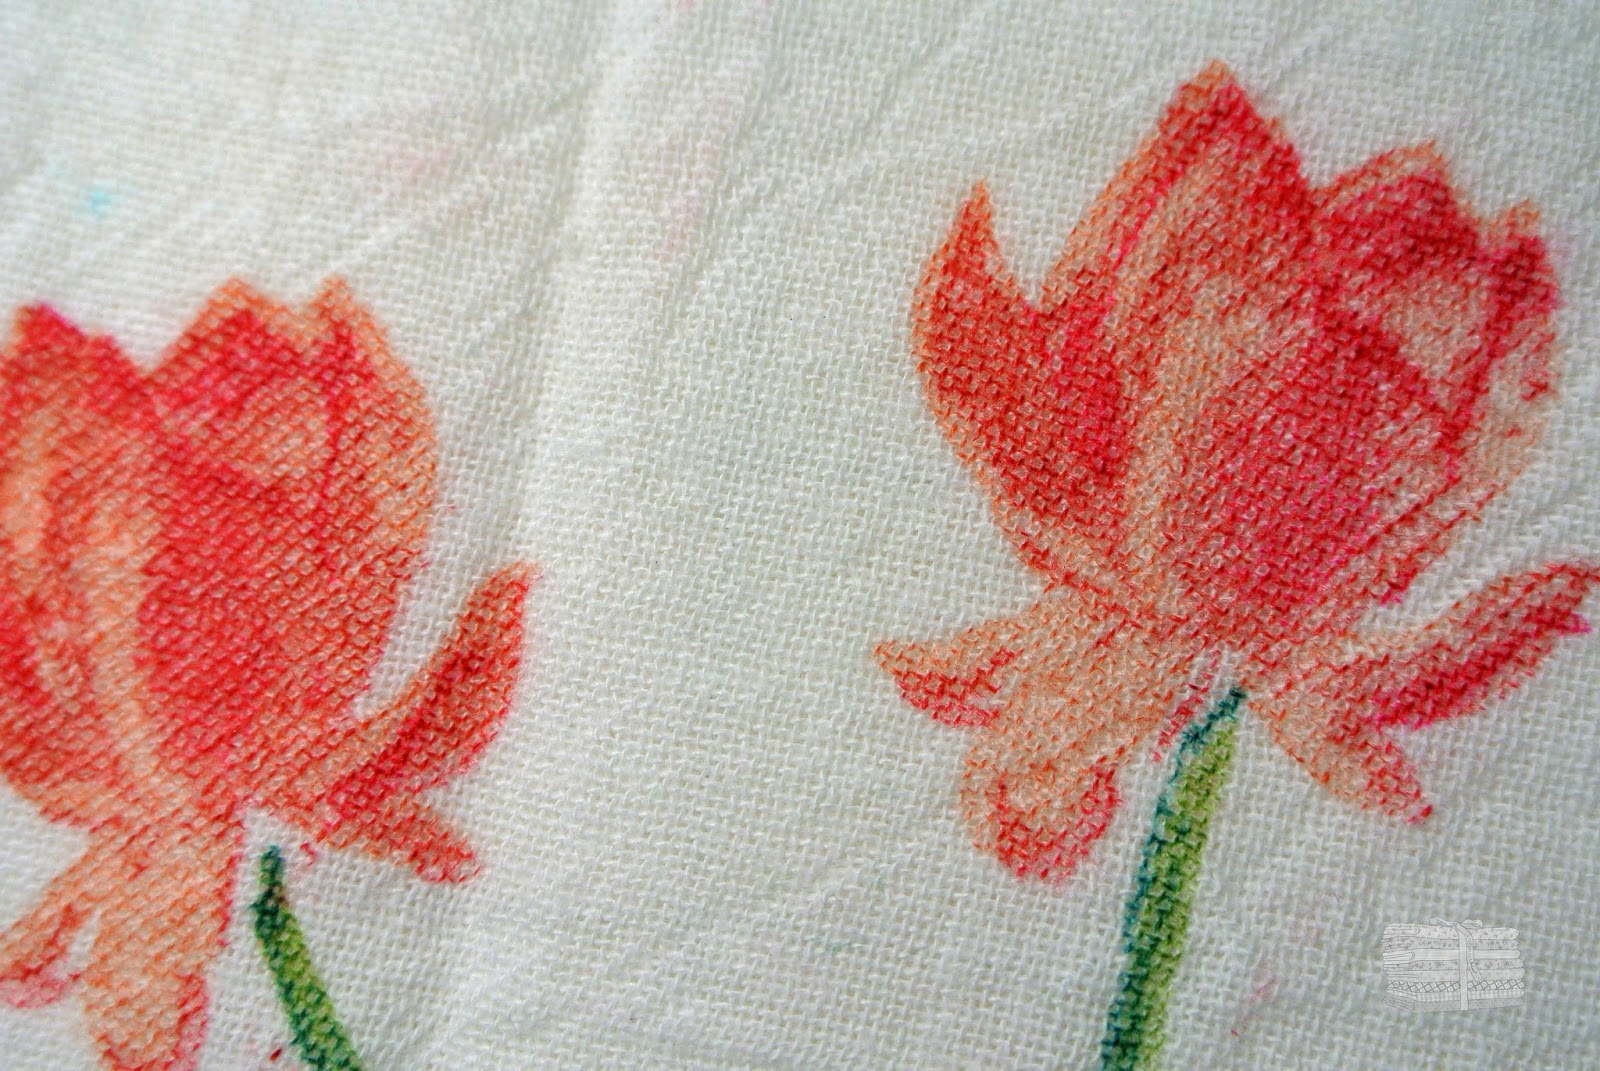
I used leftover fabric scraps from my stash
the base of the shoe is felt
the fabric is then appliqued onto the felt
all the embellishments (twine, button, etc.)
are Stampin’ Up products

 
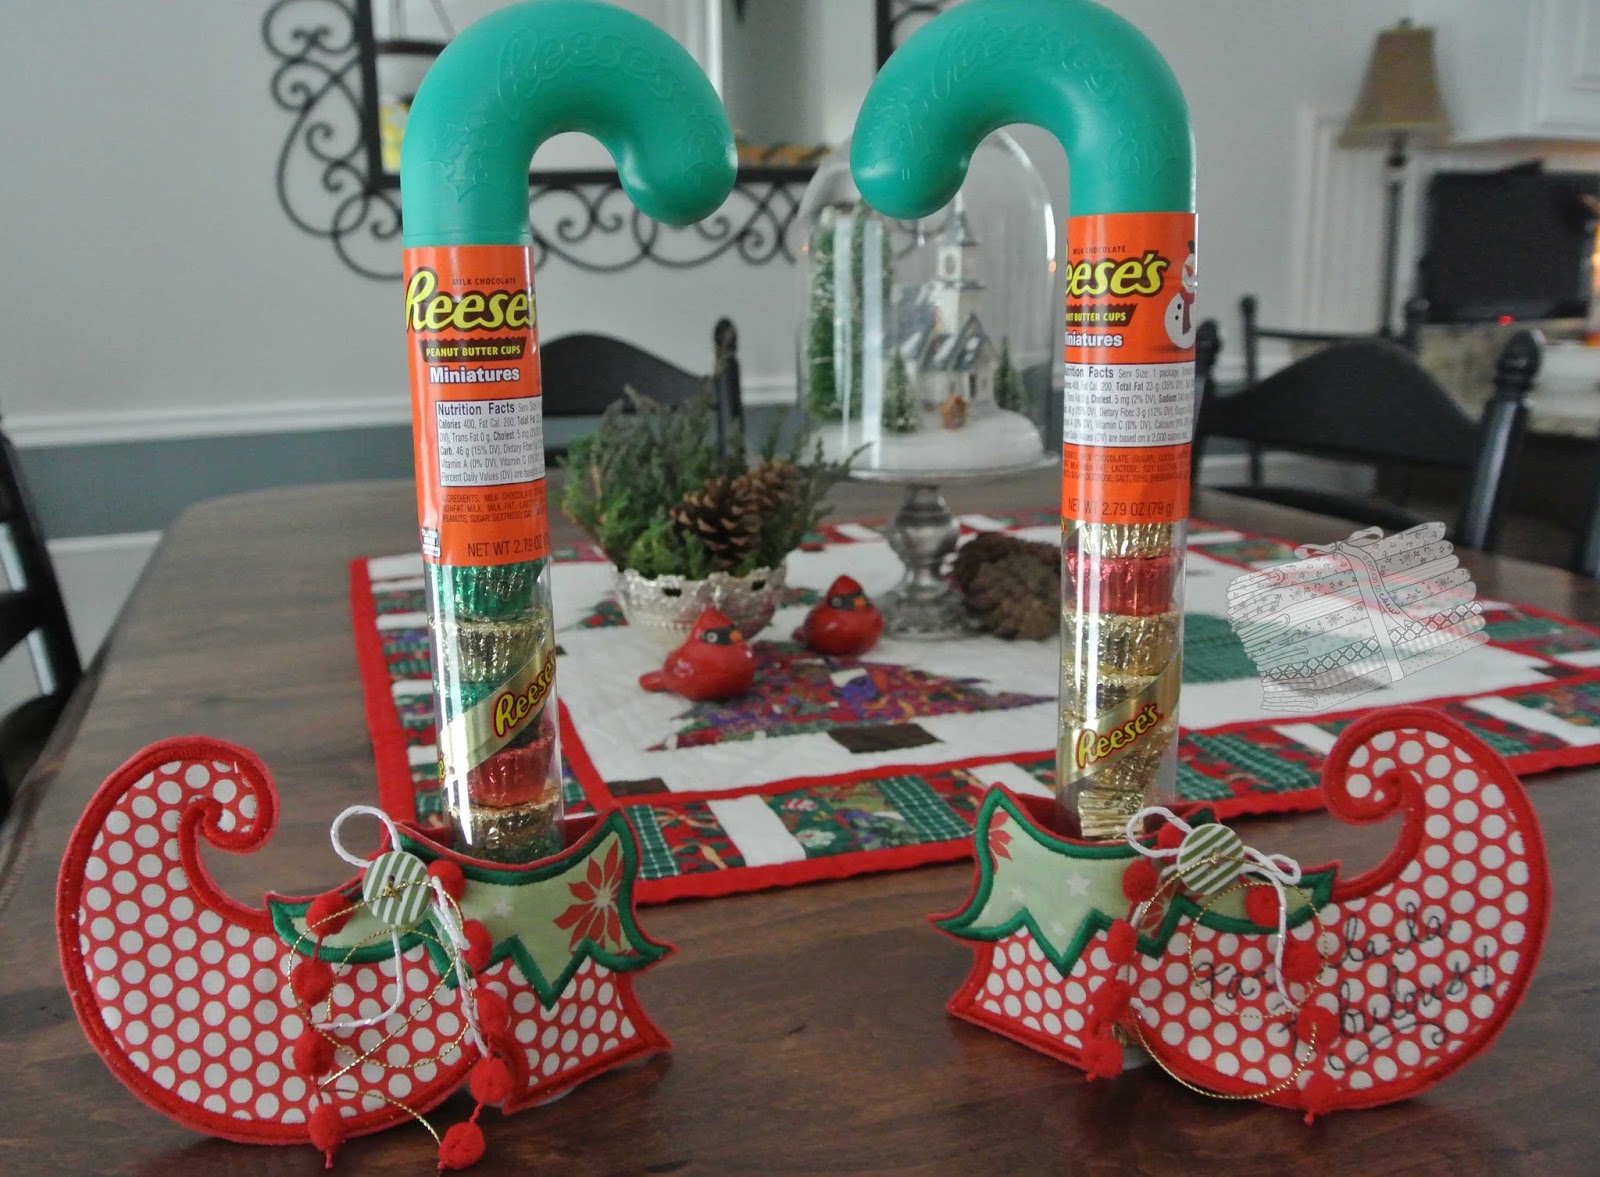
a number of fun items will fit into the opening
I chose these yummy Reese’s peanut butter cup canes
I’m not in love with the look of the label, however,
so I chose some Stampin’ Up envelope paper (it is a little lighter weight than the DSP)
in cucumber crush to cover those tubes
plus, the stripe looks like elf socks, don’t you think?
I cut each piece 4 1/2 inches by 9 inches
added some tear and tape to the front and back of one side of the paper
and rolled it around the cane
there, that looks better

and here’s a decorating idea that I came across in my 
Better Homes and Gardens Christmas from the Heart book (2015)
they used silver egg cups
I used my vintage silver bowl that I found last year at a local consignment shop
the greenery is from my shrubs that I finally got around to trimming
and I picked up the pine cones that dropped from the pine trees at the grade school across the street
are you preparing for the upcoming holidays, friends?
whether it be Hanukkah, Kwanzaa, or Christmas
I would love to see your handmade goodness
Happy Decorating,

Pretty Potent Portrait Dress

Here’s yet another project using some of the fabric I purchased at #craftsouth last September.
The body of the dress is “Pretty Potent” rayon by Anna Maria Horner
and the linen yoke fabric was also purchased during my #craftsouth trip.
The dress pattern is Anna Maria Horner Painted Portrait Blouse and Dress.
What a great pattern!
This one is by far my favorite garment pattern in quite some time.
I sewed the size medium without any alterations at it fits beautifully.
I love how the side panels taper down each side of the back yoke.
It makes for a flattering silhouette.
The dress closure is a button and a hand-sewn loop.
So easy, so clean, so effective.
The armhole openings are finished with bias tape, which I made from cotton.
To add the machine embroidery, I scanned one of Anna Maria Horner’s designs
(from the Fields Aflutter hand embroidery collection) into my Bernina embroidery software.
Then I sized and digitized it to coordinate with the dress.
Stitching the design out on the linen before cutting the pattern piece eliminates the fussiness of
centering the design on a small piece of fabric after the pattern piece has been cut.
Have a most pleasant week, my friends, and stitch up something pretty potent.
I love to hear from you, so please leave me a comment or send me an email.

Lotus Blossom Hoop Wall Art

Here’s another stampin’ and stitchin’ project for you, my friends.

The lotus blossoms are stamped with the Lotus Blossom stamp set from #StampinUp.
Sorry, but you can’t buy this stamp set – it is free!
Yes, that’s right, it can be yours for free when you place a $50 order.
But it’s only available until March 31.
It’s part of the annual #Sale-A-Bration:
 
To step up my stamping, I added some sewing.
A few free-motion stitches on top of those lotus blossoms
adds a nice touch of depth and dimension to an otherwise ‘flat’ surface.
 With just a few stitches, you can go from one-dimensional:
without stitching
To three-dimensional lotus blossoms:
I like to use the quilting foot (Bernina foot #29)
because it is clear and it has a nice amount of surface space
with an enclosed needle area
so my threads don’t get caught on the presser foot toe.
Just drop the feed dogs, and use some stabilizer on the back
(I like OESD’s Ultra Clean n’ Tear)
with stitching
My thread color is Isacord #1730 (persimmon)
Then I took it a stitching step further and added
some Asian-inspired machine embroidery.
 This is a built-in design in my Bernina Designer Plus v7 embroidery software.
The thread is Isacord (#3953 & #3853)
To line up the embroidery design with the center of the stamped images,
fold the stamped image in half and finger press.
That gives the vertical center line-up point.
For horizontal line-up, I matched the bottom of the embroidery design
with the bottom of the stamped image.
Most embroidery software programs allow you to print
a copy of your design (use that to line up the design).
A water-soluble marker works great for marking the center point.
Be certain the stabilizer from your free-motion stitching
is still on the back of your project
and use your see through grid to line up the center point,
then hoop it and let your machine stitch away.
 For my fabric, I used an inexpensive tea towel from Wal Mart.
When your design is complete, tear away the stabilizer,
use a water bottle to lightly mist the water soluble ink, and let it dry.
I then added iron on non-show mesh to cover the back,
but feel free to use a light-weight fabric of your choice.
Just be aware that a dark color or print might show through to the front.
Then line it up in the hoop
in which you plan to display your new wall art
and trim away the excess fabric and backing.
Back of design covered with no-show mesh
Ta da!
That’s how easy it is to add stitching to your stamping.
Enjoy your weekend, my friends!