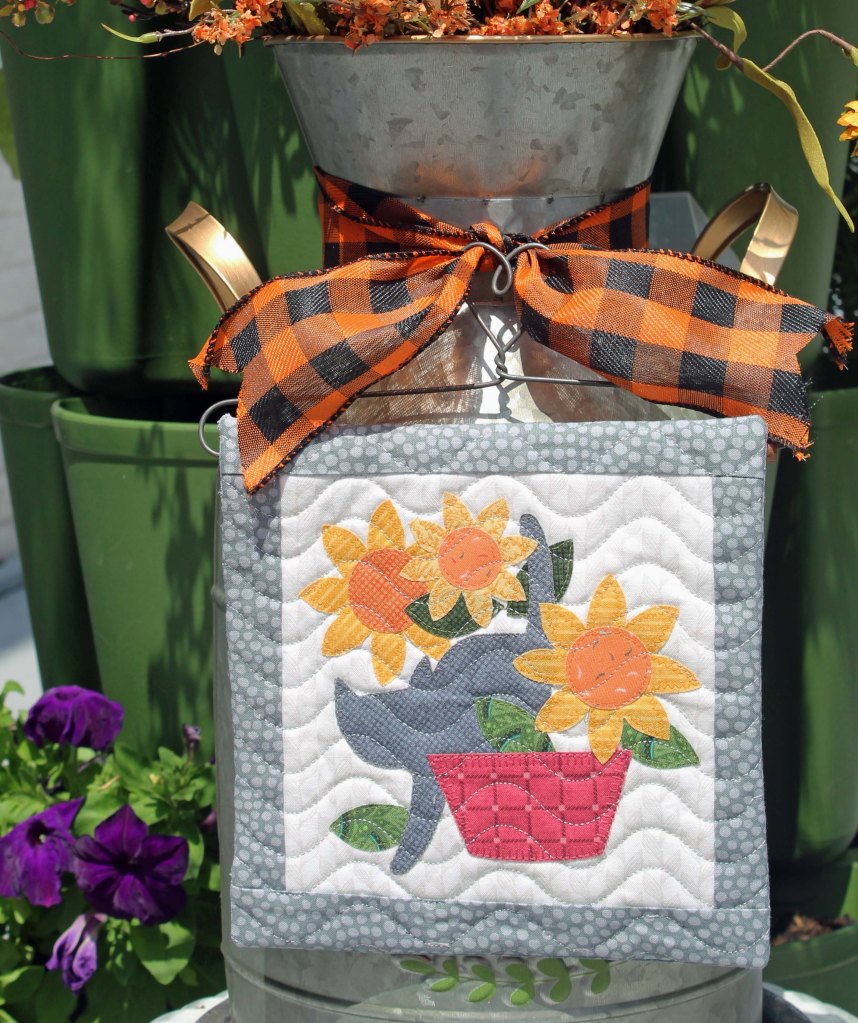
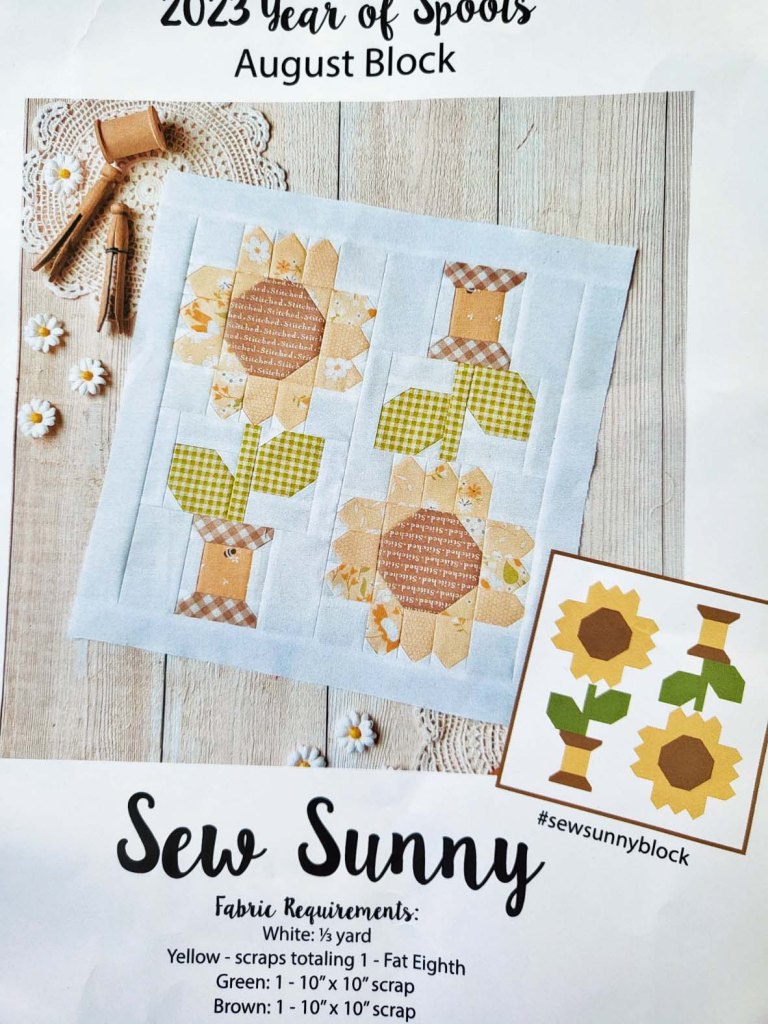
The local sunflowers are in full bloom and they are absolutely beautiful. Unfortunately, I did not plant sunflowers this year and I’m not sure why. LOL So I will enjoy my sunflowers indoors. This is my make from the Shabby Fabrics block of the month, A Year of Spools. The pattern suggests flipping the direction of each sunflower spool, but I chose to have both of my sunflowers in an upright position:
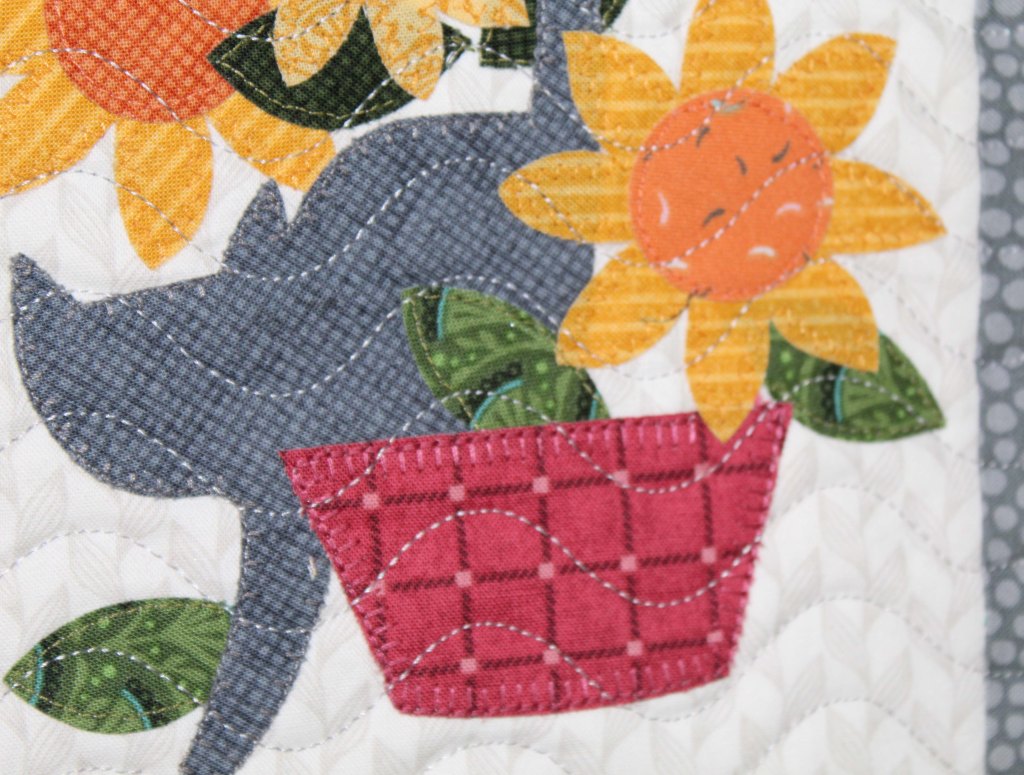
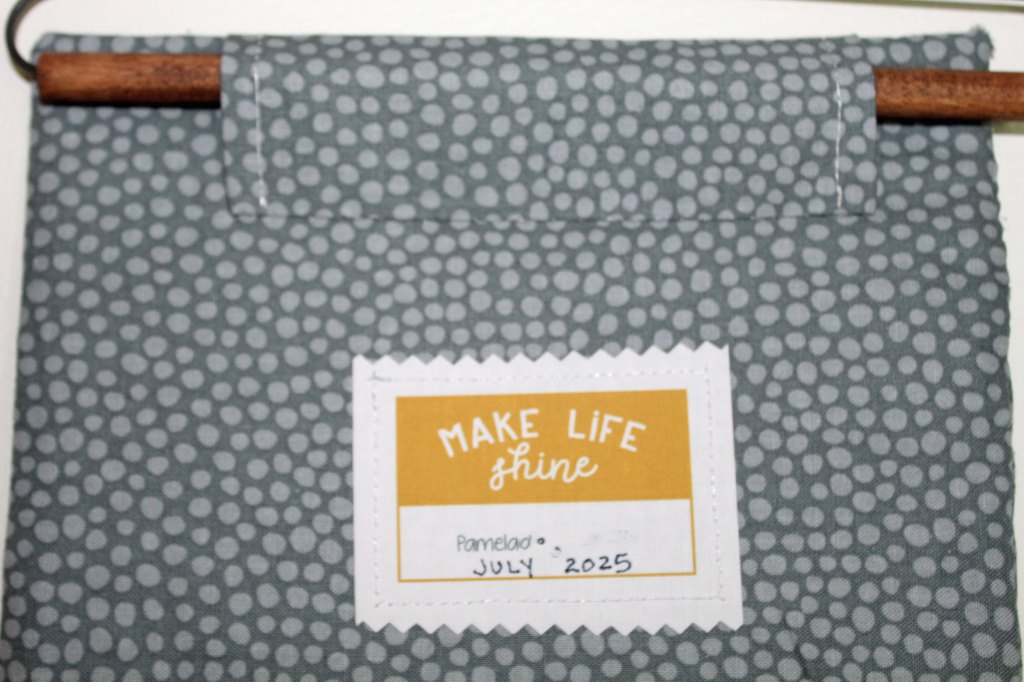
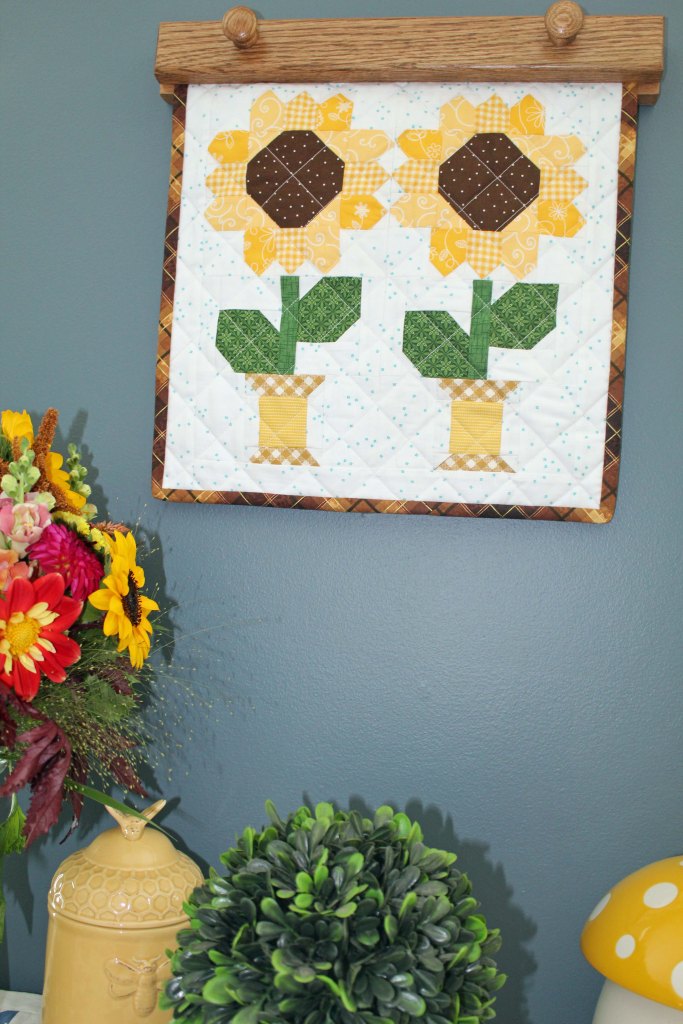
These kits contain all the fabric needed to cut and assemble the block. So I just rolled with it and stitched mine with the provided fabrics. There is a hanging sleeve on the back, and I also added one of my Sweetwater quilt labels:

The hanging sleeve is convenient if you are using a hanger such as an Ackfeld wire hanger. I keep mine on the wall in my sewing room.

But since this is actually sunflower season, I want to display my wall hanging in my dining area where I have a permanent quilt hanger mounted on the wall. This is an Amish quilt hanger that I purchased at a local quilt shop:
Whenever I walk through the dining room and see my new quilt block, I am reminded of what a great time of year this is. The mornings are noticeably cooler and the daytime temps are not skyrocketing.

Thank you for reading my blog and please leave a comment** if you are so inclined. I enjoy talking to you all.


**Comment Guidelines:
- Please be respectful and kind
- Please refrain from making political statements
- Please do not include links to other Web sites