C’mon Spring!

This photo collage is as close to spring as we’re getting right now.  It turned very cold yesterday and snowed (sigh).

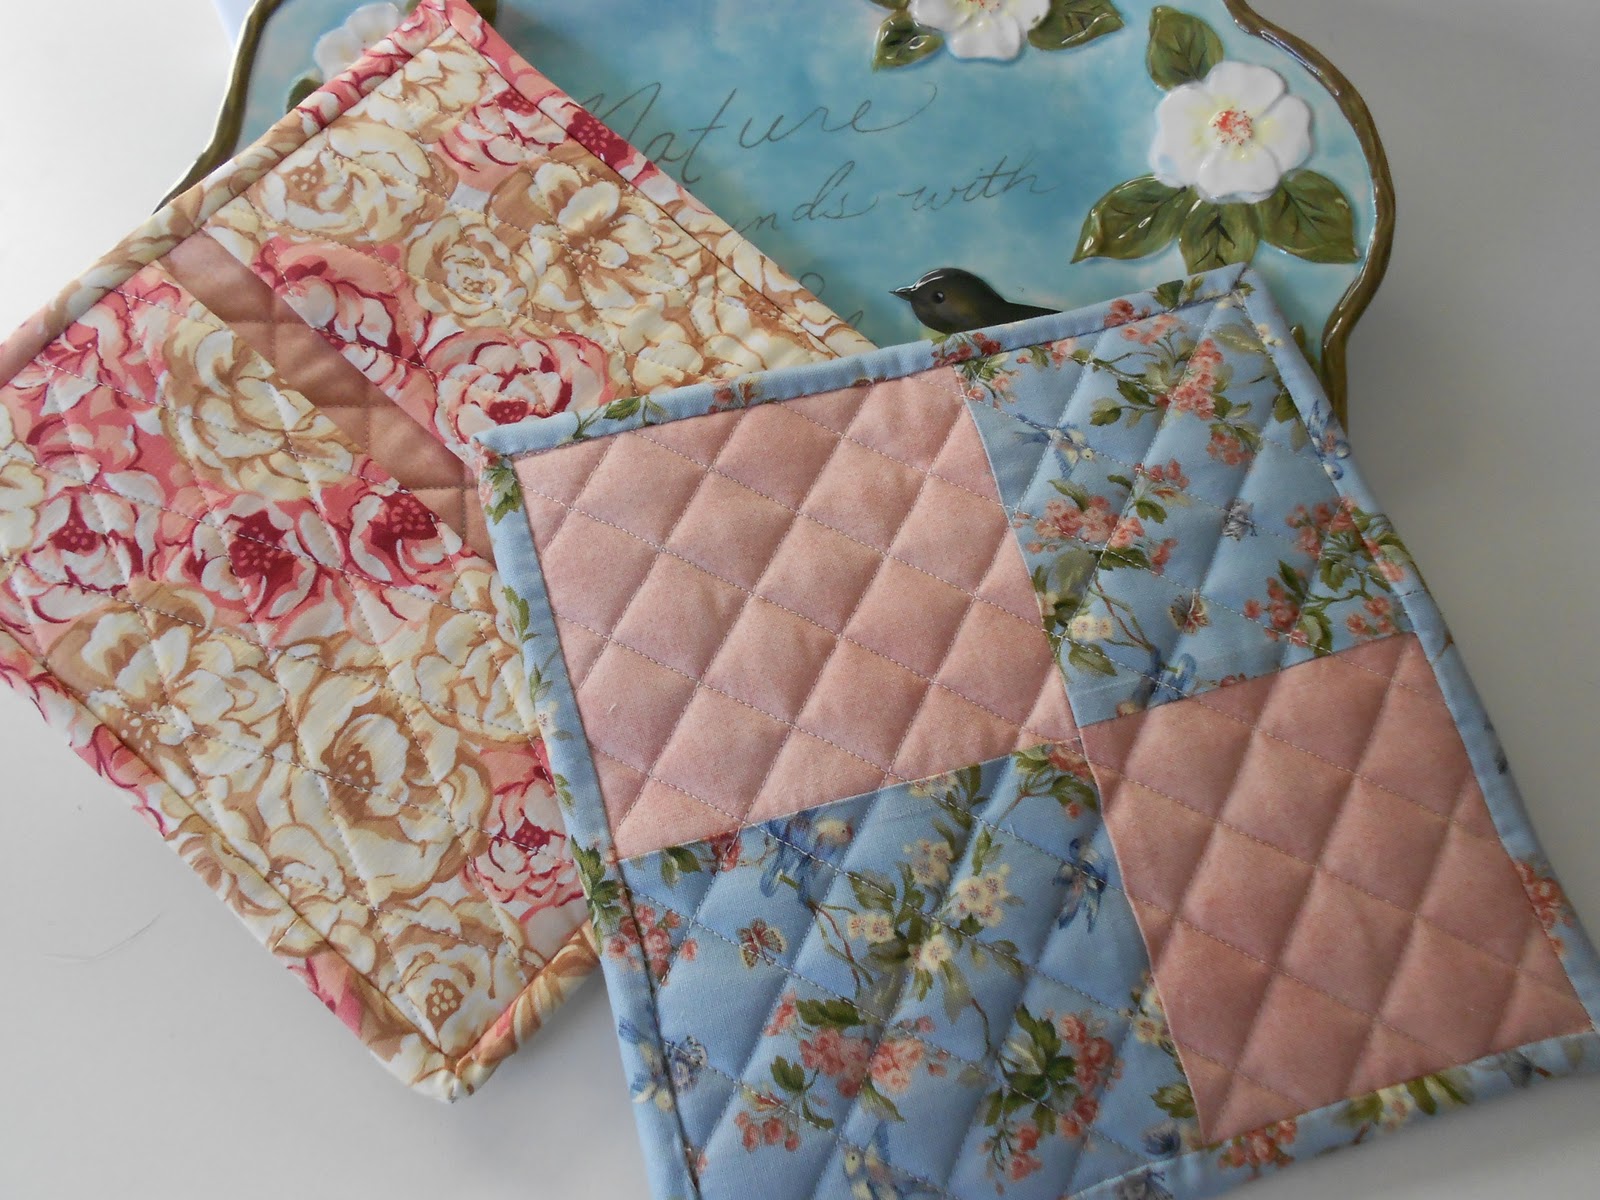
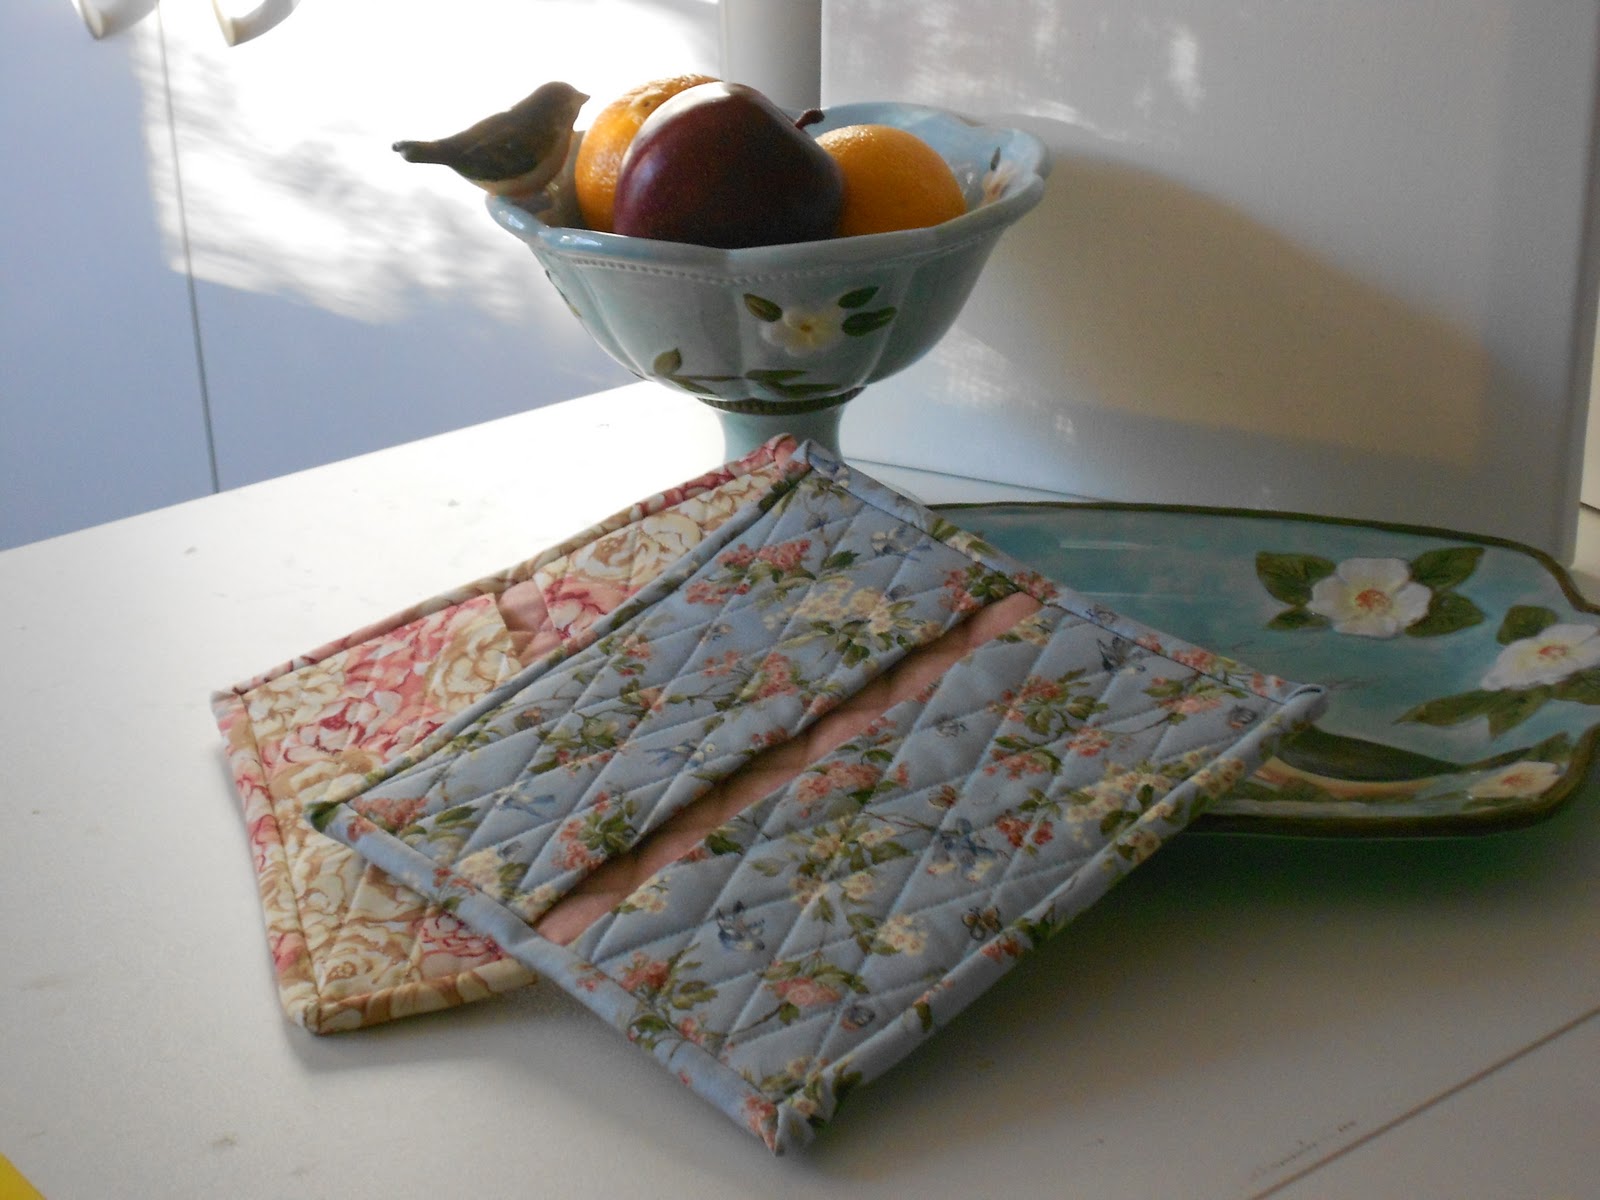
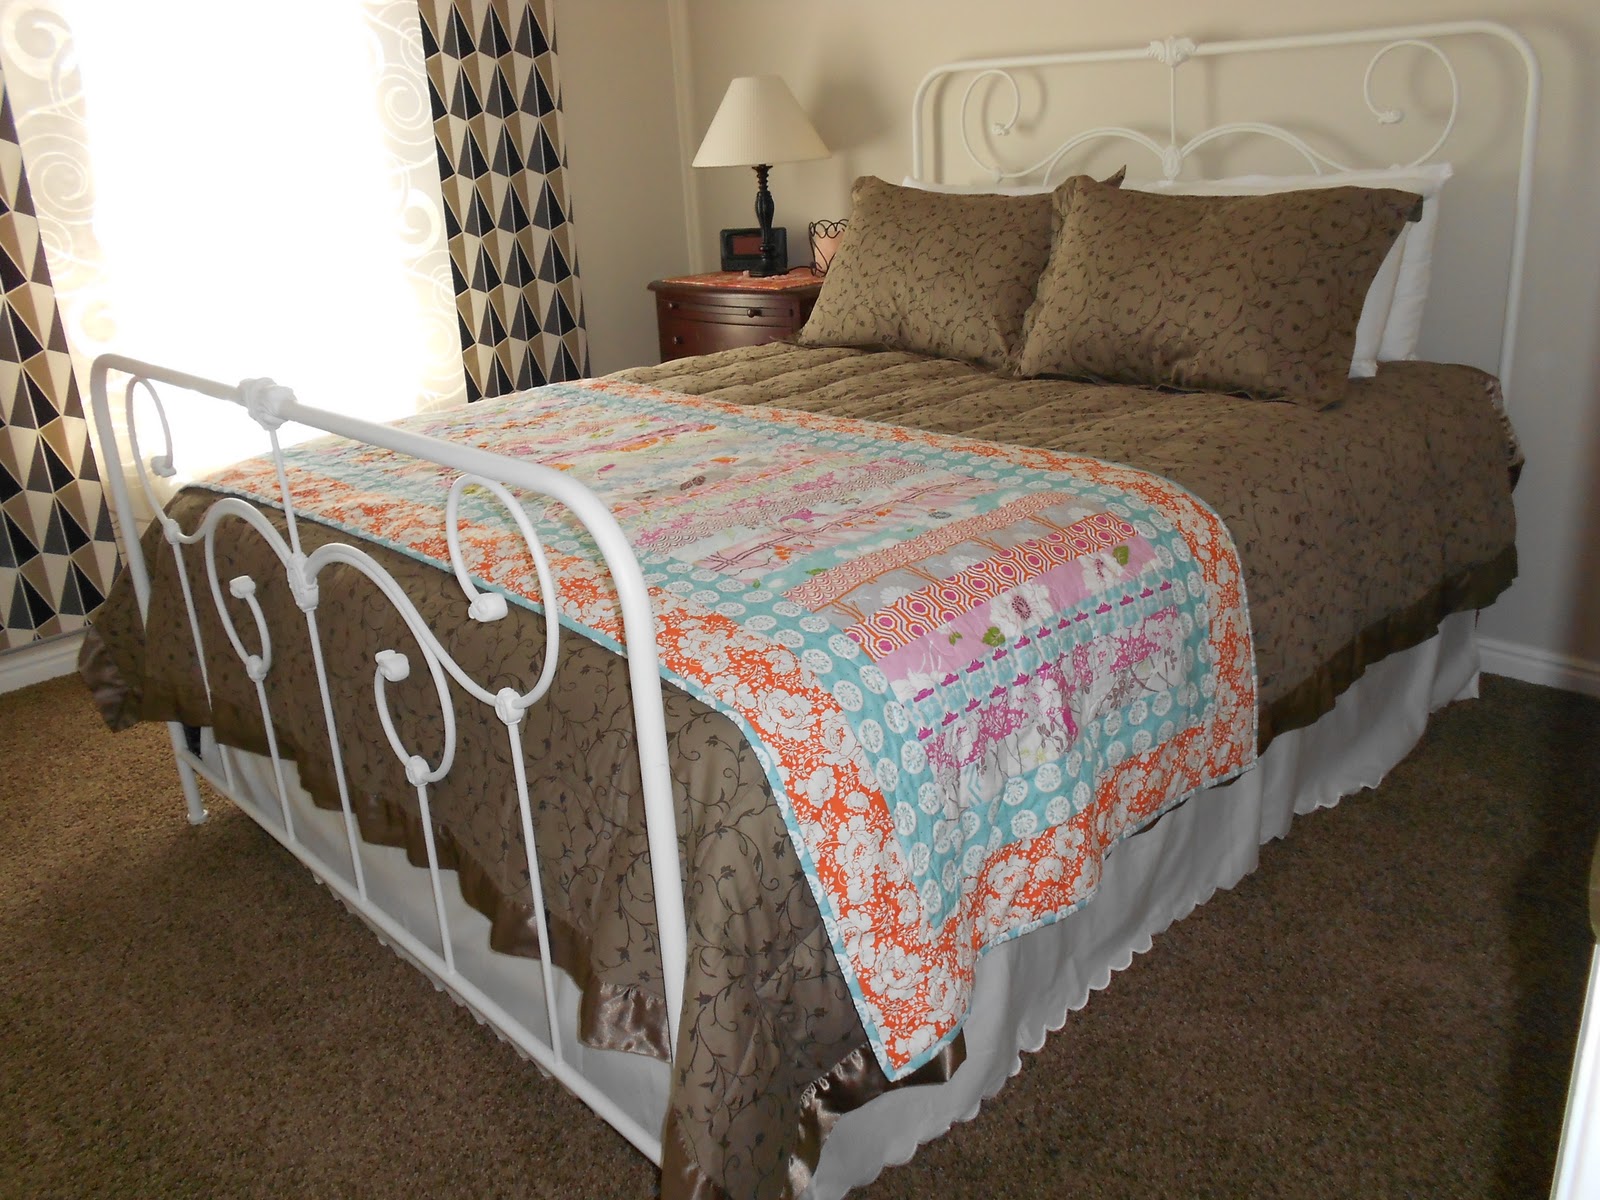
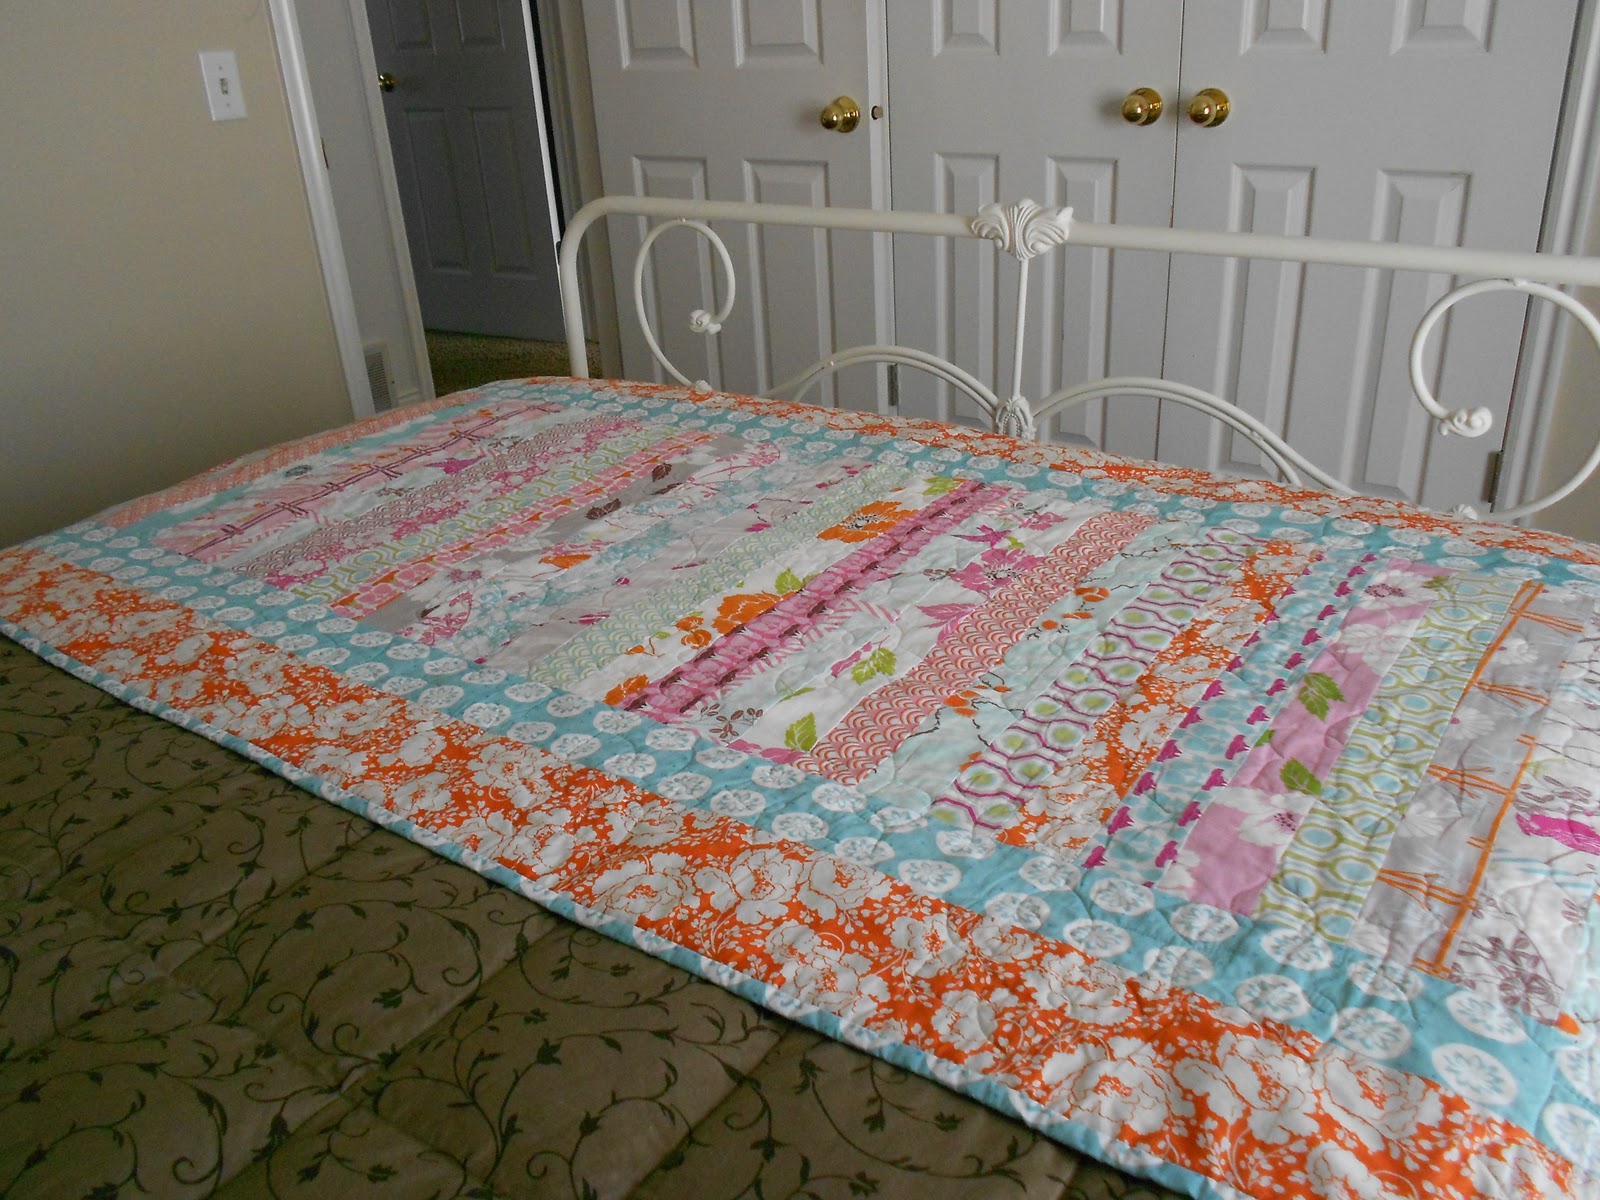
The far left photo is my Easter dress, which I finished this week.  I wanted to take photos of me modeling it outside, but alas, Utah late-winter/early-spring weather does not cooperate.  Open-toe heels in two inches of snow is not fun!  Therefore, I will post a review and photos as soon as the weather improves.  The yellow flowers are snow-covered primrose that I planted a few days ago when the temperature was in the mid 60’s.  The bird is a great home dec find that I purchased at Hallmark (of all places) for a mere $5.99.  The bottom right photo is a shelf scarf that I made a number of years ago.

I hope your spring is warming up nicely.

Pot Holders

Yes, these pot holders are from the same TNT pattern that I use exclusively for pot holders (previously reviewed here).  These, however, are not for me.  They are a gift for my mother for Christmas.

If you are using this pattern from Amy Butler’s book, the fabric requirements are listed in yardage.  But if you have fat quarters and would like to use them, three fat quarters will make two pot holders (with next to nothing left over so be careful to plan out your cutting strategy).


This next picture is simply because I wanted to show you the beautiful, and tasty, apple that I picked from my tree this morning:

Now on to some more garment sewing for me, me, me!!

Guest Room Bed Runner

Ahhh, sweet success.  I love rounding out the week with a completed project.  Here’s the bed runner that I previewed here.

I try to keep the guest room pretty neutral and not ‘girly’ it up too much because you never know what gender guest will be staying in there.  But it was crying out for a pop of color.  This bed runner is very long (90+”).  It would fit a king size bed perfectly.  Since I do not own any king size beds (they are all queen size), I will simply fold under the ends on each side to achieve the length I need.  The bed runner is puddled on the floor on the other side of the bed in this photo!!!  Actually, if I were to use a bedspread rather than a quilt and dust ruffle on the bed, the bed runner would fall to just above the floor on each side just like the length of the bedspread.  Hmmm, perhaps a bedspread purchase is in my future.

Here’s a picture of it taken fromt the other end of the bed:

Here’s the back of the quilt:

And, finally, a look at the quilt label which I embroidered using my embroidery machine:

The quilting was done on my quilt frame and I simply used a flower stencil and water soluble marker to mark it before quilting.