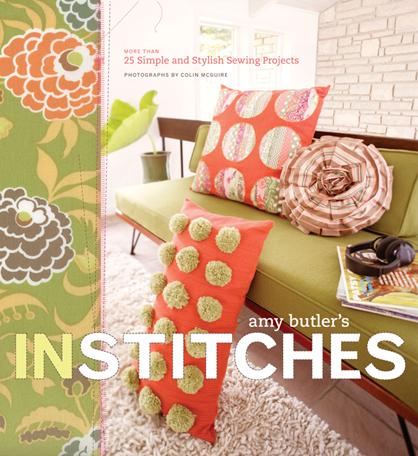
Square Pot Holder

From this book:

This is my all time favorite pot holder pattern.  I’ve made these a number of times over the past couple years, I’m spoiled now and I won’t buy ready made pot holders.  I’ve become somewhat of a pot holder snob as these have spoiled me!

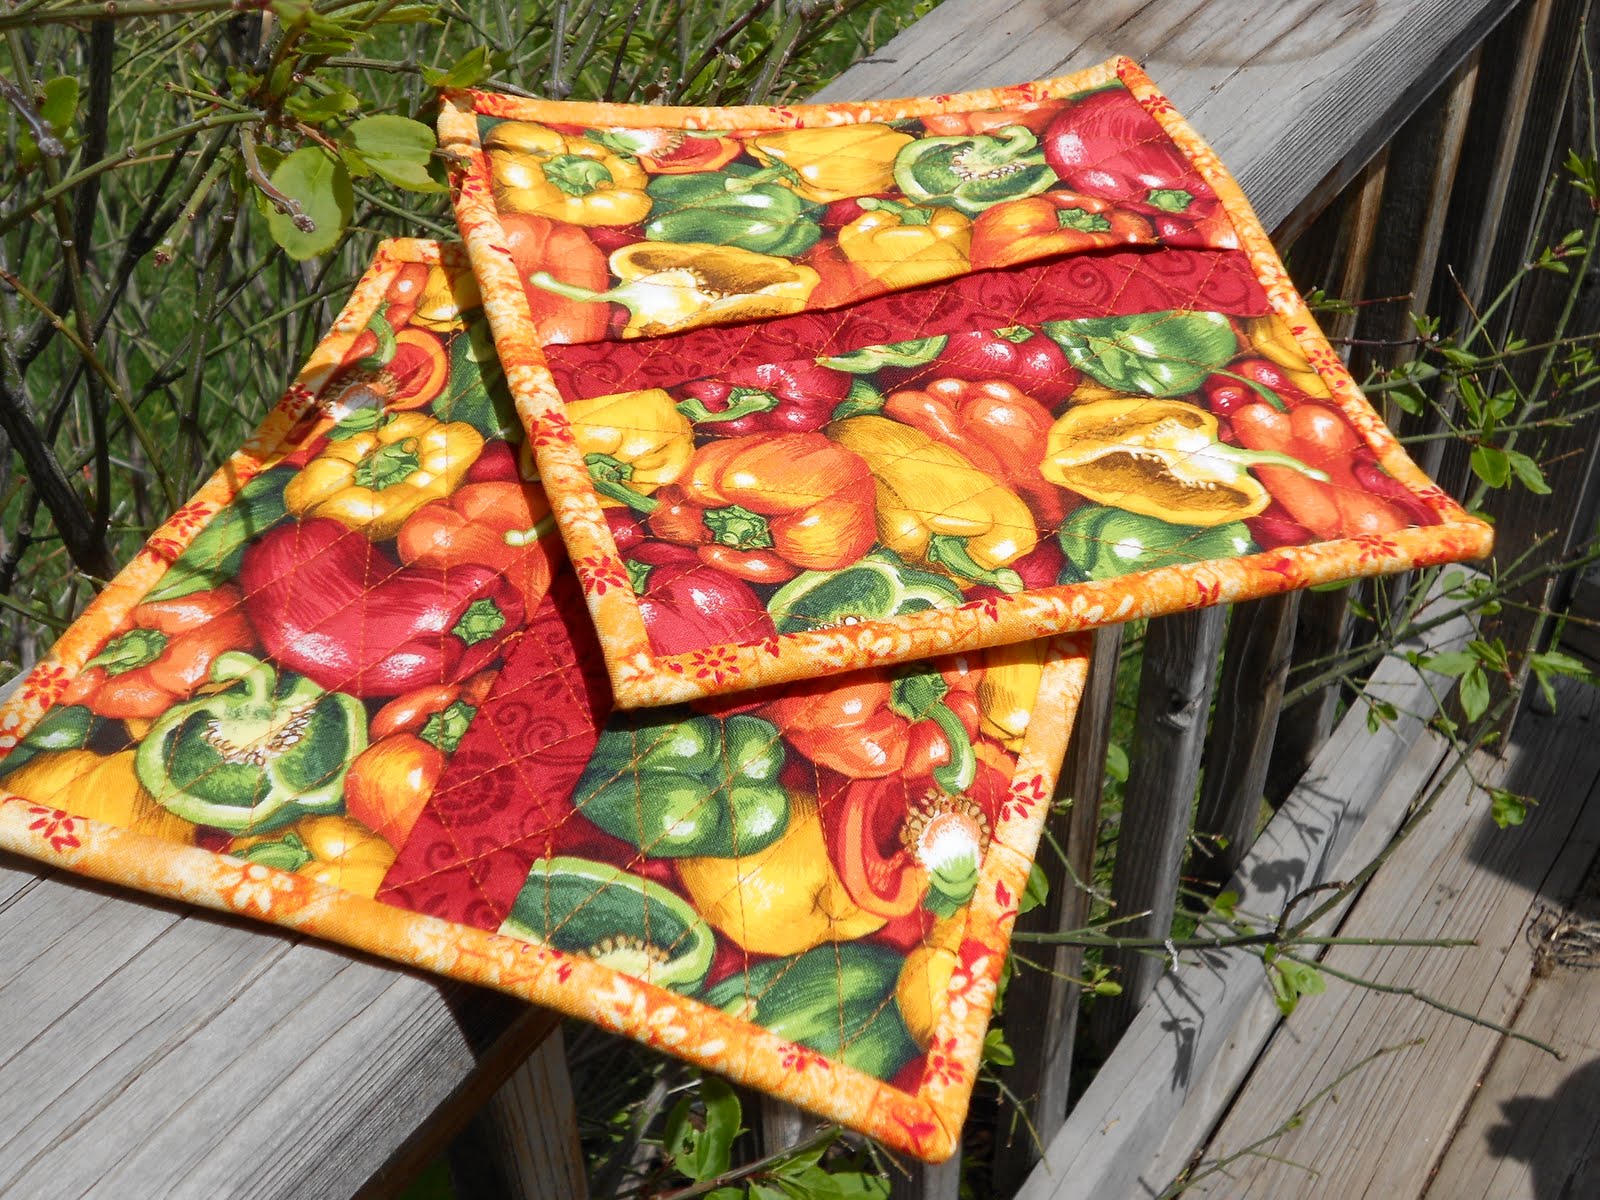
This is my favorite set so far.  How appropriate for a kitchen linen are vegetables?  And look at those vibrant, feel good colors.  Here’s a shot of the the opposite patchwork style side:

I followed the instructions as written for each pot holder, with these exceptions:

1.  I omitted the grommet because I don’t hang my pot holders.  I keep them in the drawer next to the stove.

2.  I substituted 1 panel of 9″ x 9″ Insul-Bright for the 2 panels of 9″ x 9″ cotton batting and I substitued 2 panels of 4″ x 9″ Insul-Bright for the 2 panels of 4″ x 9″ cotton batting.  I find that the Insul-Bright gives just a bit more protection from the heat than does the two layers of cotton batting.

Here’s a close up of the quilted hand covers:

Charm Pack Table Runner

In a desperate effort to usher in something remotely resembling Spring, I made up this quick little table runner.  The weather is sooooo rainy and cold here in Utah.  More fuel to feed the flames of my whining to move back to a warmer climate!  Sorry DH.  Anyway, I love to use charm packs for quick table runners and home dcor.  This is my take on my favorite table runner pattern #376 Tutti-Frutti by  Pieces From My Heart .

 I purchased the fabric charm pack (Lovely, by Sandy Gervais) from my favorite online quilt shop, Fat Quarter Shop

I added the yellow crochet flowers and the green applique leaves.  And instead of adding the half-circle border as illustrated on the pattern, I simply used traditional binding (I didn’t have enough of the charm pack squares left for the border).  Here’s a close up of the crocheted flowers.

C’mon Spring, I’m waiting!!!

Garden Stake Banner

Here’s a new little banner to hang on my hall tree.

The pattern is from Nancy Halvorsen’s book, Garden Song.  I followed the pattern instructions exactly, except I omitted the side border strips and used the red fabric as binding instead.  Why did I do this, you ask?  Because I wasn’t paying attention and I quilted the little block together before I added the border strips.  Oops!  Oh well, it still turned out cute and I have it hanging in my living room as a reminder that Spring really will arrive in a few weeks (or months).

When I finished the block, hung it up, and stood back and looked at it, I noticed that the flowers (particularly the top yellow flower) blended into the background and the banner looked a bit blah.  My awesome daughter suggested adding stamen to the middle of the flowers.  I was too lazy to add any more sewing to this little project, so enter my Silhouette die cut machine.  I cut the “stamen” shapes with my Silhouette and applied the iron-on rhinestones to bling my flowers.  I also used Tim Holtz Distress Stickles to outline the leaves on the top flower (the color I used was Shabby Shutters).  Much better!