Hello sewing friends!
Here it is December 24 – Christmas is fast approaching!!!
Sometimes, I feel selfish sewing for myself when it is a season of giving to others.
But I know that’s silly!!!
Have you ever given a gift from the heart to a friend or loved one,
only to find out they never used your gift?
I know from Whom my talent comes (James 1:17),
and to show my appreciation
I decided to do some sewing for self this season:
1. A spring dress
2. Pajama pants
3. A bed runner

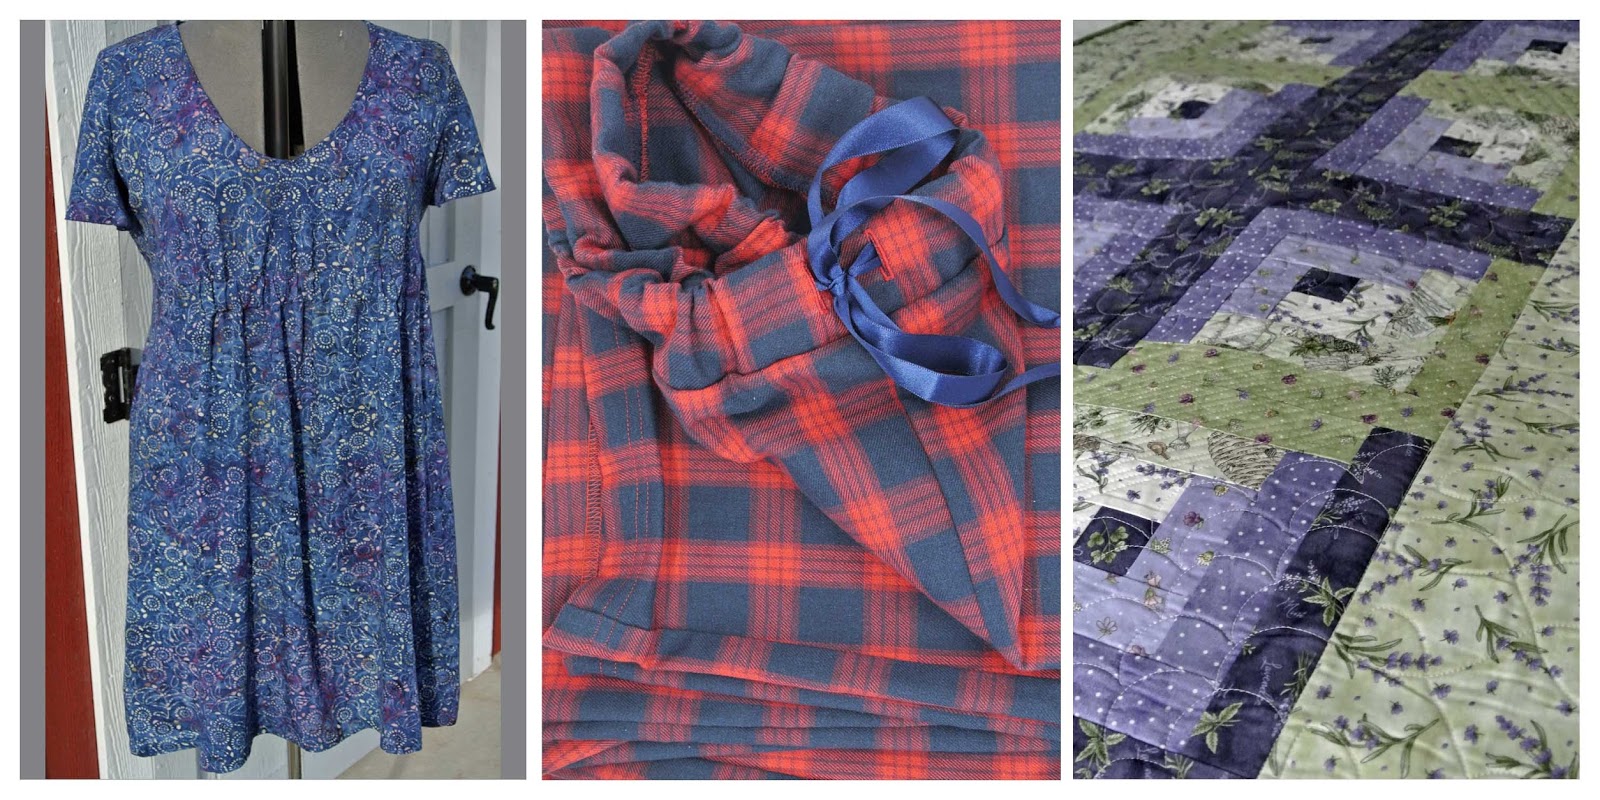
1. Summer Jazz Dress pattern by Snapdragon Studios
I’m sorry for not modeling this one, but baby it’s COLD outside!
Most likely March will be the month this one gets to emerge from my closet.
I chose a lovely, hand-dyed batik fabric for this version.
It is soft, lightweight, and flowing. Love that.
I plan to wear it with navy leggings in the spring,
and I’ll wear it with ‘naked’ legs in the summer along with sandals.
C’mon summer!!!

The pattern is pretty straight forward.
The bodice is a separate pattern piece from the skirt,
and a casing is added to the inside front seam between the bodice and skirt.
Then you insert elastic into that front casing to get the gathering under the bust line.
I used a serger rolled hem to finish off the flutter sleeves.
The fit is nice, I did not make any alterations.
Just stay true to your measurements when choosing your size.
Since the dress is not fitted, a bunch of alterations are not necessary.

The back has a pleat at the empire waist seam line.
I chose to omit the inseam pockets.
Can’t wait to wear this one.

2. I ordered the ultimate pyjamas kit from Sew Over It in the UK.
The kit included the pattern, fabric, elastic, and ribbon.
Shipping was quick.
I received my order in just 2 1/2 weeks.

I was going to purchase the digital pattern and just download it,
but I also wanted the brushed cotton plaid fabric,
so I figured I might as well just order the kit.
I also purchased the same fabric in the navy/green color.
I’ll use the green fabric to stitch another pair in January.
Can I just tell you – that fabric is delicious!
So glad I purchased two color ways.

Pajama bottoms are so super simple to sew; and this pattern is no different.
I appreciate the added detail of the ribbon in addition to the elastic waist.
The elastic is inserted as usual for an elastic waistband,
but buttonholes are added to the waistband to accommodate the ribbon.
I left the elastic length a little generous – just enough length that the
pajamas sit at my waist without falling down – but then I snug them up with the ribbon.
Great option.
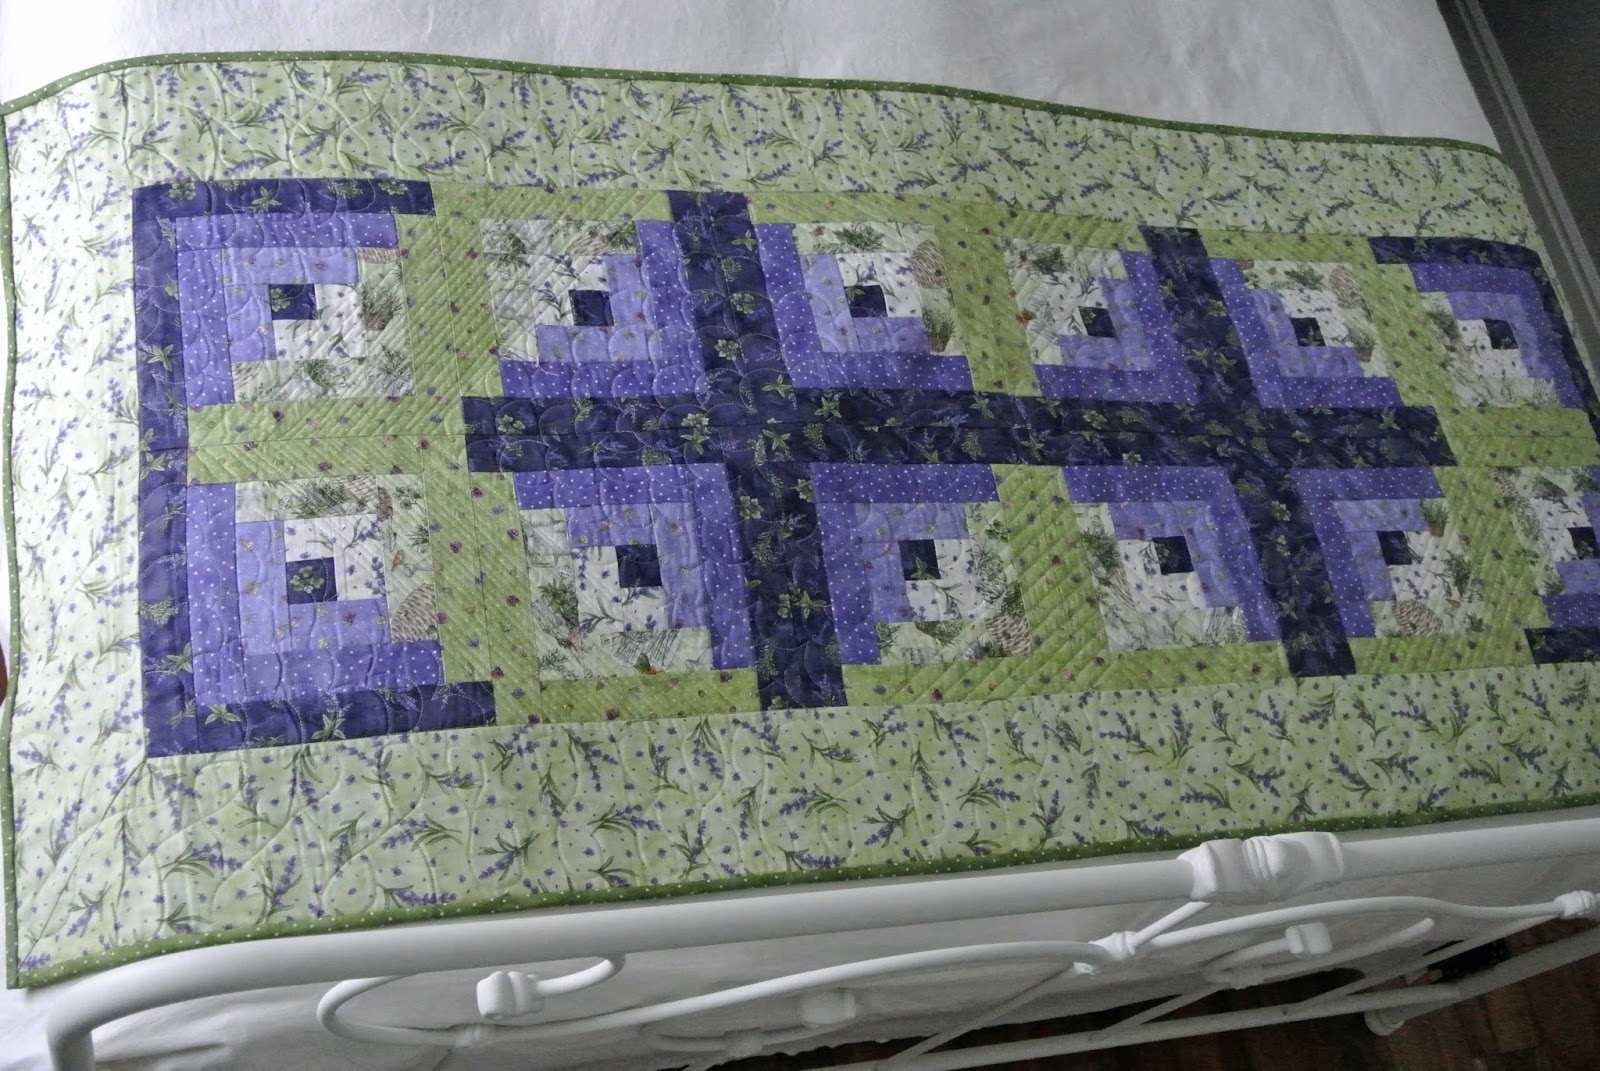
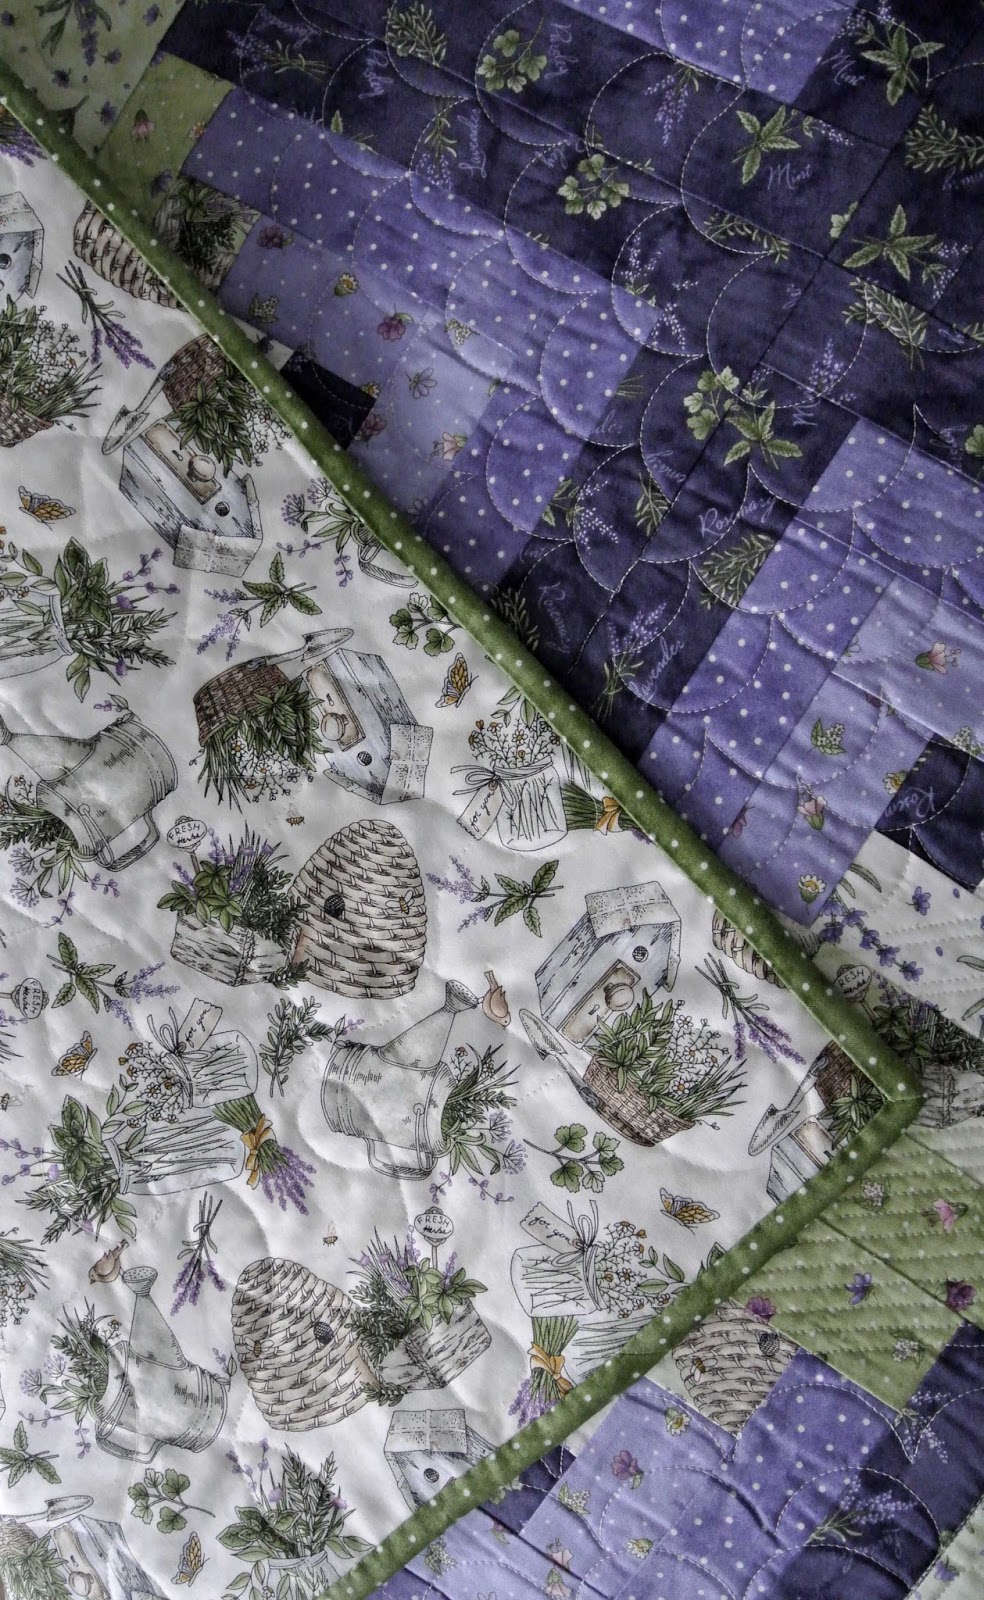
3. The Thyme For Friends bed runner was another kit purchase. This one was from Shabby Fabrics.
My guest room is decorated in lavender and green colors, so this was the perfect addition.

The log cabin blocks went together very quickly.

I used my Block Rockit to quilt the bed runner. I’m quite pleased with how it turned out.
Merry Christmas Eve and thank you so much for visiting today.