Ring Bearer Pillow

“Here Comes the Bride, Here Comes the Bride”
We are in the throes of wedding season, my sewing friends
The instructions for this beauty are in the Summer 2016 issue of Classic Sewing Magazine
For subscribers, designer Sonia Showalter,
also includes the machine embroidery lattice file as a free download
No, there is not a bride in my life,
but
I’m putting together a few decorations for an upcoming
marriage conference hosted at our church
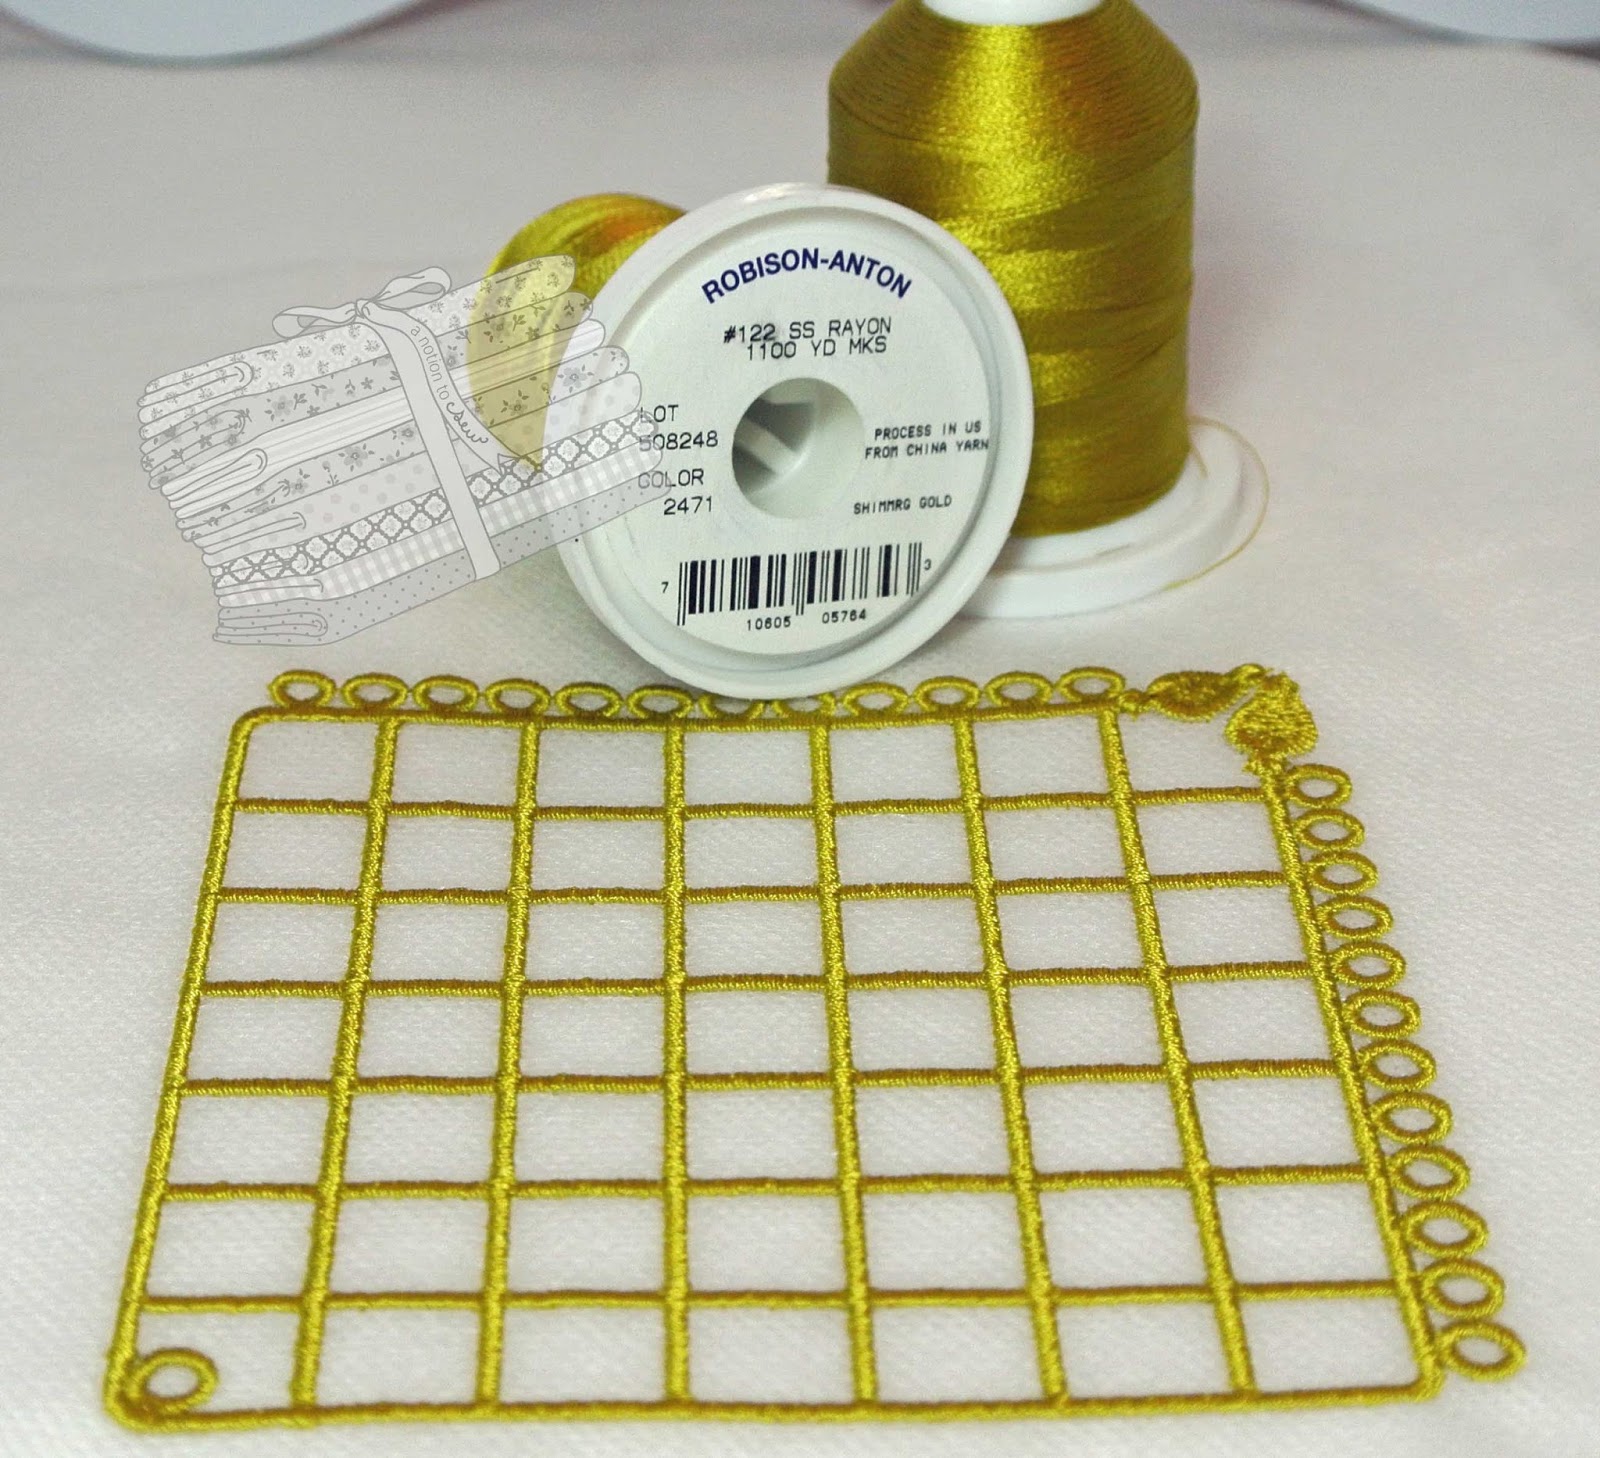
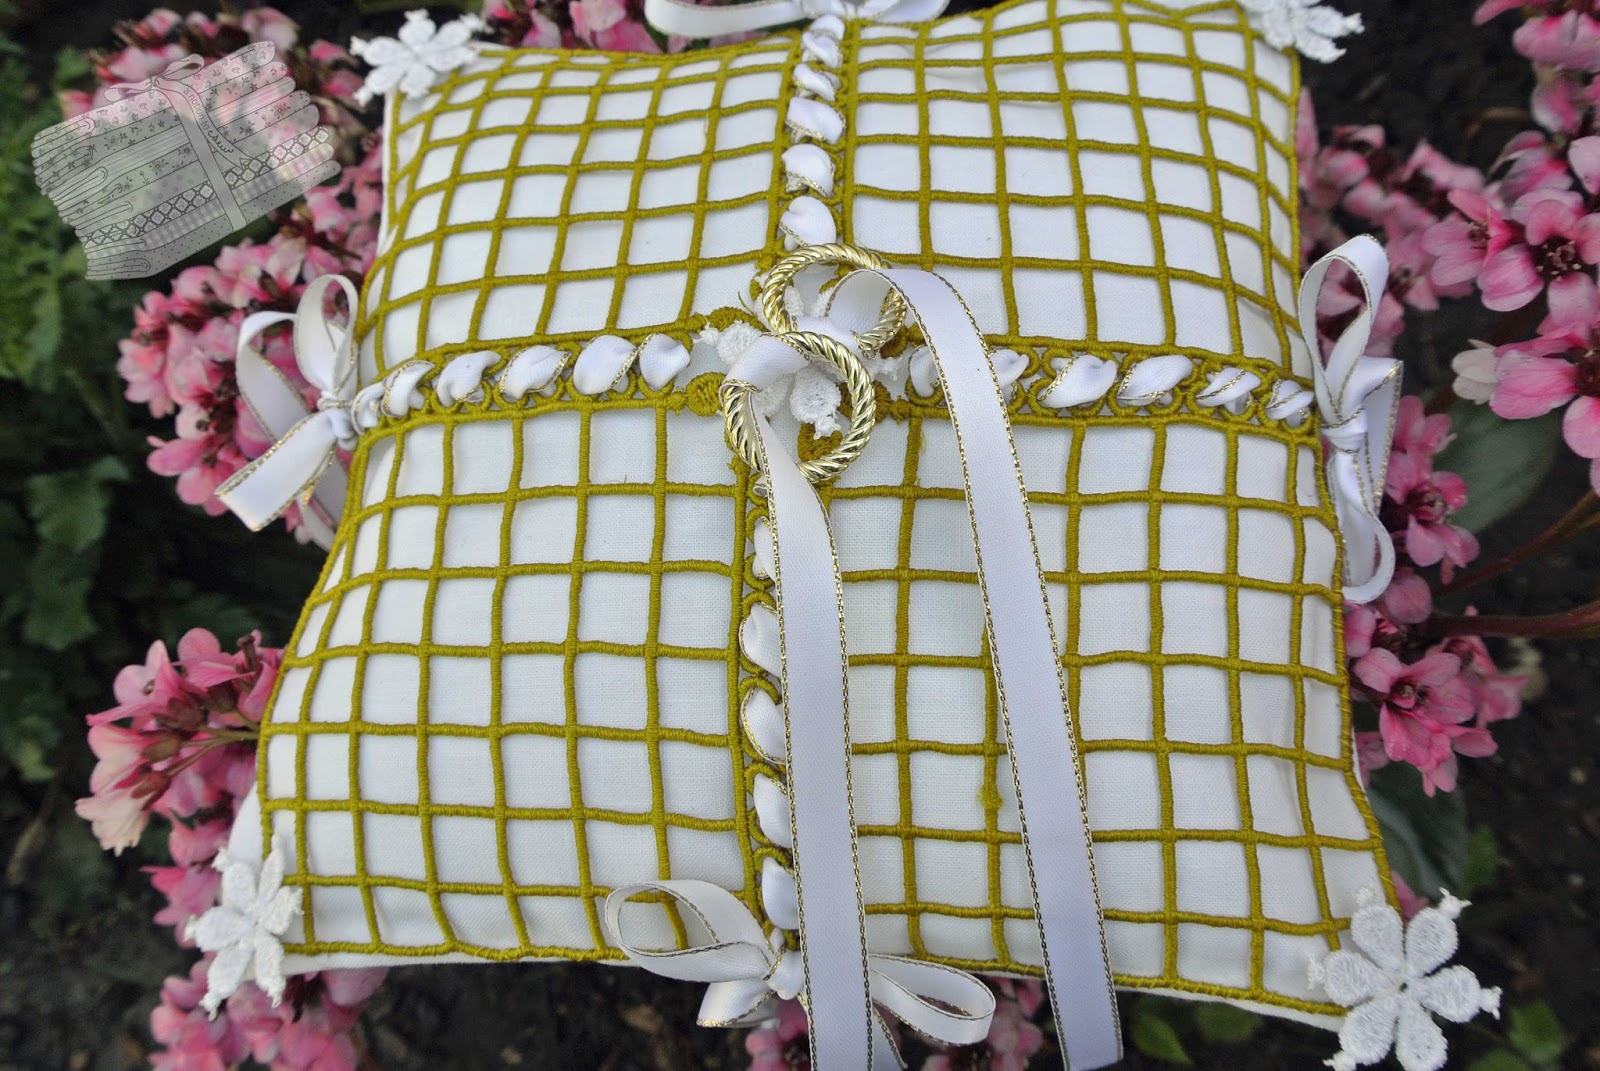
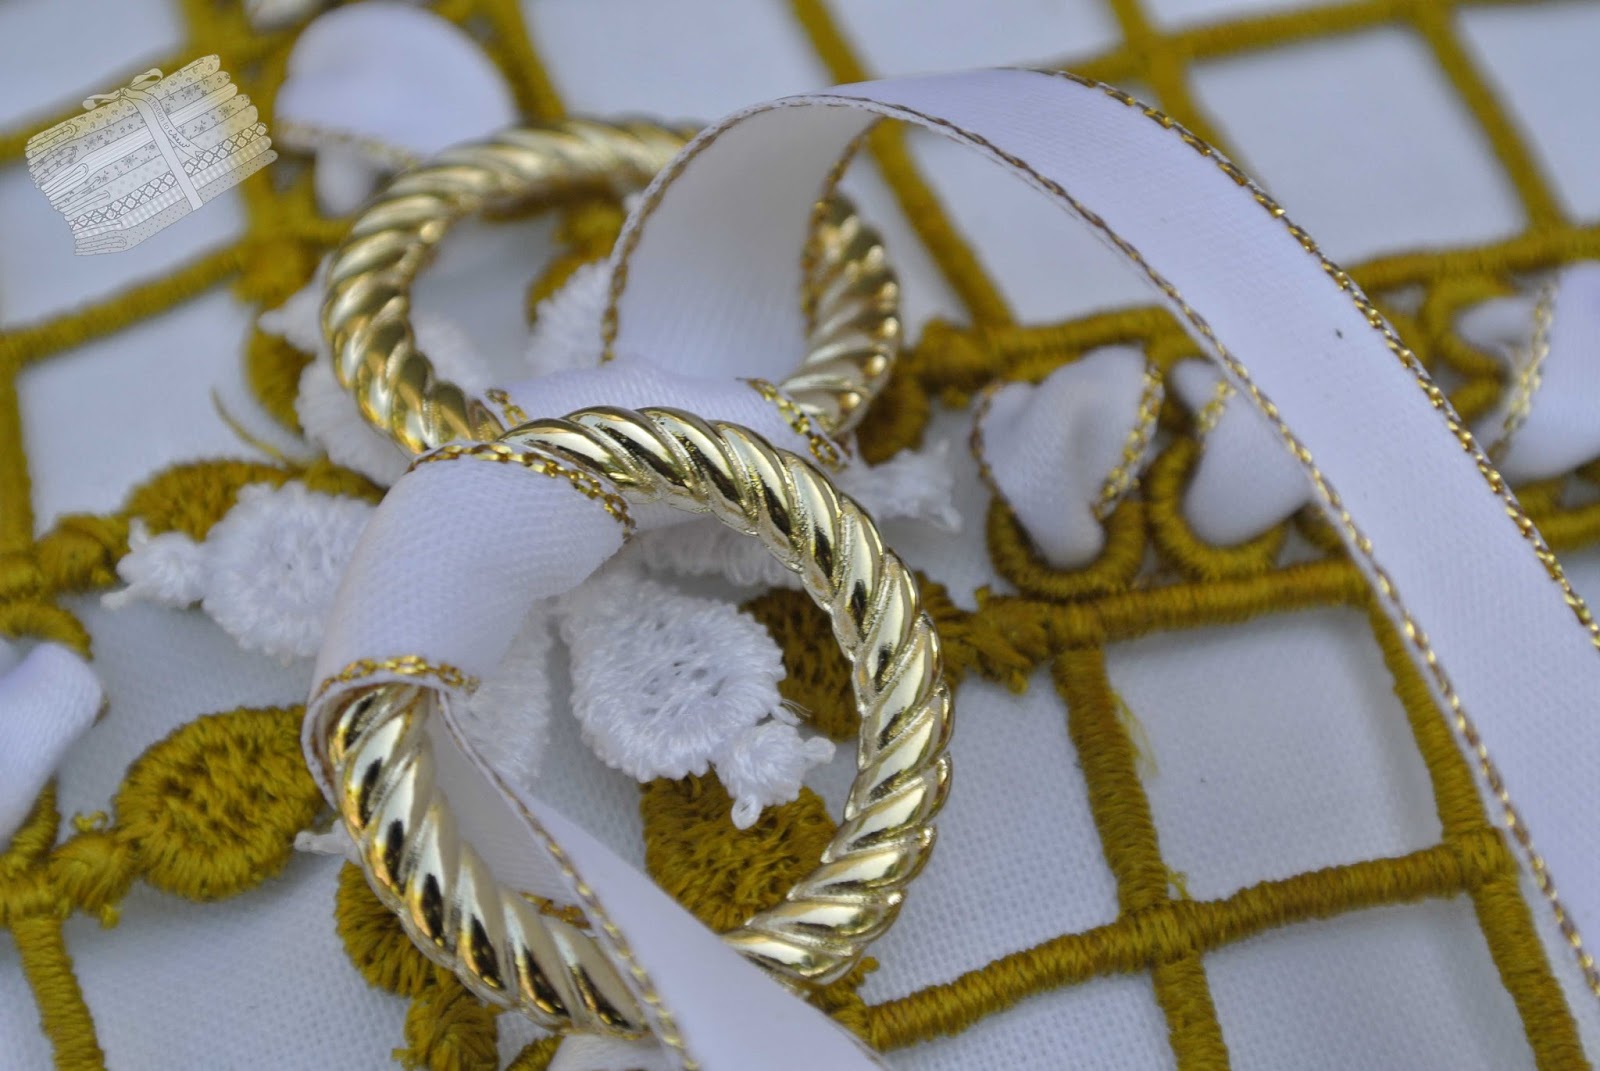
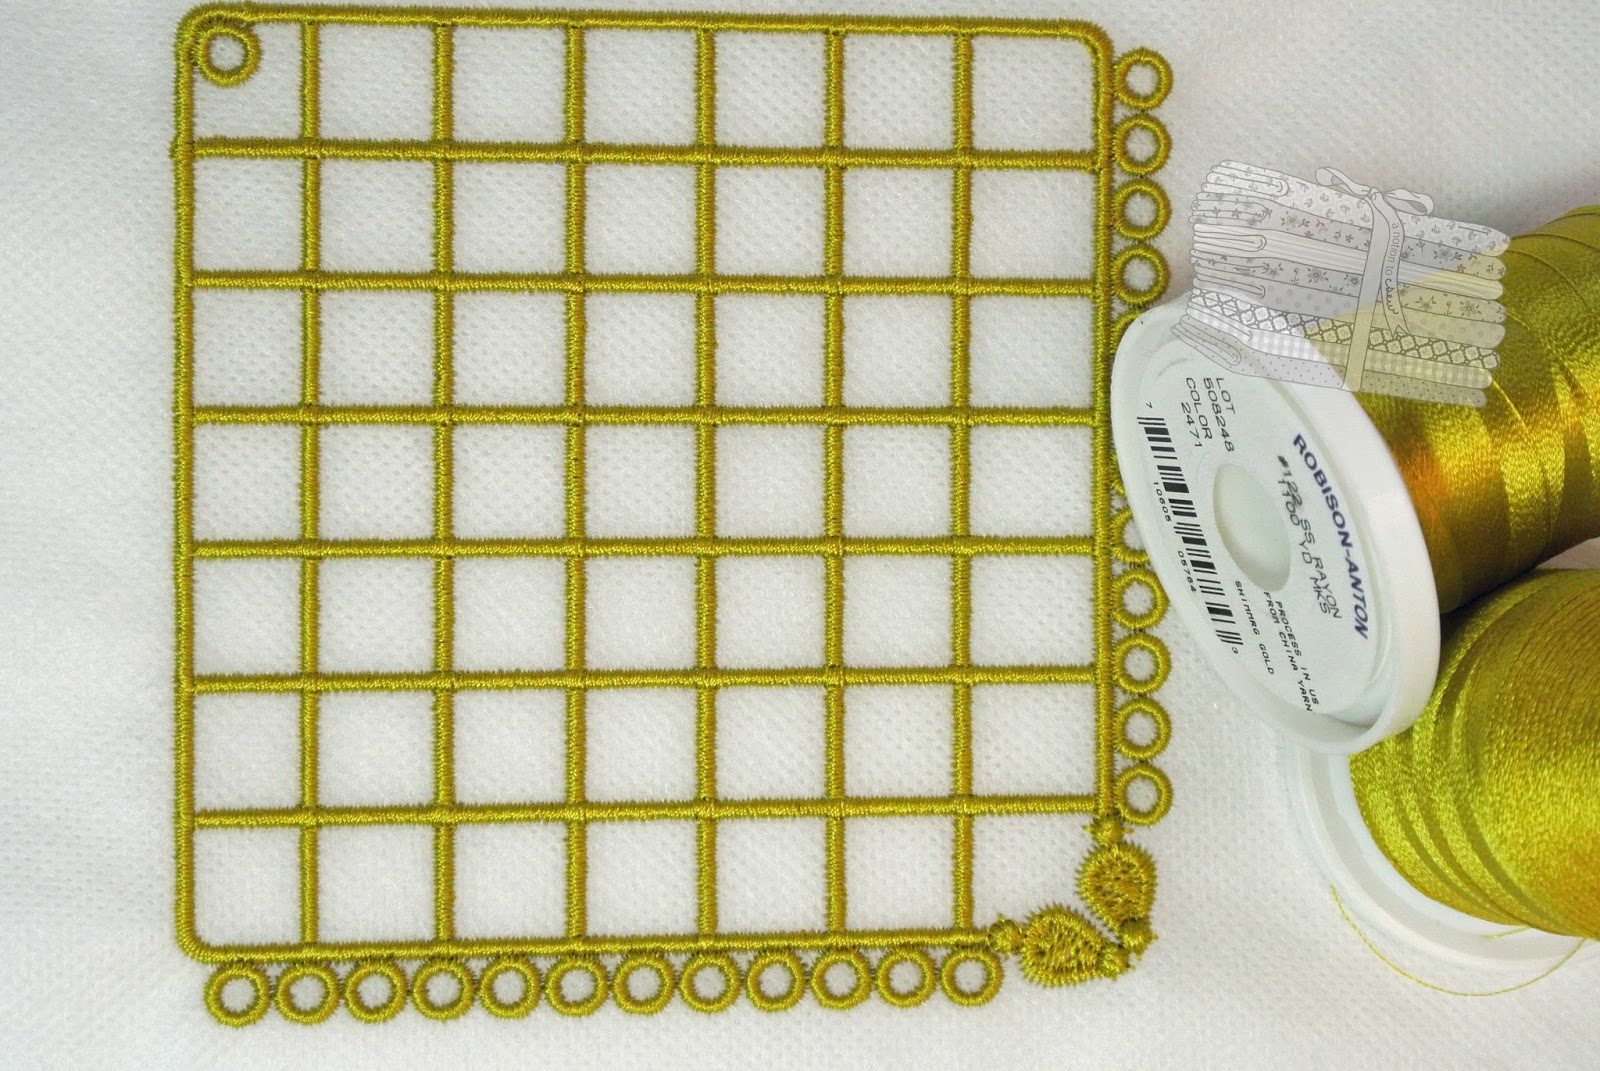
I used two layers of wash away stabilizer and some gold thread that I had on hand
Once the embroidery is stitched out and the stabilizer washed away,
the four lattice panels are ready to be joined together with some ribbon
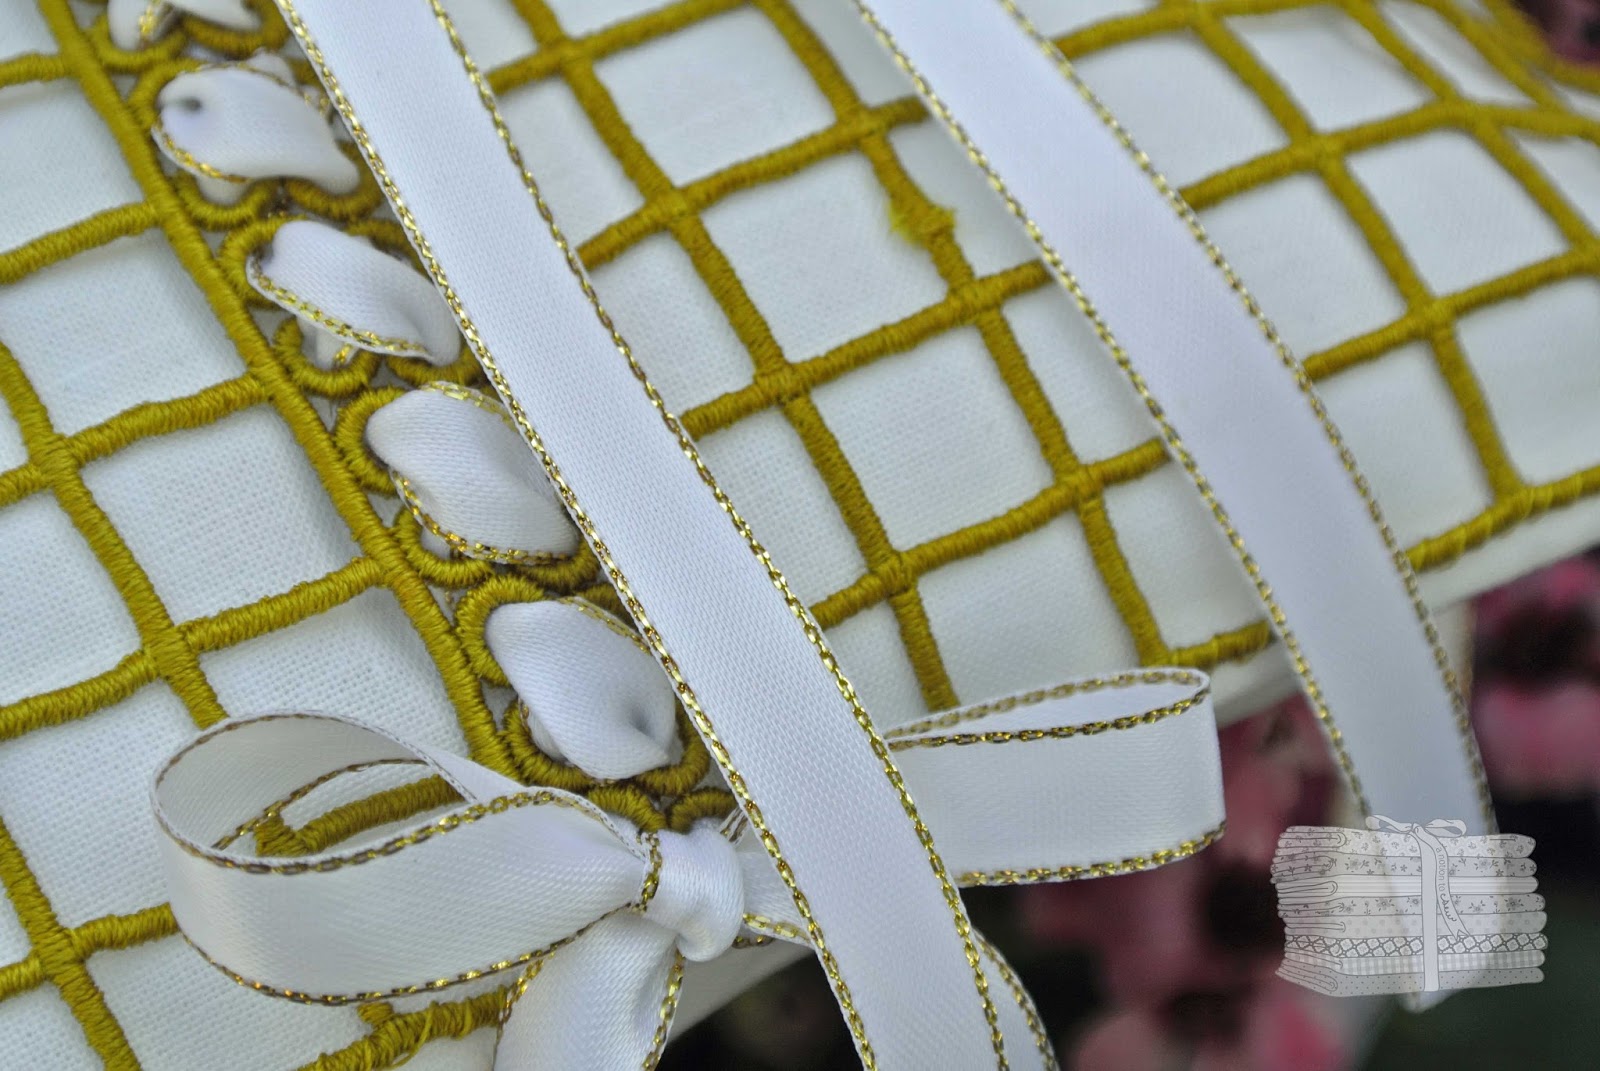
The outside edges of the lattice overlay are then stitched down to the pillow
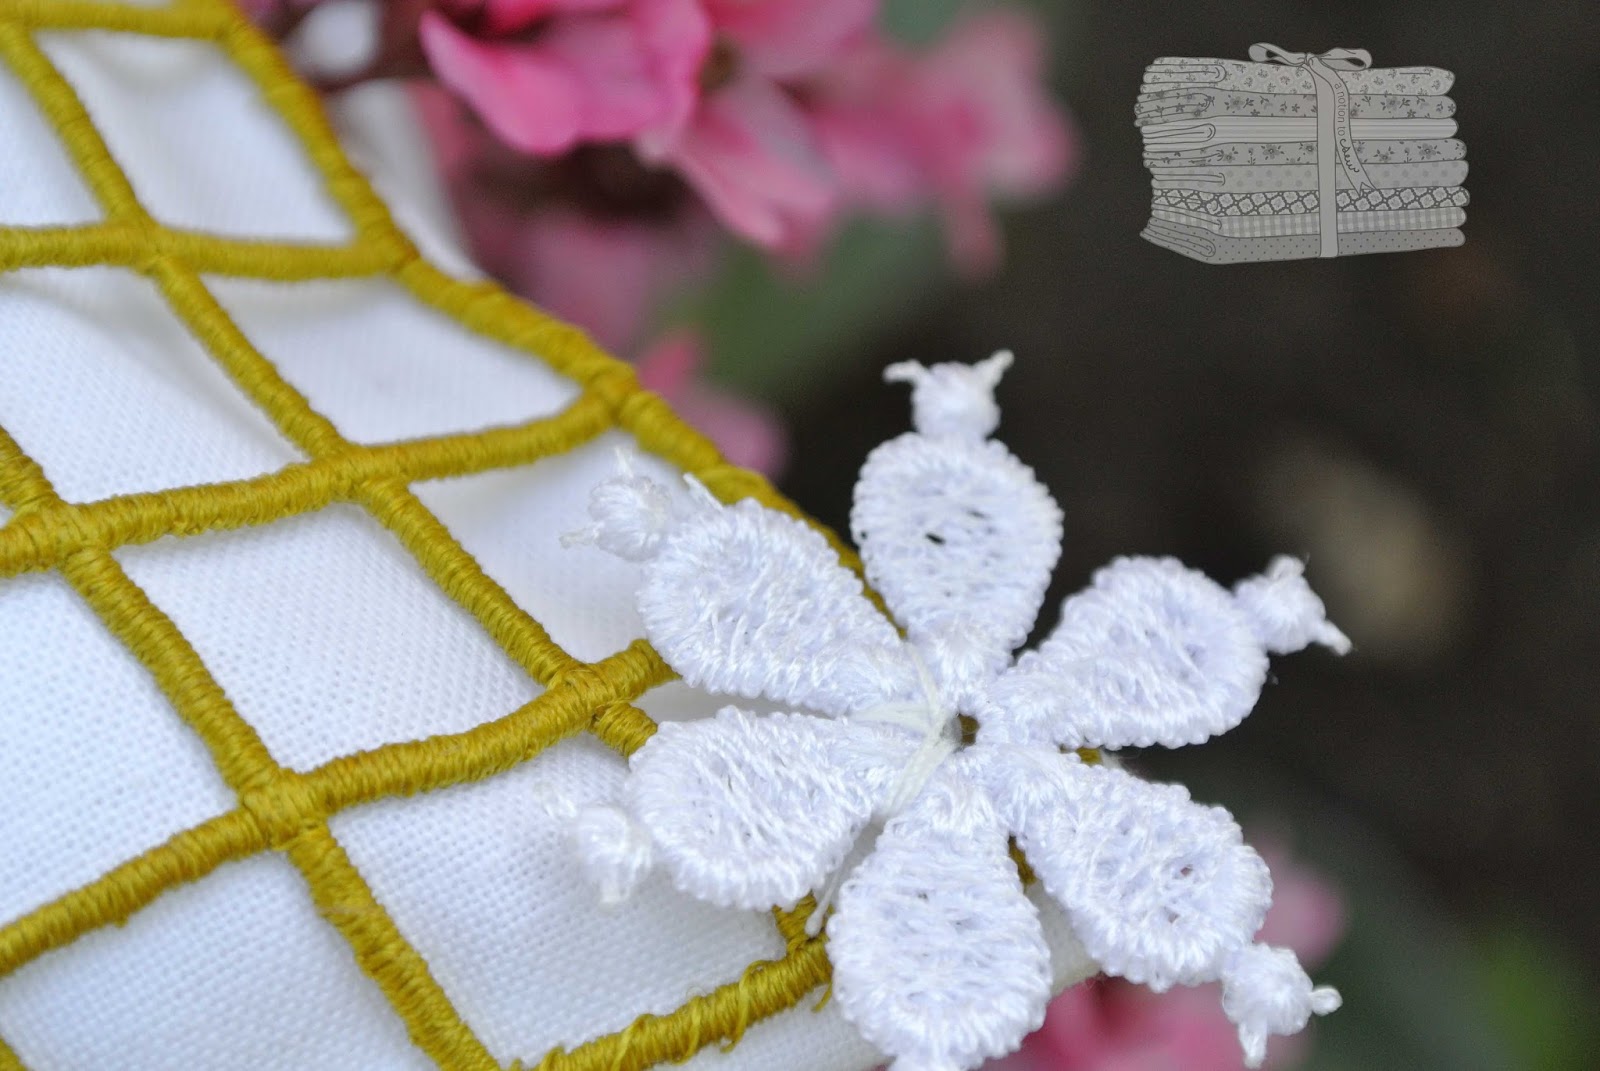
and the machine embroidered flowers are stitched on by hand
(yes, the flower design file is also a free download for subscribers)
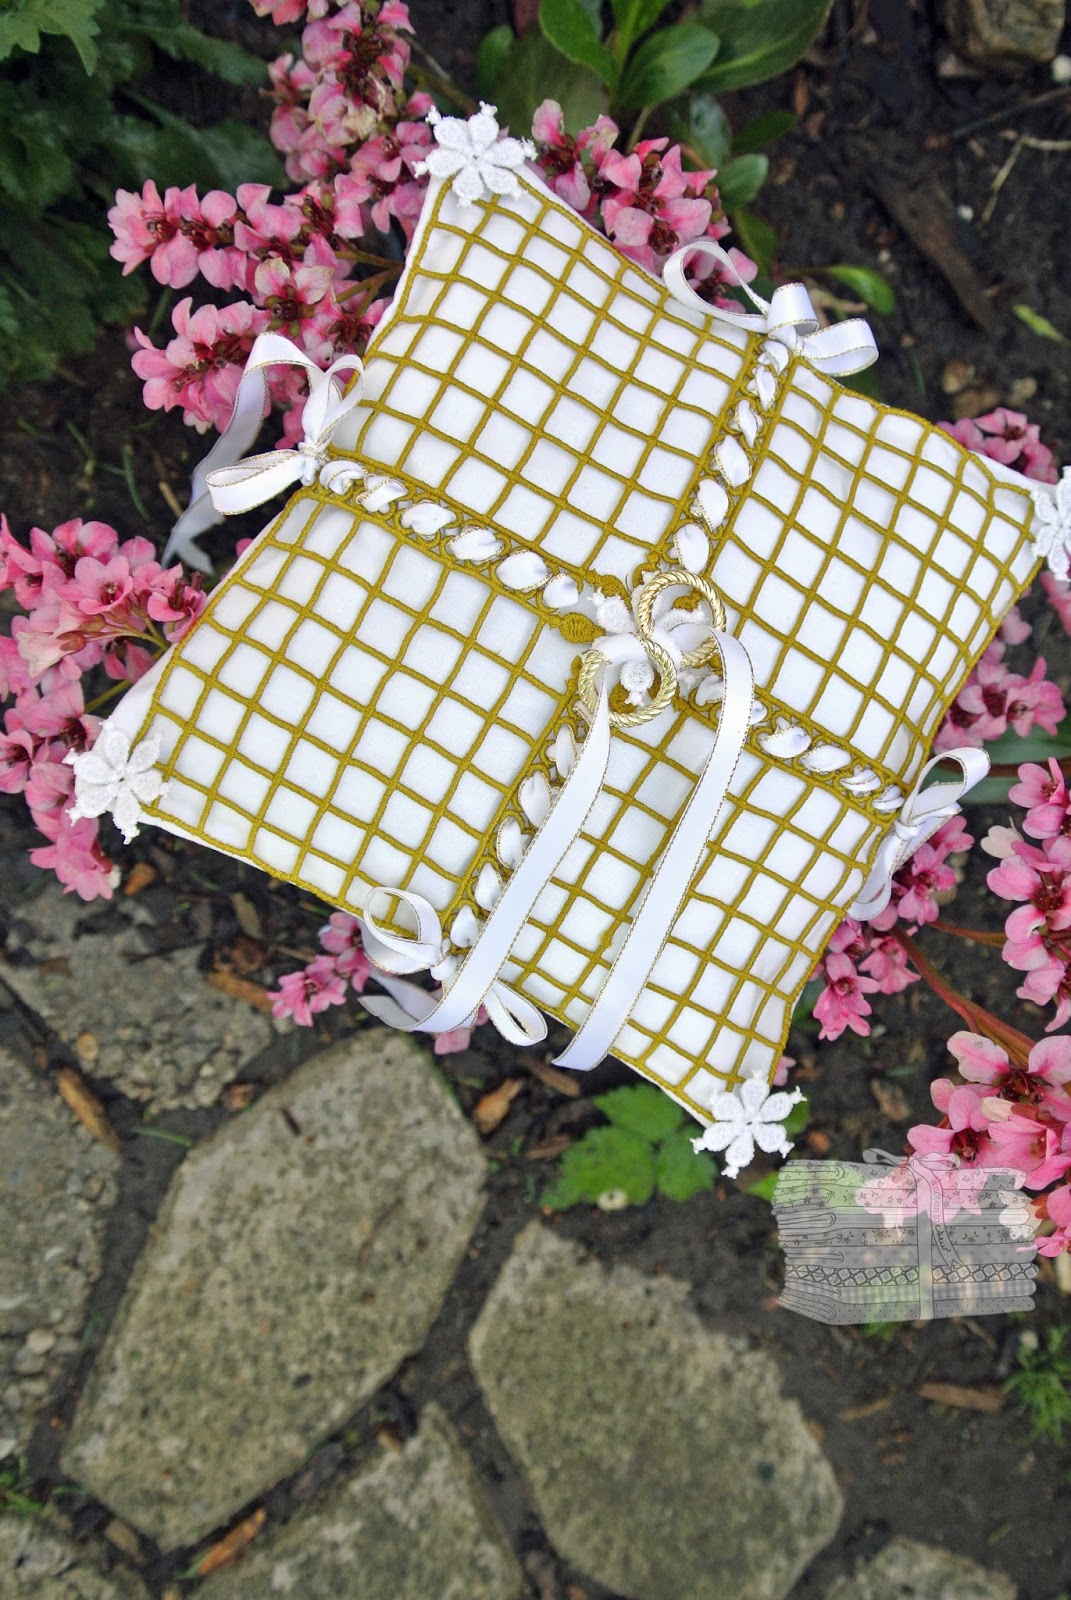
This is such a quick project with lovely results
I highly recommend it for anybody who is looking for a ring bearer pillow
Can’t you just see that lattice in beautiful colors to match any bride’s wedding?
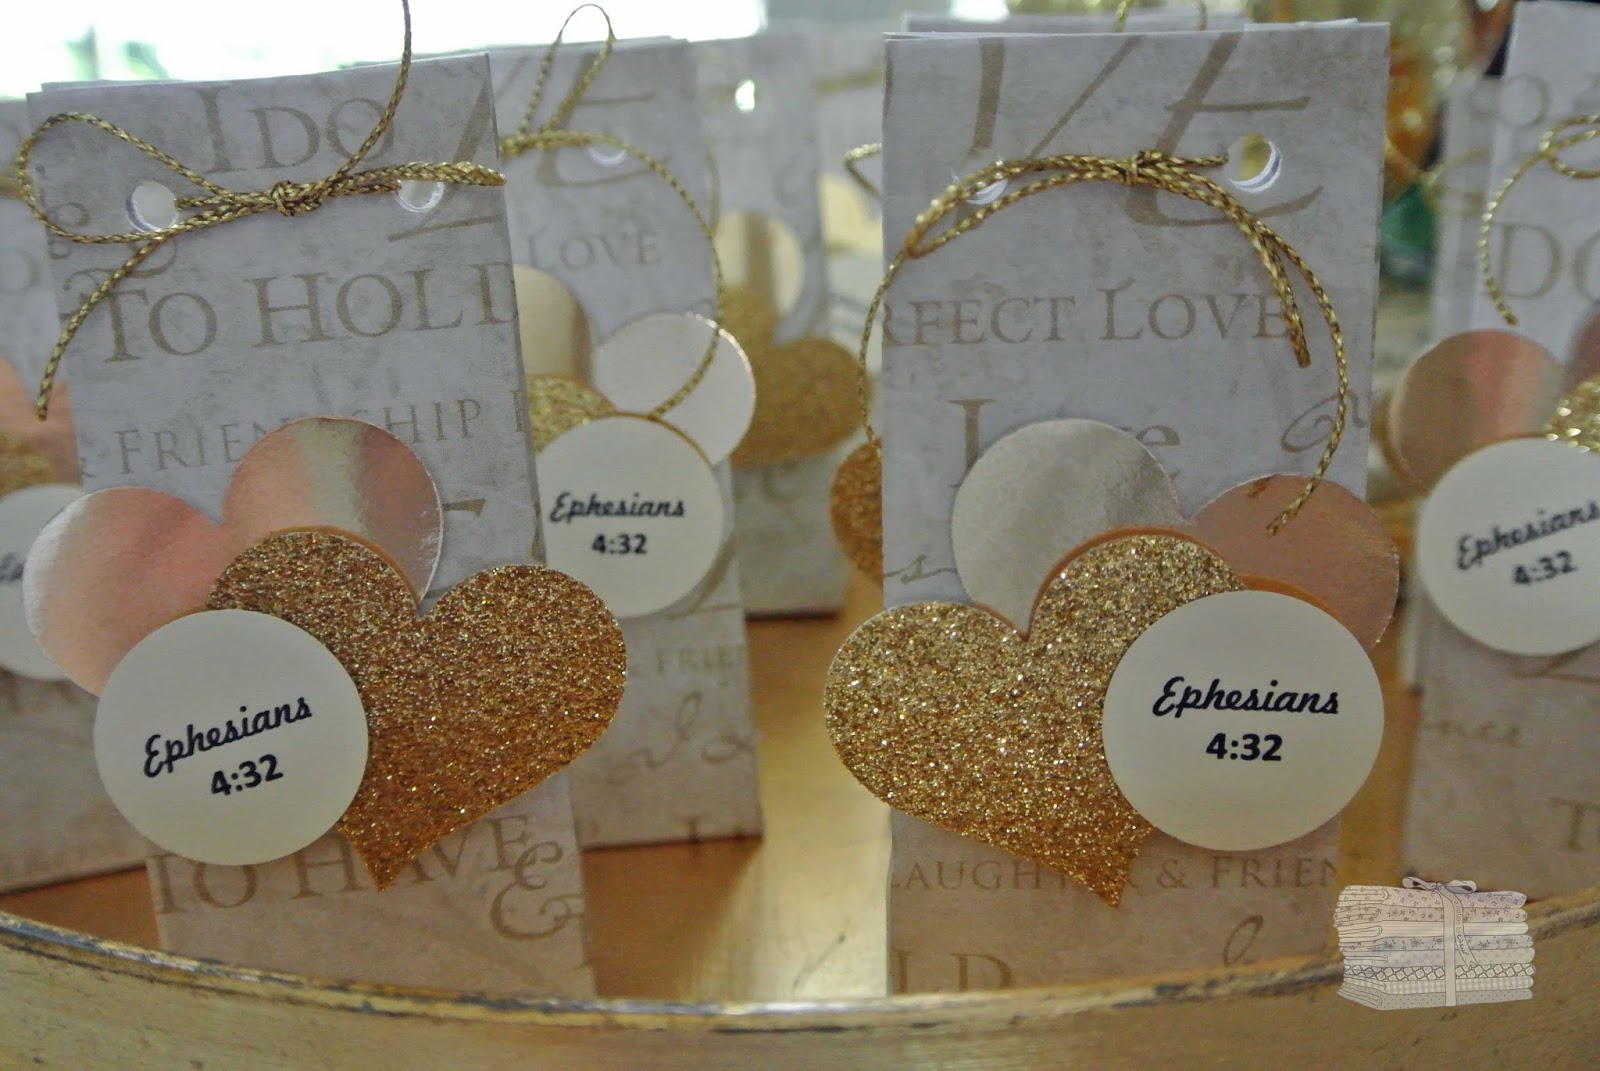
I also made some cute little treat bags using my paper crafting supplies
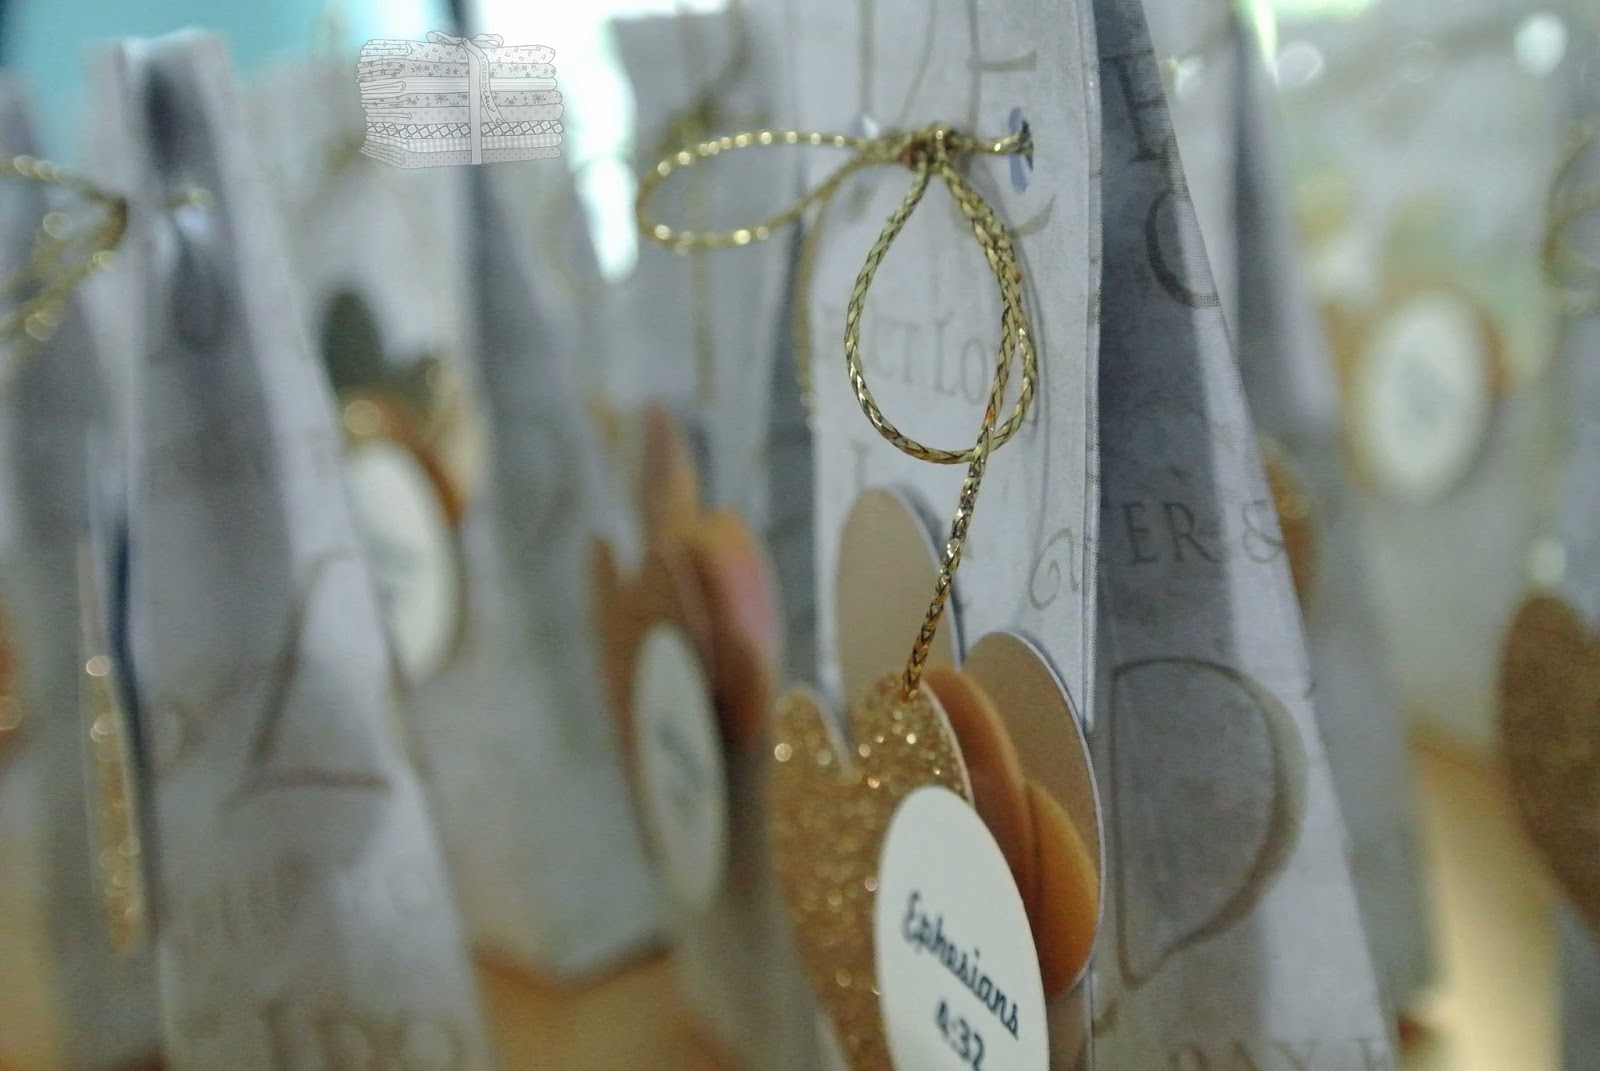
I filled these with Hershey’s Hugs and Kisses
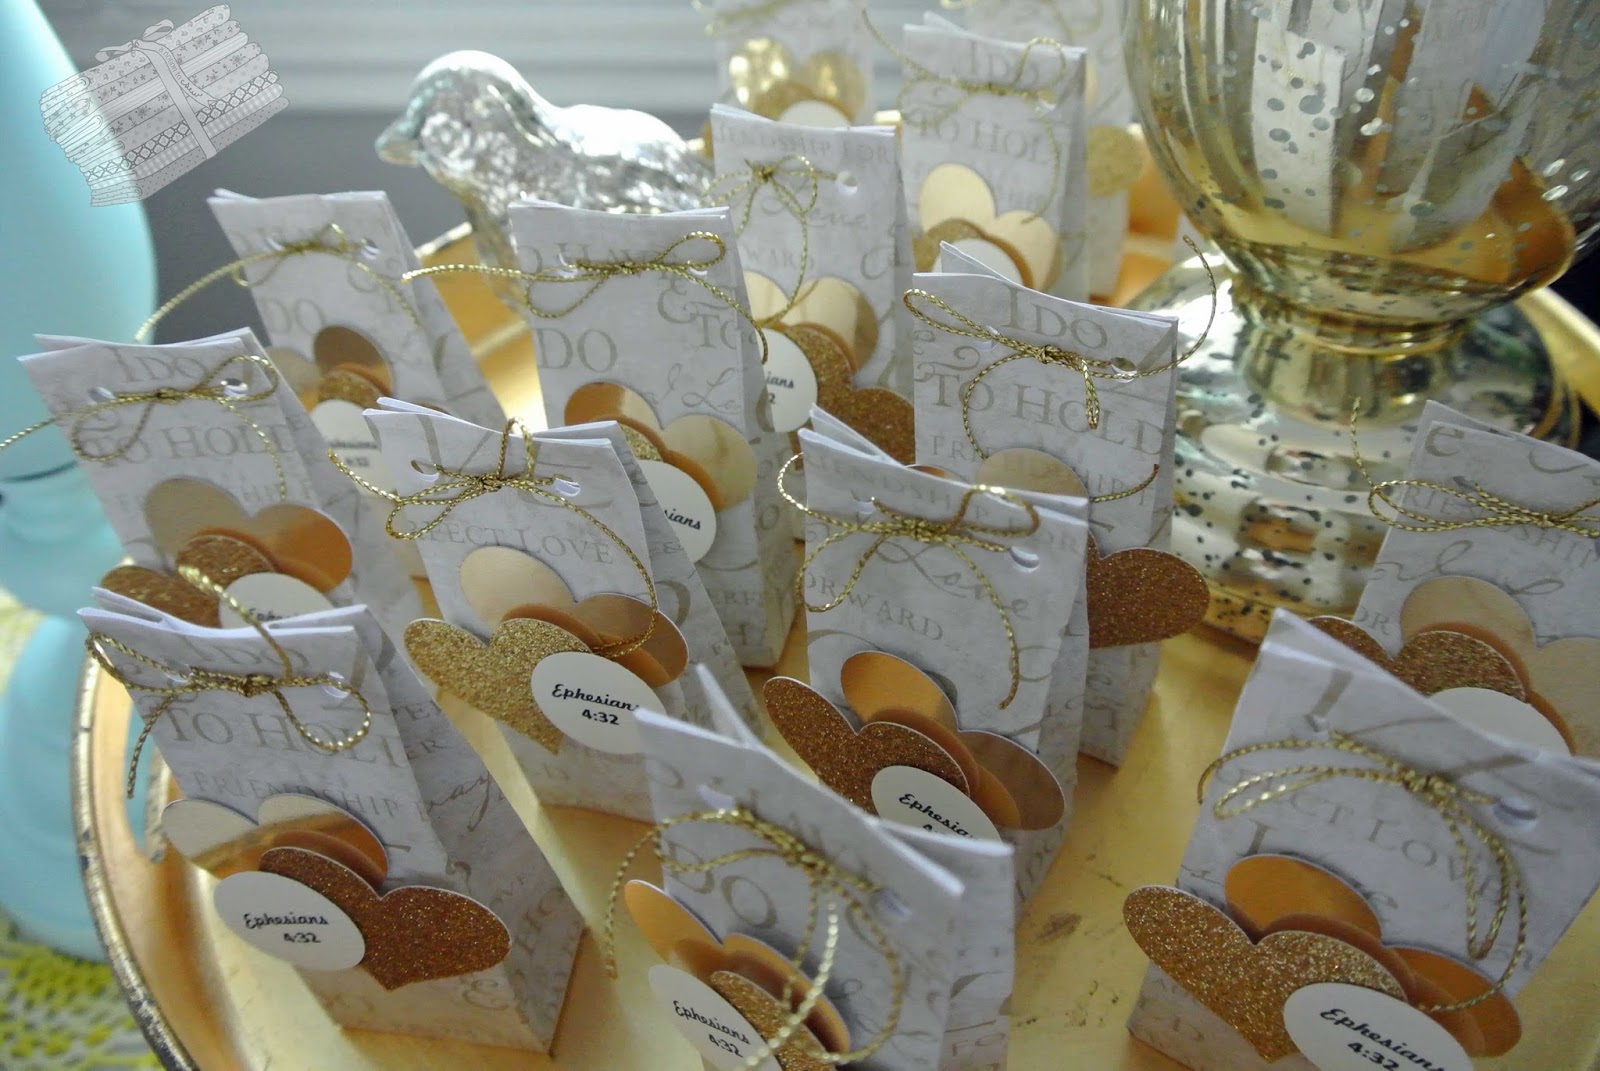
They will make the conference that much sweeter!!!

Have a lovely week, sewing friends, and treat that bride in your life to a beautiful,
handmade ring bearer pillow
(or . . . contact me and I will make it for you – you can tell her you made it, it will be our secret)

A Little Tote for a Little Iron

Here’s a quick and stylish way of transporting your travel iron
the Travel Iron Tote & Ironing Pad Pattern for Mini Irons by Sisters’ Common Thread
is what we used in the class I taught last weekend
if you missed this one,
don’t fret,
our next class date is:  Thursday, March 31 from 5-9 p.m. at Nuttall’s in Layton

The inside of the tote is heat resistant fabric (included with the pattern)
how great is that for setting up your own personal ironing station
when you take sewing classes or when you travel?
It’s also ingenious in that it allows you to pack up your hot iron
and transport it when you’re finished with class
                    
without having to wait for your iron to cool
There is lots of measuring and marking with this pattern,
but I’ve come up with a handy template for us to use during class
that makes the process so much more efficient
Once the rectangular layers are stitched together,
a line is drawn and stitched and trimmed across each corner
resulting in the eight-sided origami-style tote
Binder clips work perfectly to keep the elastic closure loops in place
while stitching the binding around the edge

The handles are attached after all the other sewing is complete
I carry the SteamFast Home & Away Steam Iron in my tote
Nuttall’s sells these irons and
if you wait to purchase yours the night of the class (March 31),
you will receive a discount on your purchase
If you live in the local area,
I hope to see you in class at the end of March.
Peggy and Phyllis from the February class,
share their beautiful new iron totes
Thanks so much for stopping by, friends.
Happy Sewing!

Stampin’ and Stitchin’: Elf Shoes

Hey Sewers!
there’s lots of Christmas preparation and decoration going on around here
these cute, cute elf shoes were stitched using my Bernina 750 embroidery module
 the design is from Kimberbell
it is an in-the-hoop project
I used leftover fabric scraps from my stash
the base of the shoe is felt
the fabric is then appliqued onto the felt
all the embellishments (twine, button, etc.)
are Stampin’ Up products

 
a number of fun items will fit into the opening
I chose these yummy Reese’s peanut butter cup canes
I’m not in love with the look of the label, however,
so I chose some Stampin’ Up envelope paper (it is a little lighter weight than the DSP)
in cucumber crush to cover those tubes
plus, the stripe looks like elf socks, don’t you think?
I cut each piece 4 1/2 inches by 9 inches
added some tear and tape to the front and back of one side of the paper
and rolled it around the cane
there, that looks better

and here’s a decorating idea that I came across in my 
Better Homes and Gardens Christmas from the Heart book (2015)
they used silver egg cups
I used my vintage silver bowl that I found last year at a local consignment shop
the greenery is from my shrubs that I finally got around to trimming
and I picked up the pine cones that dropped from the pine trees at the grade school across the street
are you preparing for the upcoming holidays, friends?
whether it be Hanukkah, Kwanzaa, or Christmas
I would love to see your handmade goodness
Happy Decorating,