Fall Triangle Banner

Hey sewers!
Here’s my non-traditional colored fall banner.

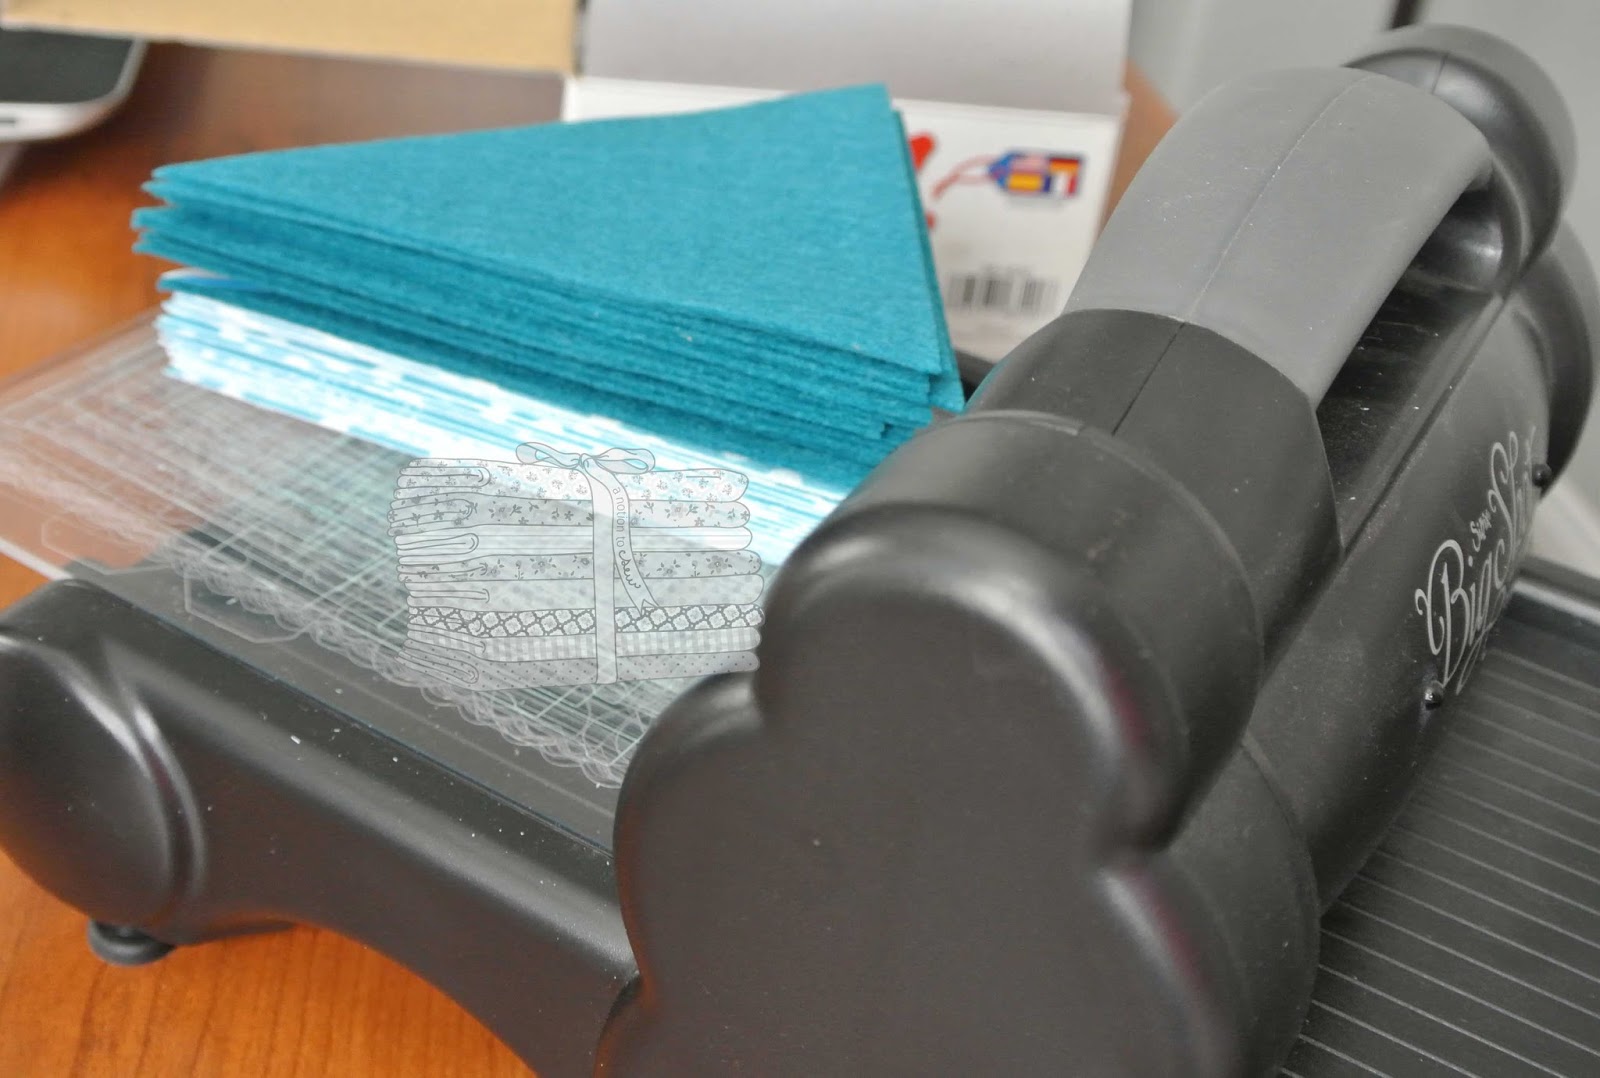
Using a triangle quilting ruler, I cut those triangles from solid and printed felt squares.
The felt has some kind of a finish to it that makes it have some body,
even a bit stiff, which is perfect for this banner.
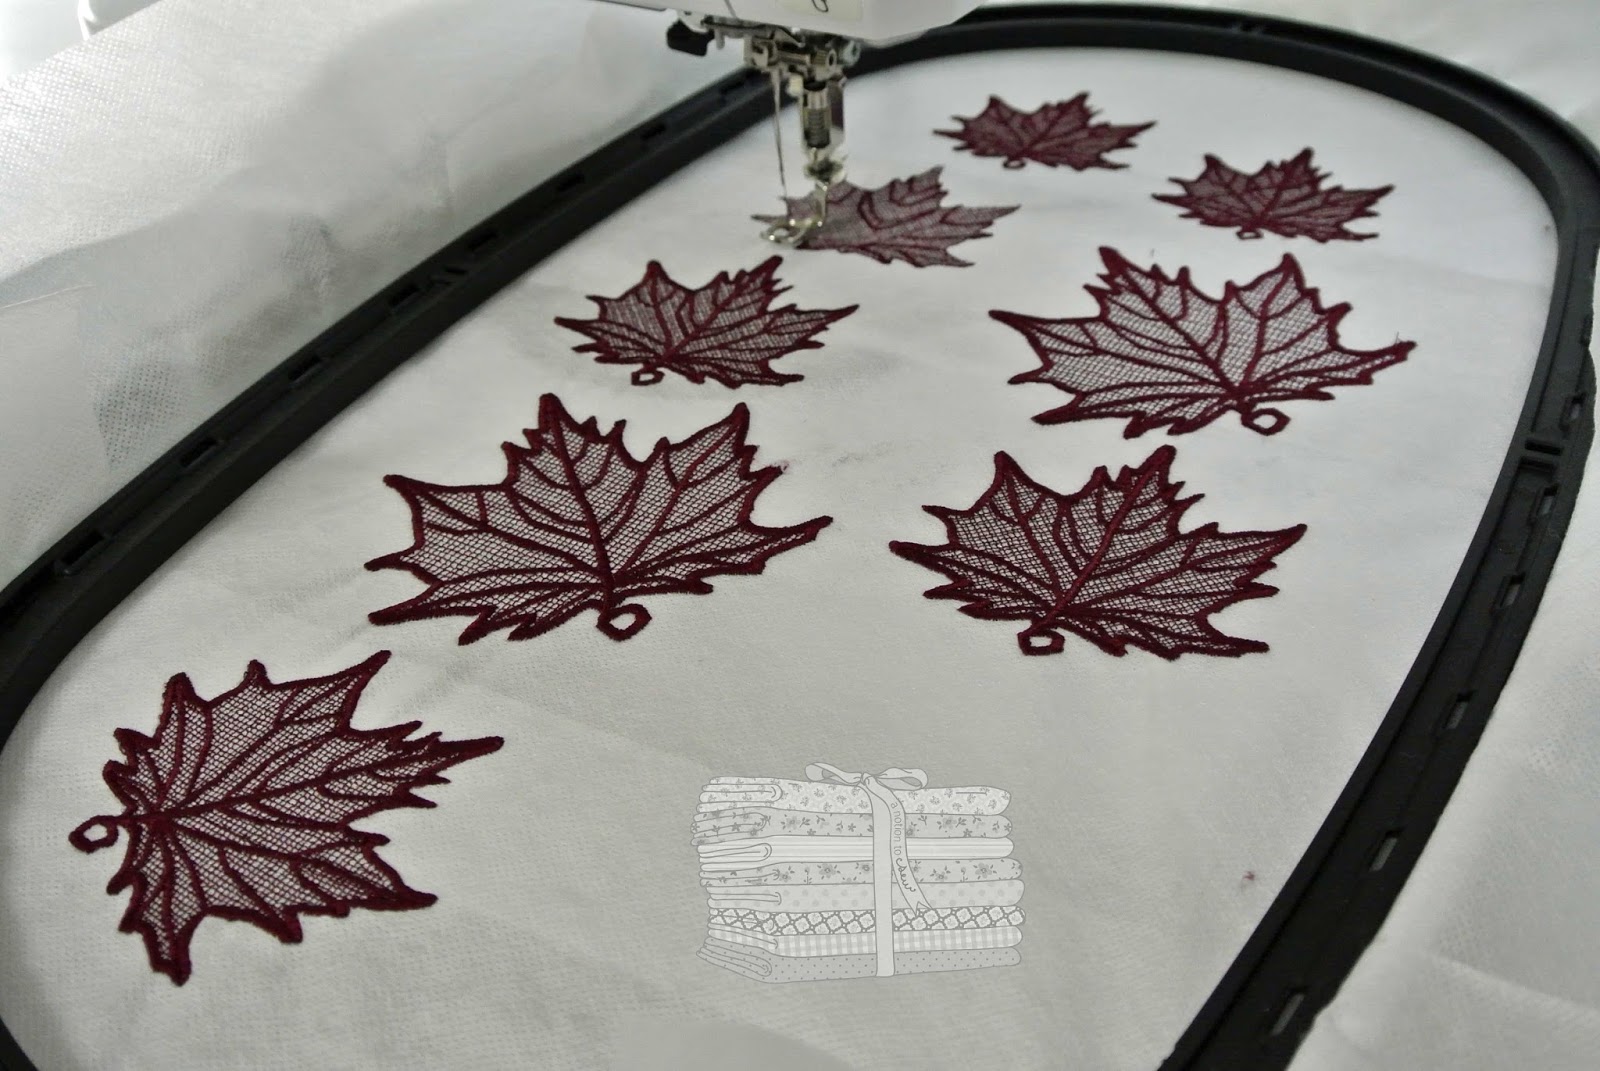
The dark “blobs” on the solid triangles are embroidered lace leaves in a dark, Merlot color thread.
All the leaves fit in one hooping on my Bernina 750.
I used two layers of wash away stabilizer.

Large ric rac, is sewn across the top of the banner
and a beautiful, wide lace adorns the top of the printed triangles.

I stitched the leaves on with the button sew-on stitch on my sewing machine.
That way, I can simply clip the stitches to remove the leaves.
Since the colors of the banner are not necessarily fall oriented, 
I will replace the leaves with snowflakes as winter arrives.
For the lettering, my sizzix dies and machine came in handy.
I planned to use white glitter felt for the lettering,
but the white felt blended in with the light color triangles.
Good thing I had a bunch of dark felt triangles left over.
I used the dark solid color for the letters and they stand out perfectly.
I didn’t even stitch each letter to the banner.
Since it is felt on felt, they stay up there nicely.
I will remove them when I replace the leaves with snowflakes
and the new word will be “snow”.

It’s officially “fall”, do you have your seasonal decorating started?
Happy sewing, friends.

Cup Organizer

Kwik Sew 3886
Happy dog days of summer, friends.
It’s time to take a break from the heat
and have a seat in front of your trusty sewing machine.
Here’s the organization cup that accompanies the a fore-posted
I call it a mug apron.
This one is so quick and easy.
I probably need one in several rooms of my home
It can be used to organize office supplies, crochet implements,
or even personal care items such as makeup brushes,
combs, and lip stick and lip gloss.
The apron lies flat, but when you insert it into your cup
it magically molds to the shape of the cup.
Love it!
Not only do you have storage in the little outside pockets,
but you have additional storage inside the mug.
This one, along with the sewing space thread catcher,
will be offered as a kit to make and take at Nuttall’s
Witches Night Out on October 10.
Join us for some sewing fun and for some tasty potluck dishes.

Happy and stylish organizing!

Sewing Space Thread Catcher

My local Bernina dealer where I teach classes uses thread catchers similar to this one.
There have been numerous requests for a class on sewing these handy little items.
I located a pattern and quickly sewed up this one in great vintage inspired fabric by Kaye England.

The top of the holder has an attached pin cushion.
The pattern calls for sand as a filler.
I used crushed walnut shells because I had them on hand (don’t ask).
Straps connect the base to the bag.
The strap is sewn on in such a way as to provide loops for notion storage.
Clever.
A common, inexpensive tile ($.16 at Home Depot) is inserted into the base under the pin cushion.
The unit tends to slip just a bit.
Next time, I would use a grip fabric on the underside of the base cover.
One could drop an awful lot of thread snips into that thread catcher.
The pattern called for plastic tubing and a dowel in the rim to give it shape.
I used 1/4″ boning because that’s what I had on hand.
Worked like a charm.
The only other change I would make is to add a lightweight stabilizer
between the bag lining and outer bag.
It could use a bit of a shaper,
Speaking for myself as well!!!
The pattern is Kwik Sew 3886.
You can sew this up in an afternoon.
Be sure to save your thread from the project
When you finish you will have somewhere to put it.
Go on, get busy keeping your sewing space tidy.
Enjoy, friends.
If you are in the local area,
please send me an email or give me a call if you want us to offer this as a class.