|
| #handmadeisthebest |
Here’s a sweet baby gift for a special couple who recently added a baby boy to their family.
The diaper carrier is based on the tried and true pattern that I’ve sewn up a number of times.
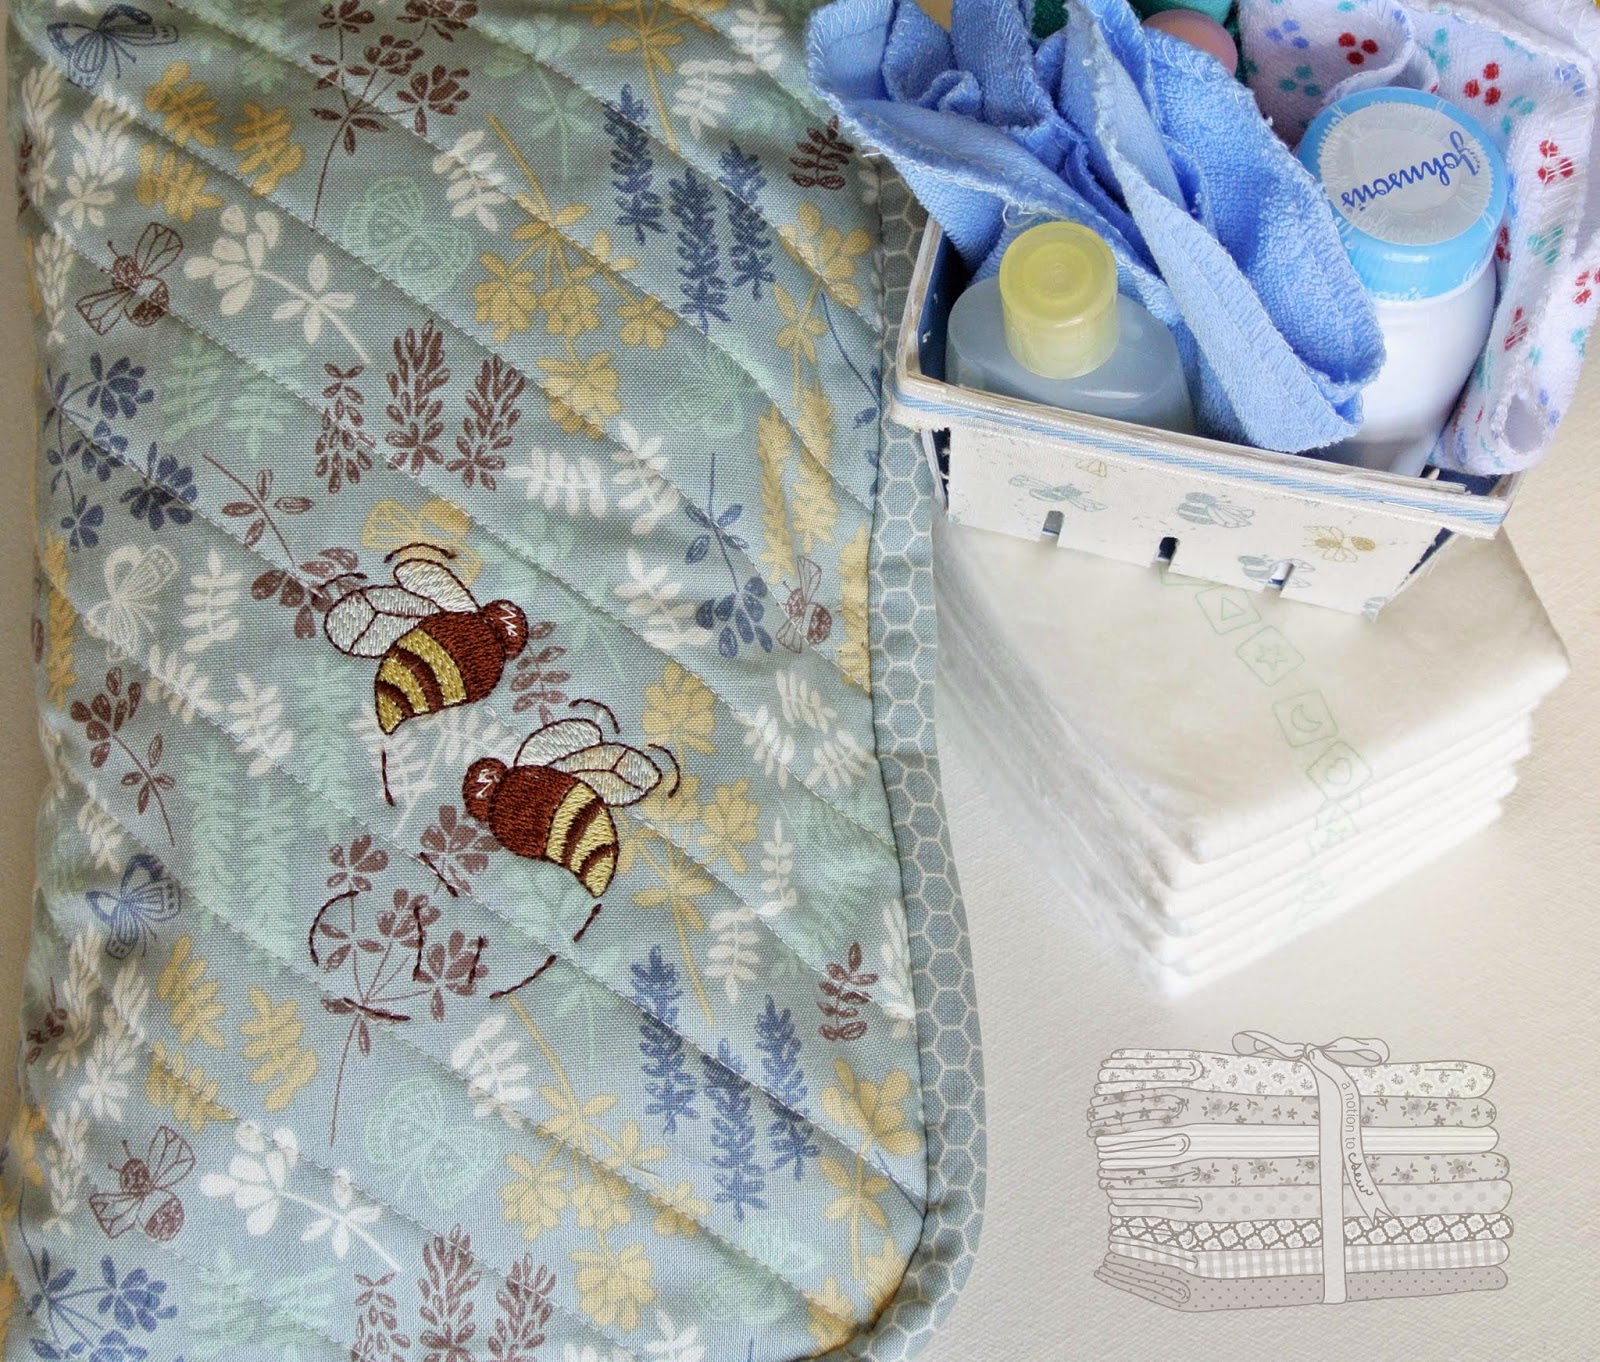
This go ’round, I added some little machine embroidered bees to the front.
If you look closely at the fabric, you’ll see the fabric is printed with bees as well.
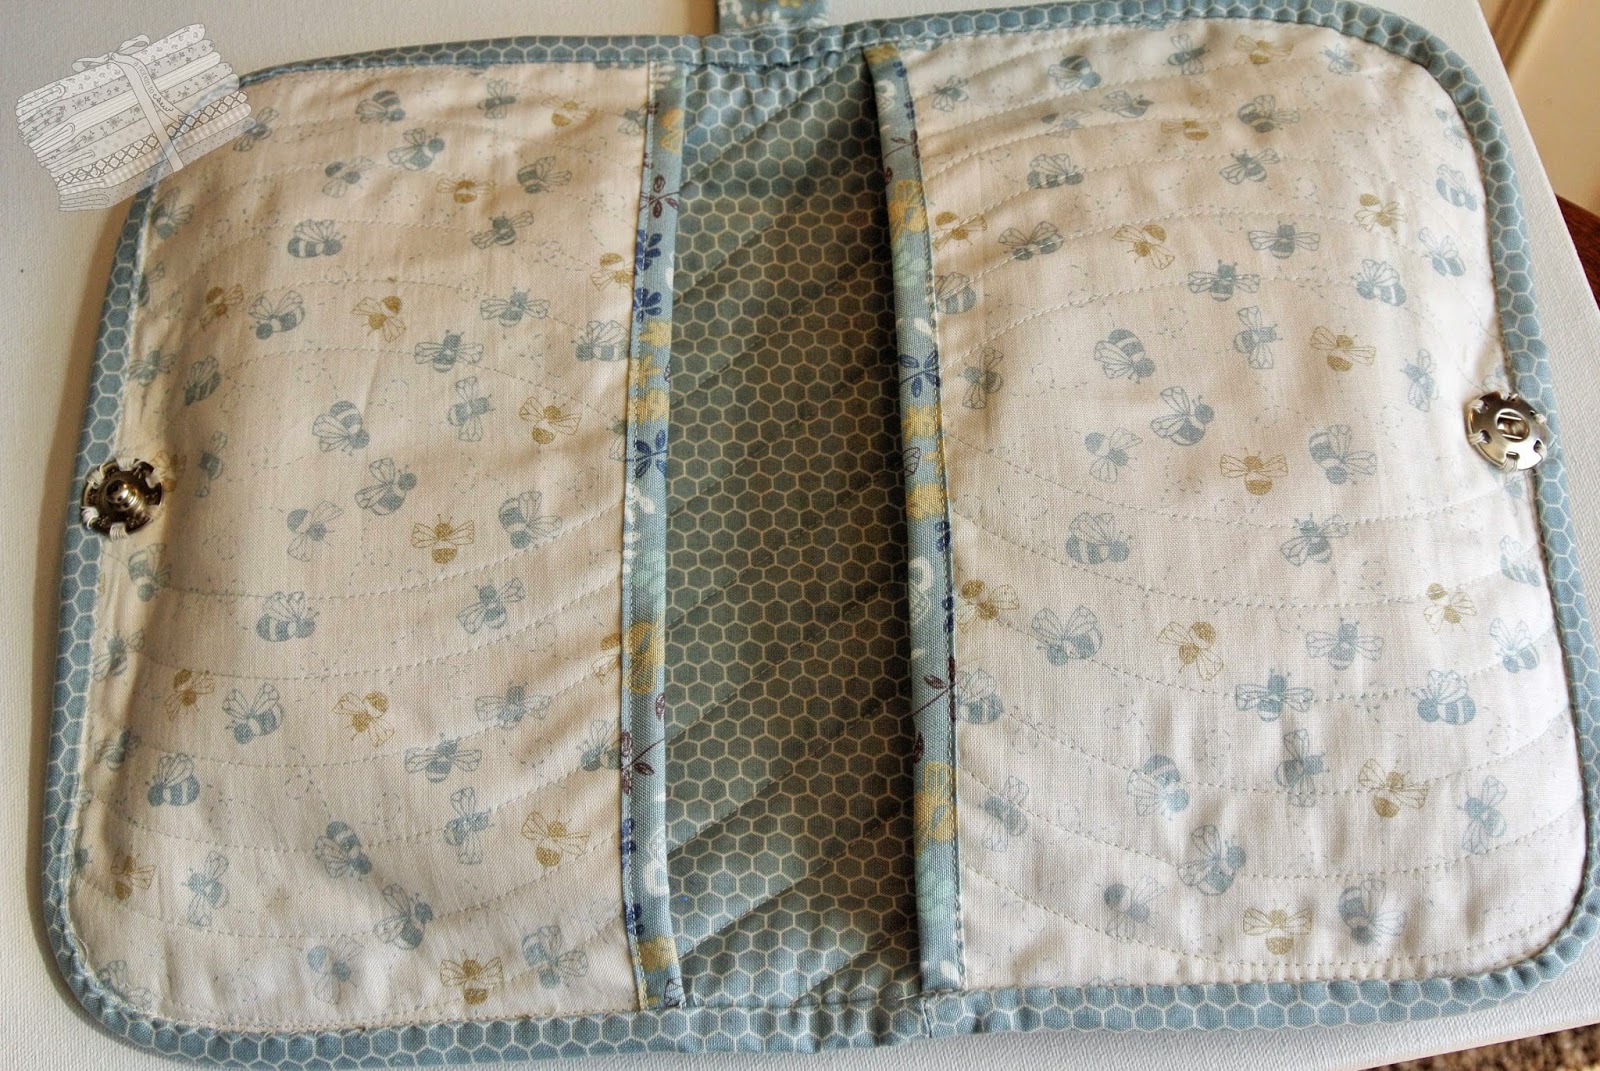
I hand stitched an oversized snap in place for the closure on this one.


The self-made binding on the pocket opening edges
was attached using the Bernina binder attachment #88.
 |
| #stampinupdemonstrator #stampinup #berrybasket |
The Stampin’ Up Berry Basket (Bigz L Die, item #137366)
is the perfect size to hold baby wash cloths and travel size toiletries.

To make a fabric covered berry basket of your own:
– cut the base from vanilla coaster board (Stampin’ Up item #129392)
– choose a Stampin’ Up cardstock color of your choice for the inside
– and finally, use some iron on stabilizer or interfacing on the wrong side of your fabric
and run it through your Big Shot (item #113439) one last time with the Berry Basket die
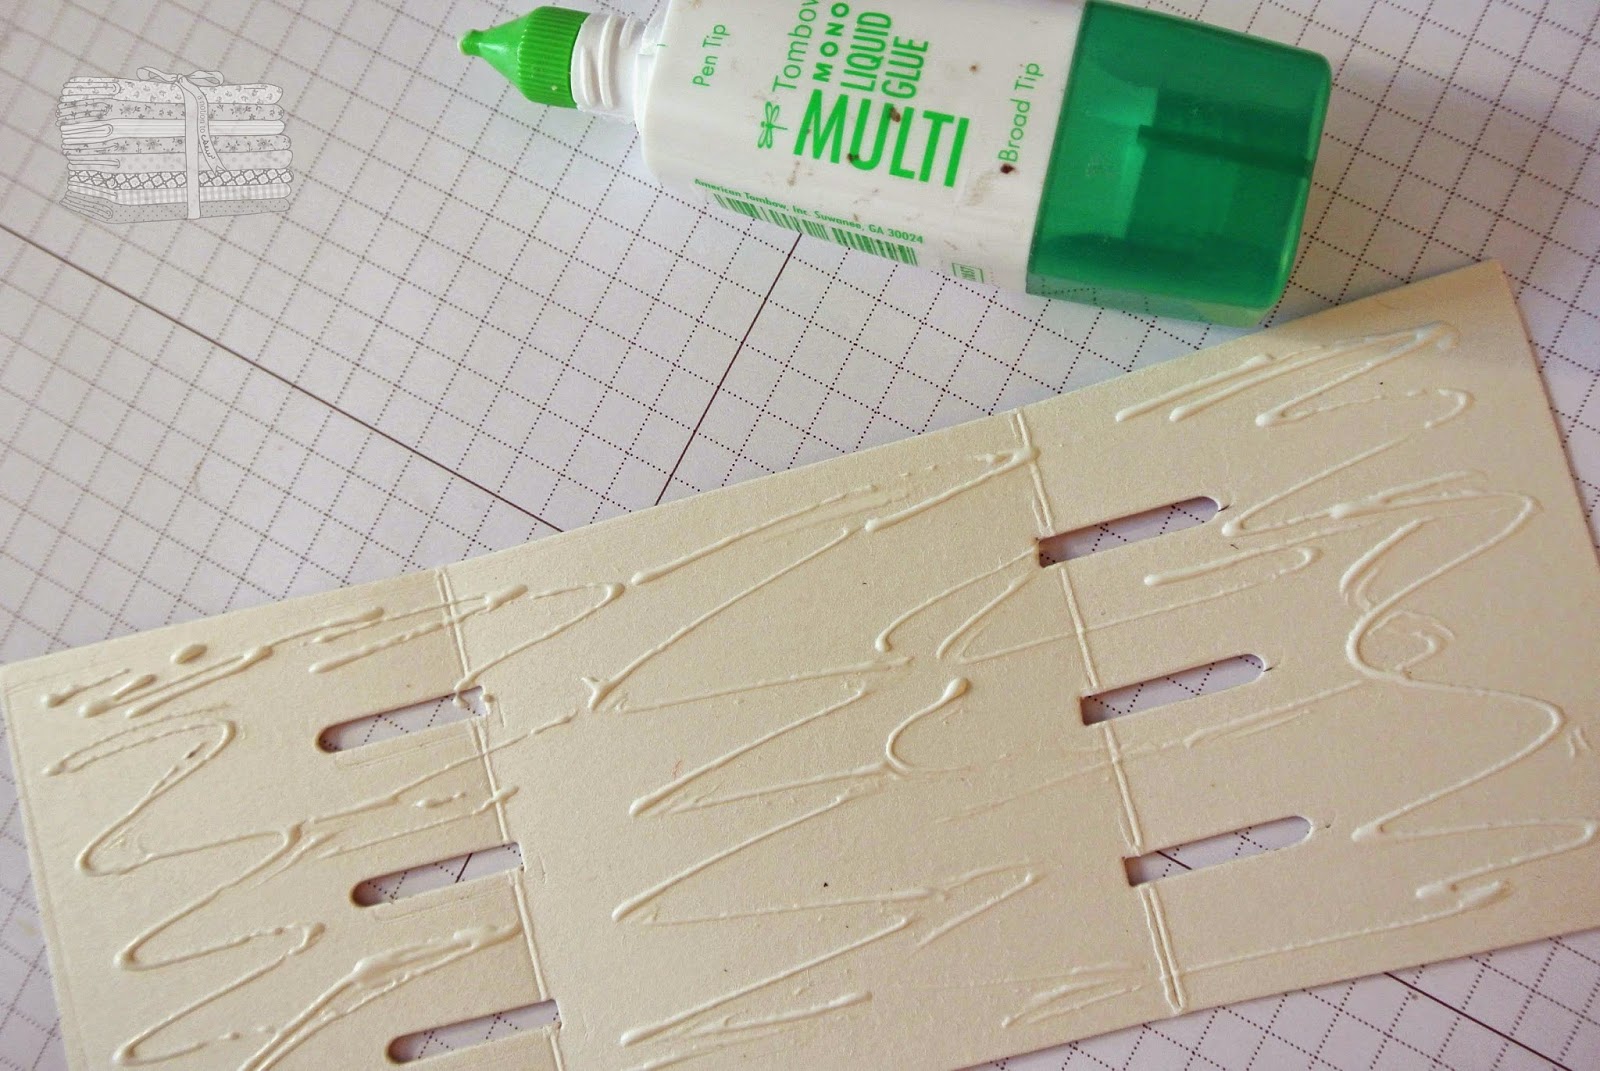
When you have those three sets of components cut,
spread a thin coating of Tombo Multi (item #110755) onto the coaster board
and adhere your cardstock to one side and your fabric to the opposite side.
I also adhered some ribbon to the trim piece.
Then assemble your Berry Basket and fill it up with gifty goodness.

I used a storage bag (not the kind with the zipper) to enclose my basket for gift giving.
 |
| #stampinupdemonstrator #handpickedframelits #stampinup |
The top of the storage bag is kept closed with a tab which I cut using
Stampin’ Up’s Handpicked Framelits Die set (item #137361).
The “sweet as can be” phrase is part of the From the Garden stamp set (item #137139).
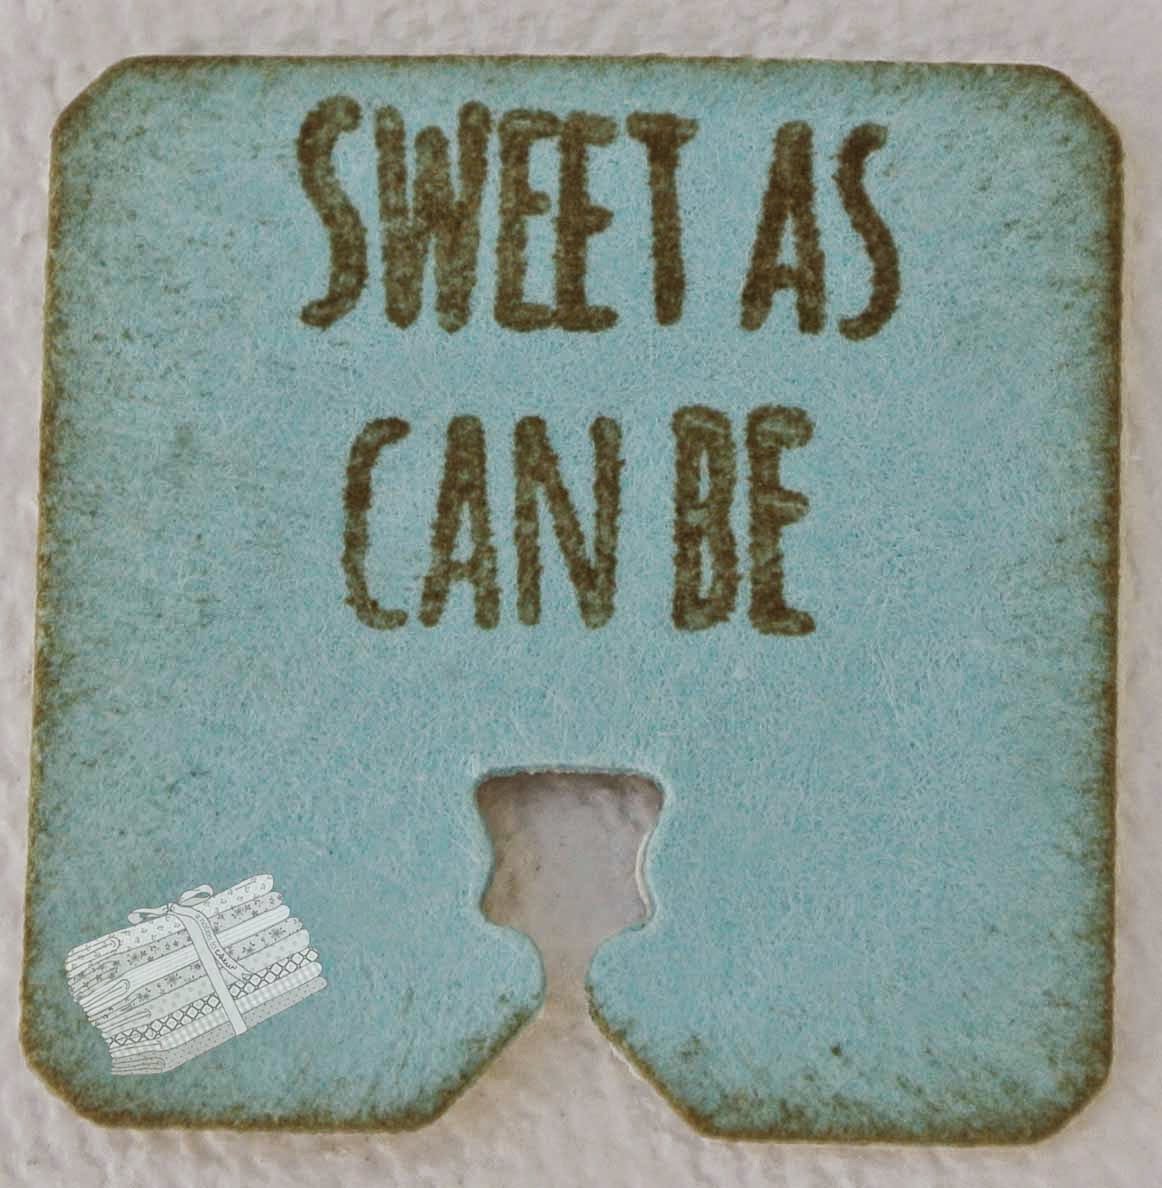
Once again, cut this one first from coaster board, then cover it
with a piece of card stock stamped with your sentiment.

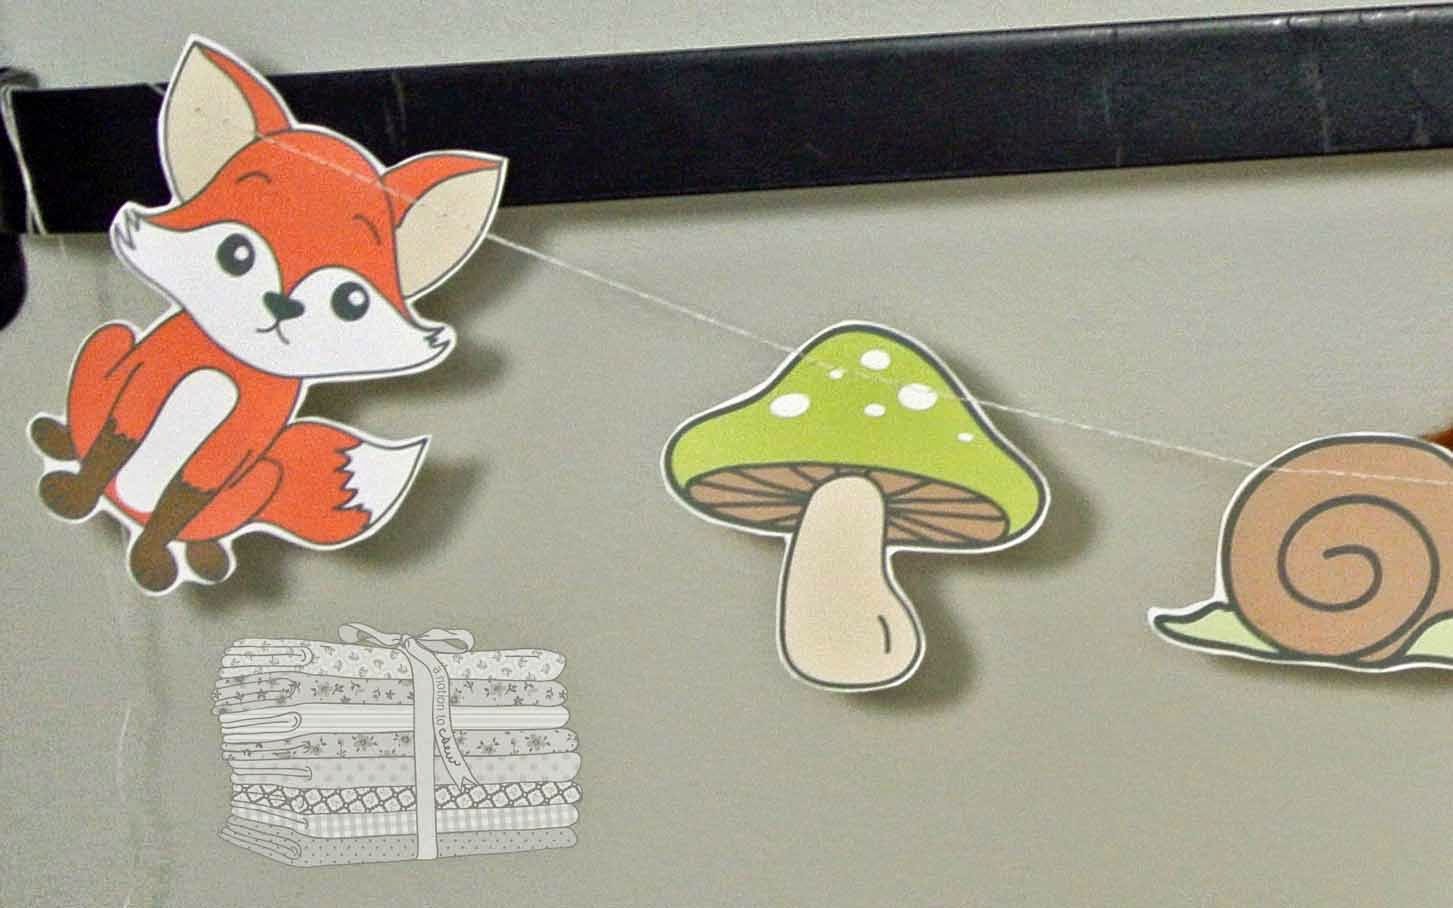
The final element of this sweet baby gift is a handmade garland for baby’s room.
Using the Woodland Creatures Clip Art set from Amy J. Delightful’s Etsy shop
I printed the images on card stock, carefully cut them out,
and then stitched them together using my sewing machine.
 |
| #amyjdelightful |
Here they are all packaged up in a cello envelope and sealed with washi tape.
Gift giving is so much fun!
Have a great week, my friends.