Hello sewers!
This the sample that I sewed up from the
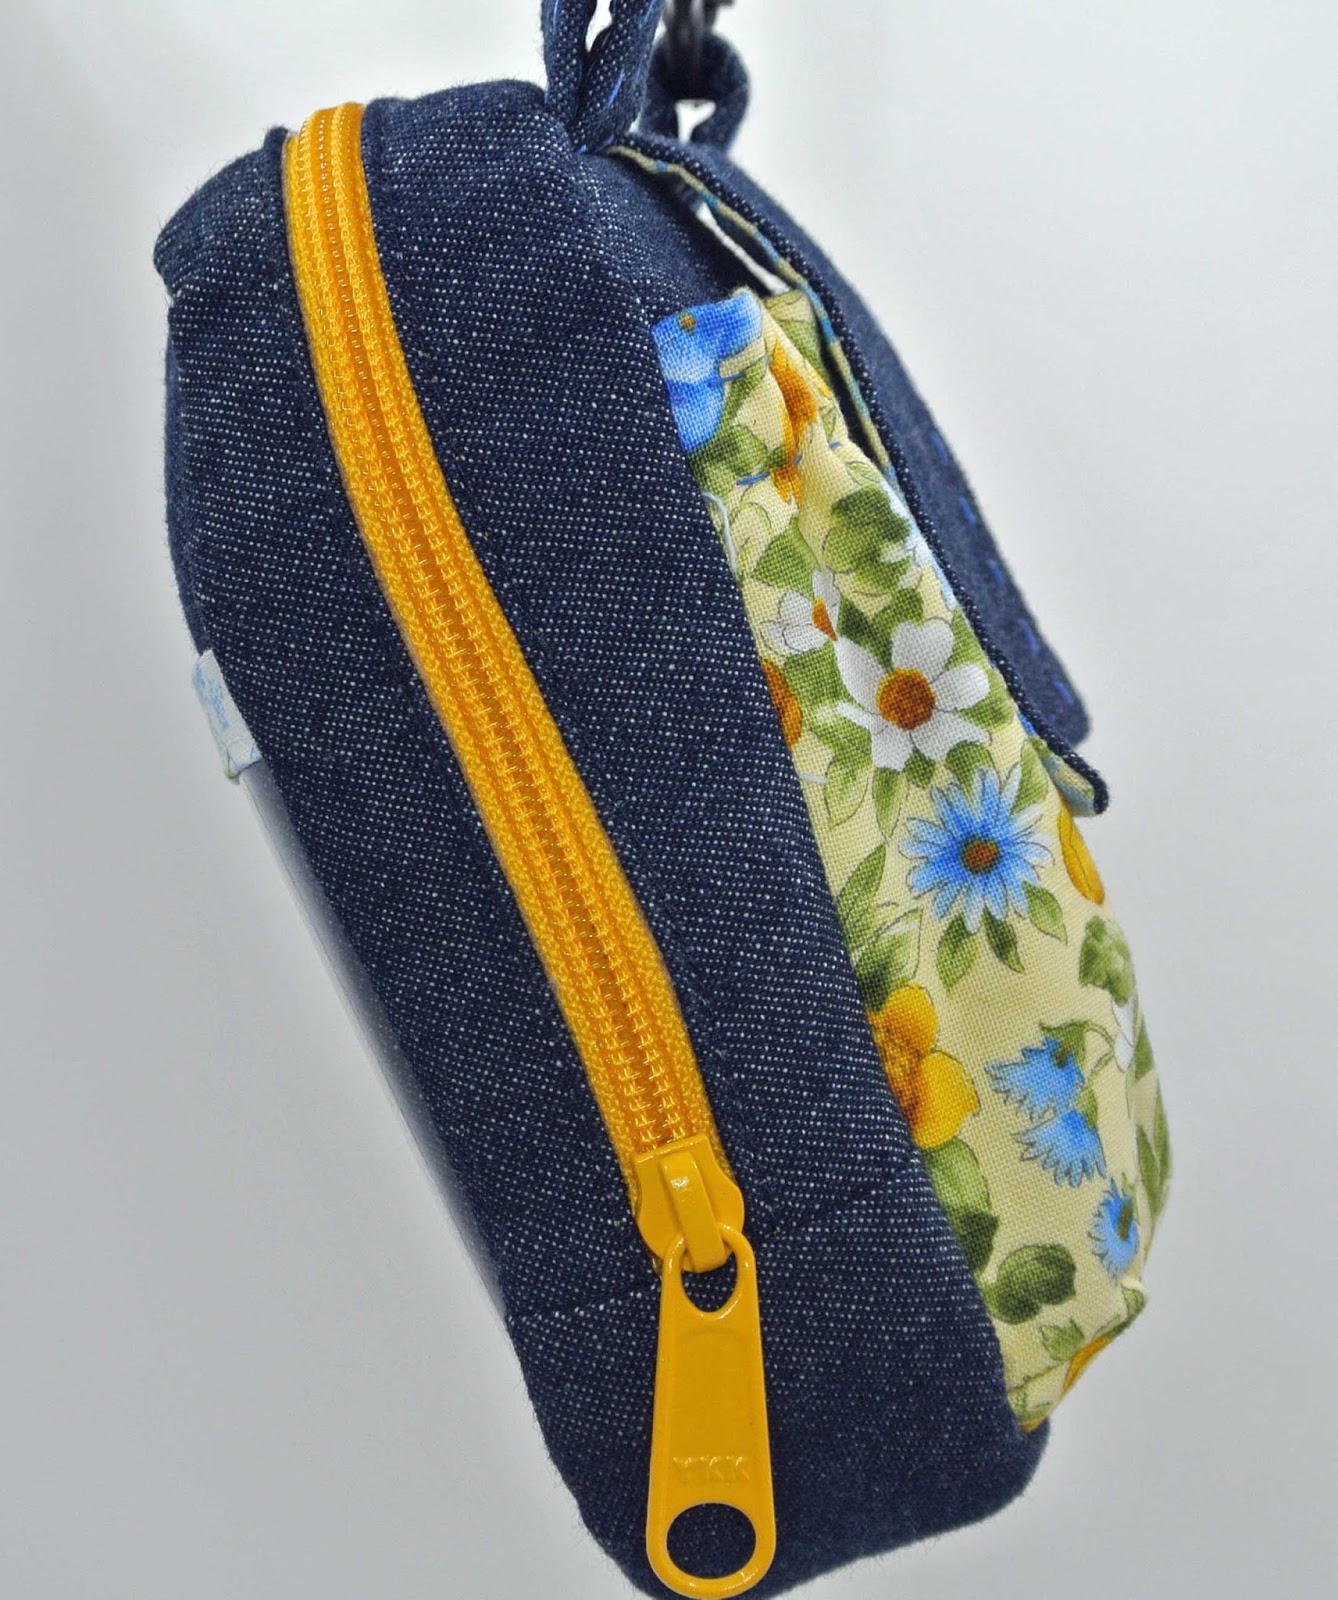
It features an
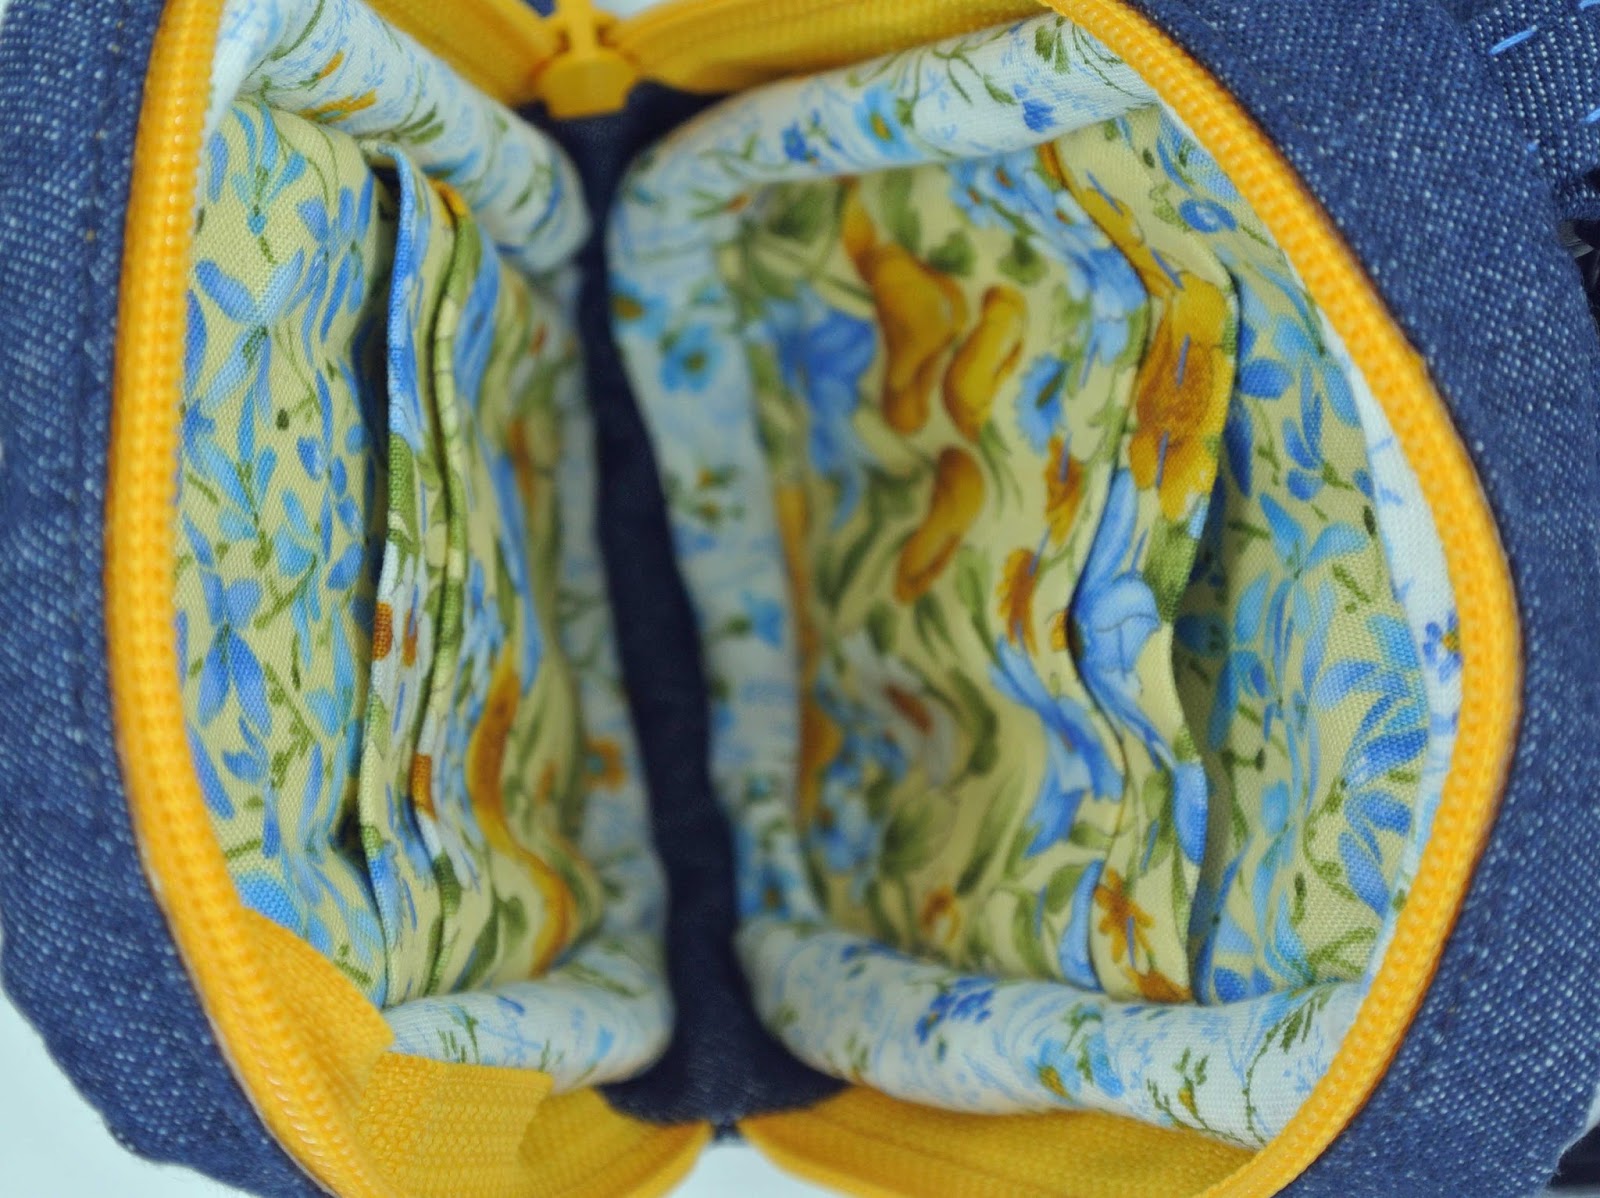
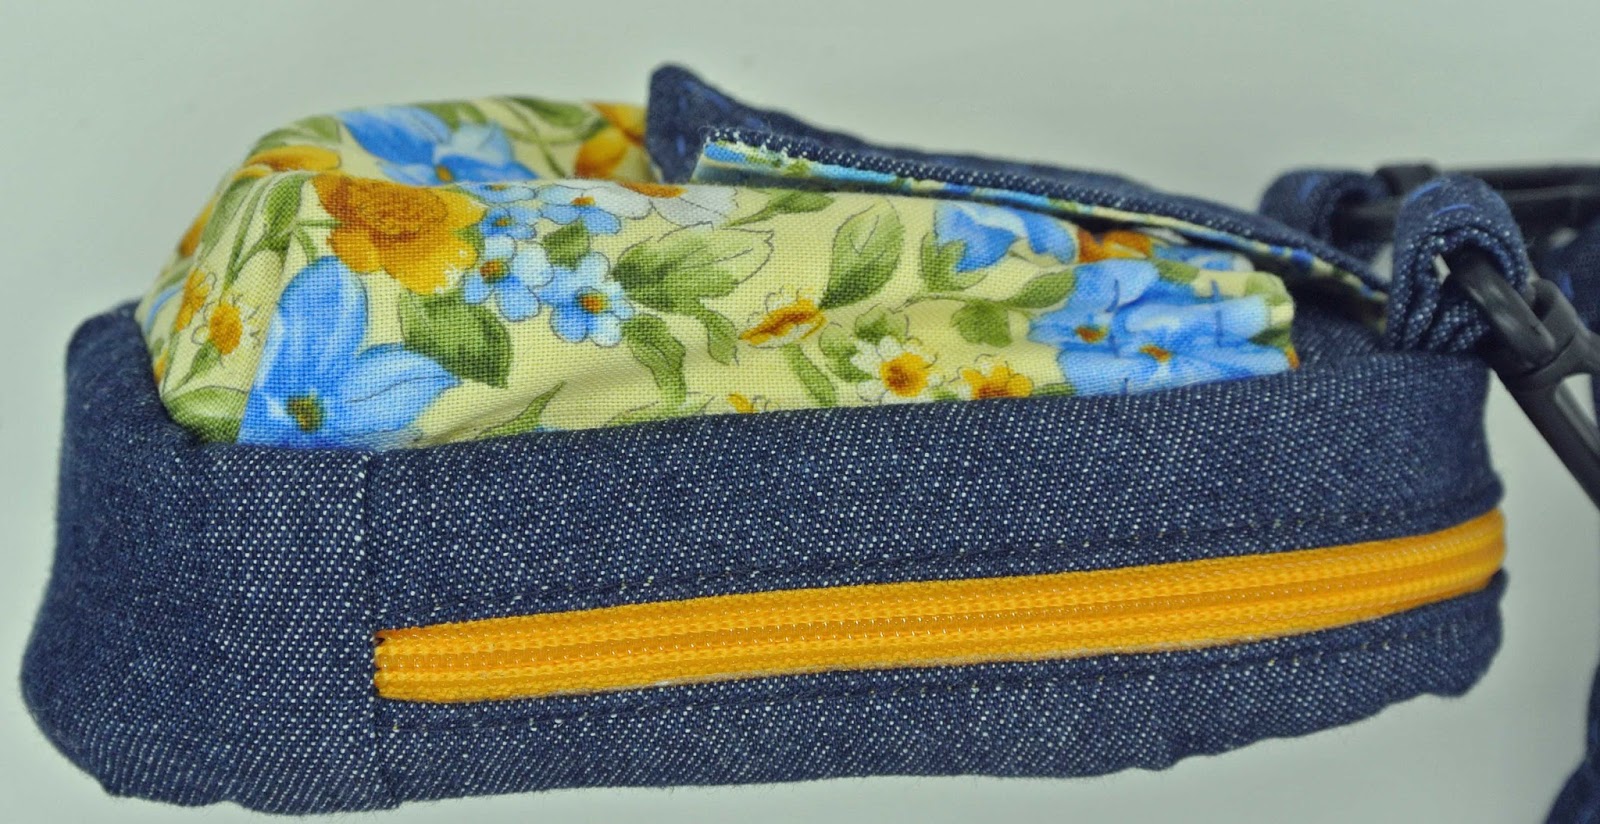
extra-wide zip that allows the case to open nice and wide.
There are four inner pockets, which can hold credit cards,
gum, cash, or whatever else you need to tote with you.
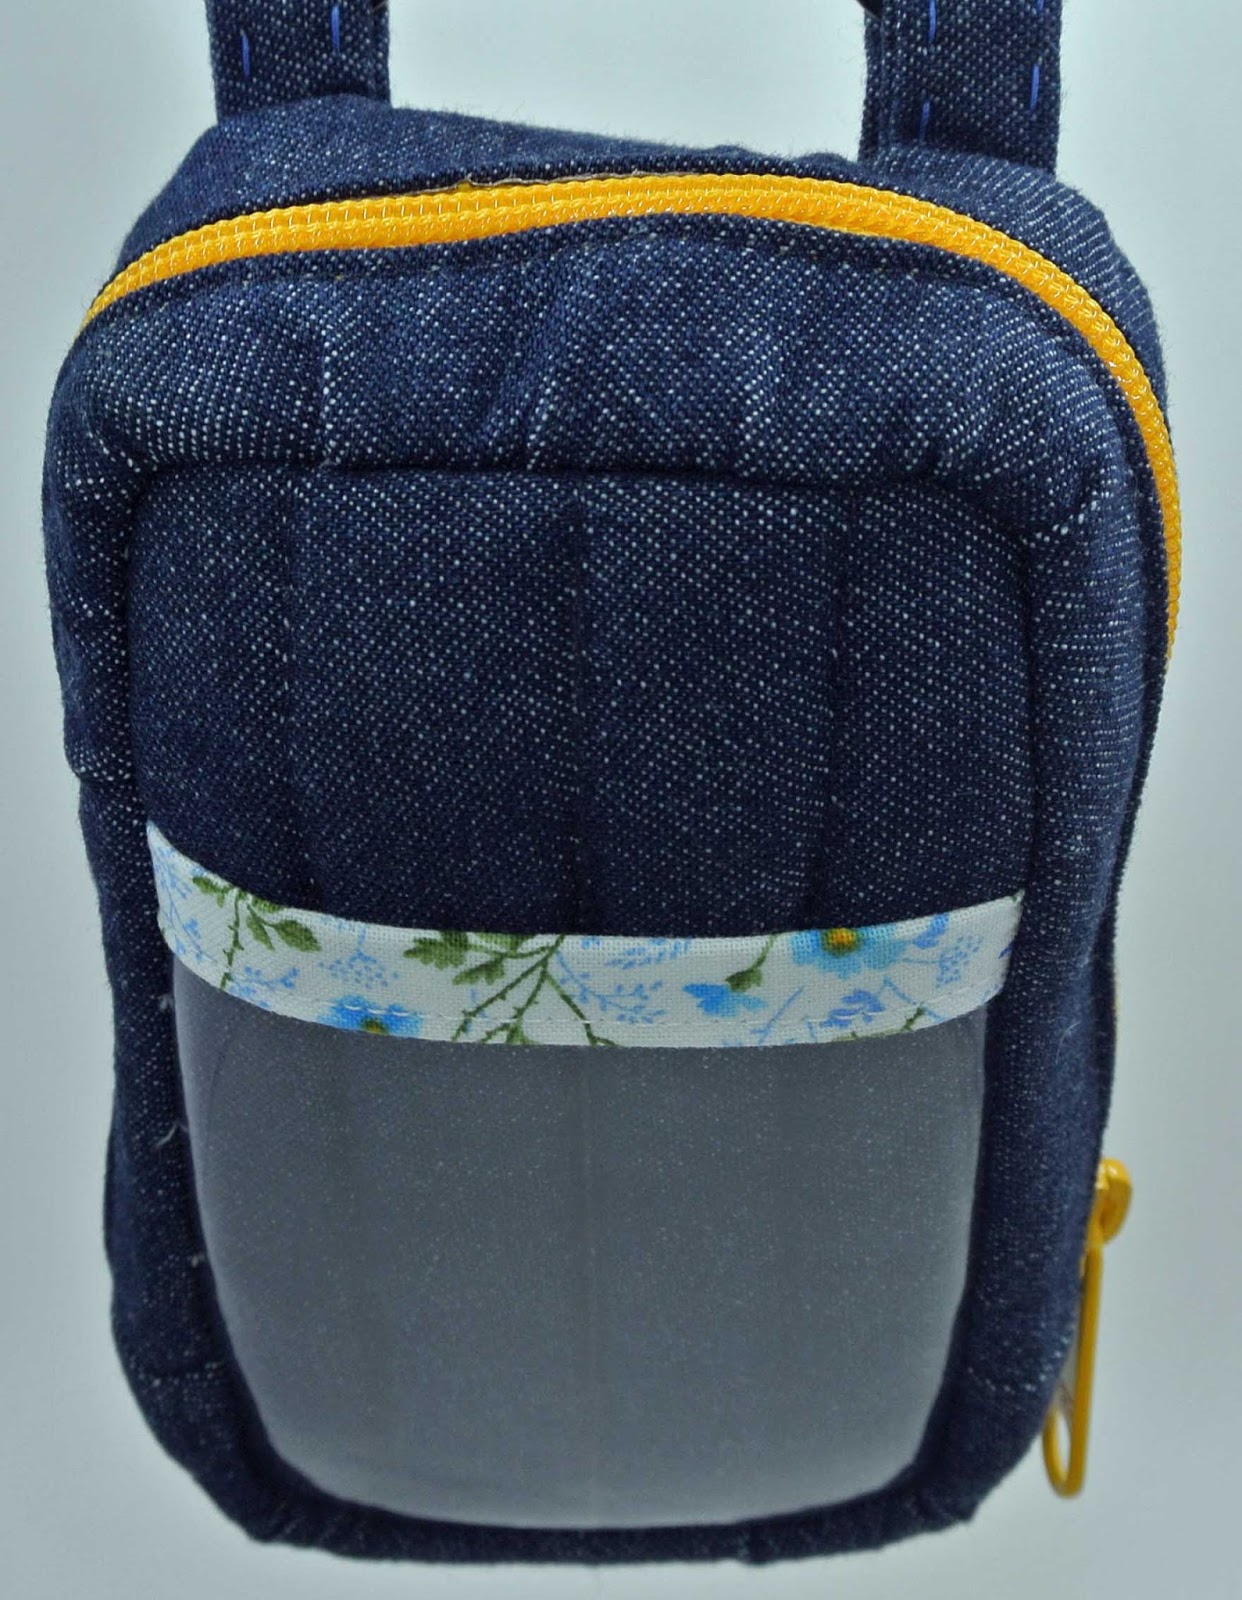
One of the outer sides of the case has a clear vinyl pocket with fabric binding along the top.
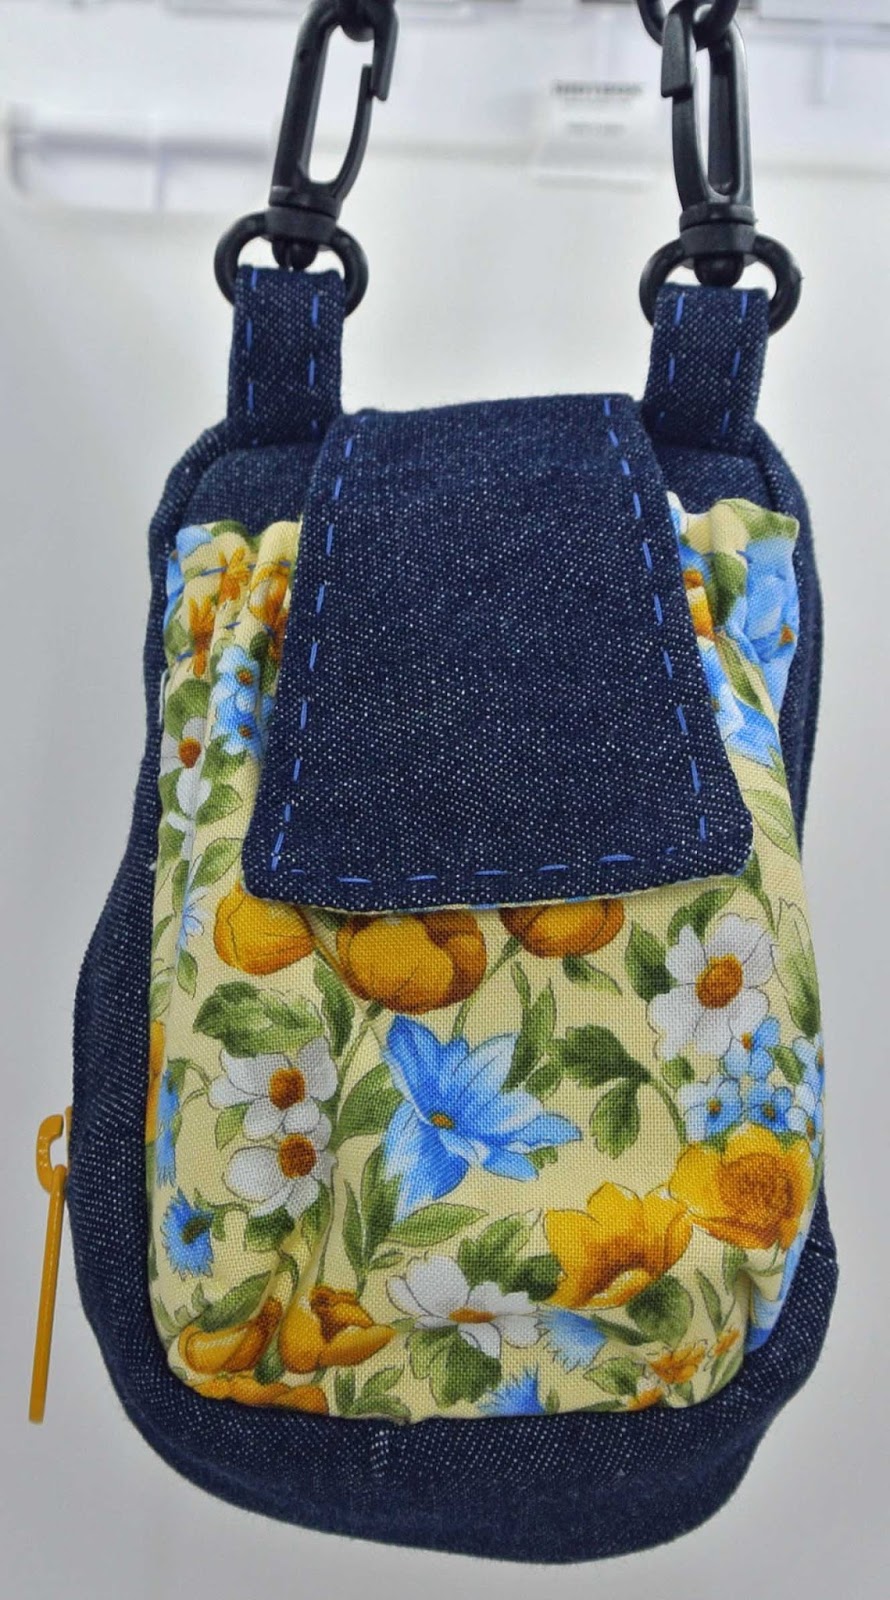
The other side sports an elastic top pouch pocket with a hook and loop flap closure.
That pocket expands to a decent size to hold bulkier items.
This sample make is for sale in
my shop.
– OR –
If you prefer to stitch up this pattern for yourself, I’ll take you on a tour of the steps:
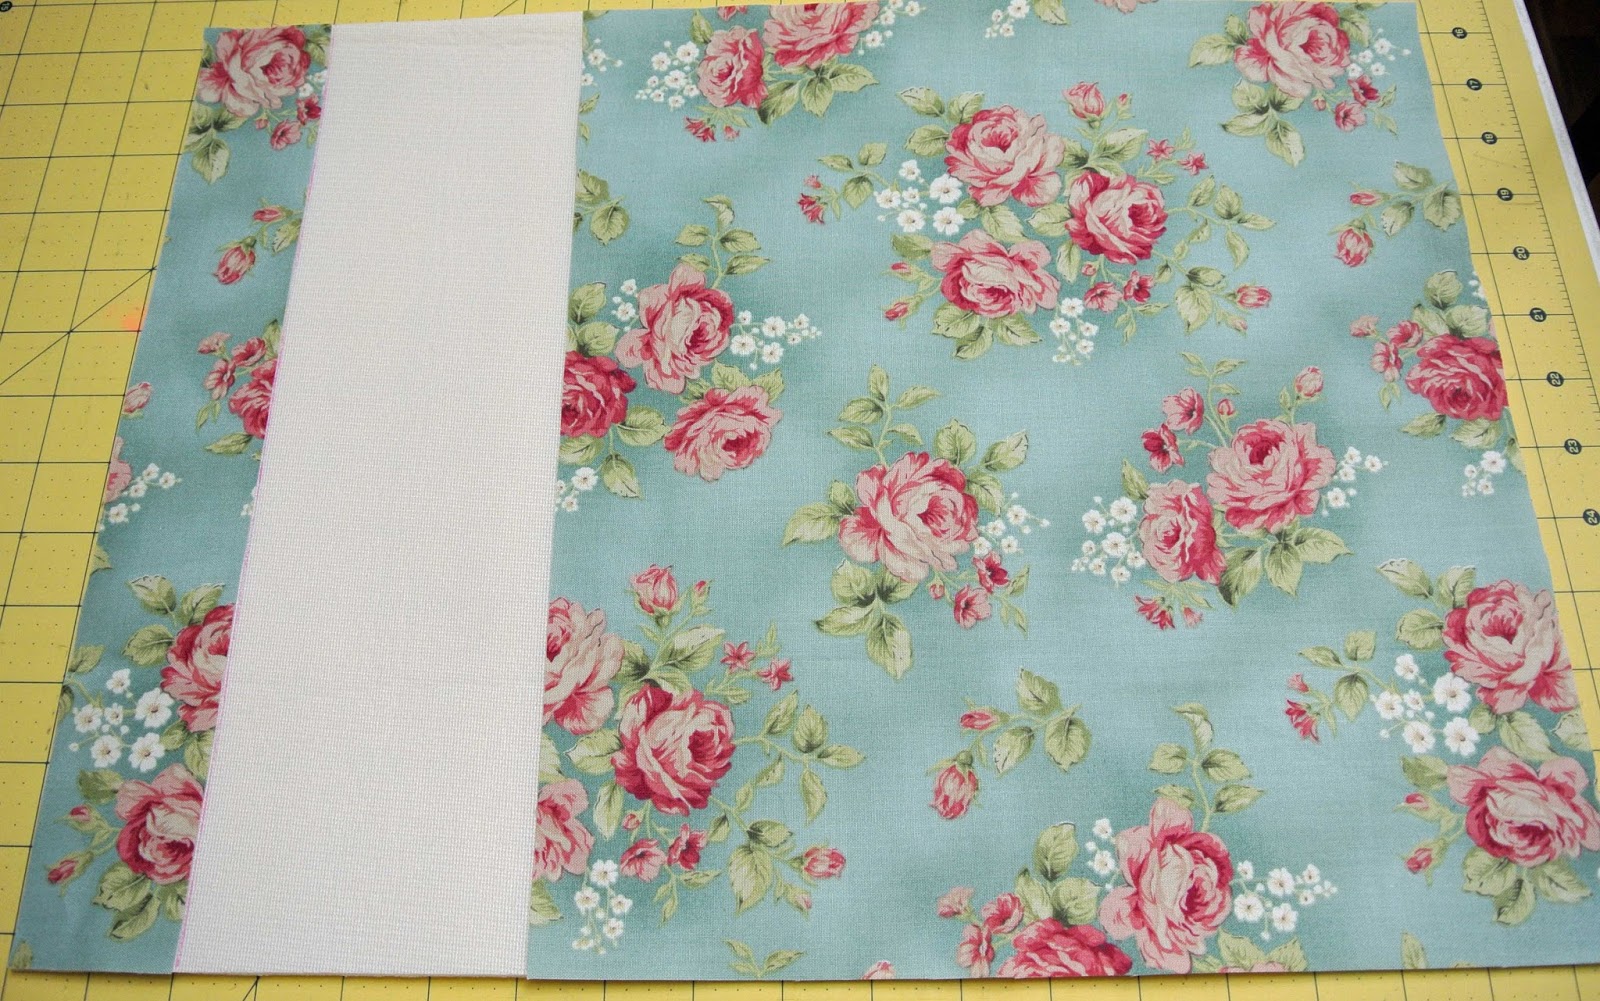
All the components are prepared before any assembly begins.
In the above photo you can see the case front and back,
the zipper strip, and the wrist strap and adjustable shoulder strap.
The pattern does not include instructions to add Soft and Stable™,
but I stitched a piece to each side to give the case some structure.
I sewed it to the wrong side of the outside fabric (denim).
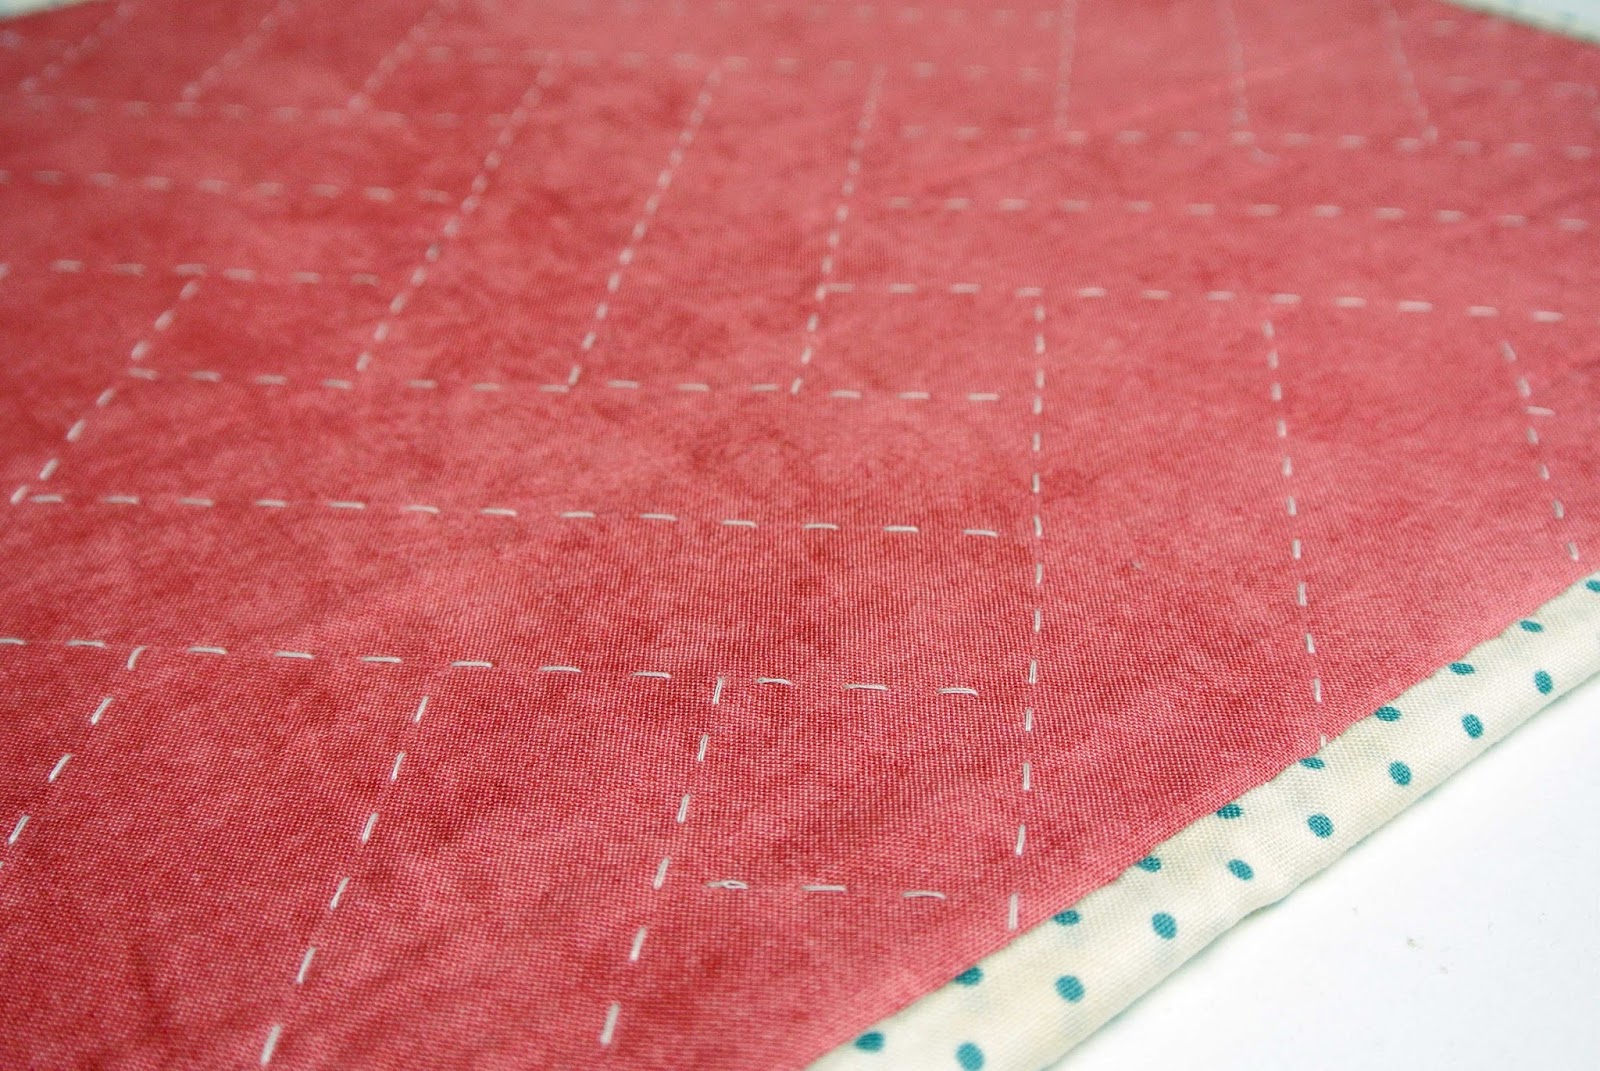
I used my walking foot to stitch the two layers together with
straight lines one inch apart.
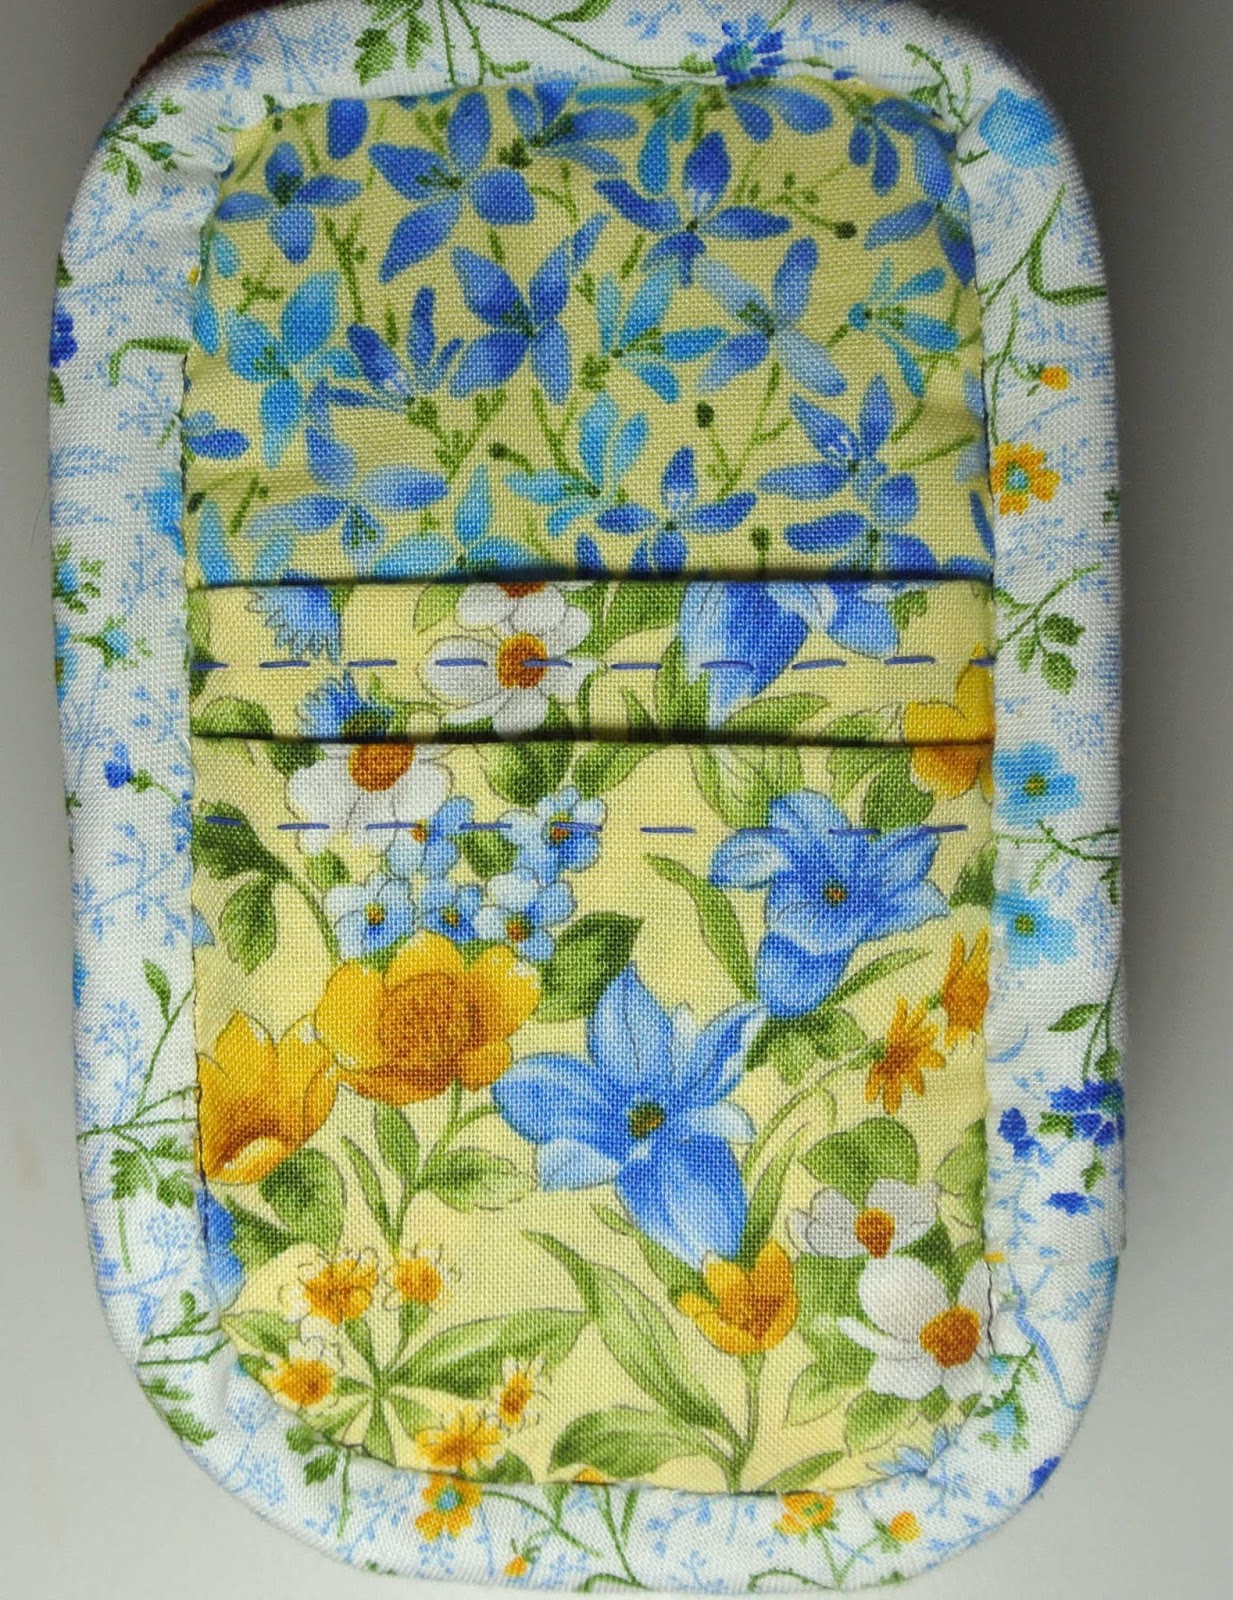
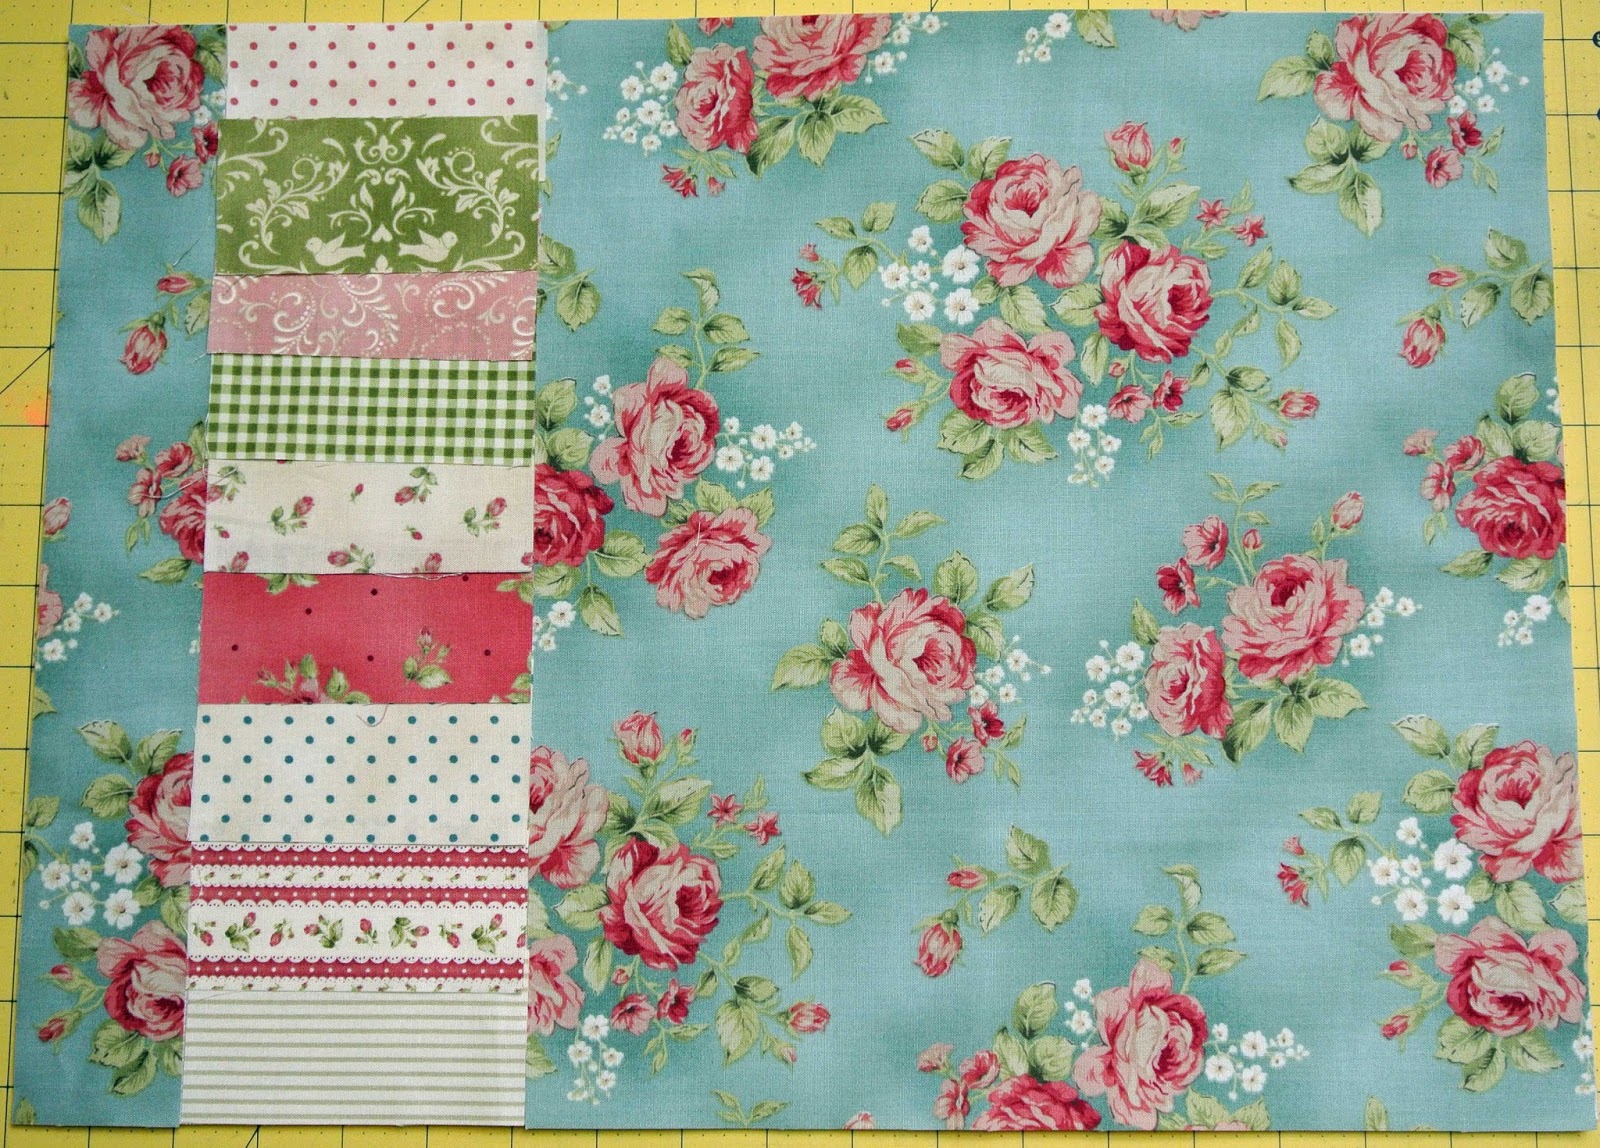
Here’s a picture of the flip side of the case front and back.
This will be the inside of the case.
The packets are sewn to the lining fabric, then the lining and
outside fabric (denim) are sewn together.
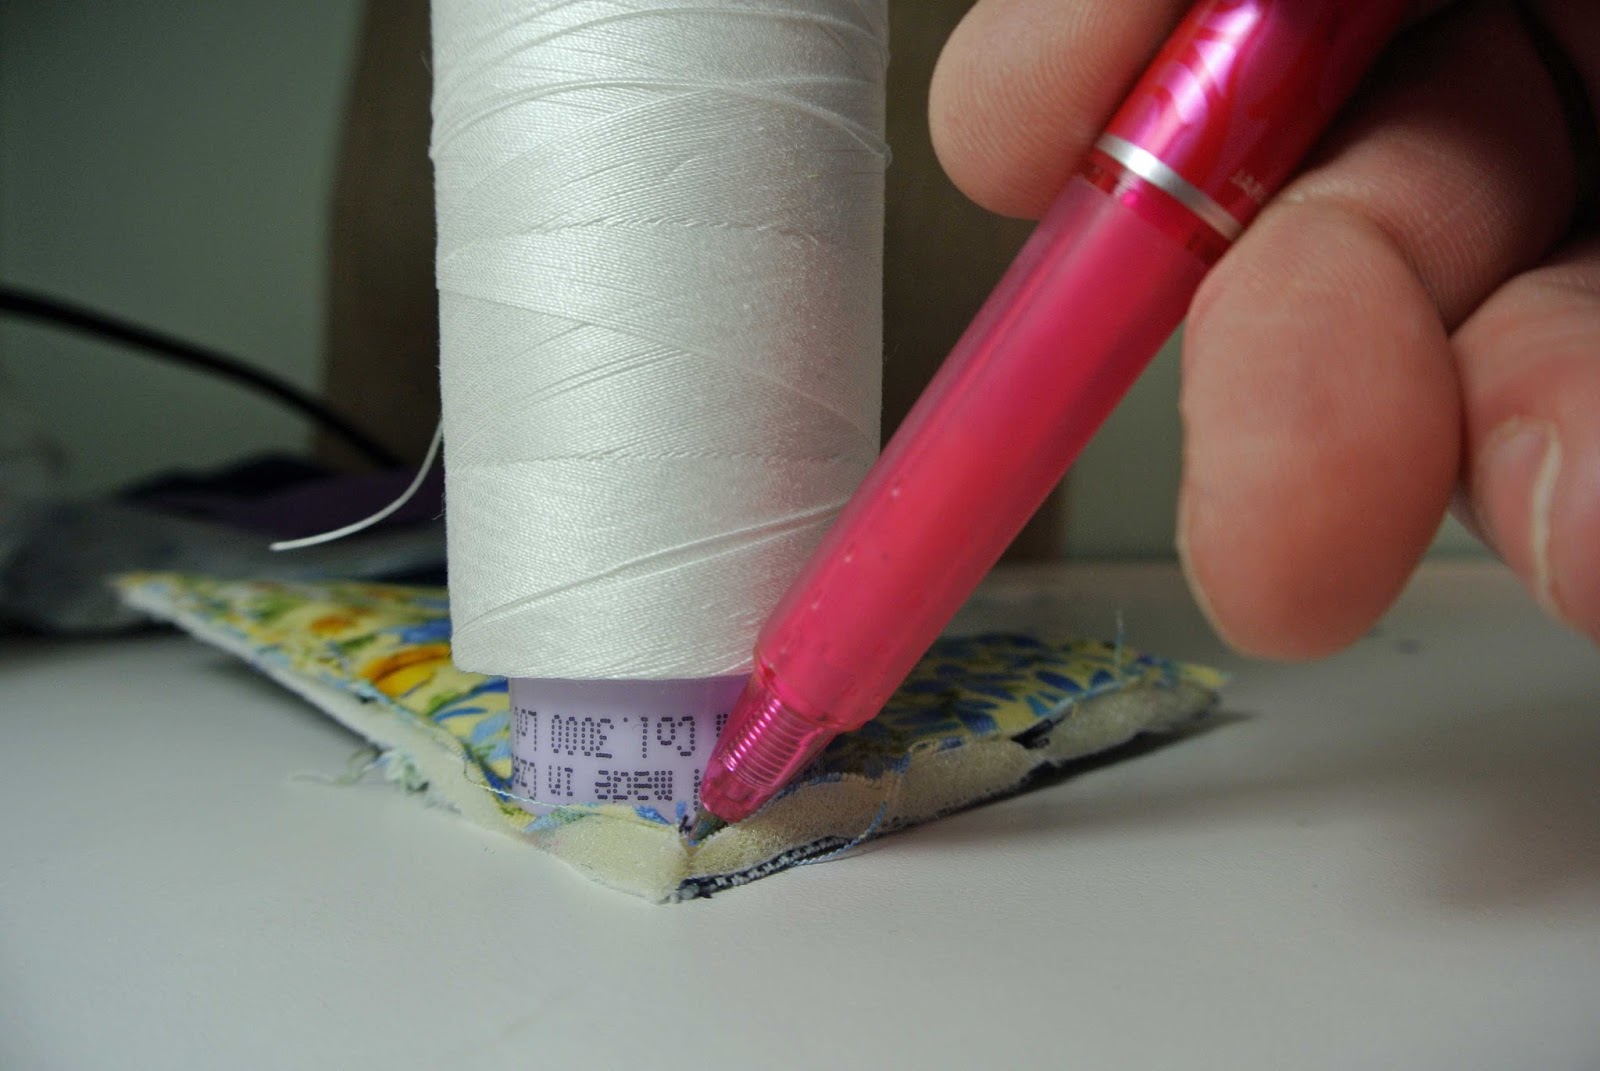
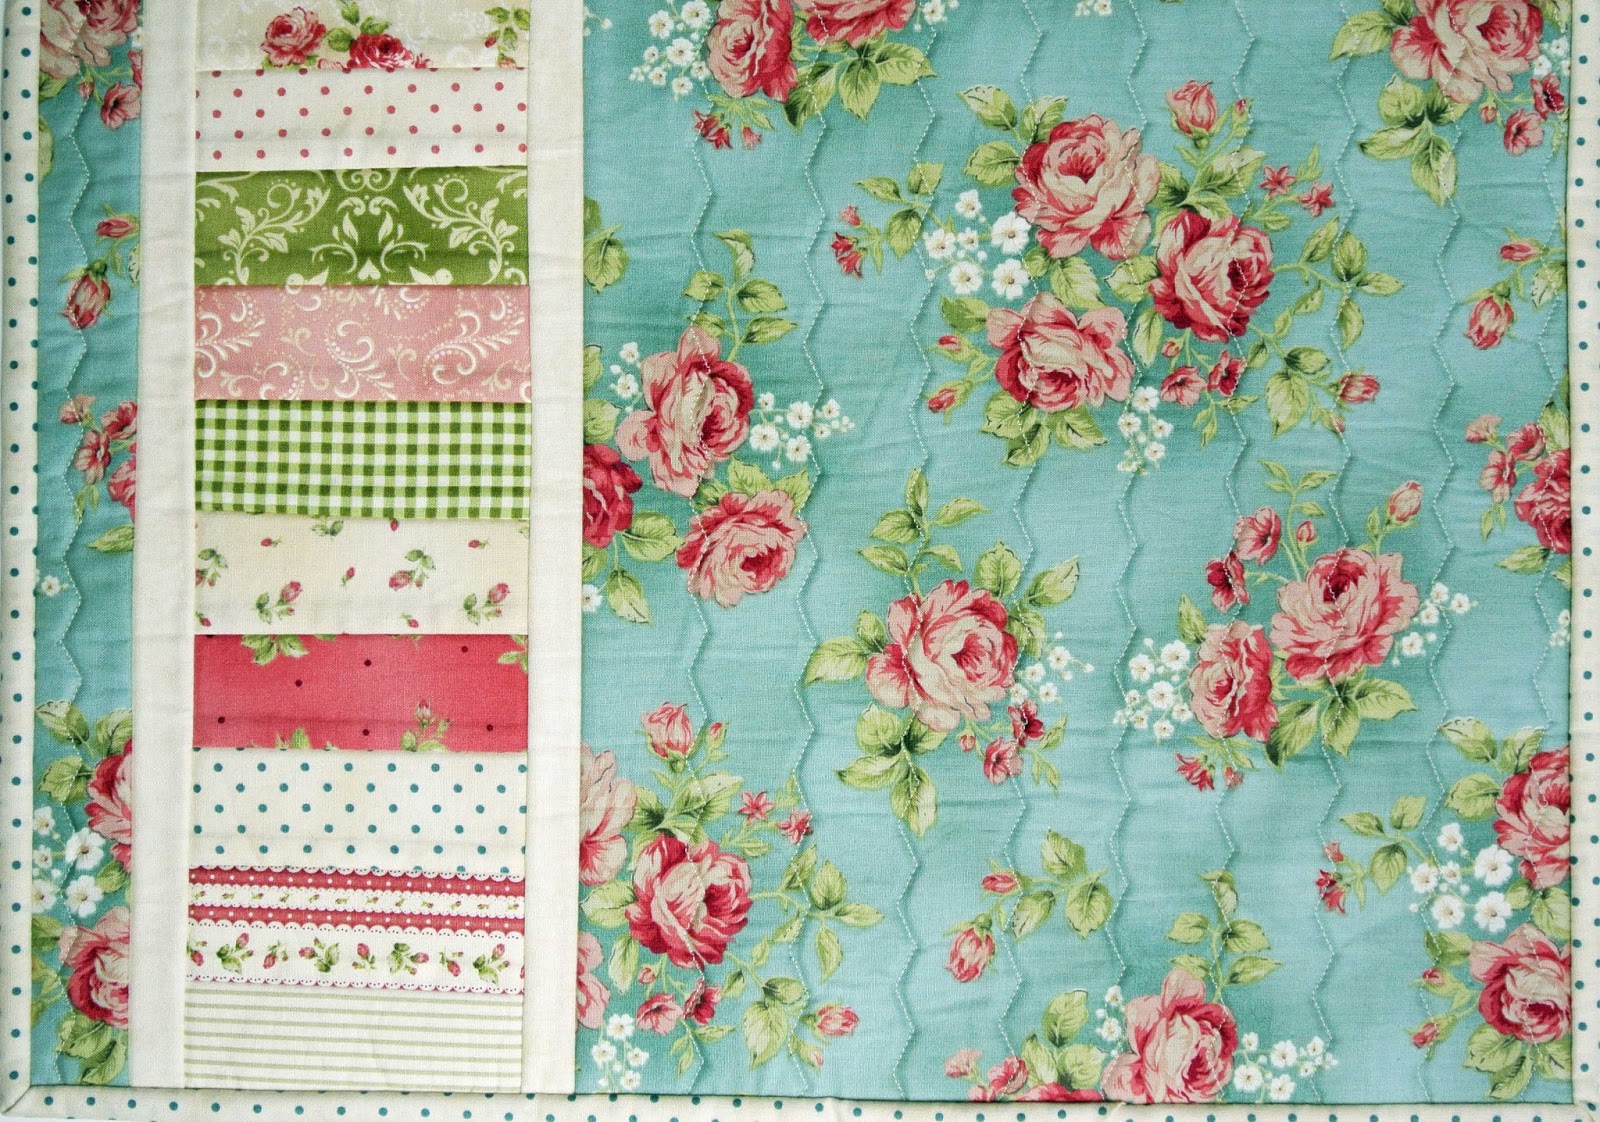
To round the corners, I used a thread spool and marked it with my Frixion pen.
Then I just used my scissors to cut the rounded corners.
When you sew the clear vinyl pocket onto the case back,
use binder clips to hold the pocket in place.
A presser foot with a non-stick sole makes smooth work of sewing the vinyl.
The top of the vinyl pocket is bound with cotton fabric.
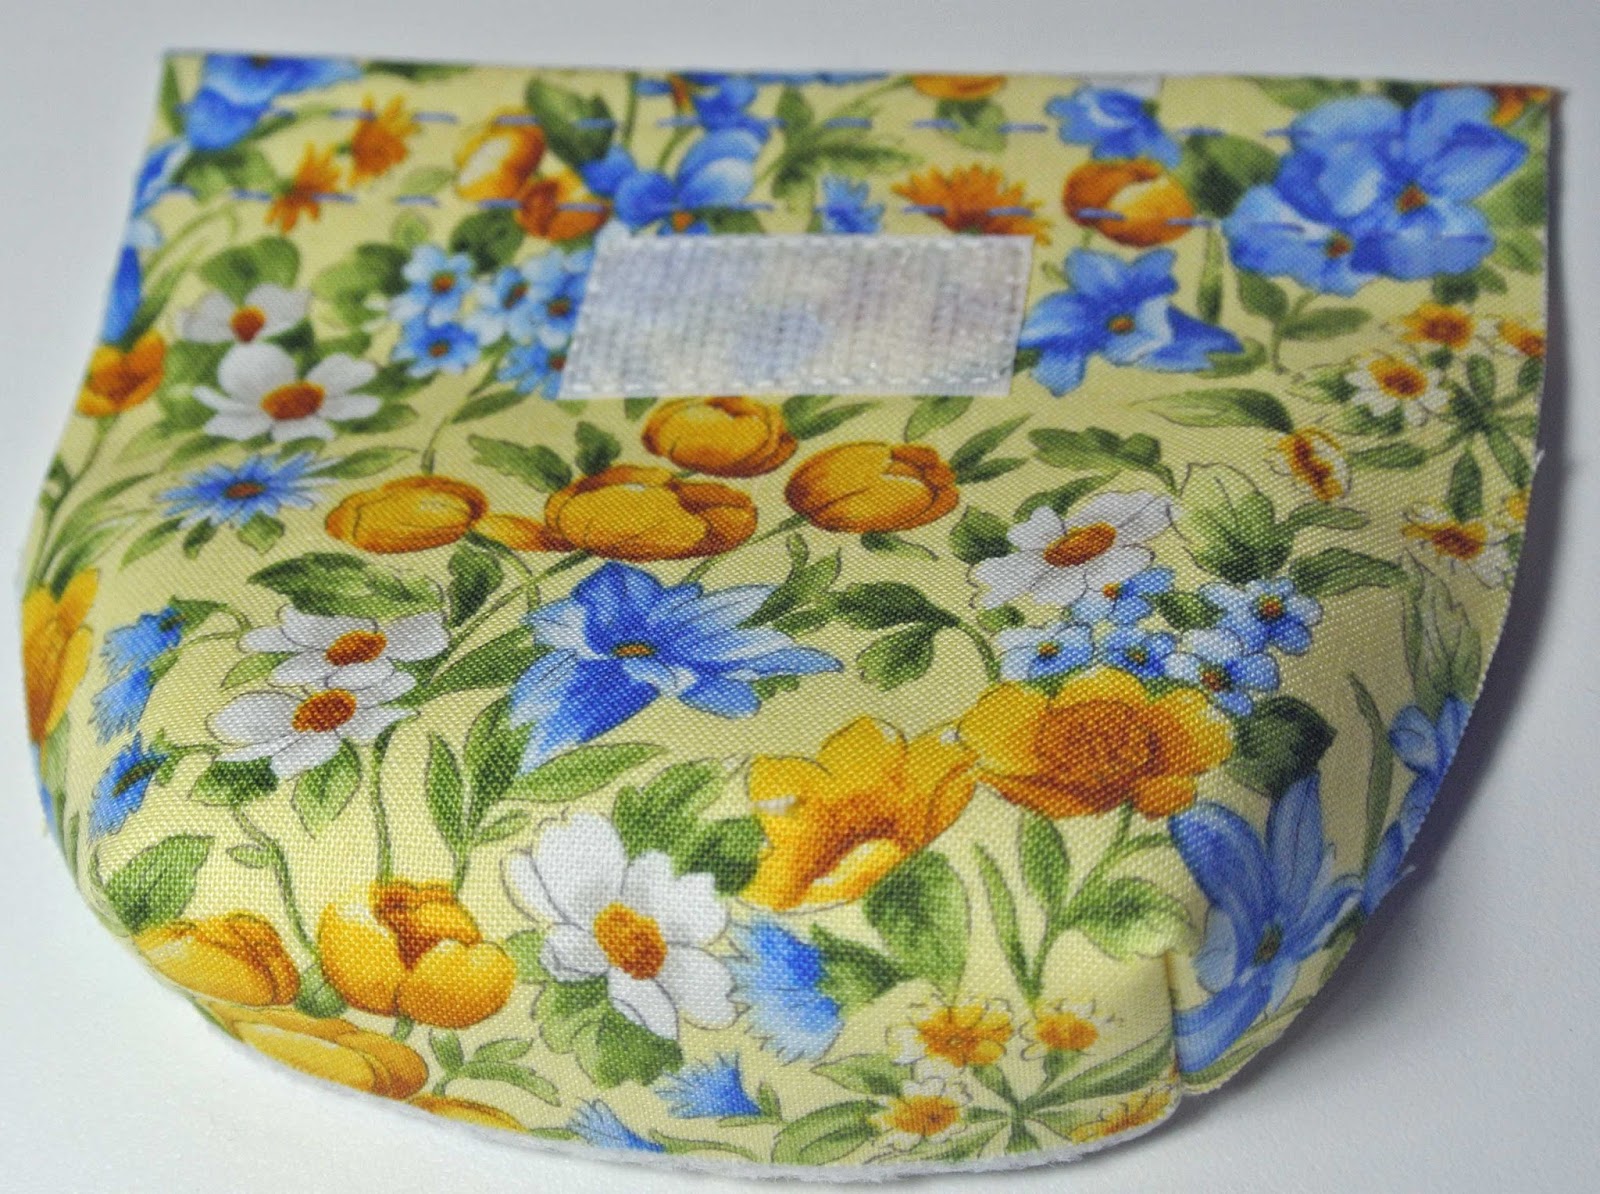
The front pocket has a hook and loop tab closure,
and the elastic is inserted in a casing along the top.
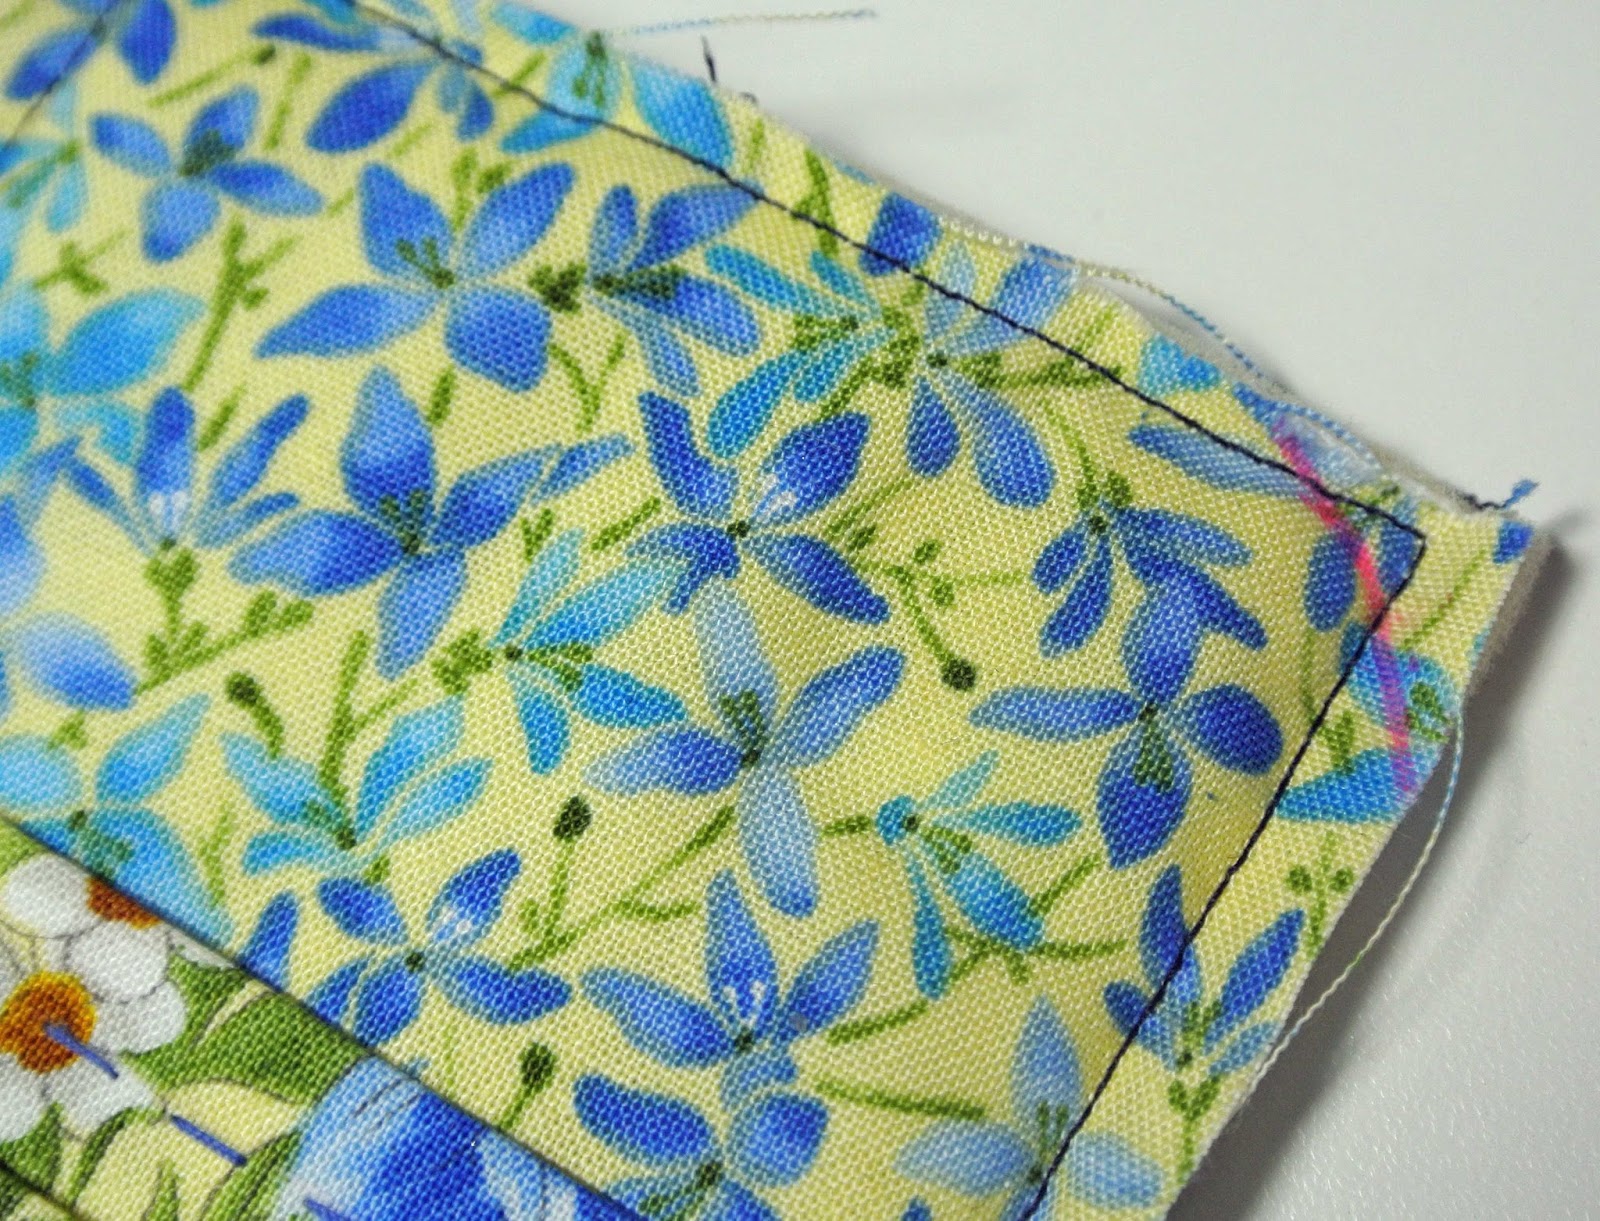
Use elastic that is longer than the finished width,
scrunch the fabric along the elastic to the size desired
and hold it all in place with binder clips while you sew it in place across the end.
Then cut off the excess elastic.
I used fusible fleece to give structure to the front outer pocket.
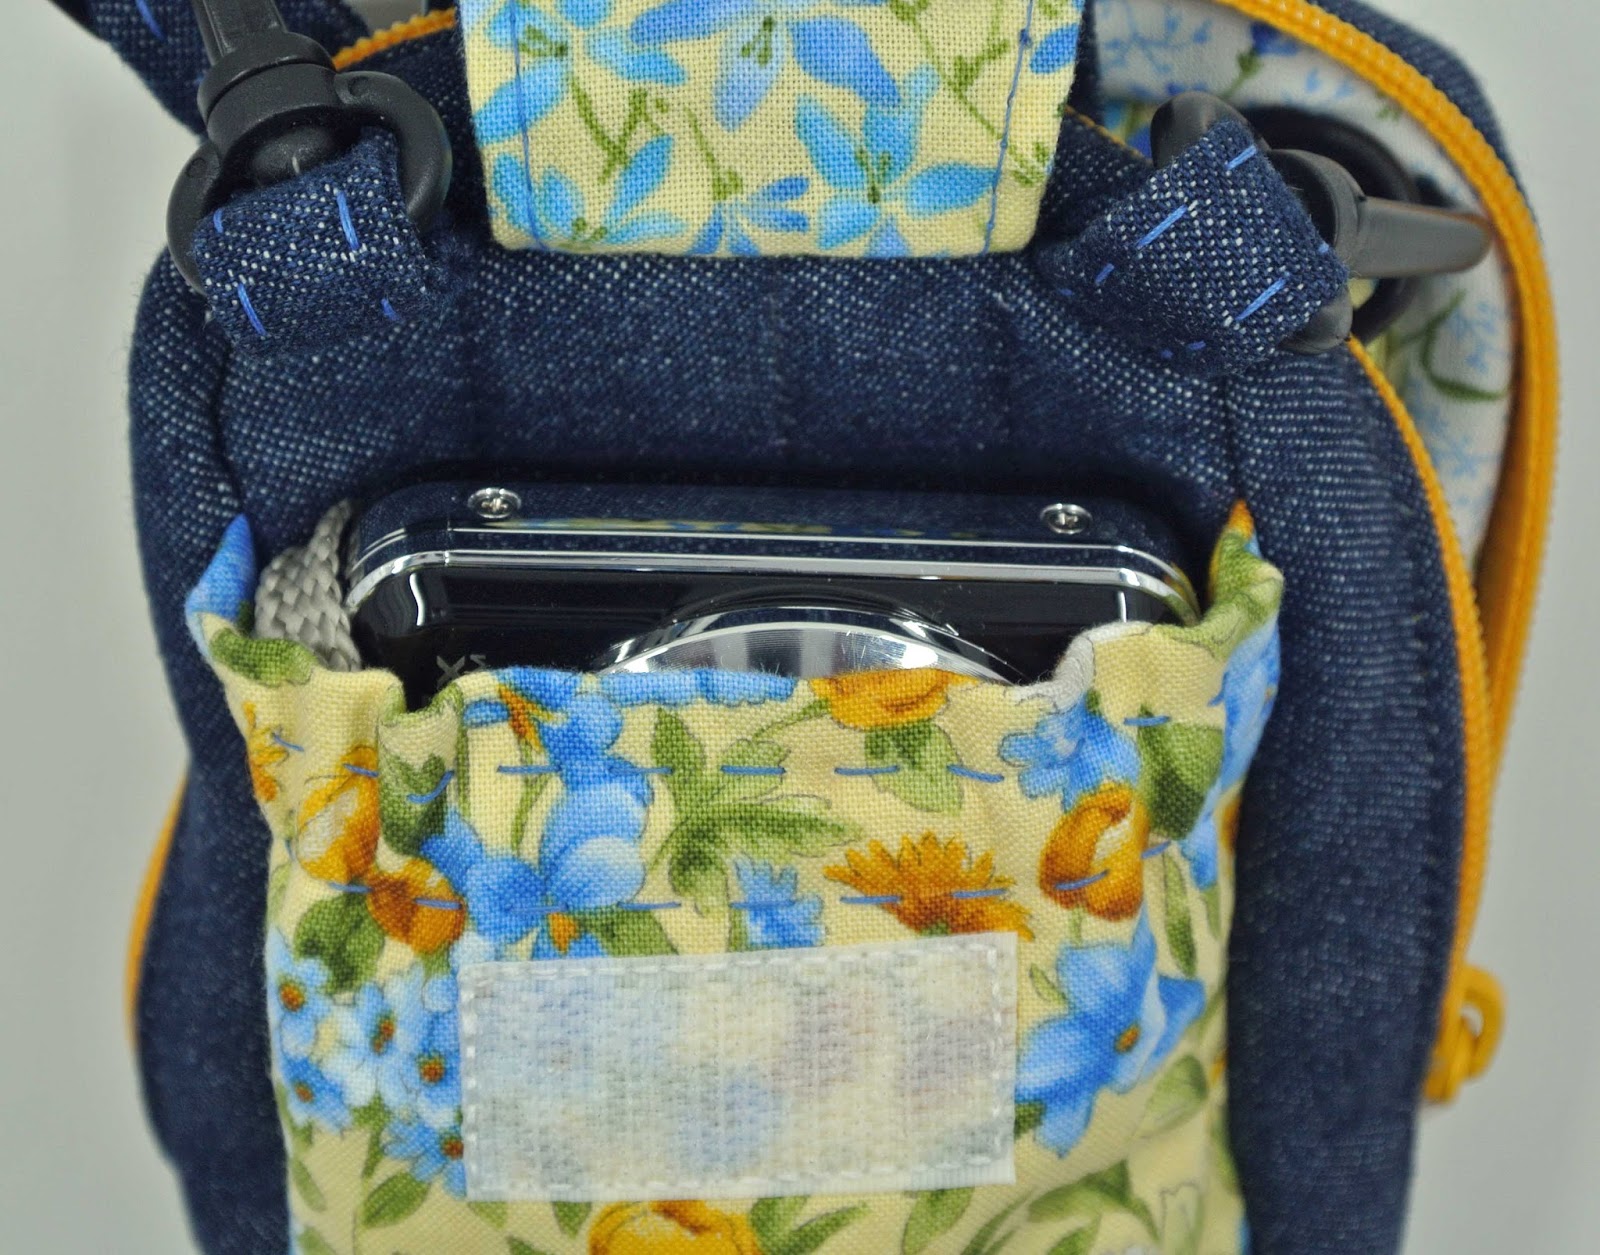
After the layers are stitched together, the corner is cut to form a boxed bottom.
A small, point and shoot camera fits perfectly inside that front pocket.
A smart phone, however, is too big for the outside pocket.
I like to use Wonder Tape to keep my zipper in place when I’m sewing bags,
cases, purses, totes, pillows (okay, almost everything)!
It does not gum up my needle and it is not stiff.
If you are sewing something that will be washed, it washes away.
Wonder Tape is used like double stick tape.
Stick it to the zipper tape, peel off the protective paper, and stick the fabric strip down on top.
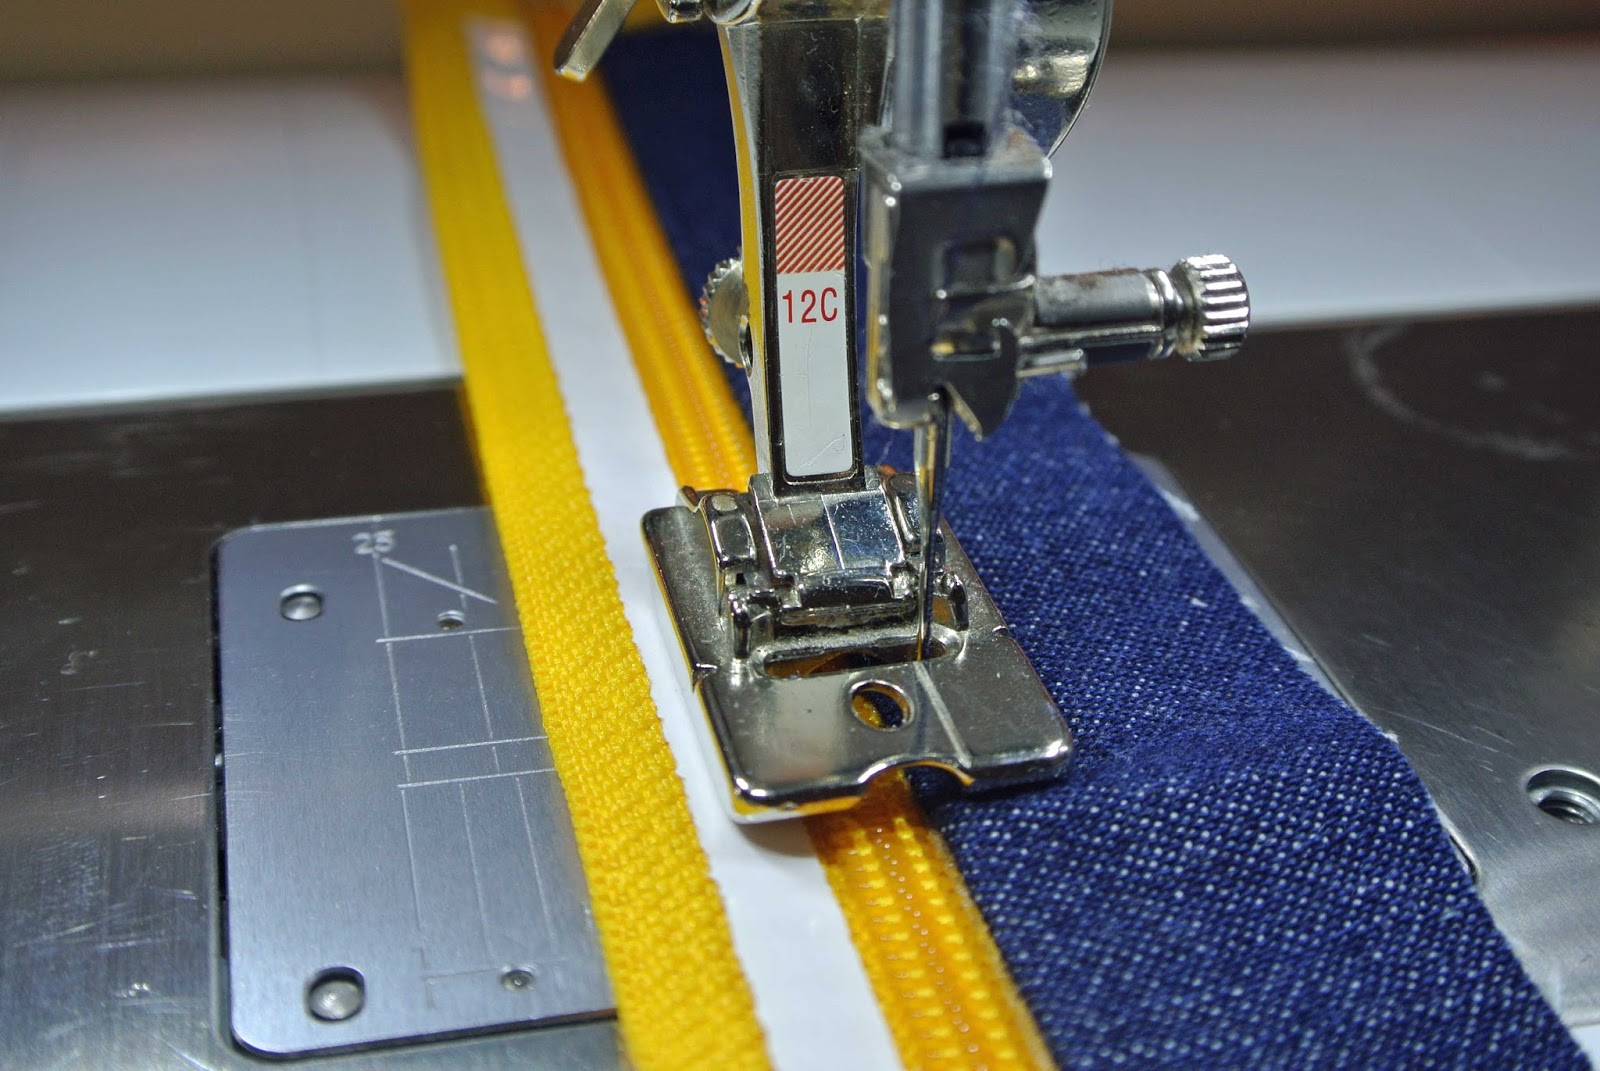
Then, I use my cording foot to sew down the zipper.
The zipper teeth fit under the channel in the foot, then move the needle to the right, and stitch.
Sew easy!
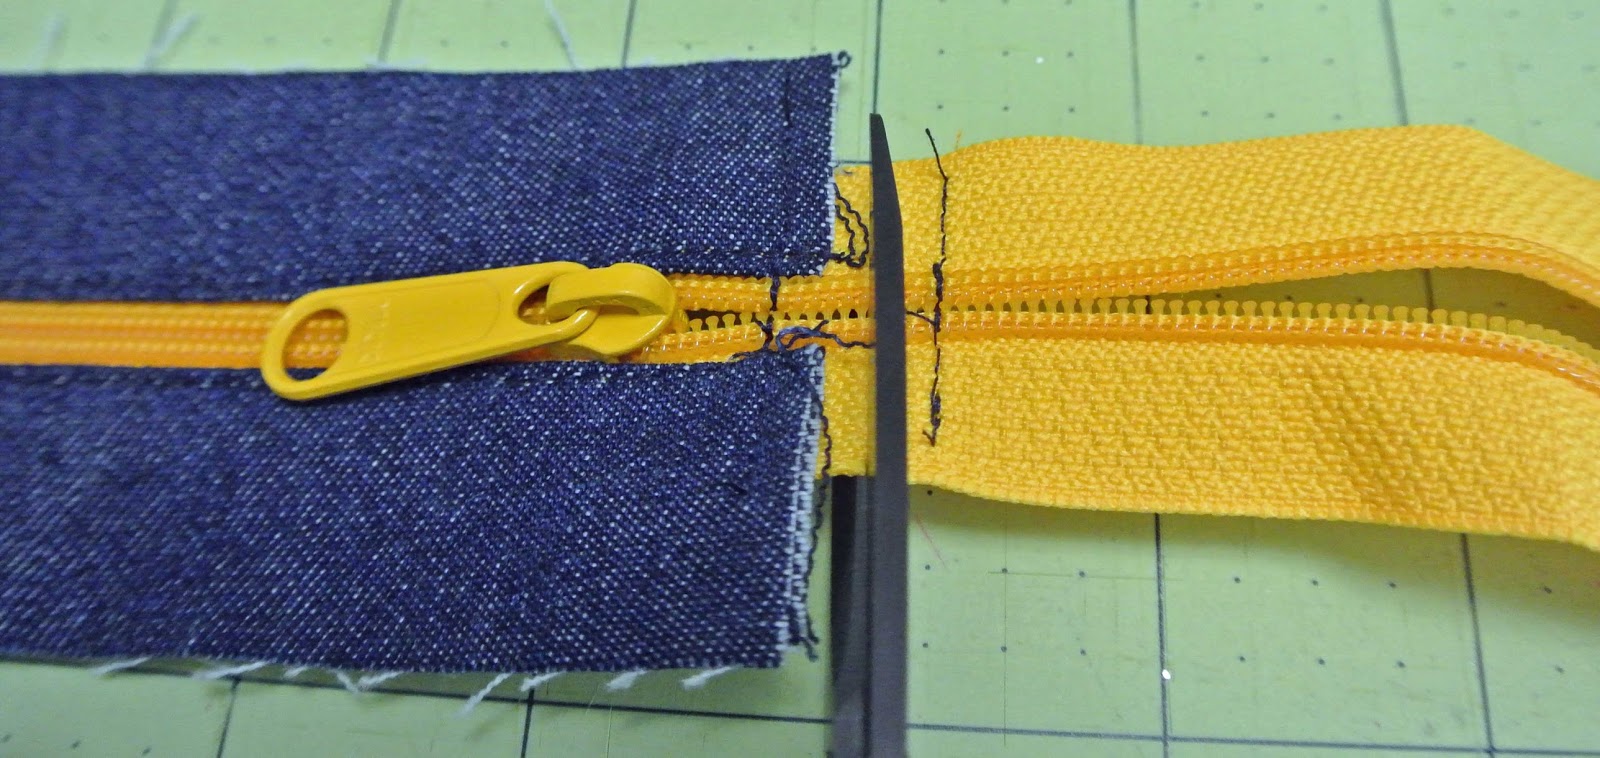
By Annie handbag zippers that are longer than what you need are the best for these type of projects.
You can cut the zipper down to size once you are finished stitching,
then you have extra zip tape left for another project.
Again, sew easy!
The pattern has instructions for a wrist strap . . .
and an adjustable shoulder strap.
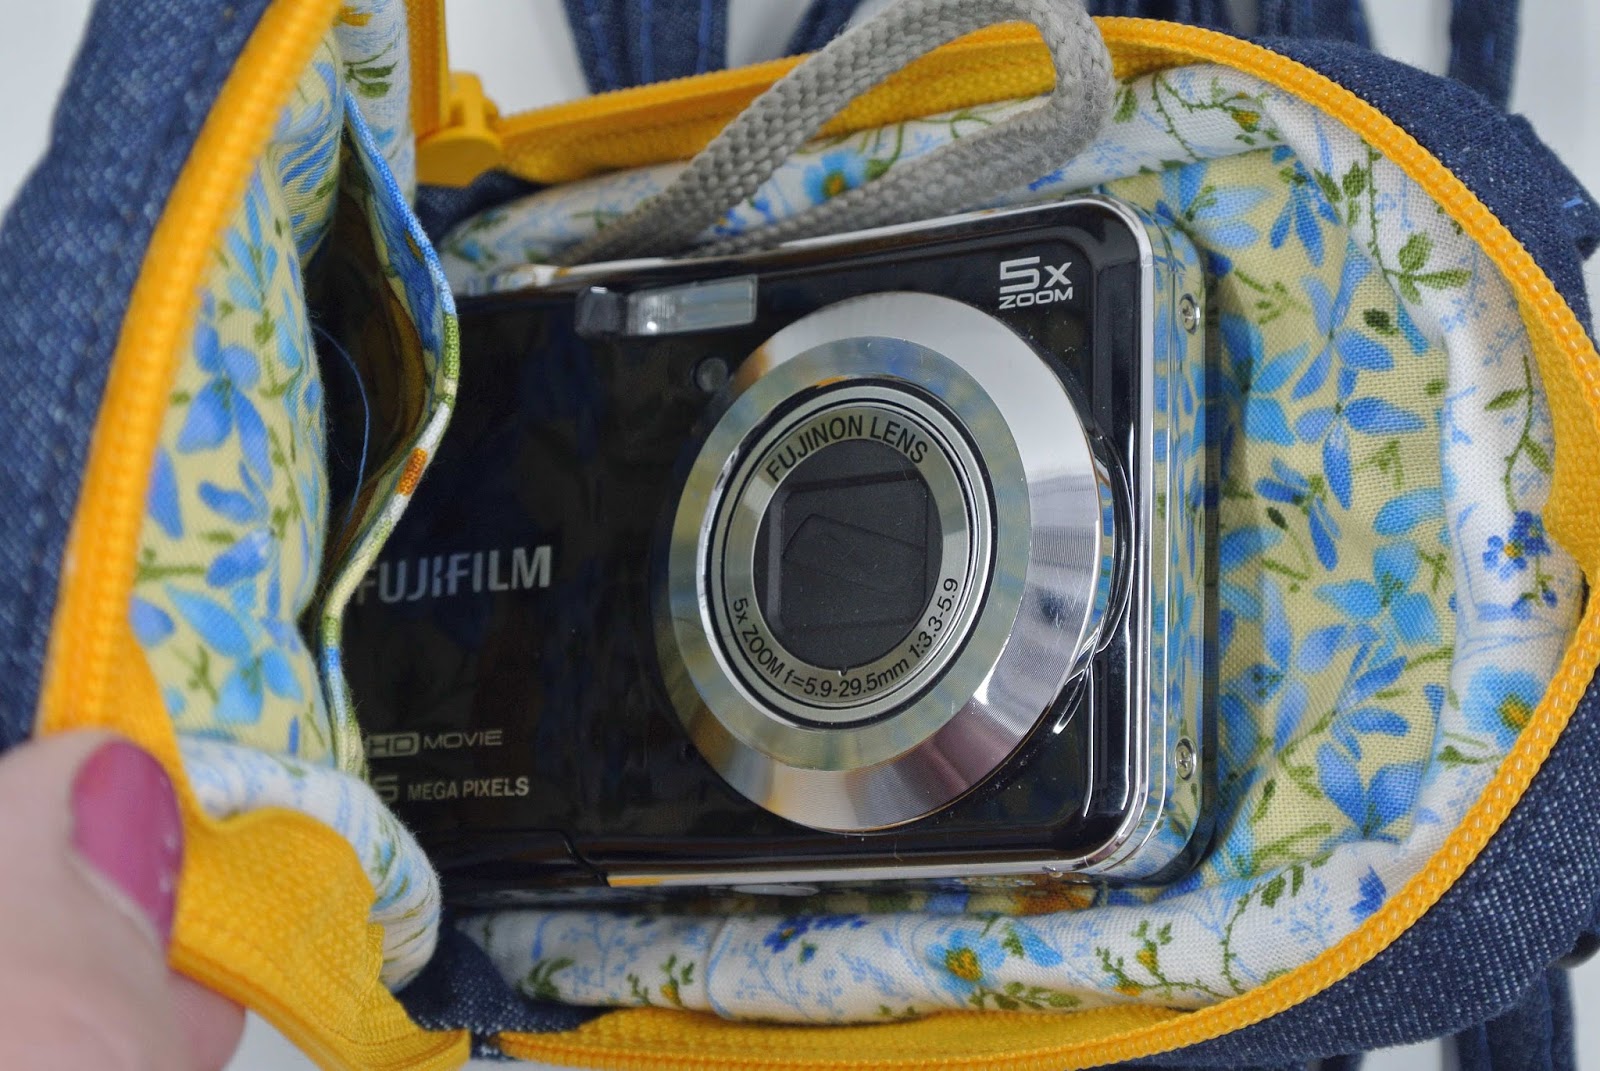
The inside of the case actually has a lot of room for a small camera plus
any extras you may want to carry such as,
keys, credit cards, cash, lipstick, etc.
Depending on the size of the phone, it may or may not fit inside the case.
The pictured phone is a Samsung Galaxy SIII and it fits great.
Anything larger will be too long to allow the case to zip.
All in all, this is a handy case to carry on a quick trip to the store,
a leisurely day at the pool, or a day spent at the park.
The pattern and most supplies are available in
my shop.
I welcome your comments and questions.
Thanks for stopping by today.