Sewing Space Thread Catcher

My local Bernina dealer where I teach classes uses thread catchers similar to this one.
There have been numerous requests for a class on sewing these handy little items.
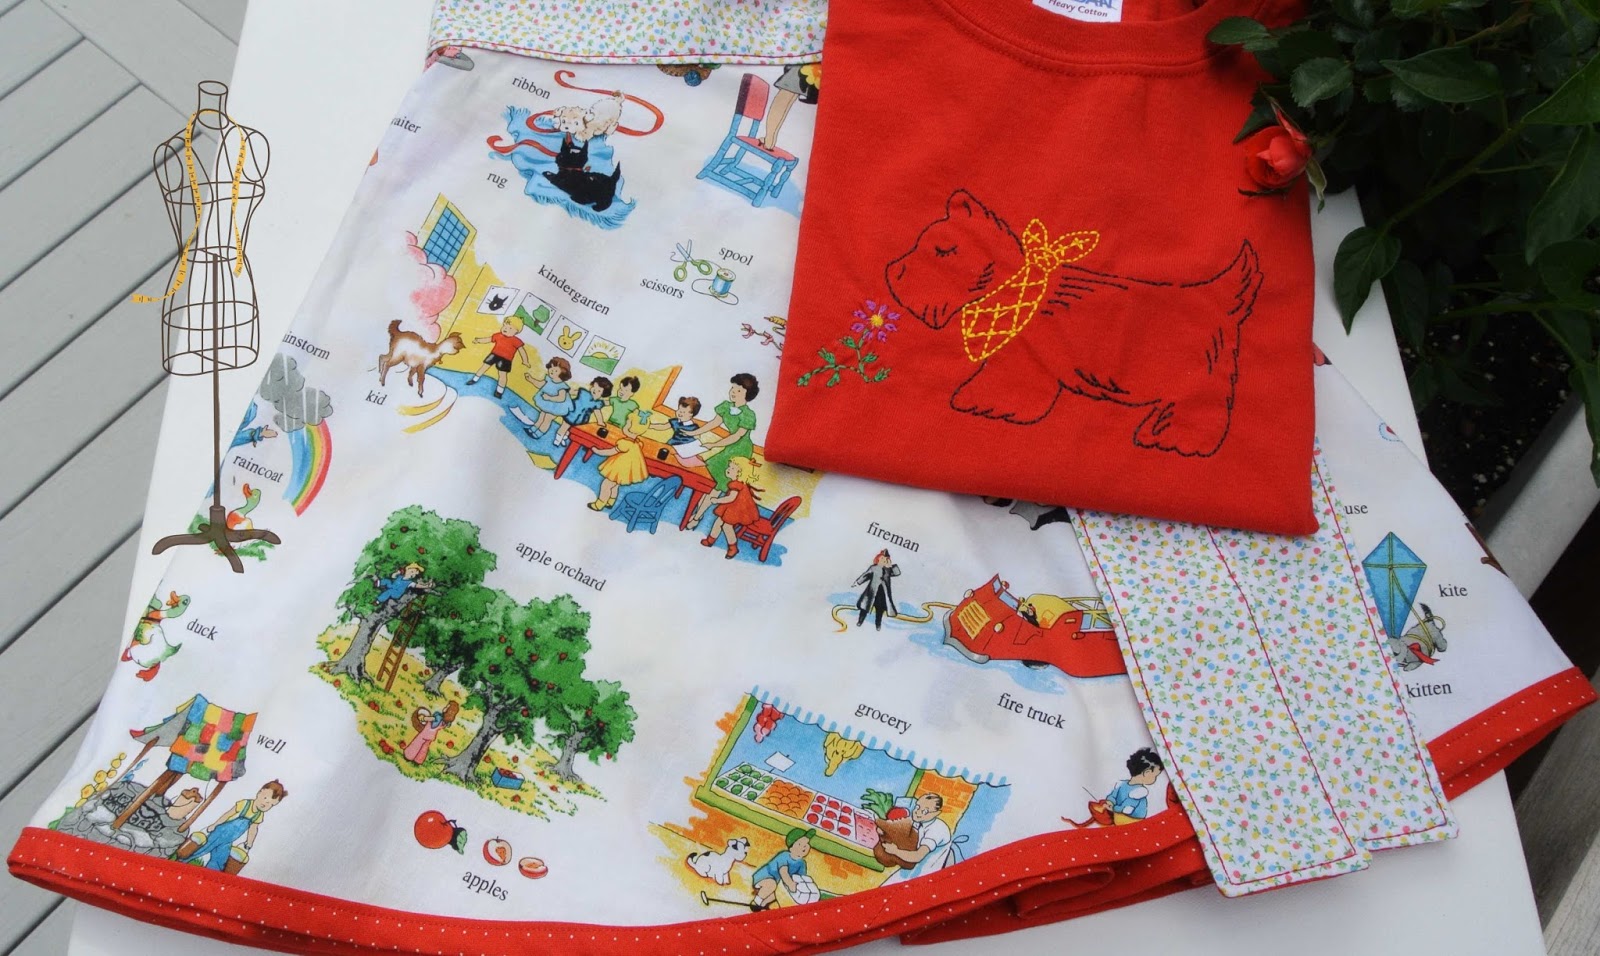
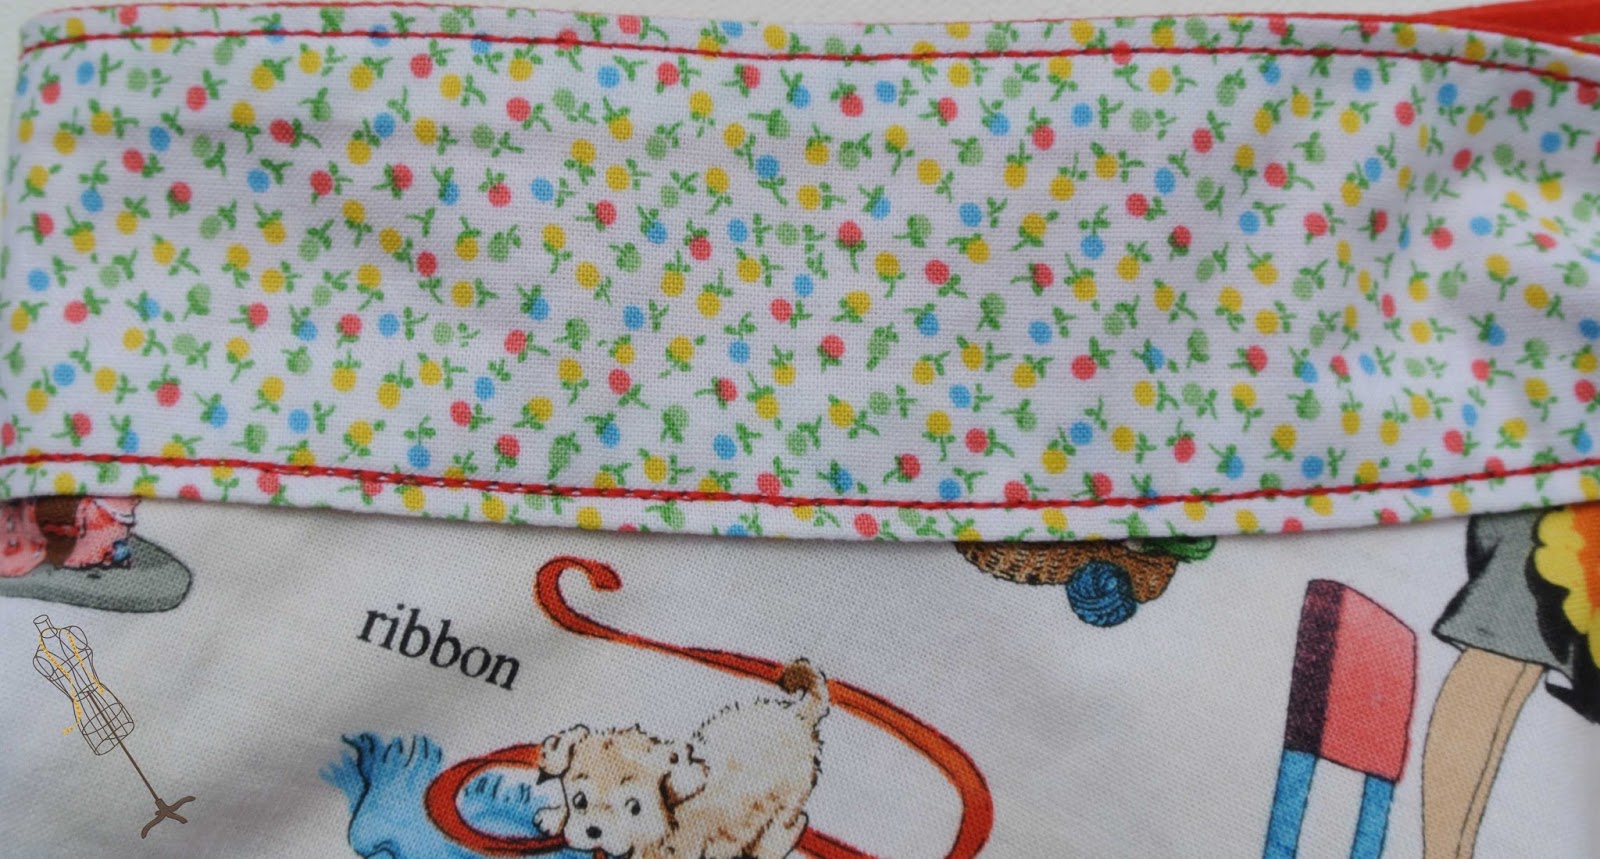
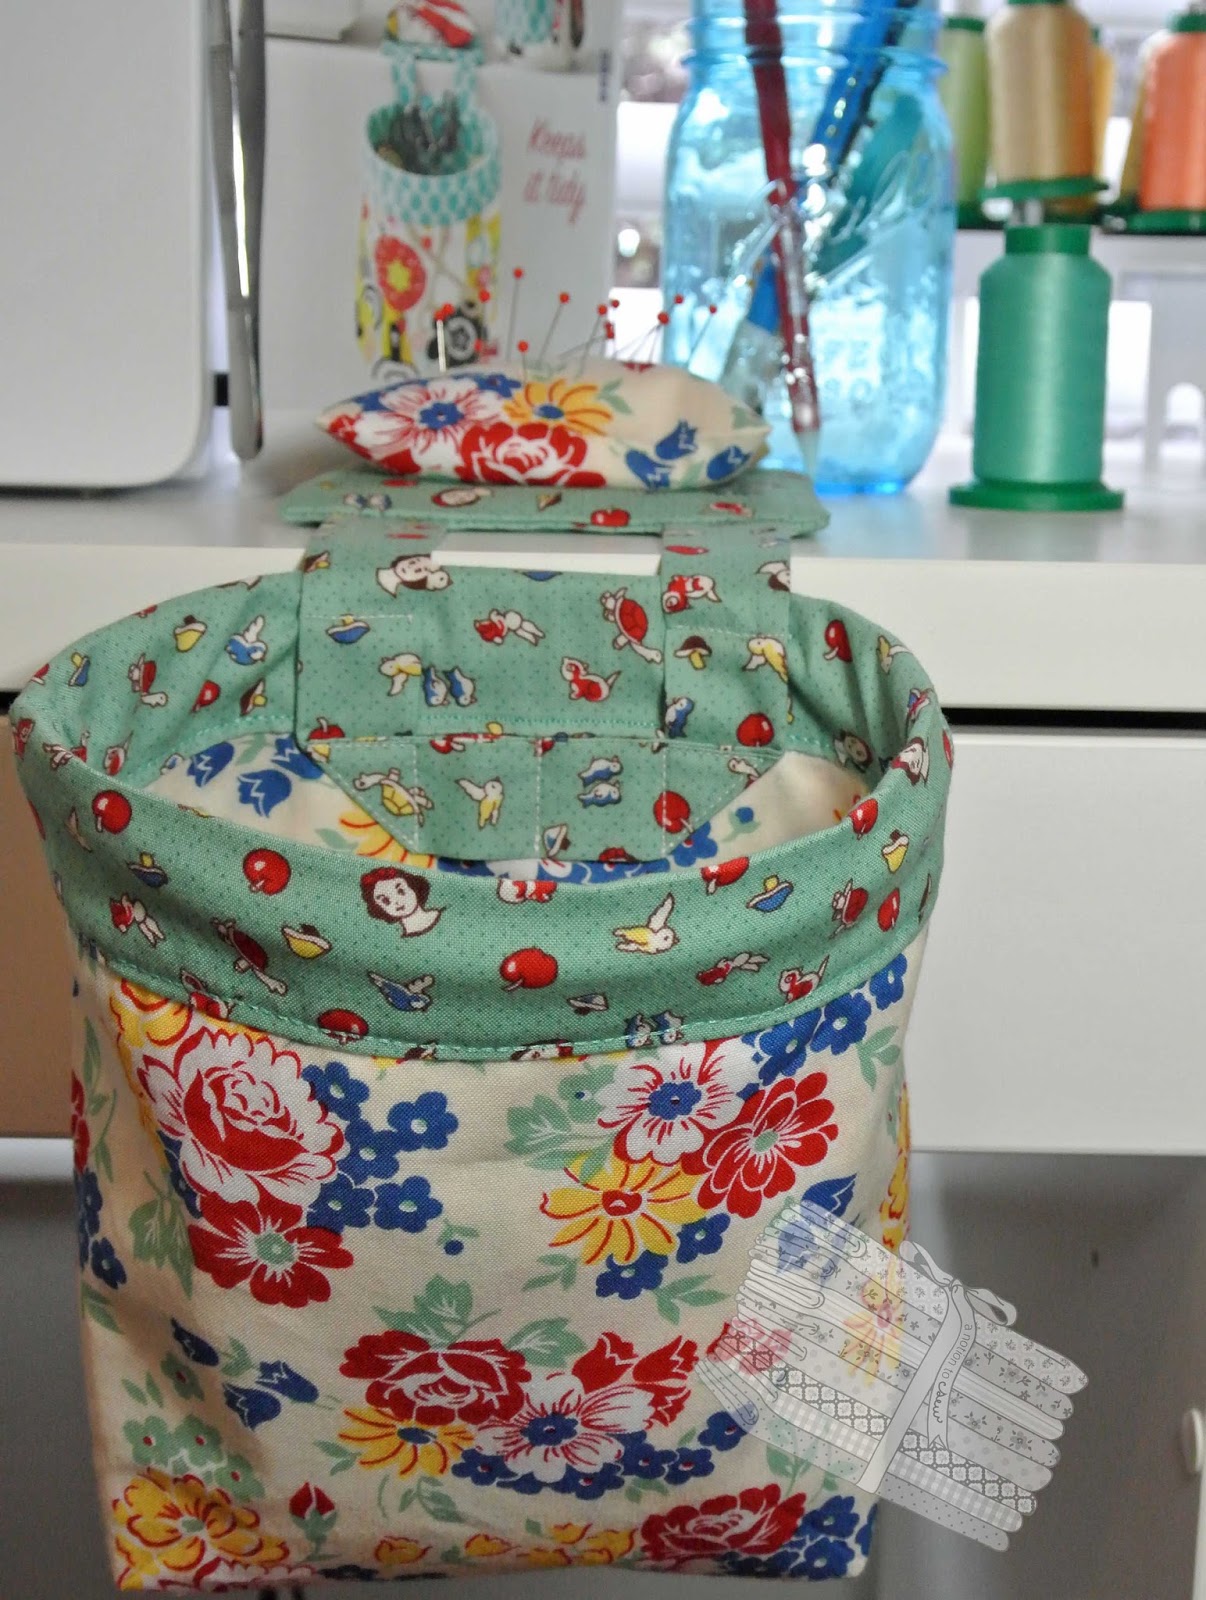
I located a pattern and quickly sewed up this one in great vintage inspired fabric by Kaye England.

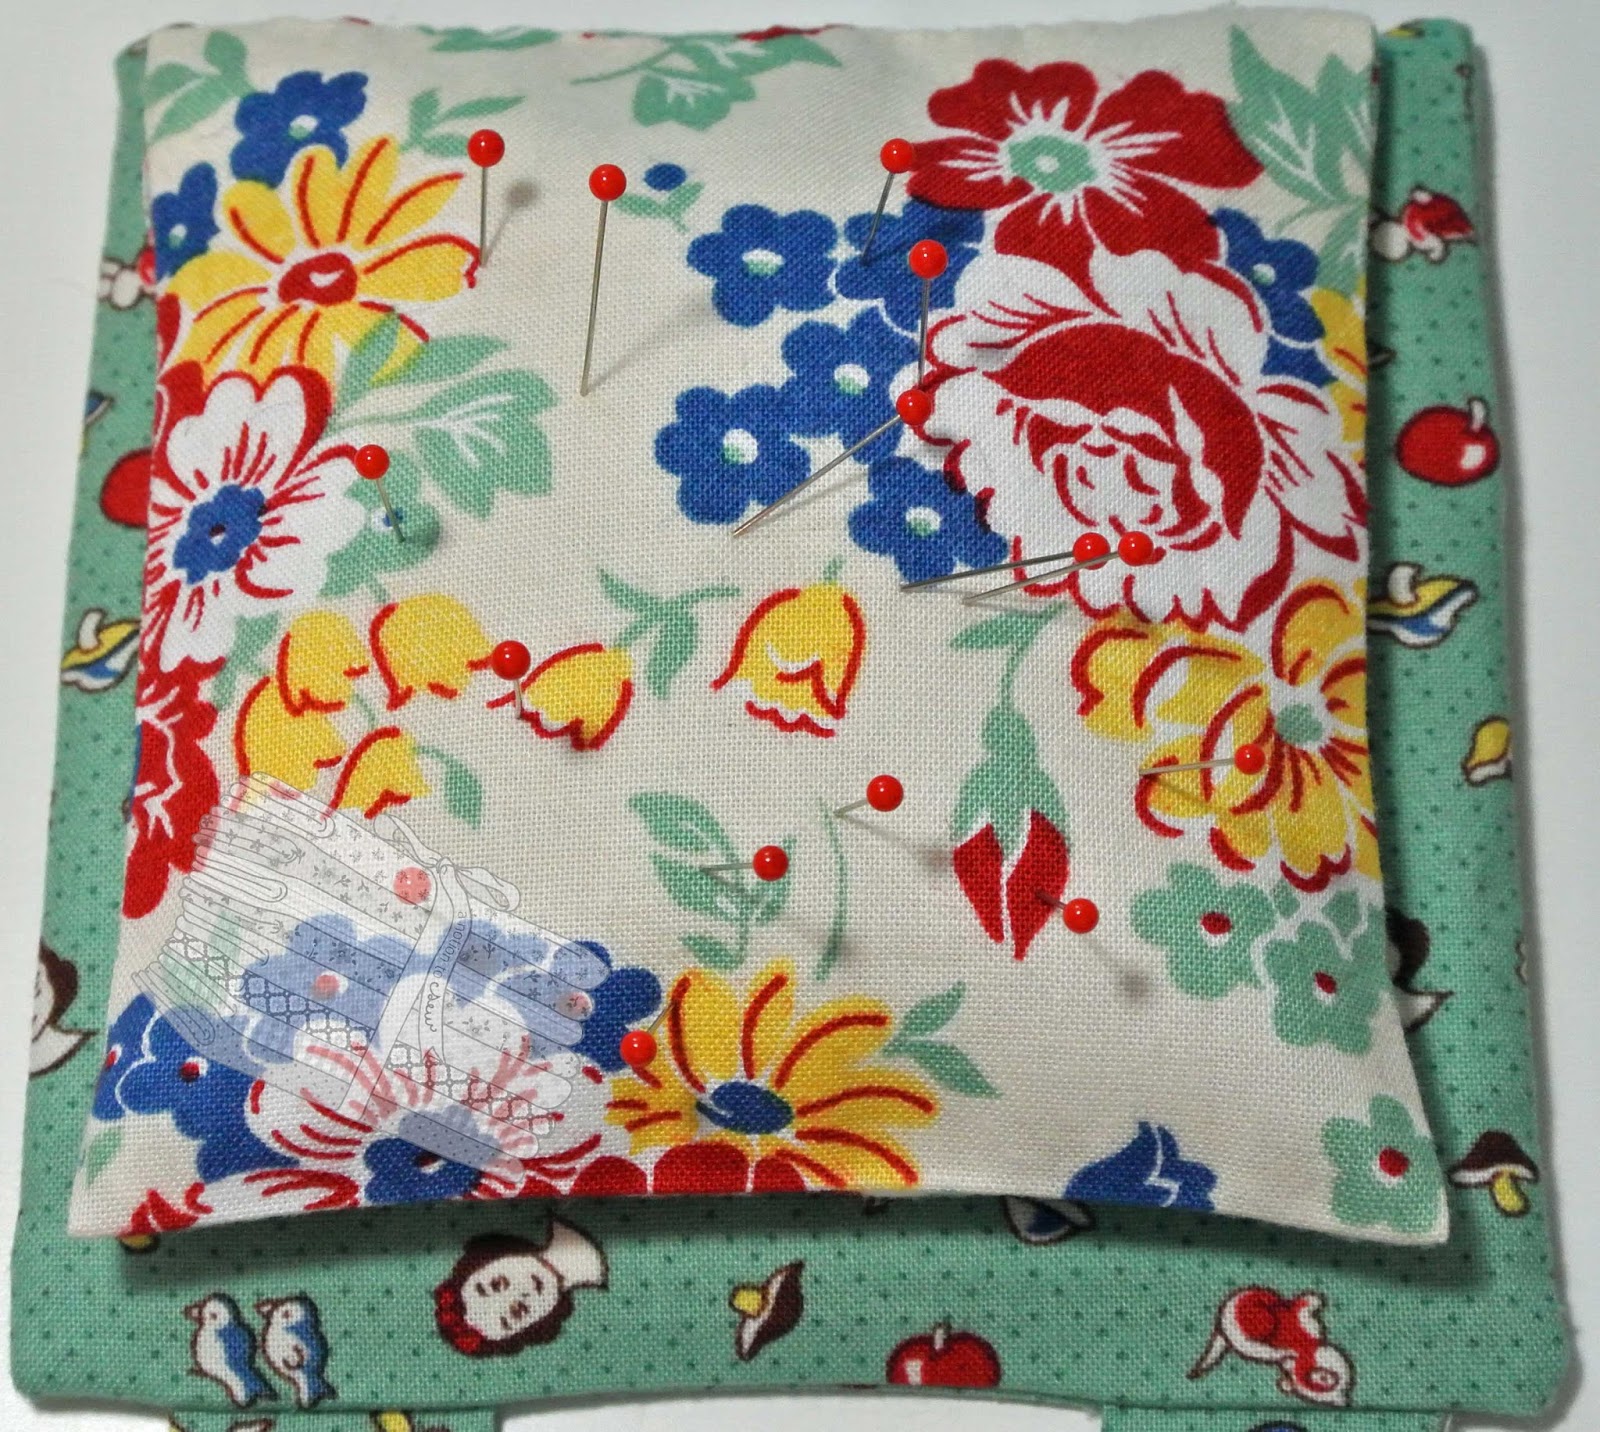
The top of the holder has an attached pin cushion.
The pattern calls for sand as a filler.
I used crushed walnut shells because I had them on hand (don’t ask).
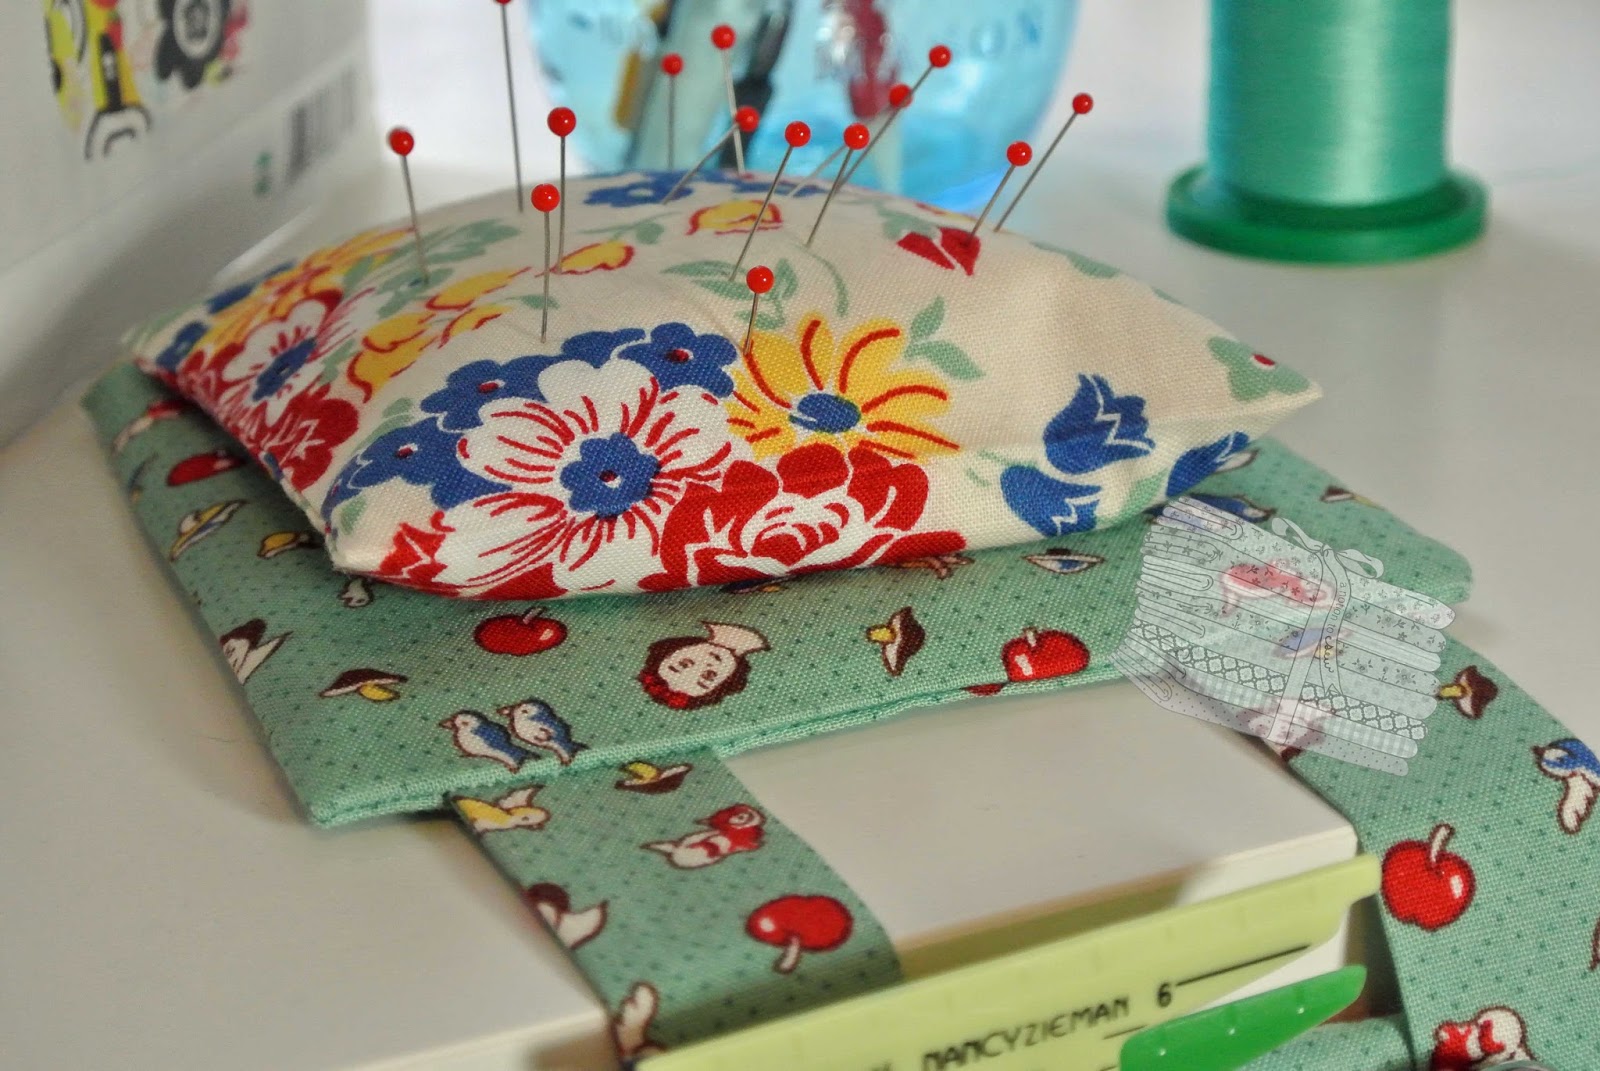
Straps connect the base to the bag.
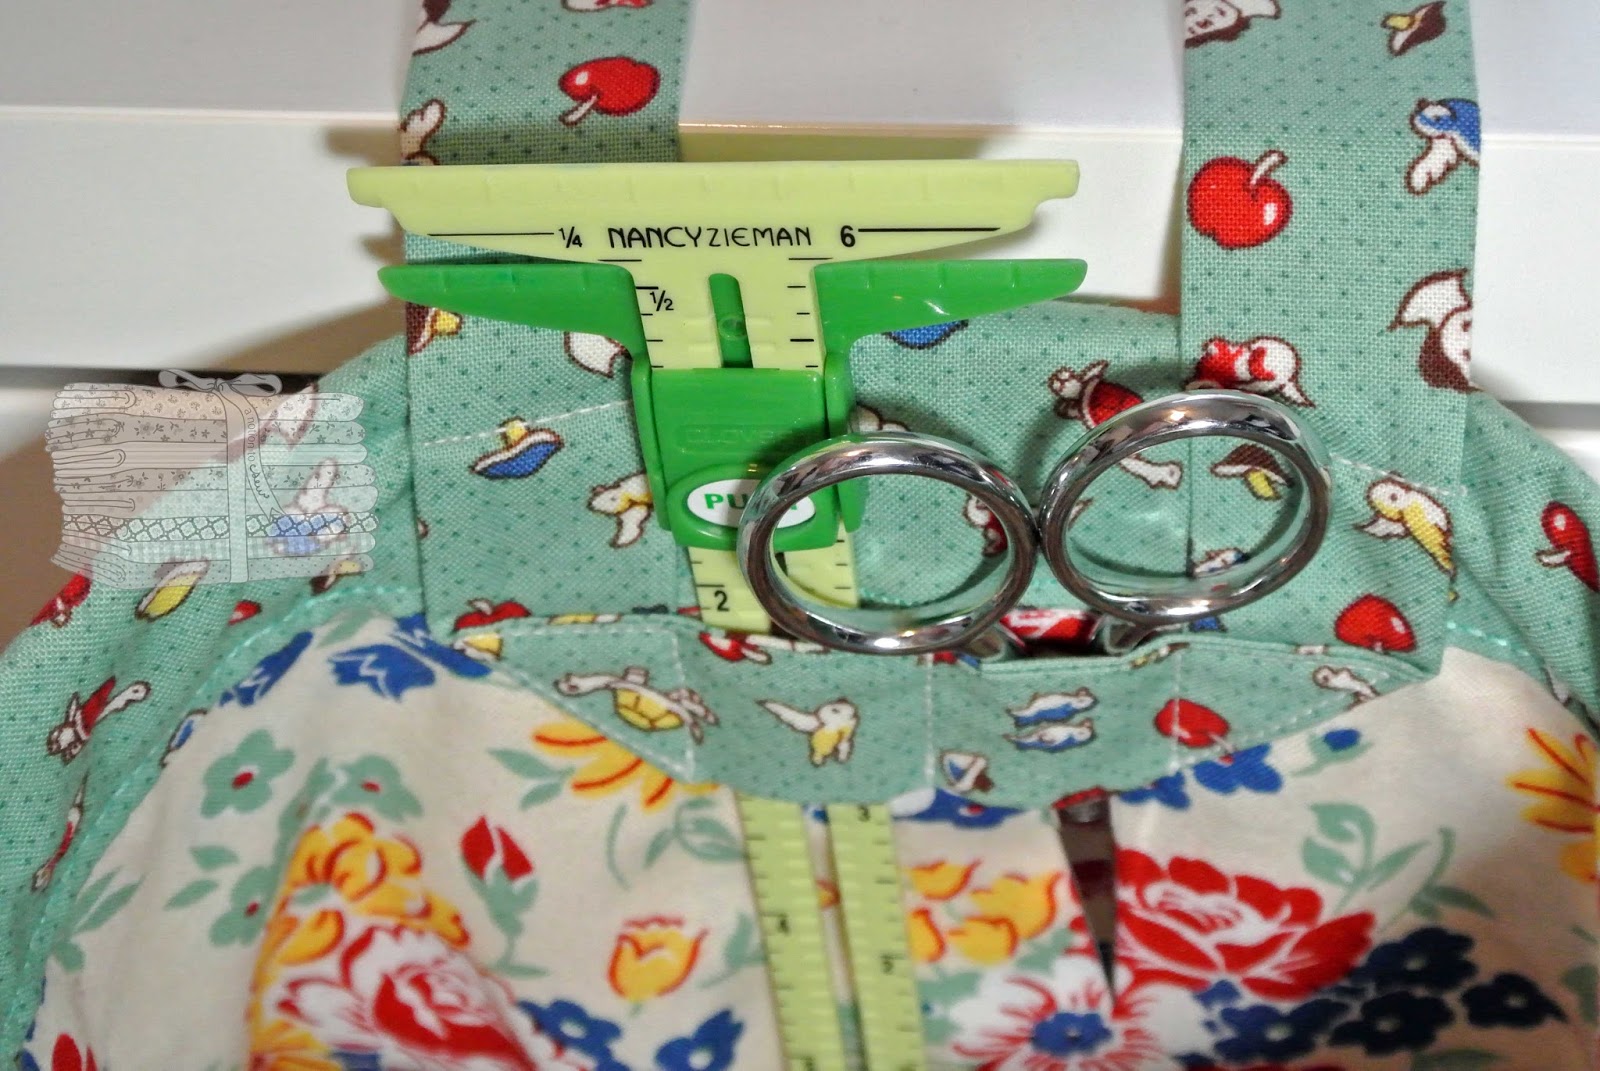
The strap is sewn on in such a way as to provide loops for notion storage.
Clever.
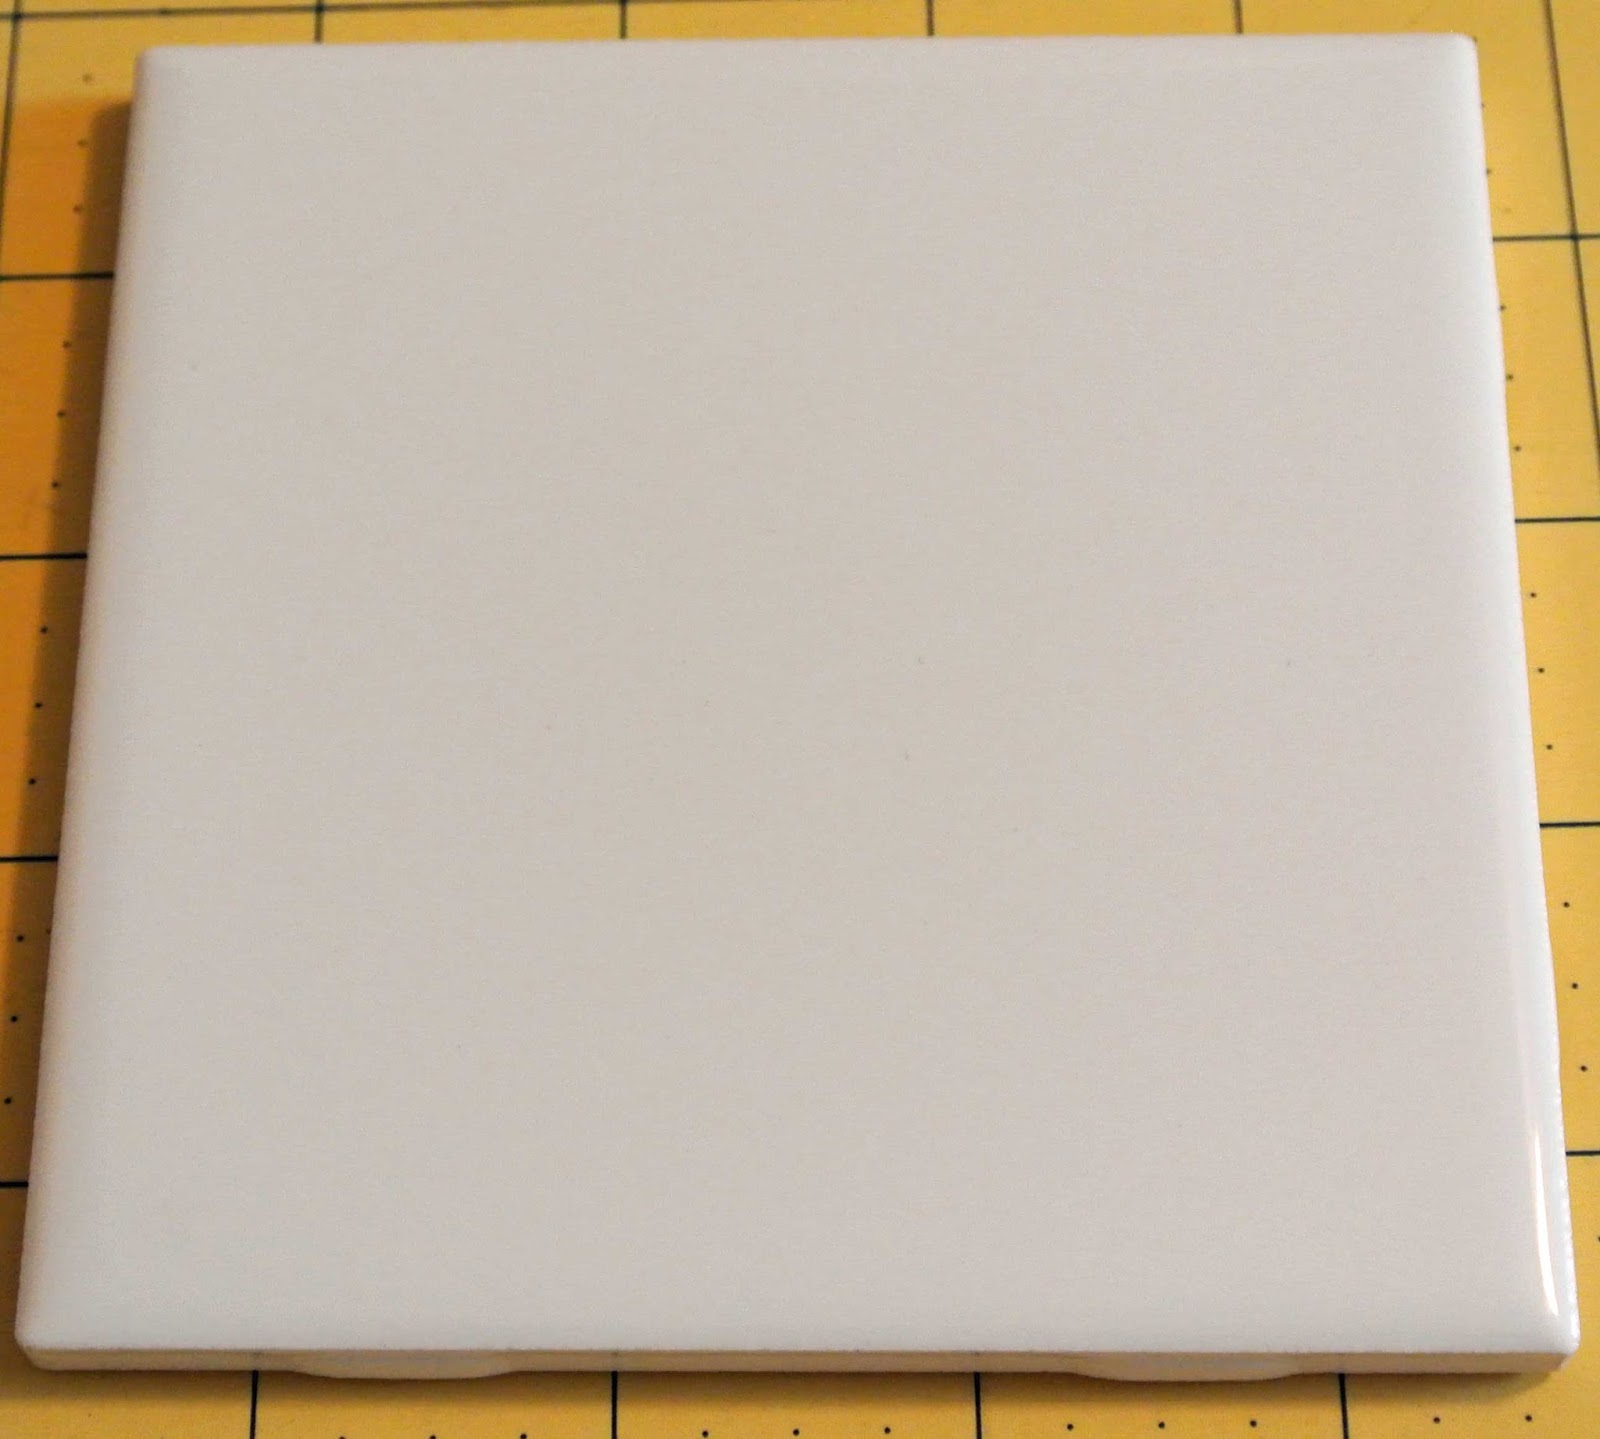
A common, inexpensive tile ($.16 at Home Depot) is inserted into the base under the pin cushion.
The unit tends to slip just a bit.
Next time, I would use a grip fabric on the underside of the base cover.
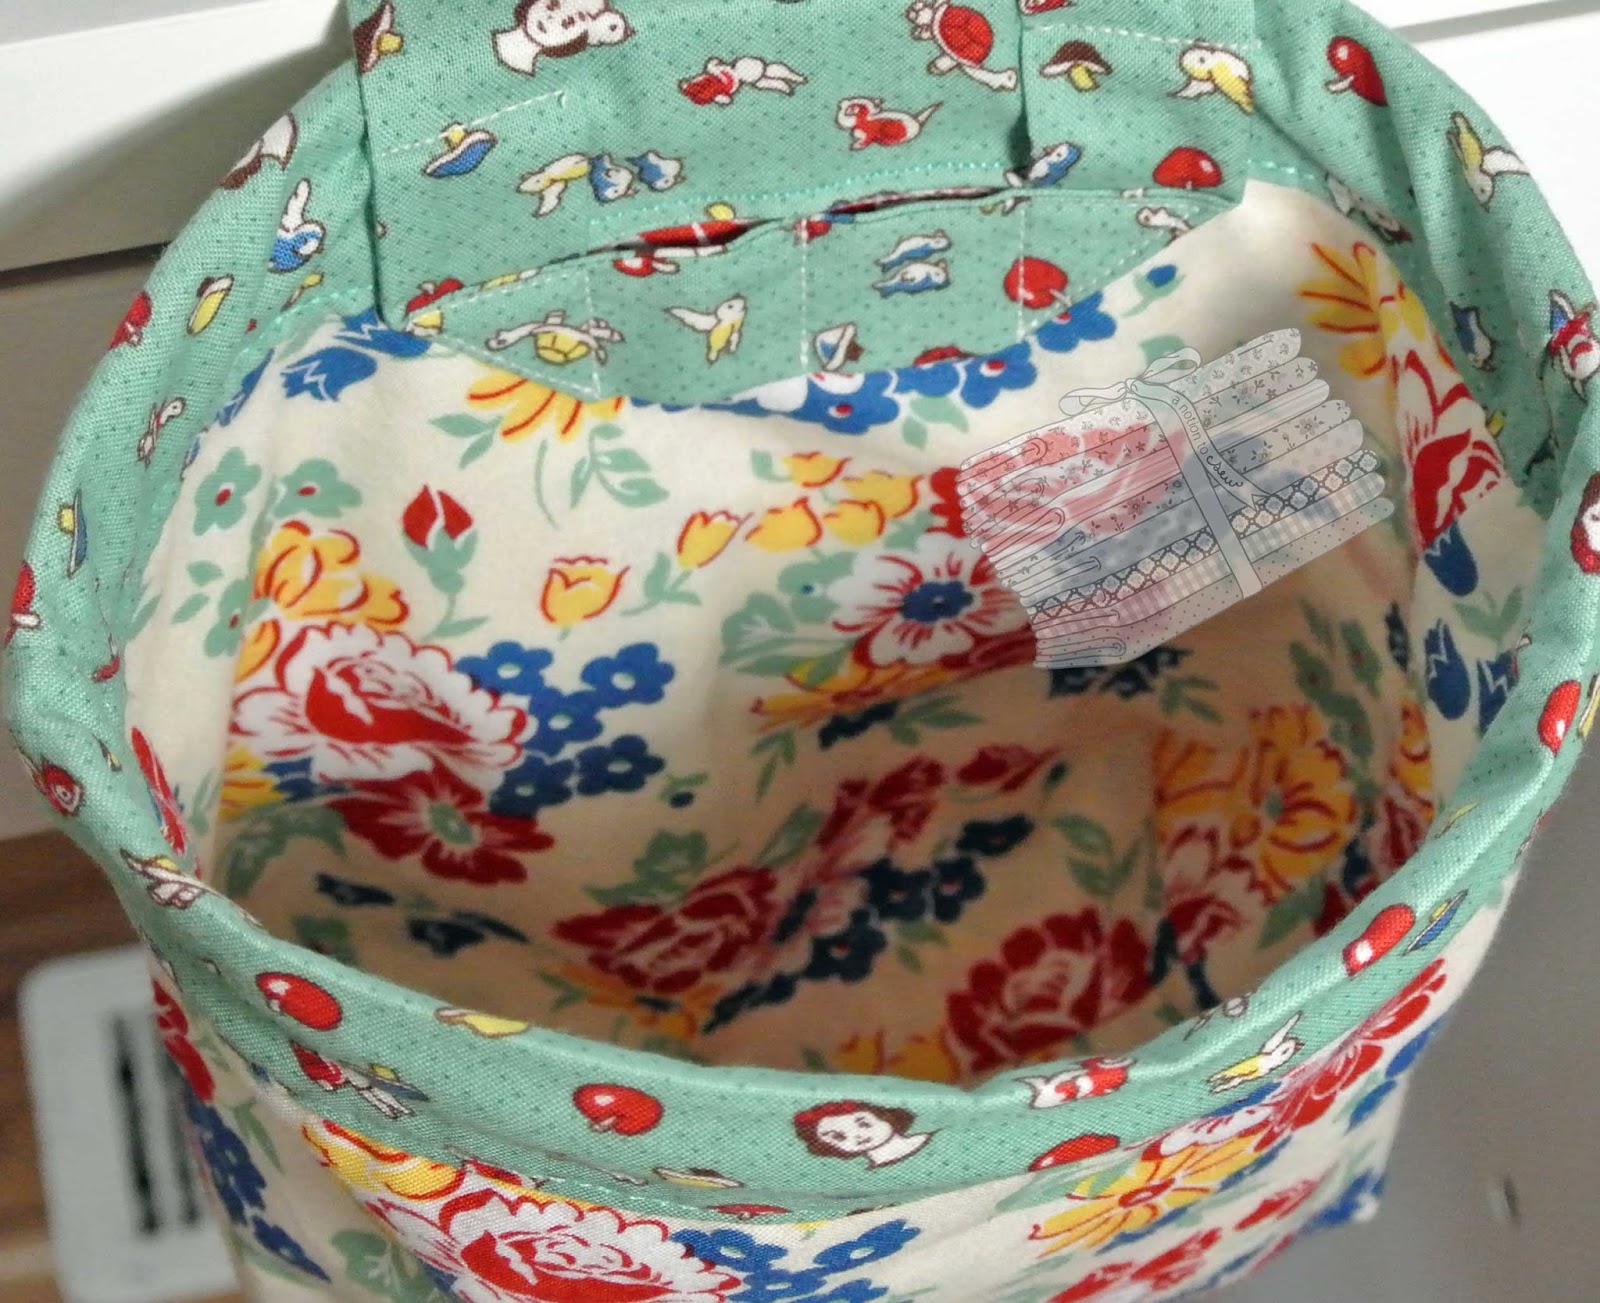
One could drop an awful lot of thread snips into that thread catcher.
The pattern called for plastic tubing and a dowel in the rim to give it shape.
I used 1/4″ boning because that’s what I had on hand.
Worked like a charm.
The only other change I would make is to add a lightweight stabilizer
between the bag lining and outer bag.
It could use a bit of a shaper,
Speaking for myself as well!!!
The pattern is Kwik Sew 3886.
You can sew this up in an afternoon.
Be sure to save your thread from the project
When you finish you will have somewhere to put it.
Go on, get busy keeping your sewing space tidy.
Enjoy, friends.
If you are in the local area,
please send me an email or give me a call if you want us to offer this as a class. 

Quick and Easy Child-size Wrap Skirt and Coordinating T-shirt

 Hey friends!
If you’re doing any sewing for pint-size people,
you might want to give this little wrap skirt a look.
The pattern company is AJ’s Boutique.
This one is pattern No. 5, Wrap Skirt in children’s sizes 4-5-6-7-8.
For my just-turned 5-year-old granddaughter, I sewed up a size 6.
It is a bit large, but I’m confident she’ll be wearing it in the near future.
The only closure on this one is a self-tie made from the waistband.
I used a solid red fabric for the back side of the waistband/tie
and a coordinating floral print for the front side.
 
Sewing time is approximately two hours start to finish.
That includes making your own bias trim such as the red polka dot that I made.
The bias went on quickly using my Bernina bias binder attachment.
The skirt instructions include just a few basic steps:
sew two skirt pieces together (one seam.total.that’s all.);
attach bias binding (can use purchased, don’t have to make your own);
sew inside and outside waistband pieces together and turn right side out;
attach waistband to top of skirt;
Done!!!
This is a great beginner project as well as an
instant gratification for experienced sewists project.
Have fun.
 

Pretty Potent Portrait Dress

Here’s yet another project using some of the fabric I purchased at #craftsouth last September.
The body of the dress is “Pretty Potent” rayon by Anna Maria Horner
and the linen yoke fabric was also purchased during my #craftsouth trip.
The dress pattern is Anna Maria Horner Painted Portrait Blouse and Dress.
What a great pattern!
This one is by far my favorite garment pattern in quite some time.
I sewed the size medium without any alterations at it fits beautifully.
I love how the side panels taper down each side of the back yoke.
It makes for a flattering silhouette.
The dress closure is a button and a hand-sewn loop.
So easy, so clean, so effective.
The armhole openings are finished with bias tape, which I made from cotton.
To add the machine embroidery, I scanned one of Anna Maria Horner’s designs
(from the Fields Aflutter hand embroidery collection) into my Bernina embroidery software.
Then I sized and digitized it to coordinate with the dress.
Stitching the design out on the linen before cutting the pattern piece eliminates the fussiness of
centering the design on a small piece of fabric after the pattern piece has been cut.
Have a most pleasant week, my friends, and stitch up something pretty potent.
I love to hear from you, so please leave me a comment or send me an email.