Accent Pillow with Sashiko Stitching

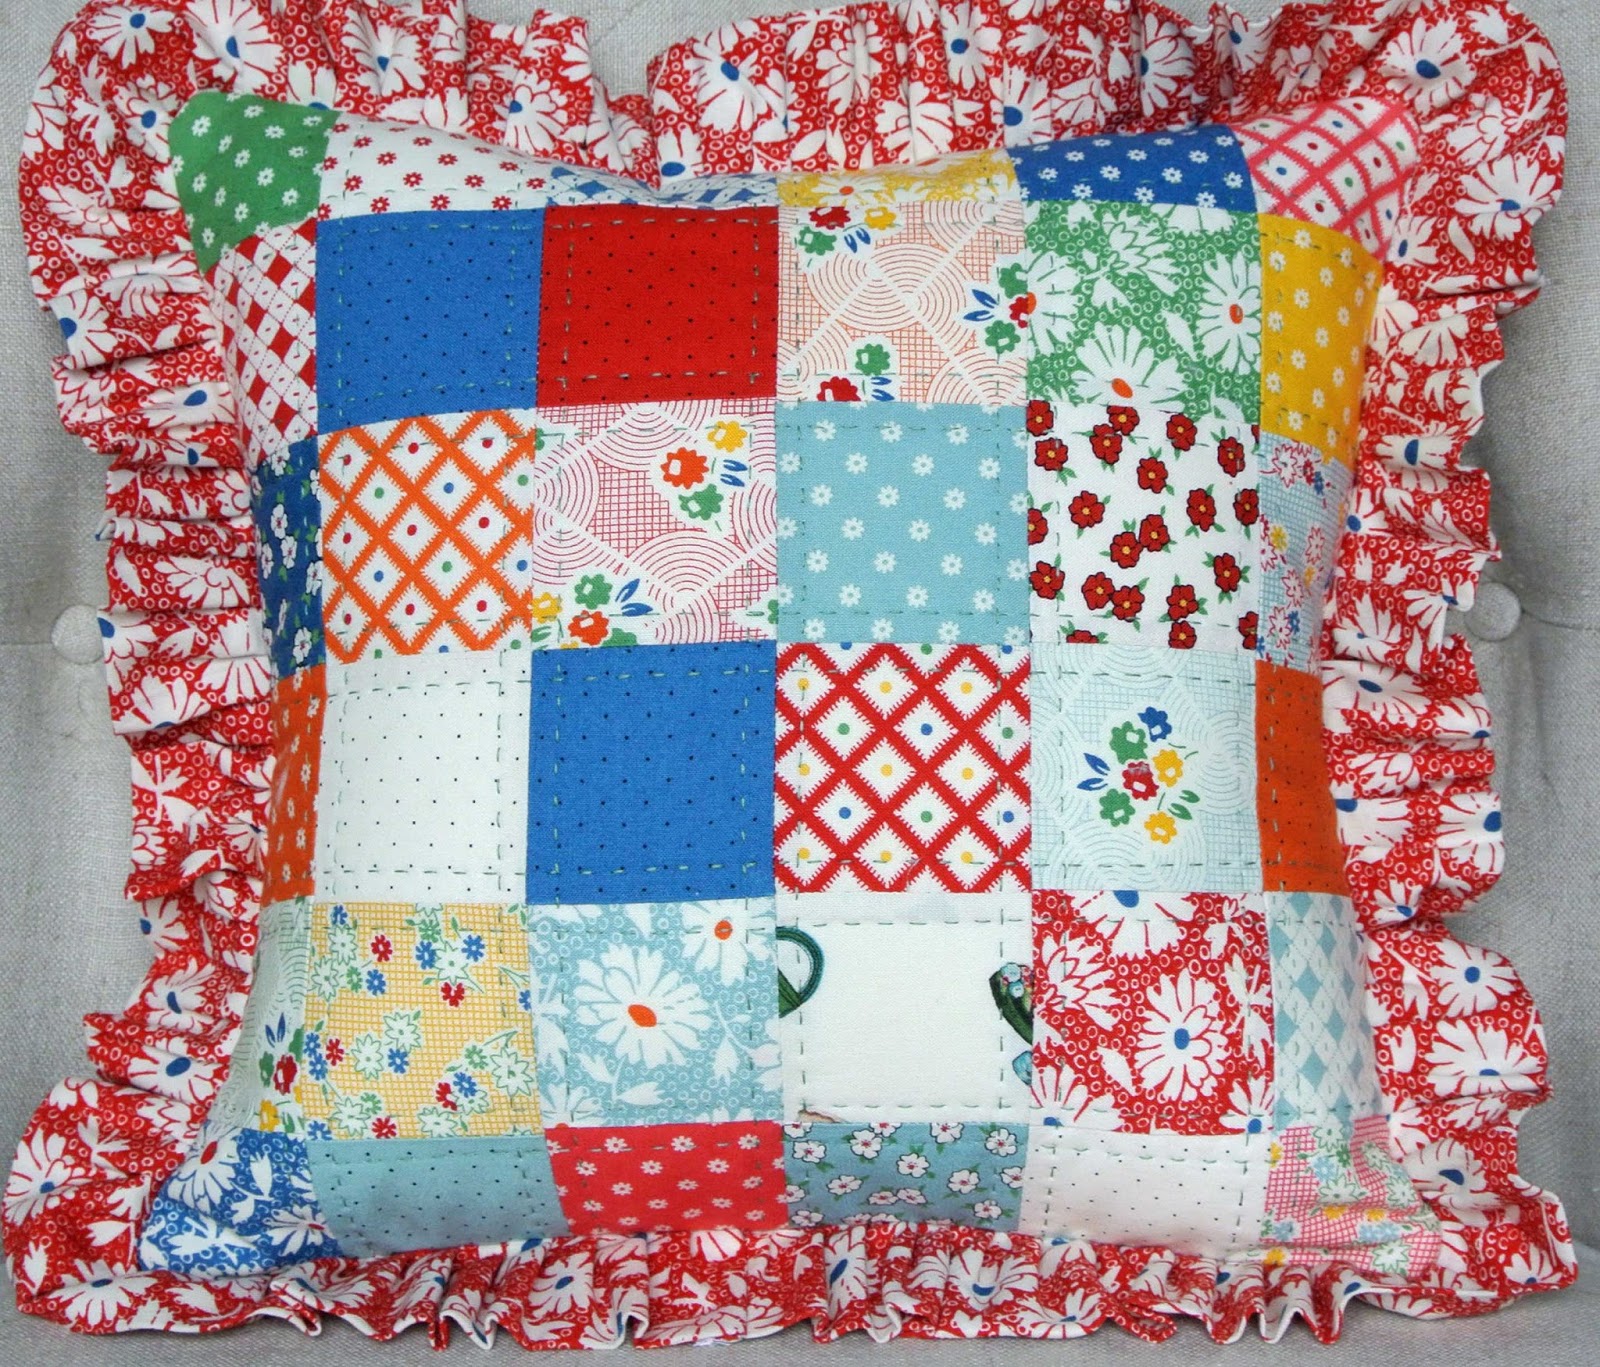
Pillow Front:  Fabric Line is American Jane Hop, Skip, Jump
Good Monday afternoon sewing friends.
I’m so very glad you stopped by today.
Here’s a new, little accent pillow that I stitched up for my home.
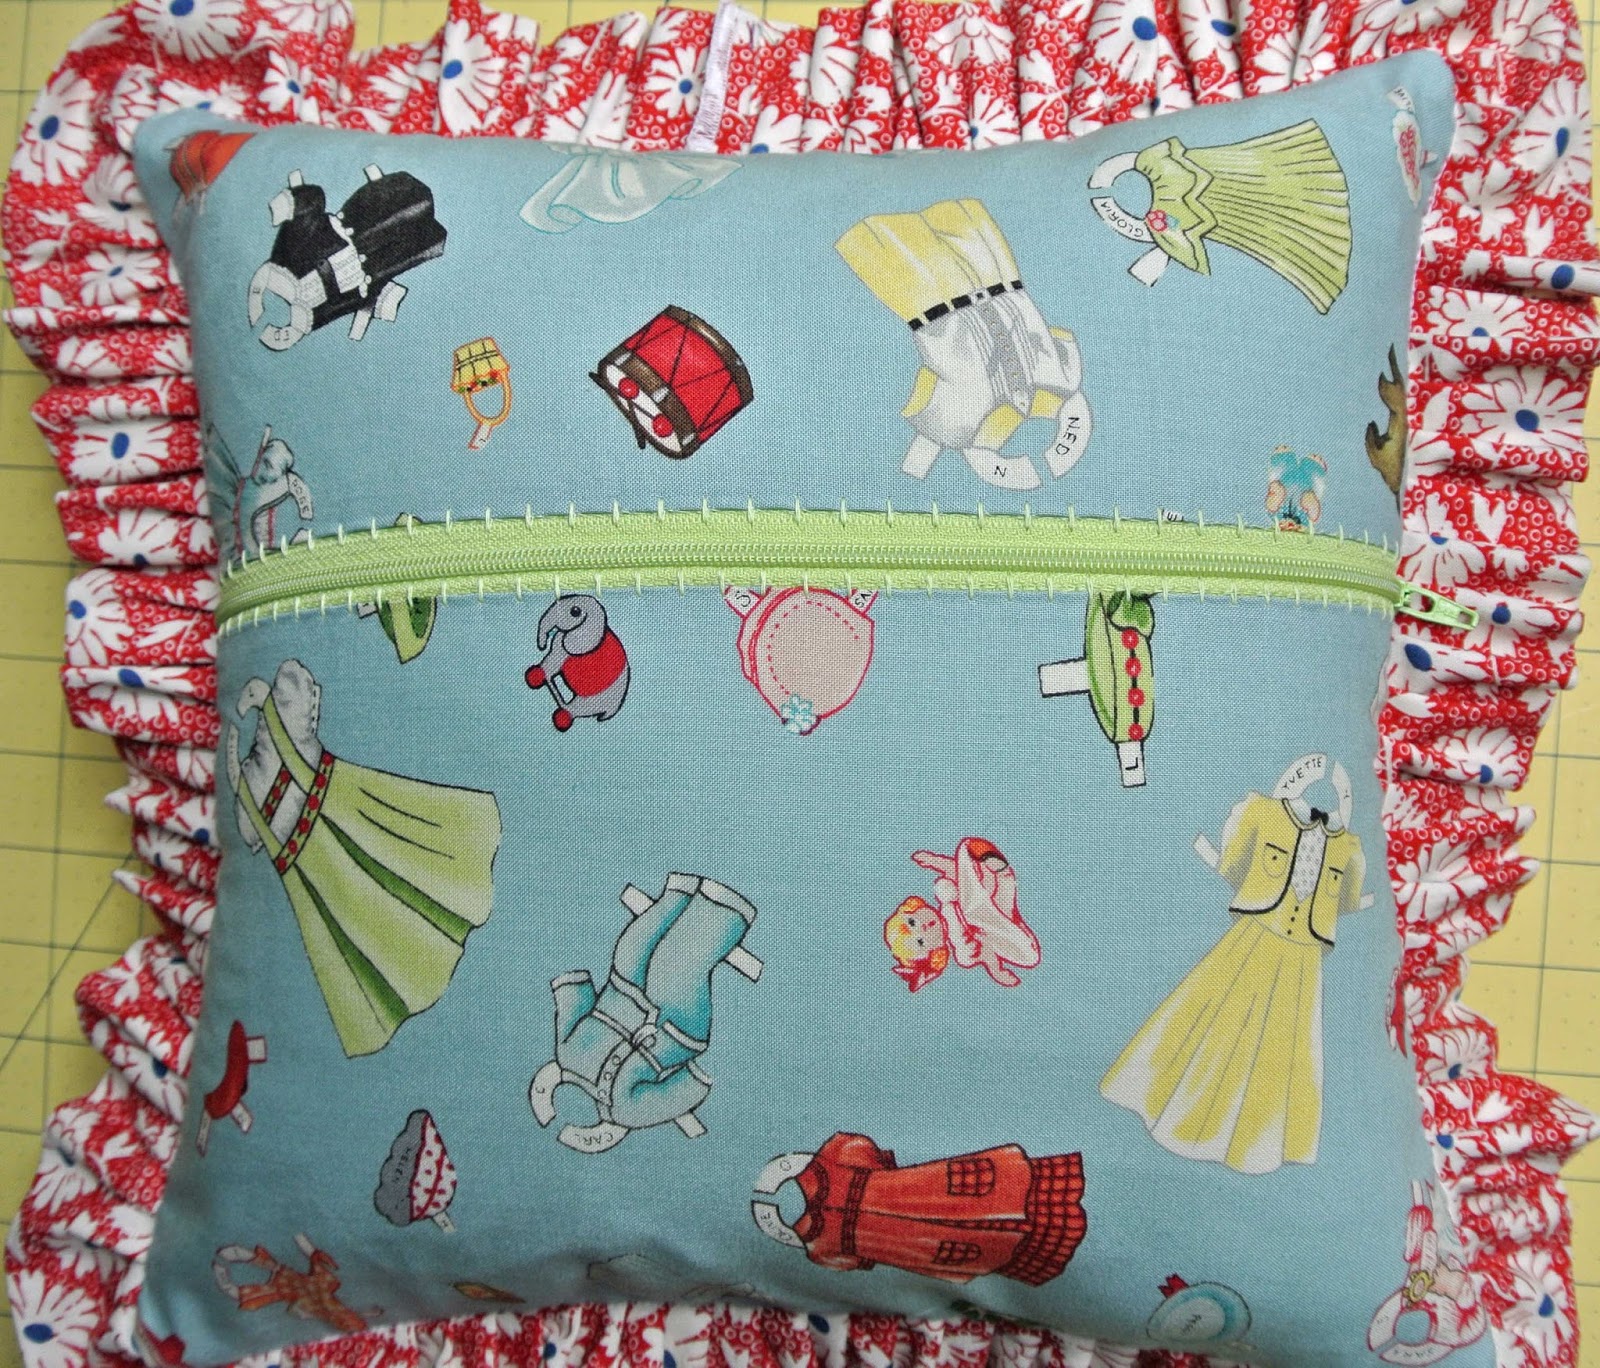
Pillow Back
I’m swooning over that fabric.
Look close, those are paper doll images!!!
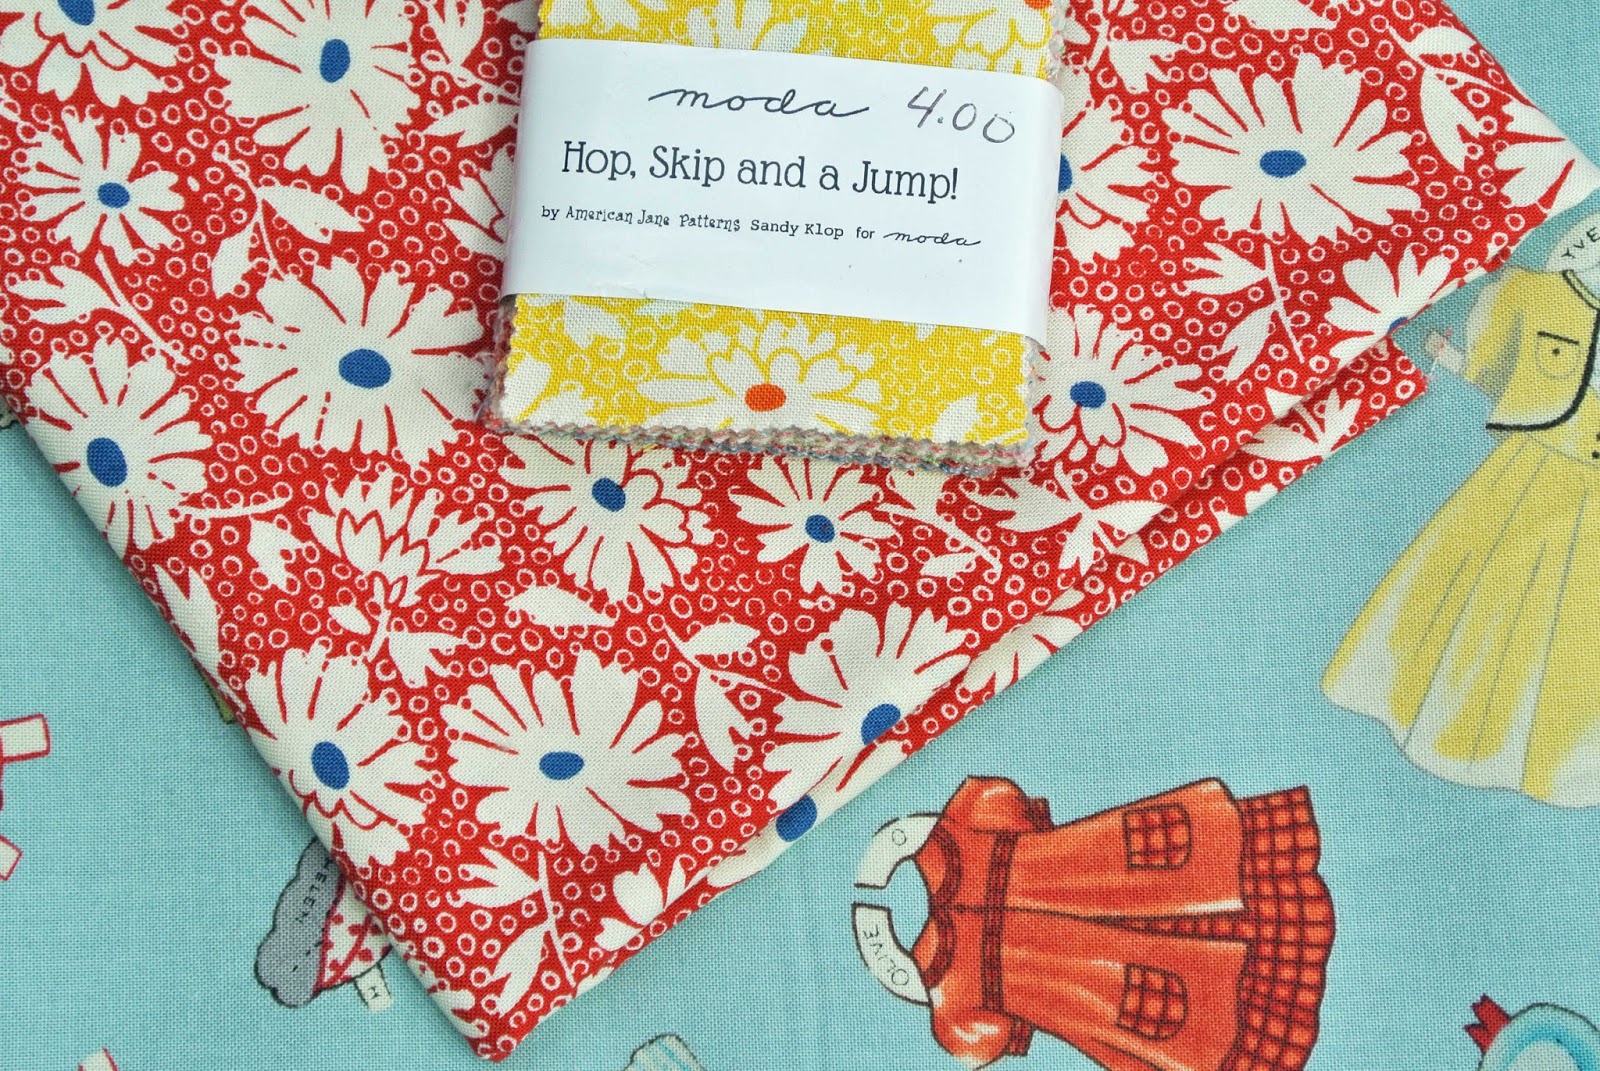
I purchased one of the little, 2 1/2 inch pre cut packs, a half yard of the red daisy print,
and 2 yards of the fabric with the paper doll images.
This 12 inch accent pillow only required a fat quarter of the backing fabric,
but I love the paper doll images so much I was compelled to buy 2 yards.
😉

I pieced 6 of the pre cut squares in each of six rows to make the pillow front.
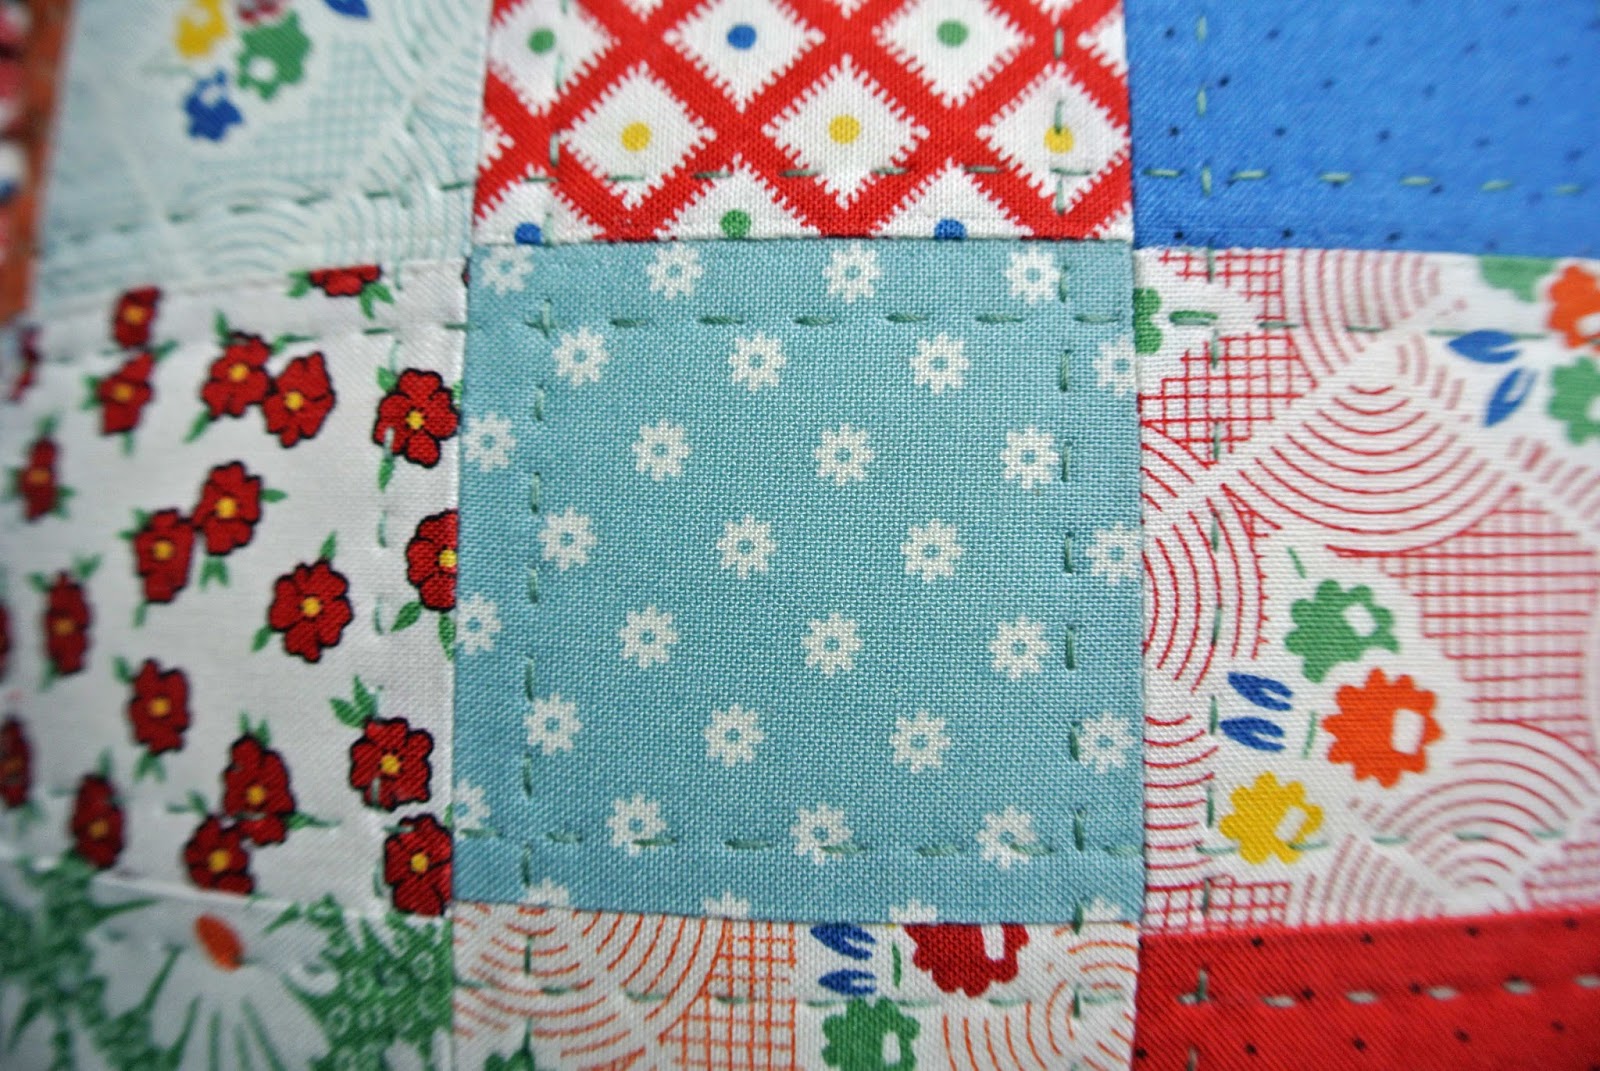
Then I layered batting to the wrong side of the pieced front,
and used my new Baby Lock Sashiko machine to add hand-look quilting stitches.

The ruffle is made from 3 strips of 4 inch x WOF red daisy print strips
folded in half, wrong sides togher.
Using my Bernina ruffle foot (#86) (set to pull one ruffle every six stitches)
I sewed the ruffle to the right side of the pillow front while simultaneously ruffling the fabric.
Now on to the back side of the pillow.

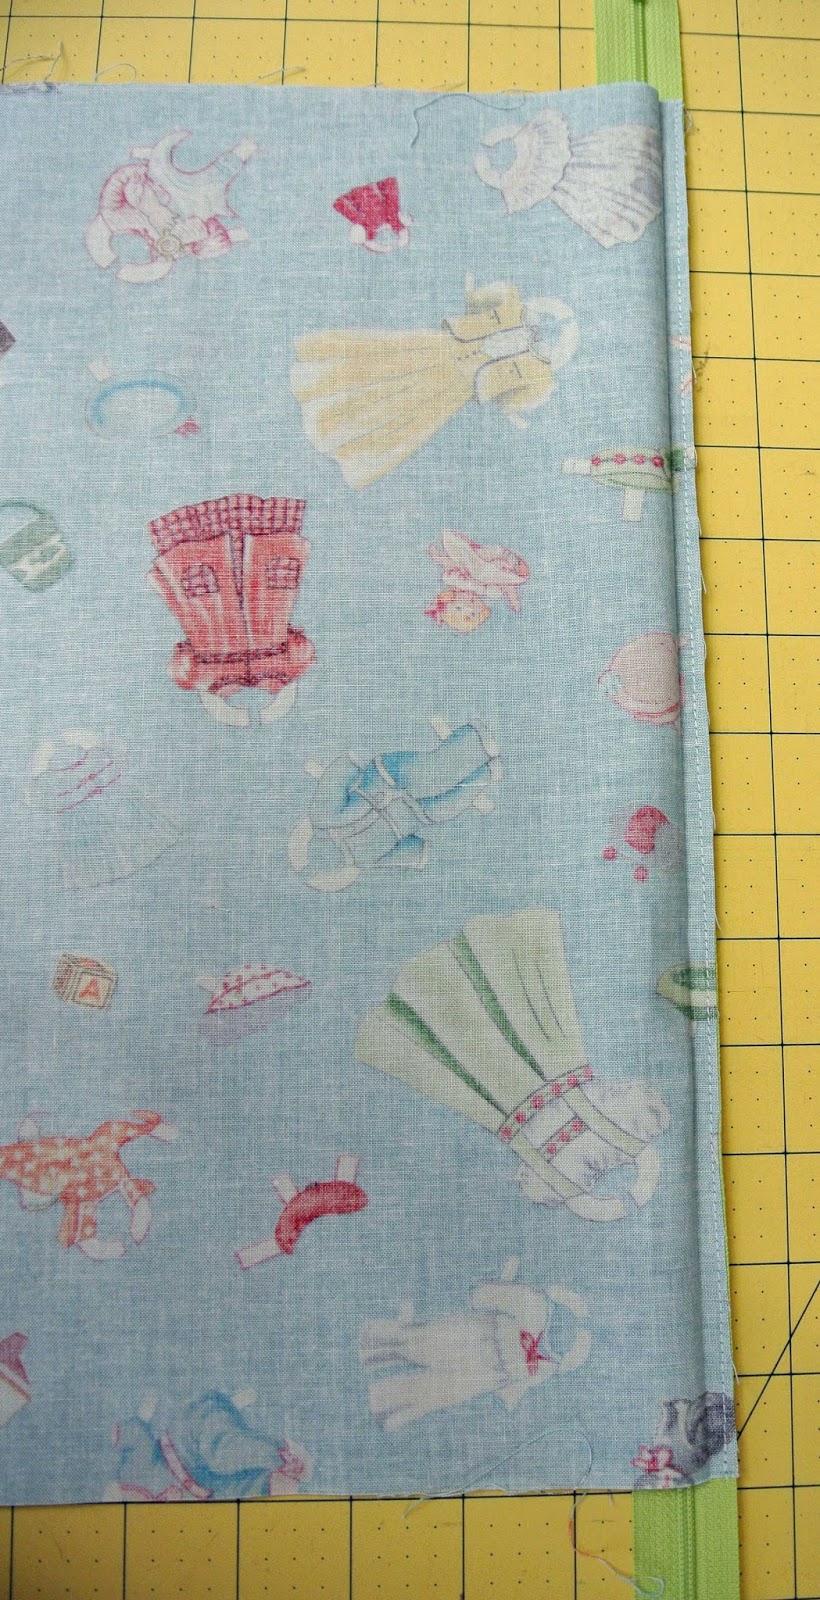
For the closure, I used a zipper that was longer than I actually needed.
That’s how I always choose my pillow zippers – it makes for a super easy zipper install.
I also cut my backing fabric slightly larger than needed – it will be trimmed away later.
After matching the raw edges of the backing fabric with the edge of the zipper,
right sides together, I used my zipper foot to stitch the fabric to the zipper.

Then I opened up the backing fabric and pressed along my stitch line.
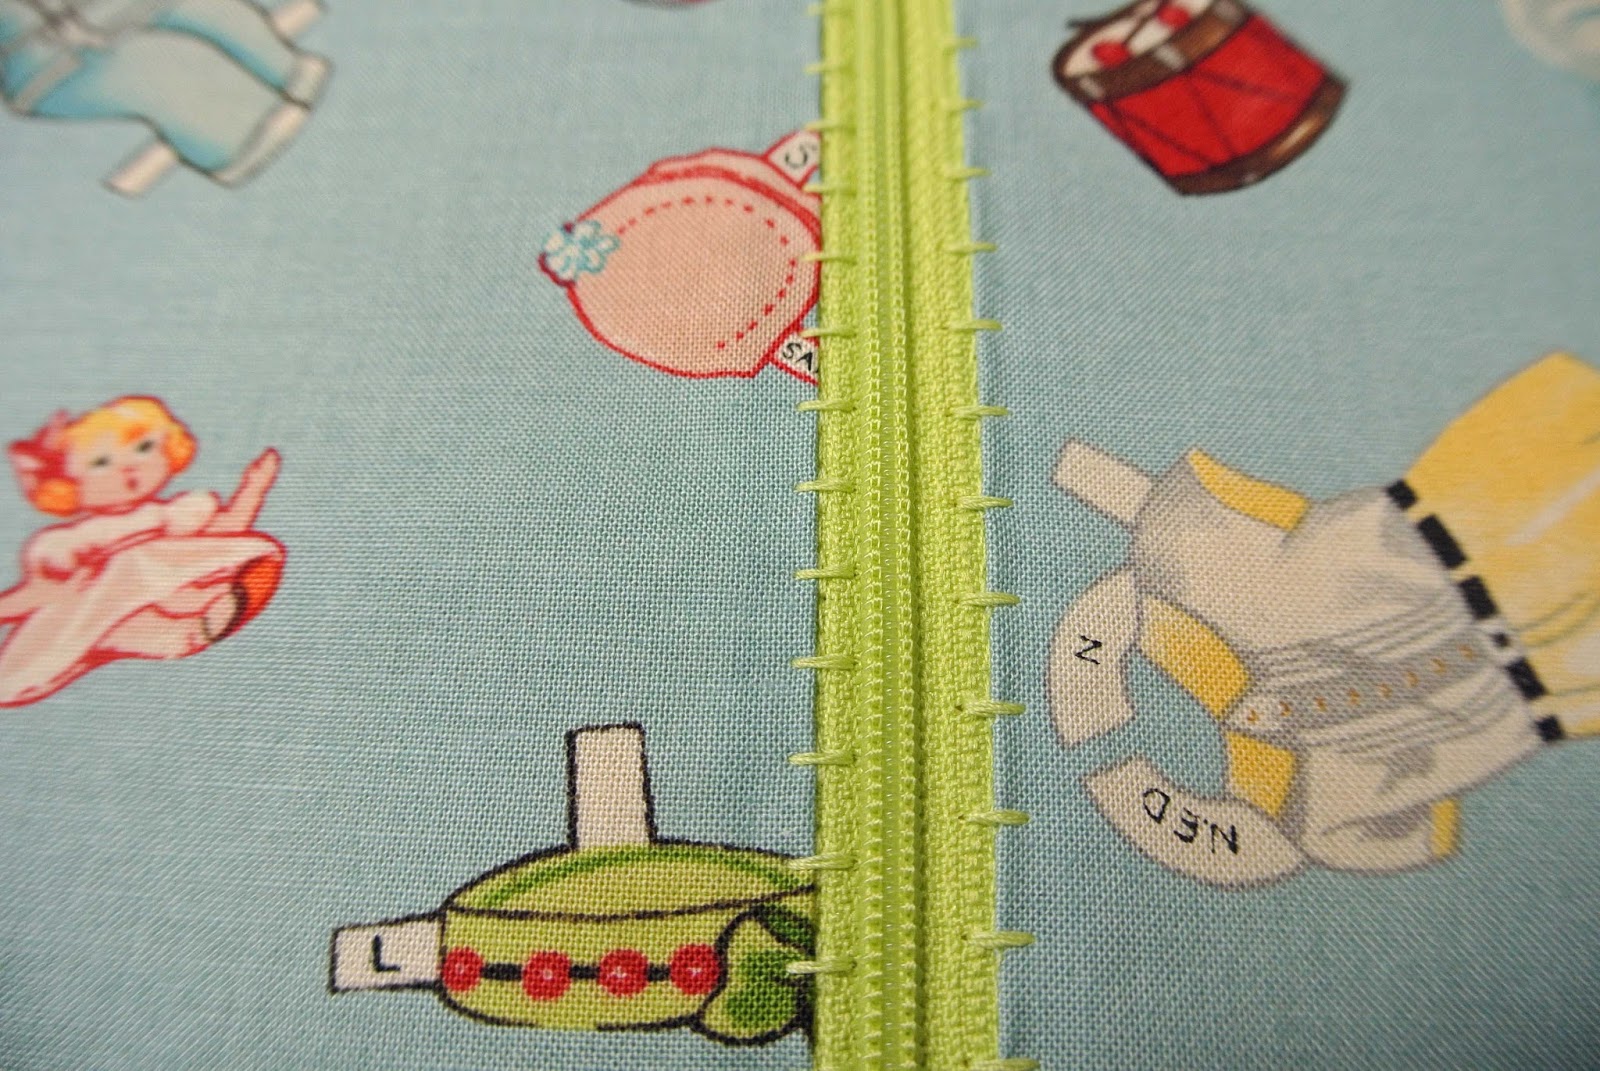
Instead of a straight stitch to topstitch the fabric to the zipper tape, I like to use a decorative stitch.

The stitch number is 1359 on my Bernina.

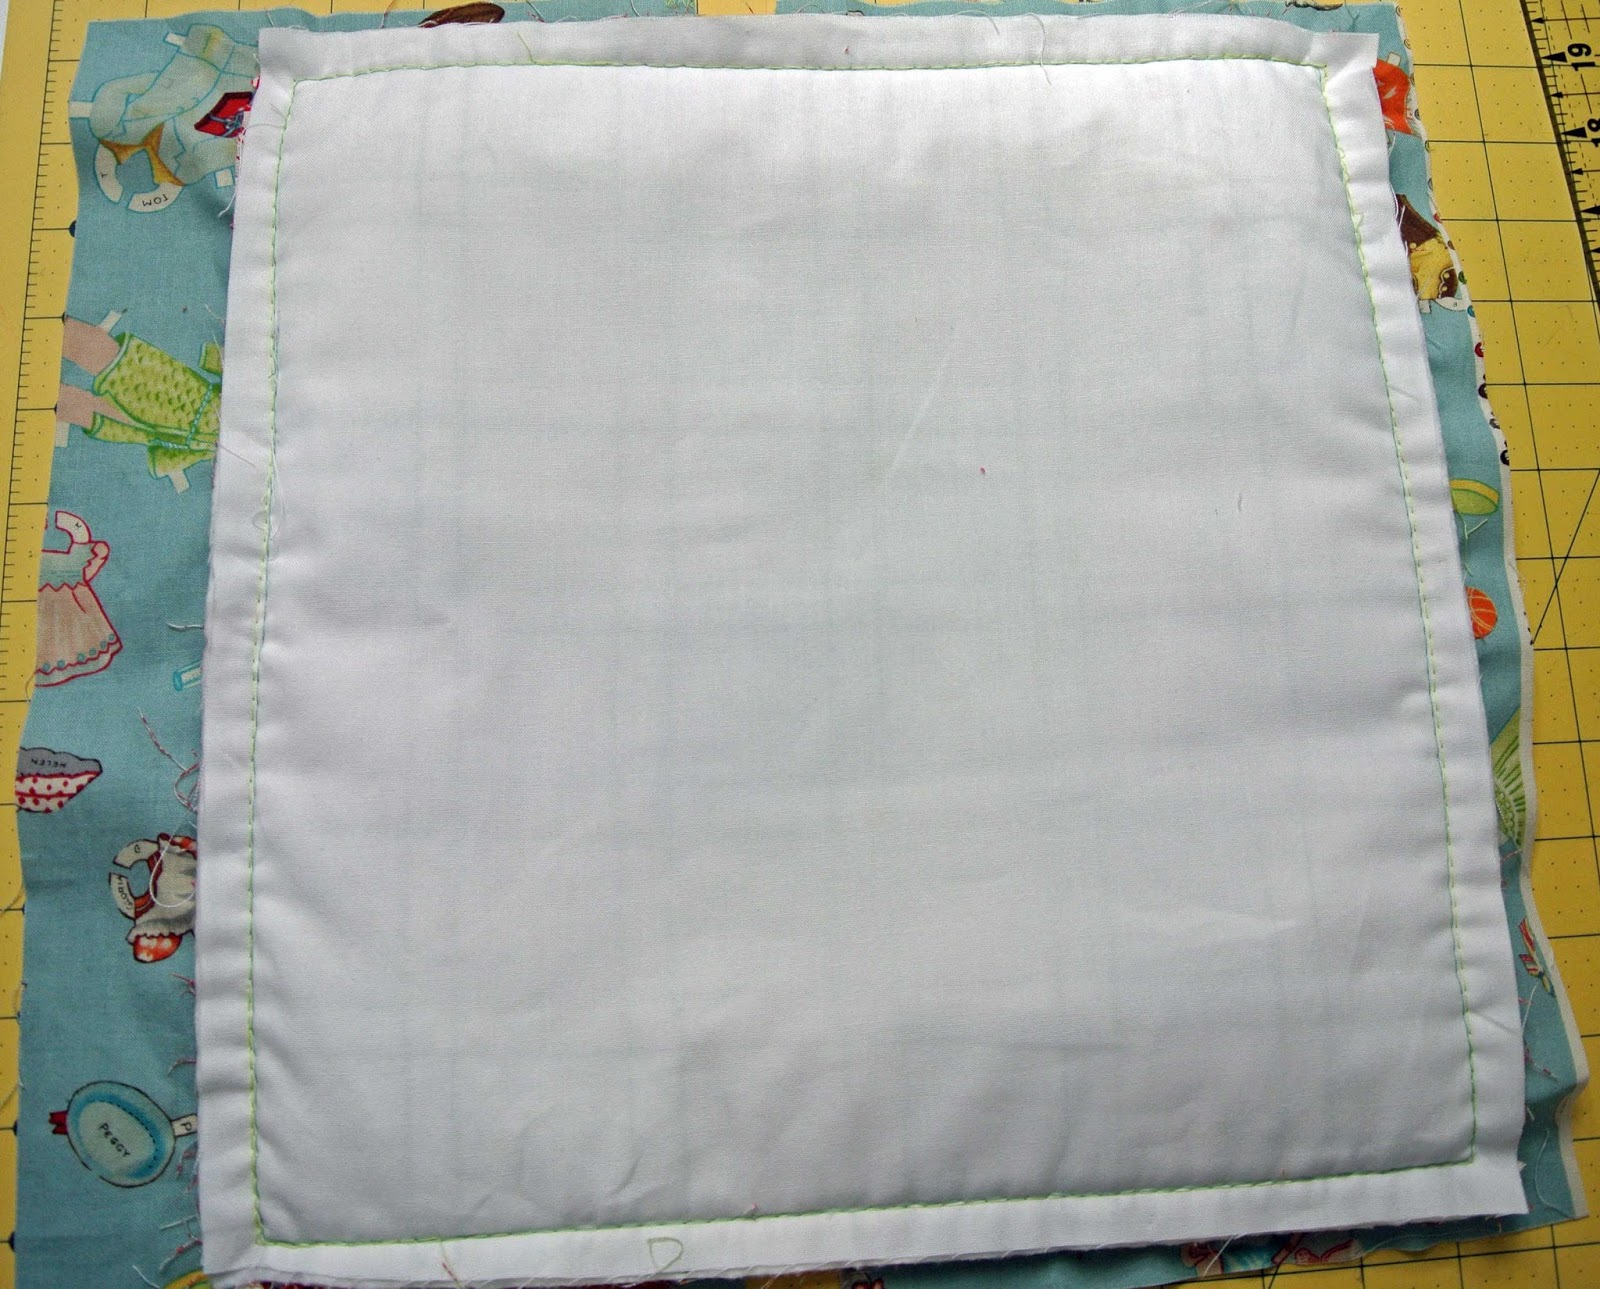
Then I stack all my layers together:
1.  Backing with zipper, right side up (open up the zipper a few inches)
2.  Pieced front and batting with ruffle attached around edge, right side down
3.  Muslin square – this gives me a lining to my pieced front
I basted all the layers together and turned it right side out
to make certain I did not catch the ruffle in the stitching,
which I did and I had to unpick my basting and sew two corners again!!!
Better to catch that now than in the final stitching.
Notice how my backing piece and zipper are larger than the pillow front.
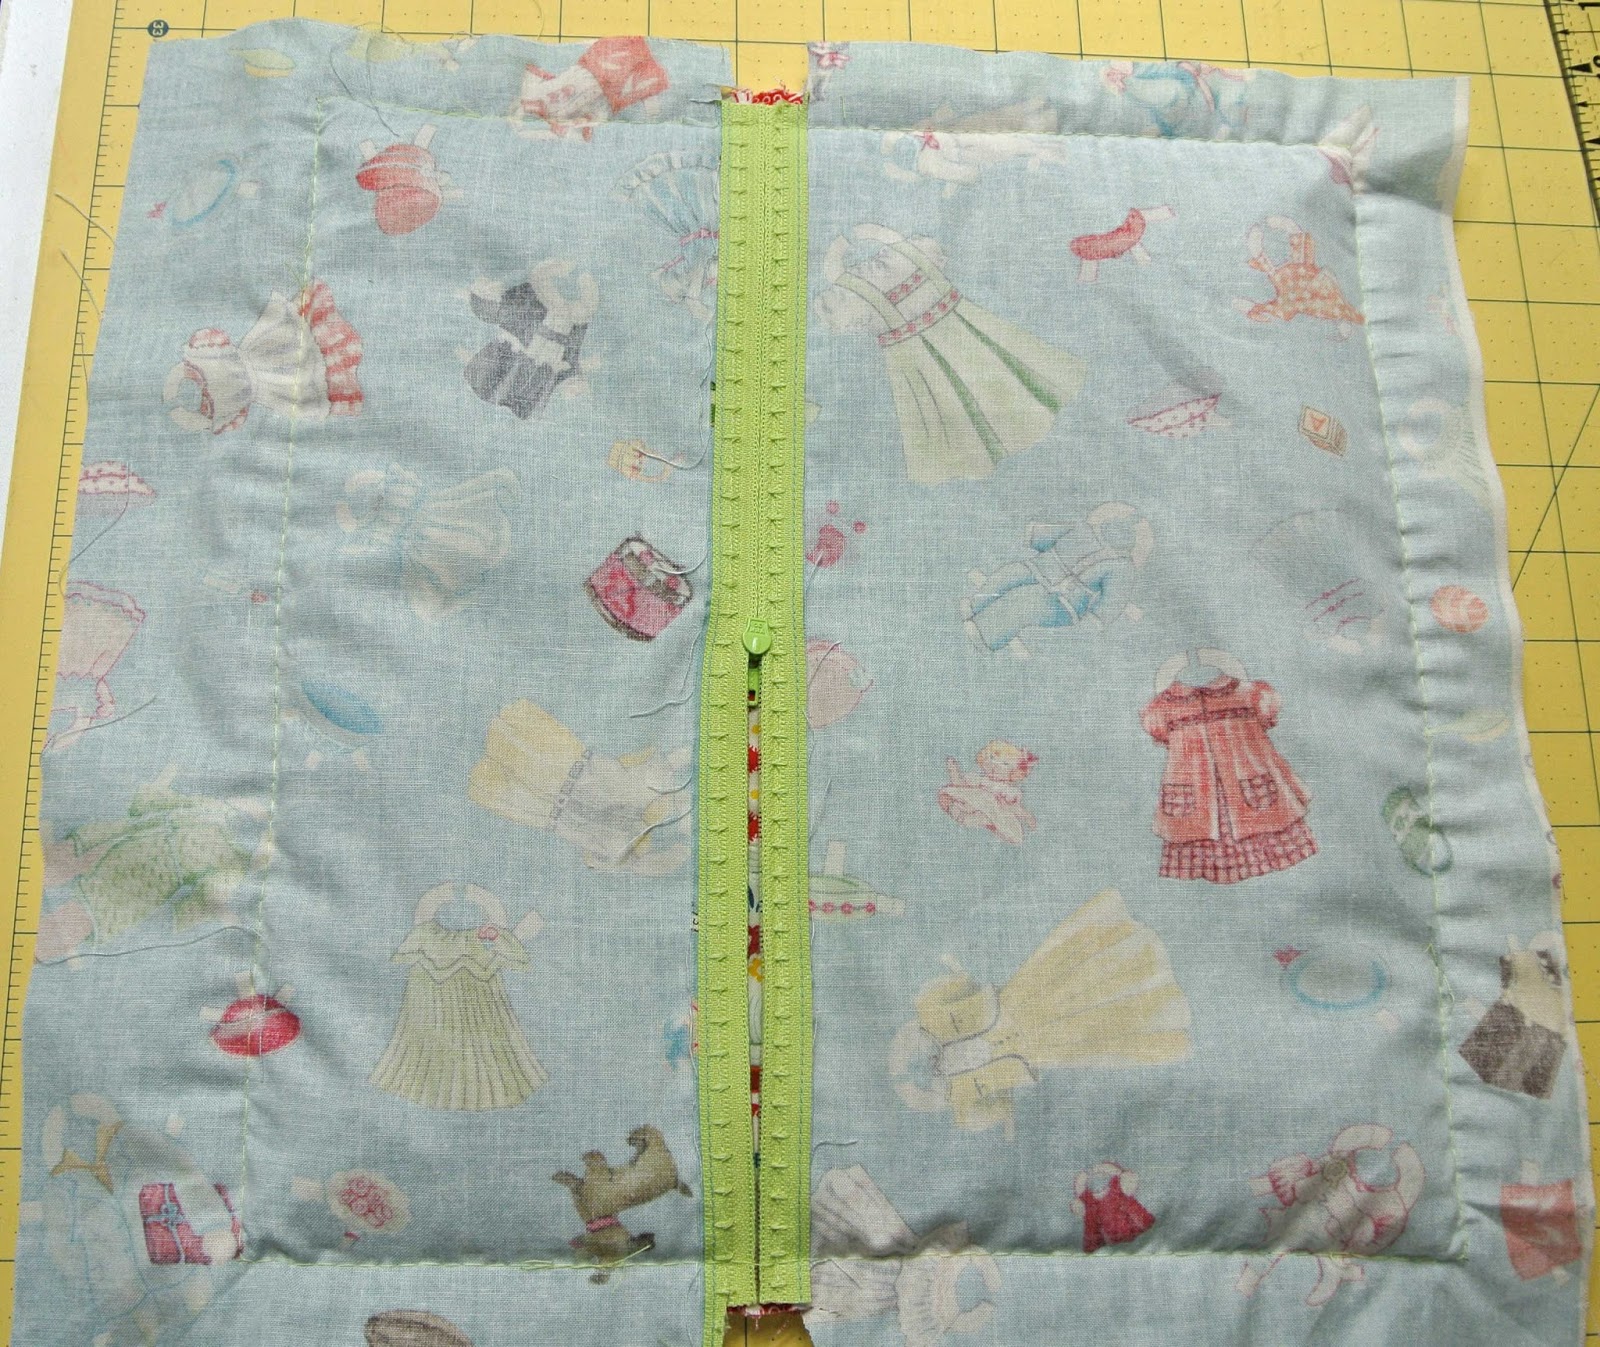
At this point, I flipped it over so I could see the zipper.
I used my serger for the final seam,
so before serging I trimmed the zipper ends to reduce bulk.
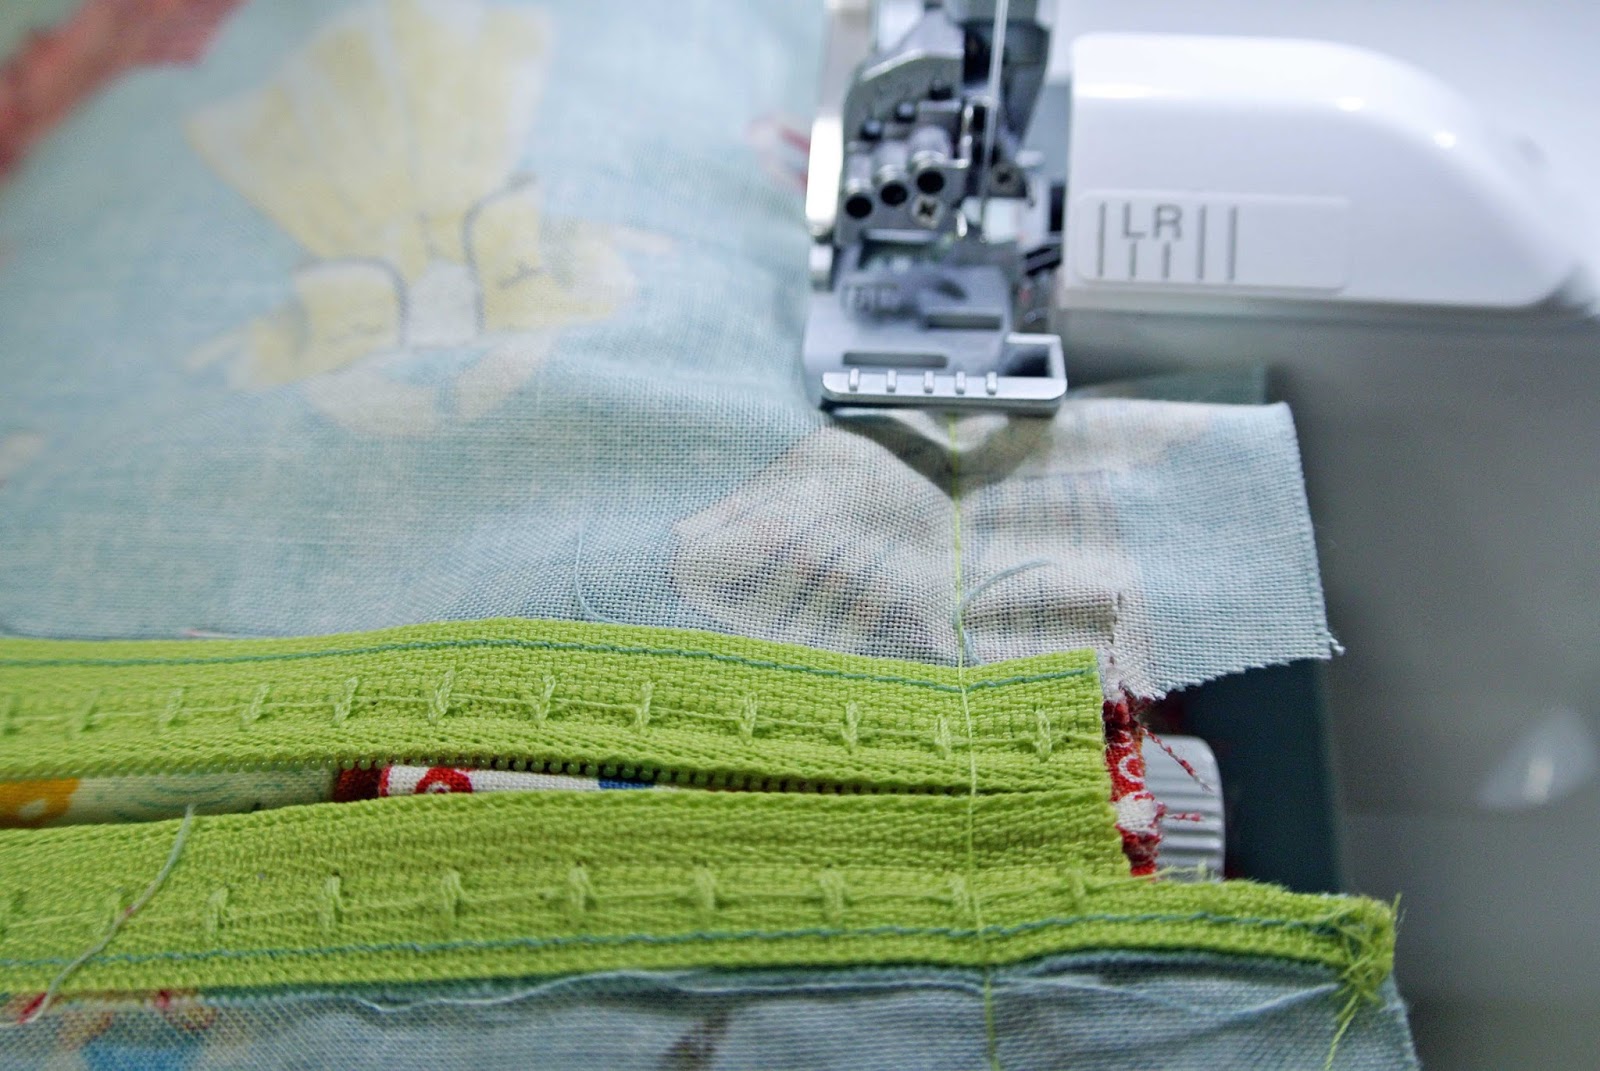
That way the cutting blade does not dull so quickly
if it does not have to cut through those zipper teeth.
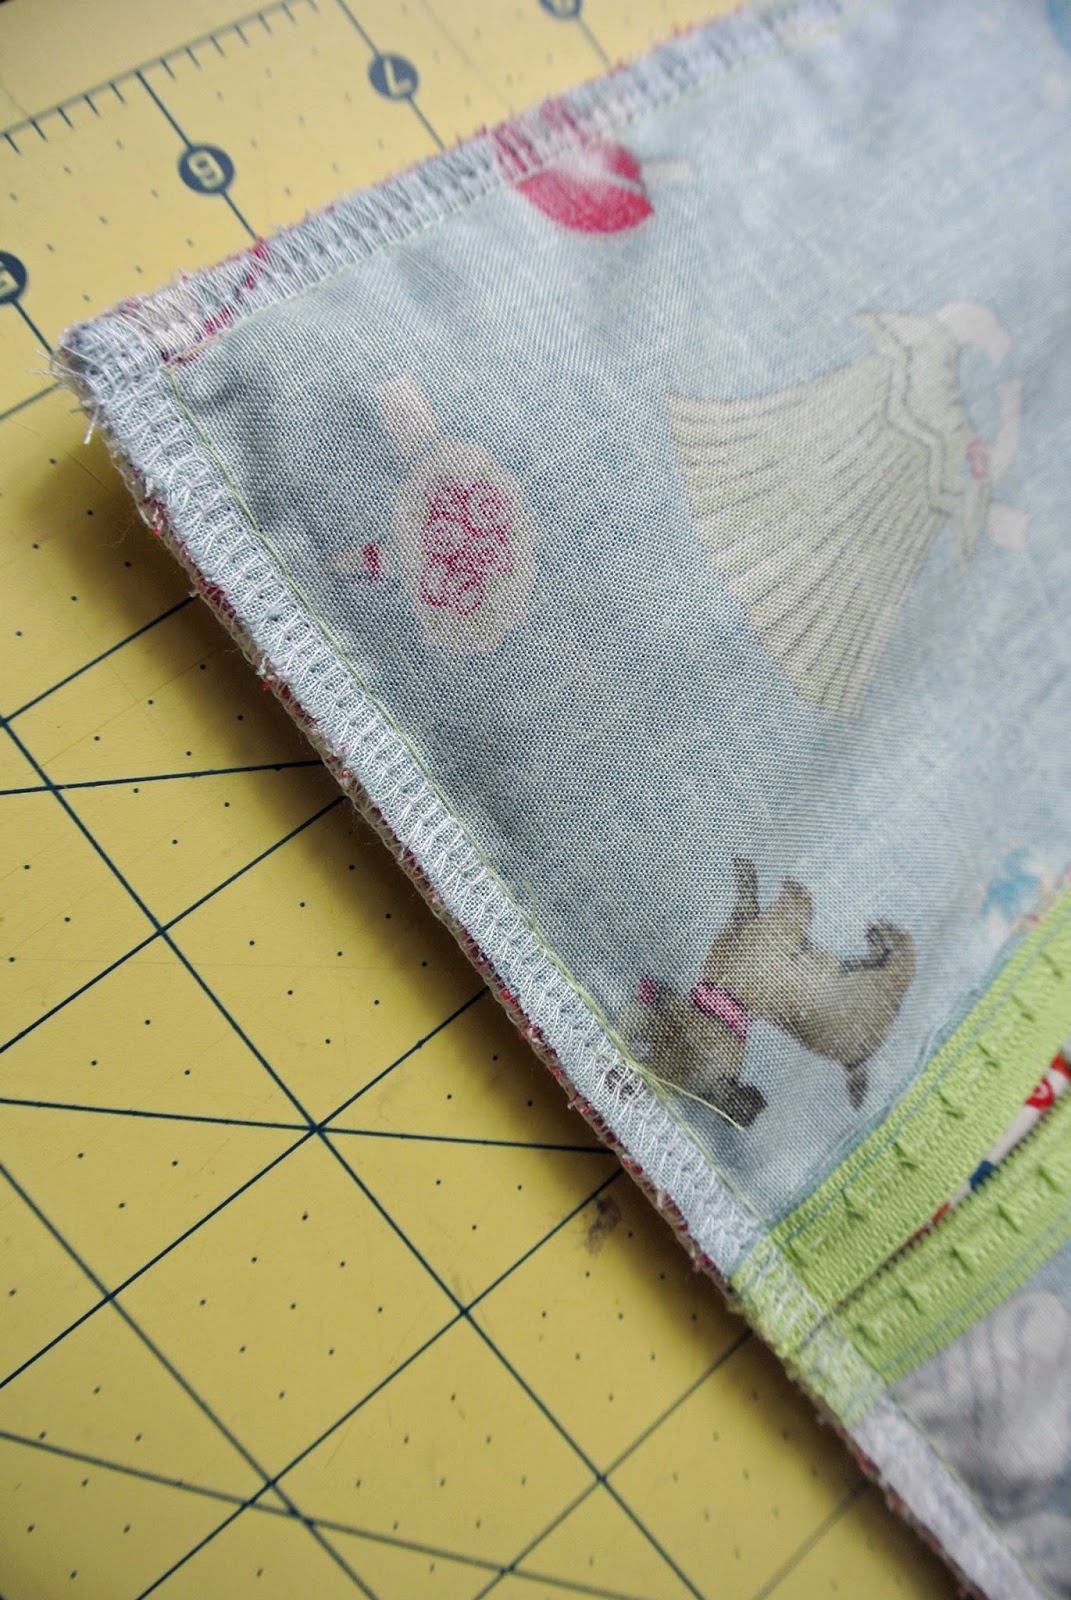
My serger gives the inside a nice, clean, finished edge
and helps keep the fabric from raveling in the wash.
Thank you for your visit today.
I look forward to hearing from you, so please leave a comment so I know you’ve been here.
Are you beginning to sew any home dec projects to transition to the new season?

Sewing for Self

Hello sewing friends!
Here it is December 24 – Christmas is fast approaching!!!
Sometimes, I feel selfish sewing for myself when it is a season of giving to others.
But I know that’s silly!!!
Have you ever given a gift from the heart to a friend or loved one,
only to find out they never used your gift?
I know from Whom my talent comes (James 1:17),
and to show my appreciation
I decided to do some sewing for self this season:
1.  A spring dress
2.  Pajama pants
3.  A bed runner

1.  Summer Jazz Dress pattern by Snapdragon Studios
I’m sorry for not modeling this one, but baby it’s COLD outside!
Most likely March will be the month this one gets to emerge from my closet.
I chose a lovely, hand-dyed batik fabric for this version.
It is soft, lightweight, and flowing.  Love that.
I plan to wear it with navy leggings in the spring,
and I’ll wear it with ‘naked’ legs in the summer along with sandals.
C’mon summer!!!

The pattern is pretty straight forward.
The bodice is a separate pattern piece from the skirt,
and a casing is added to the inside front seam between the bodice and skirt.
Then you insert elastic into that front casing to get the gathering under the bust line.
I used a serger rolled hem to finish off the flutter sleeves.
The fit is nice, I did not make any alterations.
Just stay true to your measurements when choosing your size.
Since the dress is not fitted, a bunch of alterations are not necessary.

The back has a pleat at the empire waist seam line.
I chose to omit the inseam pockets.
Can’t wait to wear this one.

2.  I ordered the ultimate pyjamas kit from Sew Over It in the UK.
The kit included the pattern, fabric, elastic, and ribbon.
Shipping was quick.
I received my order in just 2 1/2 weeks.

I was going to purchase the digital pattern and just download it,
but I also wanted the brushed cotton plaid fabric,
so I figured I might as well just order the kit.
I also purchased the same fabric in the navy/green color.
I’ll use the green fabric to stitch another pair in January.
Can I just tell you – that fabric is delicious!
So glad I purchased two color ways.

Pajama bottoms are so super simple to sew; and this pattern is no different.
I appreciate the added detail of the ribbon in addition to the elastic waist.
The elastic is inserted as usual for an elastic waistband,
but buttonholes are added to the waistband to accommodate the ribbon.
I left the elastic length a little generous – just enough length that the
pajamas sit at my waist without falling down – but then I snug them up with the ribbon.
Great option.

 3.  The Thyme For Friends bed runner was another kit purchase.  This one was from Shabby Fabrics.
My guest room is decorated in lavender and green colors, so this was the perfect addition.
The log cabin blocks went together very quickly.

I used my Block Rockit to quilt the bed runner.  I’m quite pleased with how it turned out.
Merry Christmas Eve and thank you so much for visiting today.

Summer Playmat

If you’re looking for a quick, quilted, coverlet for your little one,
then
“Help is on the Way”

 that’s the name of this fabric line by
Jennifer Pugh for Wilmington Prints
the play mat pattern is free
and the center piece (with all the roads) is a panel
which makes this one a winner for quick piecing
there are lots of added details for this imaginary little town
it took less than a day for cutting, piecing, and quilting

Vroom! embroidery file for purchase here

the next day, I set to work ‘producing’ little vehicles
via my embroidery machine

the pattern calls this a play mat
but it would serve as a great picnic blanket this summer

and when you’re not using it at the park or the beach or on your little’s bed
just fold it up nicely and keep it within easy reach for all the summer fun!
my play mat is on display at Nuttall’s here in Layton
and if you are in the local area, be sure to sign up for the 
go ahead all you talented, sewists,
make one of these and go play with the littles in your life

“It is a happy talent to know how to play.”  Ralph Waldo Emerson

 Thanks for stopping by, my sewing friends