Sewing Workshop Noto Tee

The Sewing Workshop offers a year-long series titled Sew Confident. With the series commitment, you receive a monthly digital magazine, 4 exclusive digital patterns, and access to a private Sew Confident Facebook community along with several additional perks. If you are interested in checking out the Sew Confident Tutorial Series, you can find it here.

The digital magazine is worth the price of admission! 🙂 It includes gorgeous photography, helpful sewing and style articles, and the current pattern instructions, changes, and helpful tips.

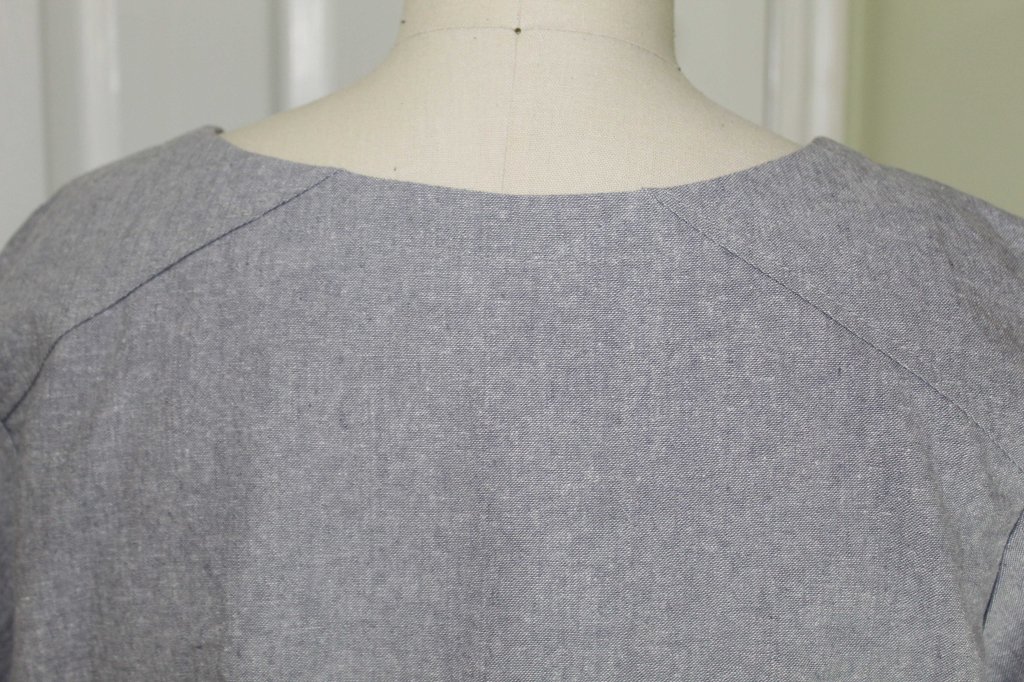
The Noto Tee is one of the four digital patterns for Series 9. The patterns are added to your account once every three months. The digital magazine give you style and fabric inspiration along with sewing instructions for your pattern. Then, each month between pattern releases, you will get instructions on how to change up the original pattern. The original Noto Tee is a shorter length, no side slits, and it has a crew neckline.

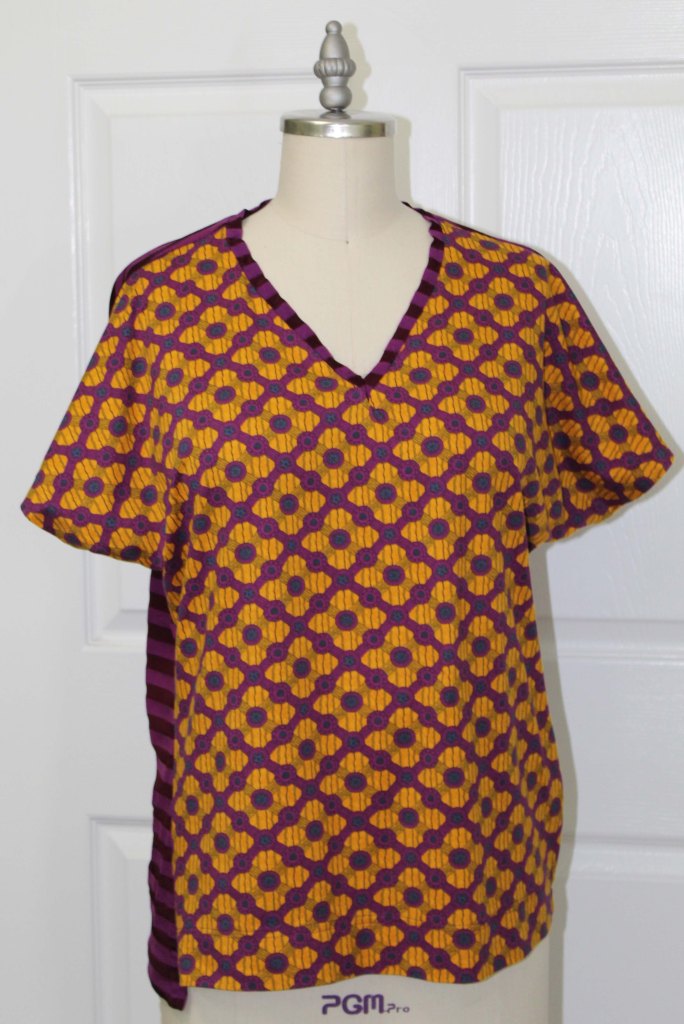
The version I am showing you today is a twist on the original pattern. It has a V neck, is a longer length, and has a slightly modified side seam. I am so very happy with this version of the Noto Tee.

I unashamedly copied the exact fabrics from The Sewing Workshop’s digital magazine. I love them so much!

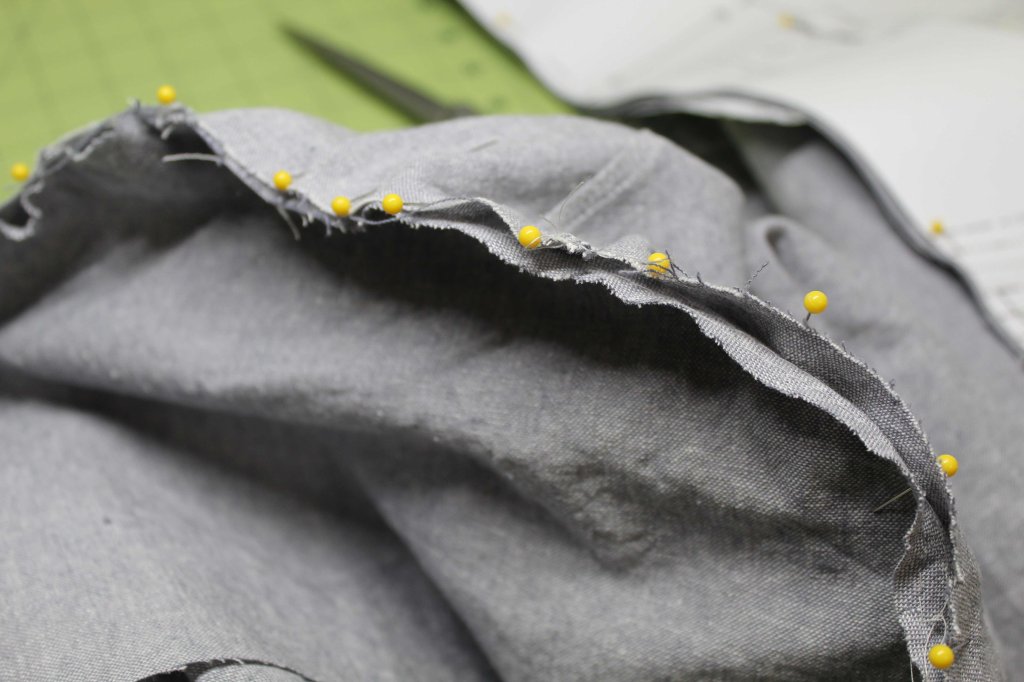
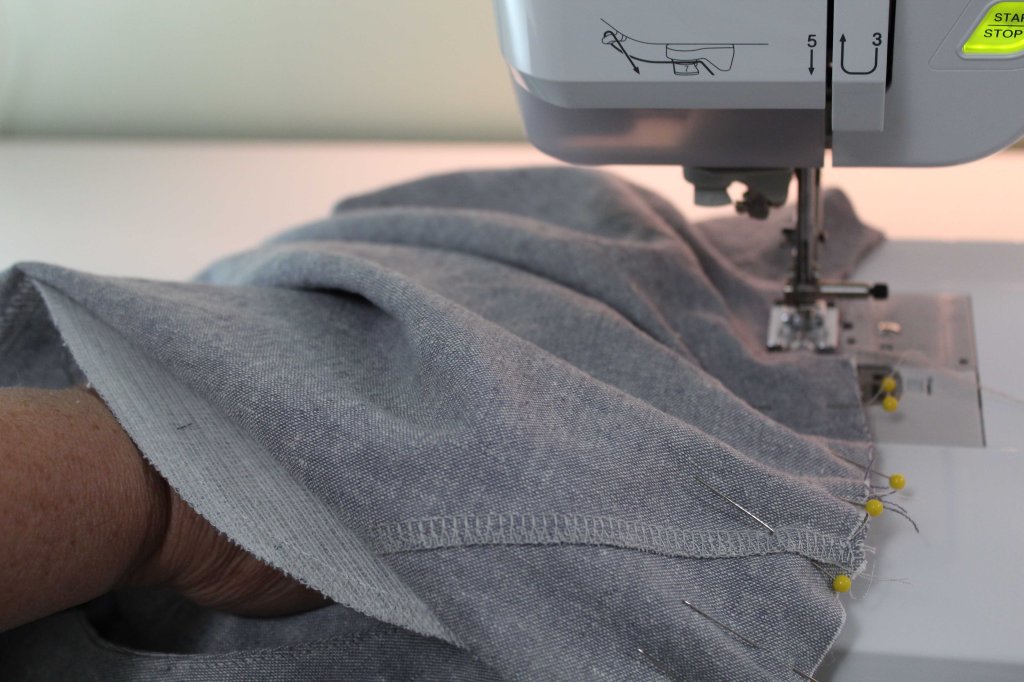
The side seam is adjusted to gradually come forward as it approaches the stomach and hip area. I added an extra inch to the length on the back of my tee.

And can I just say, I love a good V neck style.

For a closer look at both versions (the original and this new V neck style) head on over to my YouTube channel:

I would really enjoy hearing your thoughts. Please leave a comment below and let me know what you are sewing.

Closet Case Patterns Cielo Top & Dress

Hello Sewers! Here is a look at my muslin-testing process to bring me to the point of stitching up my version of the Cielo Dress.

I used a cotton/linen blend fabric from Hobby Lobby to make my muslins. I used the same fabric to make two muslins. For the first one I sewed a size 12 straight from the envelope with no adjustments and no design changes. On the second muslin I used my Silhouette Pattern Armhole Templates to change up the fit in the armhole area. Take a look at my video at the end of this post to see which version I prefer. 🙂

Close up of the fabric

When I stitched the sleeves to the armholes (both versions), I used the Silhouette Patterns method of stitching with the sleeve on the bottom and the bodice on the top, which is opposite of how I was taught to insert sleeves. Sewing with the sleeve on the bottom makes it so I don’t have to stitch two rows of basting stitches and pull up the threads to fit the sleeve into the armhole area. It just naturally eases into the area beautifully.

I use LOTS of pins when I do this
If you are inserting your sleeve with this method, be certain to check underneath periodically to make certain you are not getting any of the actual sleeve caught up in the seam.
Sewing with my left hand between the bodice and the sleeve helps me feel any wrinkles or rogue fabric that might be working its way into the seam

A unique dart in this dress is the bust dart that comes in from the armhole. I’ve never seen a pattern with a dart placed at that position.

I like the design details such as the sewn down cuff and the insert in the back yoke area.

The pattern piece for the bottom half of the dress and the in-seam pockets is rather odd shaped. I have to be honest, even after reading the instructions, I wasn’t quite sure how this was going to go together!

Per the pattern instruction, I marked three sewing lines on my pattern piece (you can see them in white). I sewed the three lines with the pattern piece right side together with the bodice pattern piece. Then the fabric above those lines is folded down (so it is right side up) over those two U-shaped portions of the pattern (those are the pockets). The sewn lines form the front seam and where it is not sewn – those are the openings to the pockets. Clever..

I used my serger to sew this dress together, so all the seams are nicely finished.

Here is a video review of my Cielo Top & Dress:

Thank you for stopping by today, I appreciate the time you take to read my blog posts.