Candy Corn Garland

Here’s a papercrafting project that also uses a bit of sewing, or serging, as the case may be.
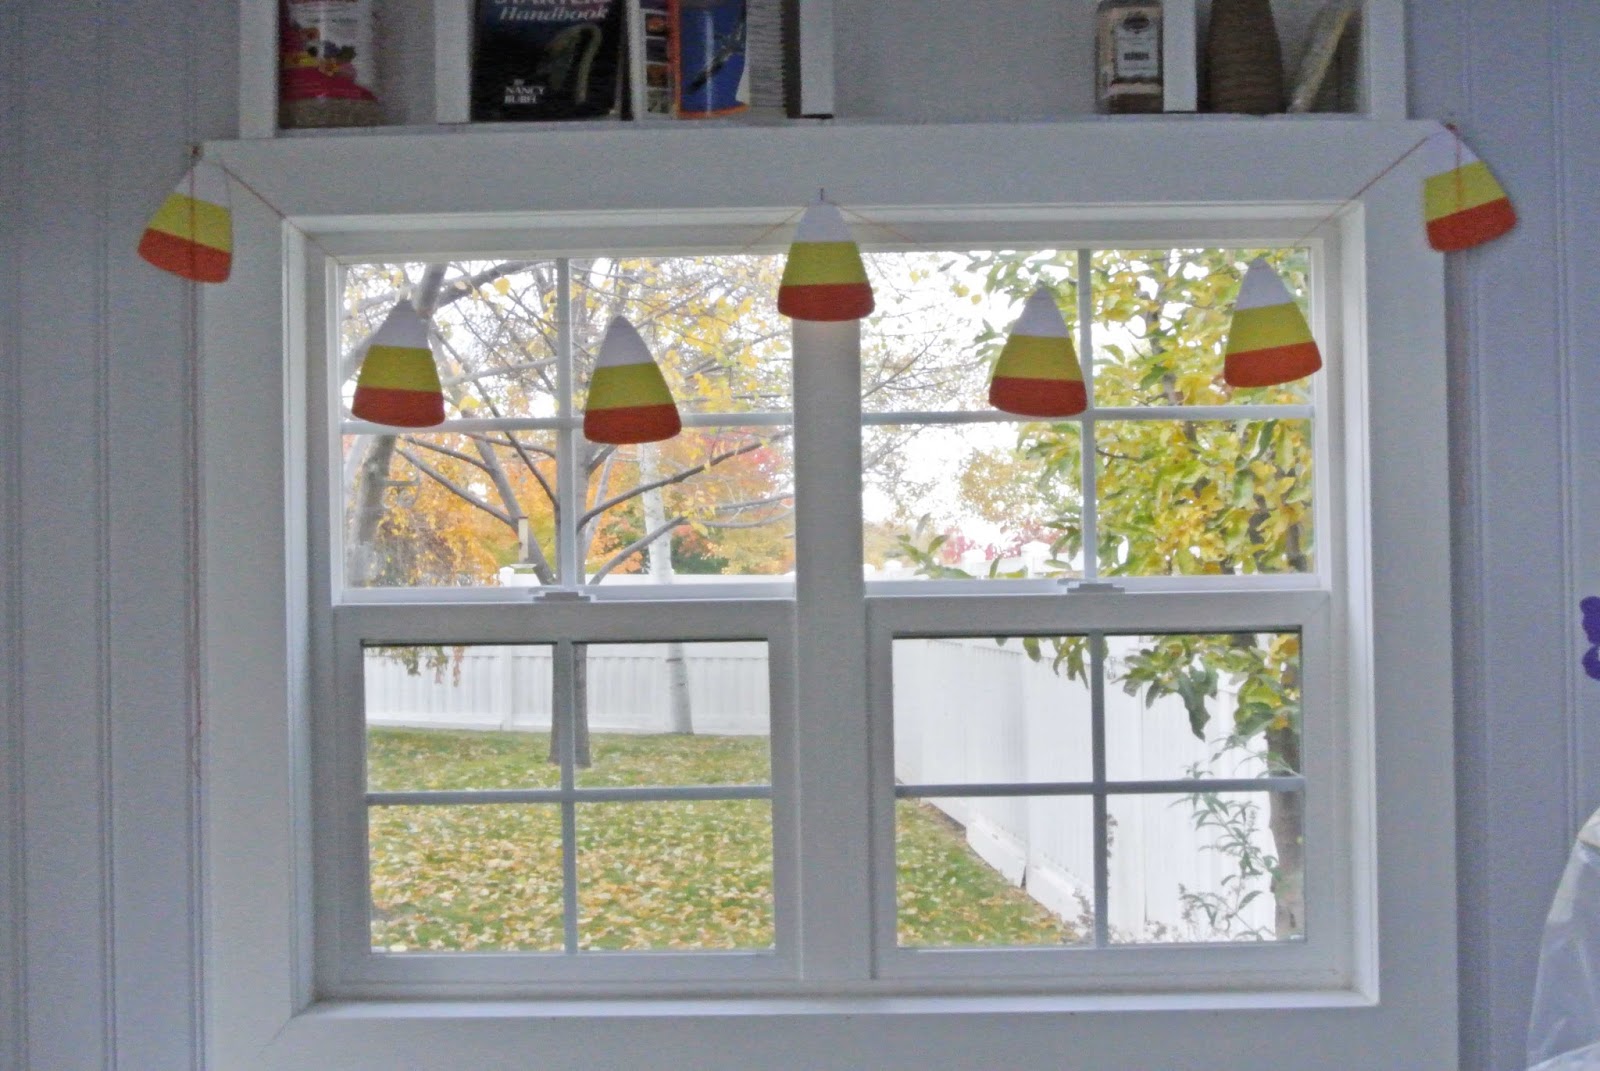
This garland is hanging from the side window of my cute, backyard potting shed.
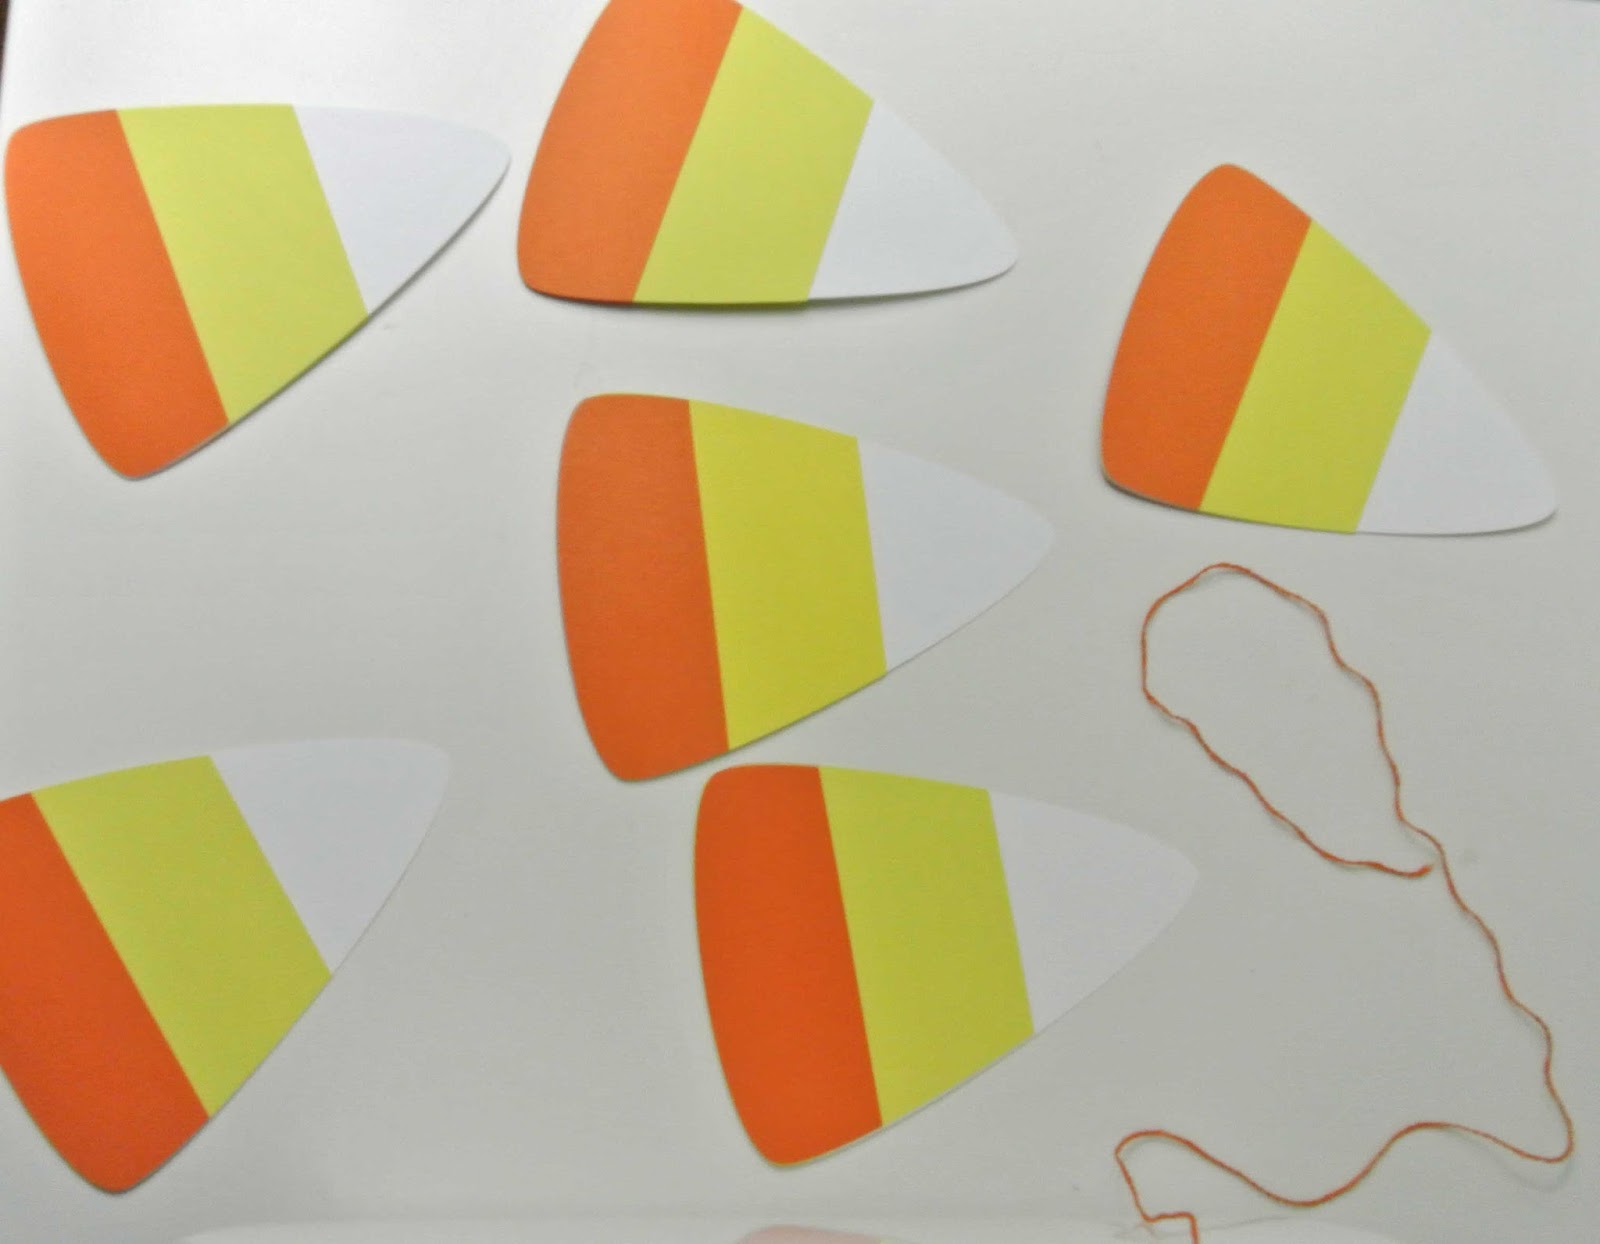
The candy corn cut file is a free download from Hey Let’s Make Stuff.
I cut the card stock on my Cricut Maker and for each candy corn,
I cut two of each of the yellow and orange components
( one for the front and one for the back)
because I knew the back side would show since it was going to hang in a window.
That way my candy corn is double sided.
I’ve seen a number of paper, felt, fabric, etc. garlands stitched together with the sewing machine.

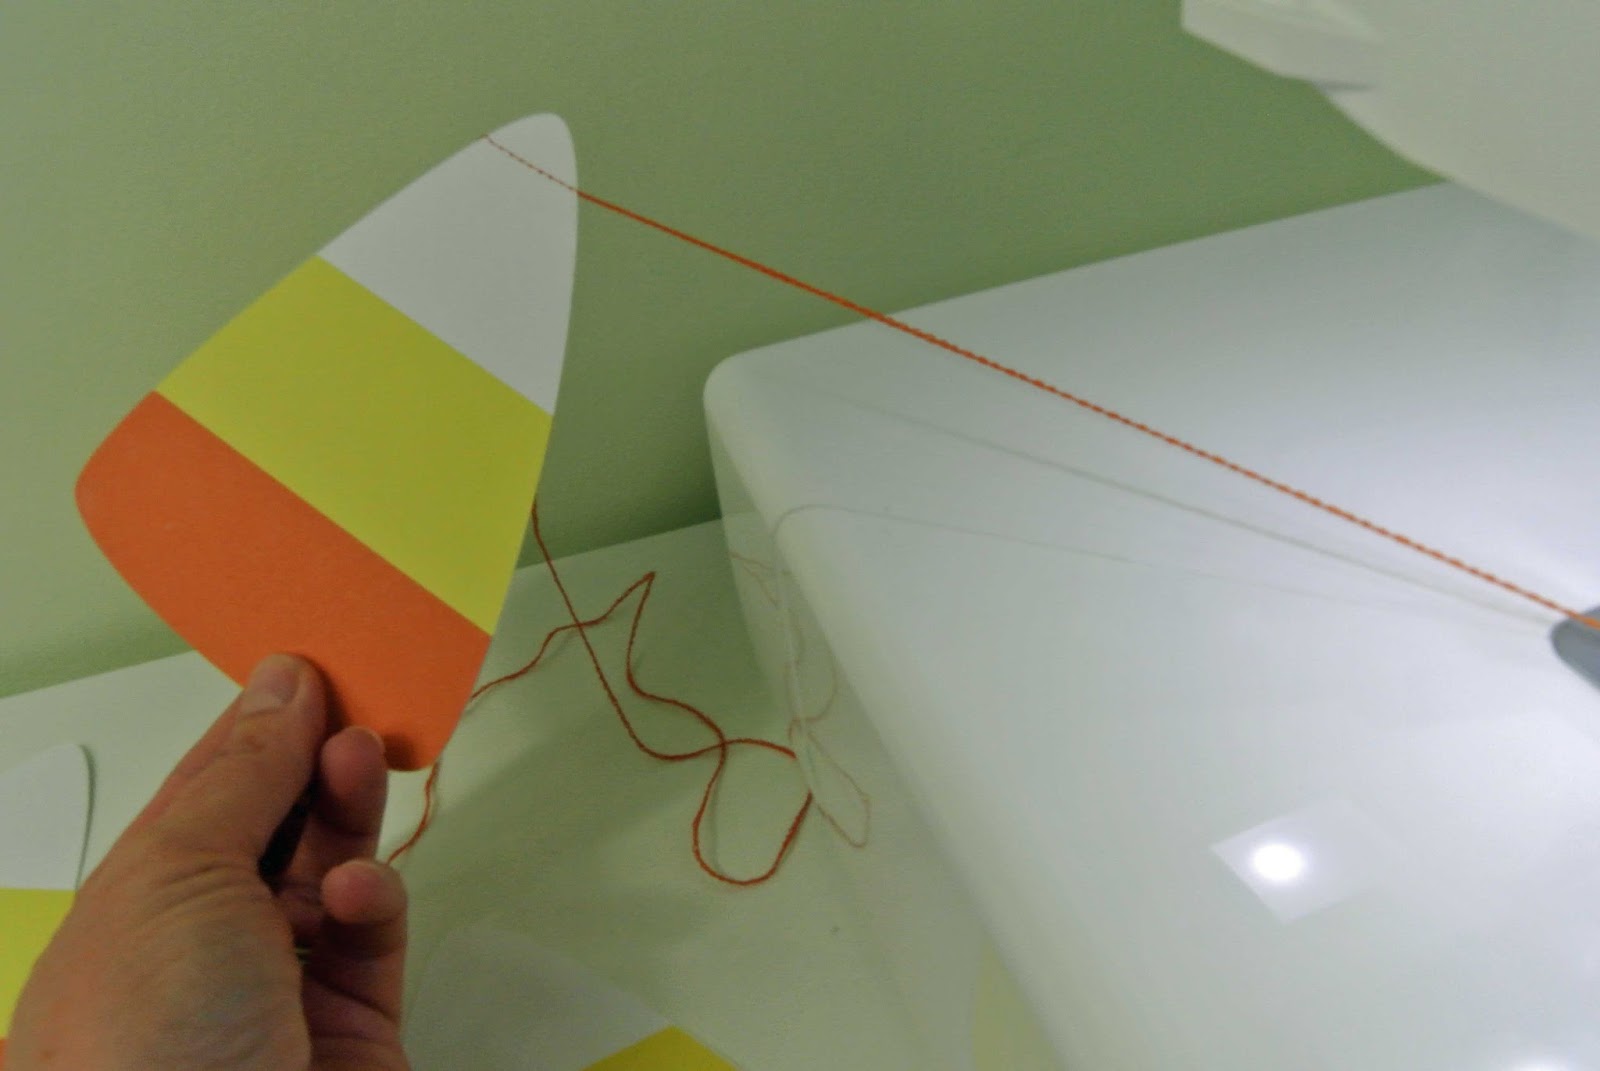
That is an effective way to quickly make garland, but if you have a coverstitch serger,
the chain stitch gives you more flexibility in designing your garland.
When using a sewing machine, the candy corn would have to be right next
to each other because sewing machines are not meant to sew without something under the needle.
But a serger allows you to endlessly chain off without anything passing under the needle.
I spaced my candy corn pieces about 12-15 inches apart from one another.
That way I didn’t have to spend a lot of time making numerous candy corn pieces,
but I could still make my garland the length I needed to drape in front of my window.
I used Coats and Clark polyester sewing thread in the needle,
and I used Sulky 12 weight thread in the chain looper.

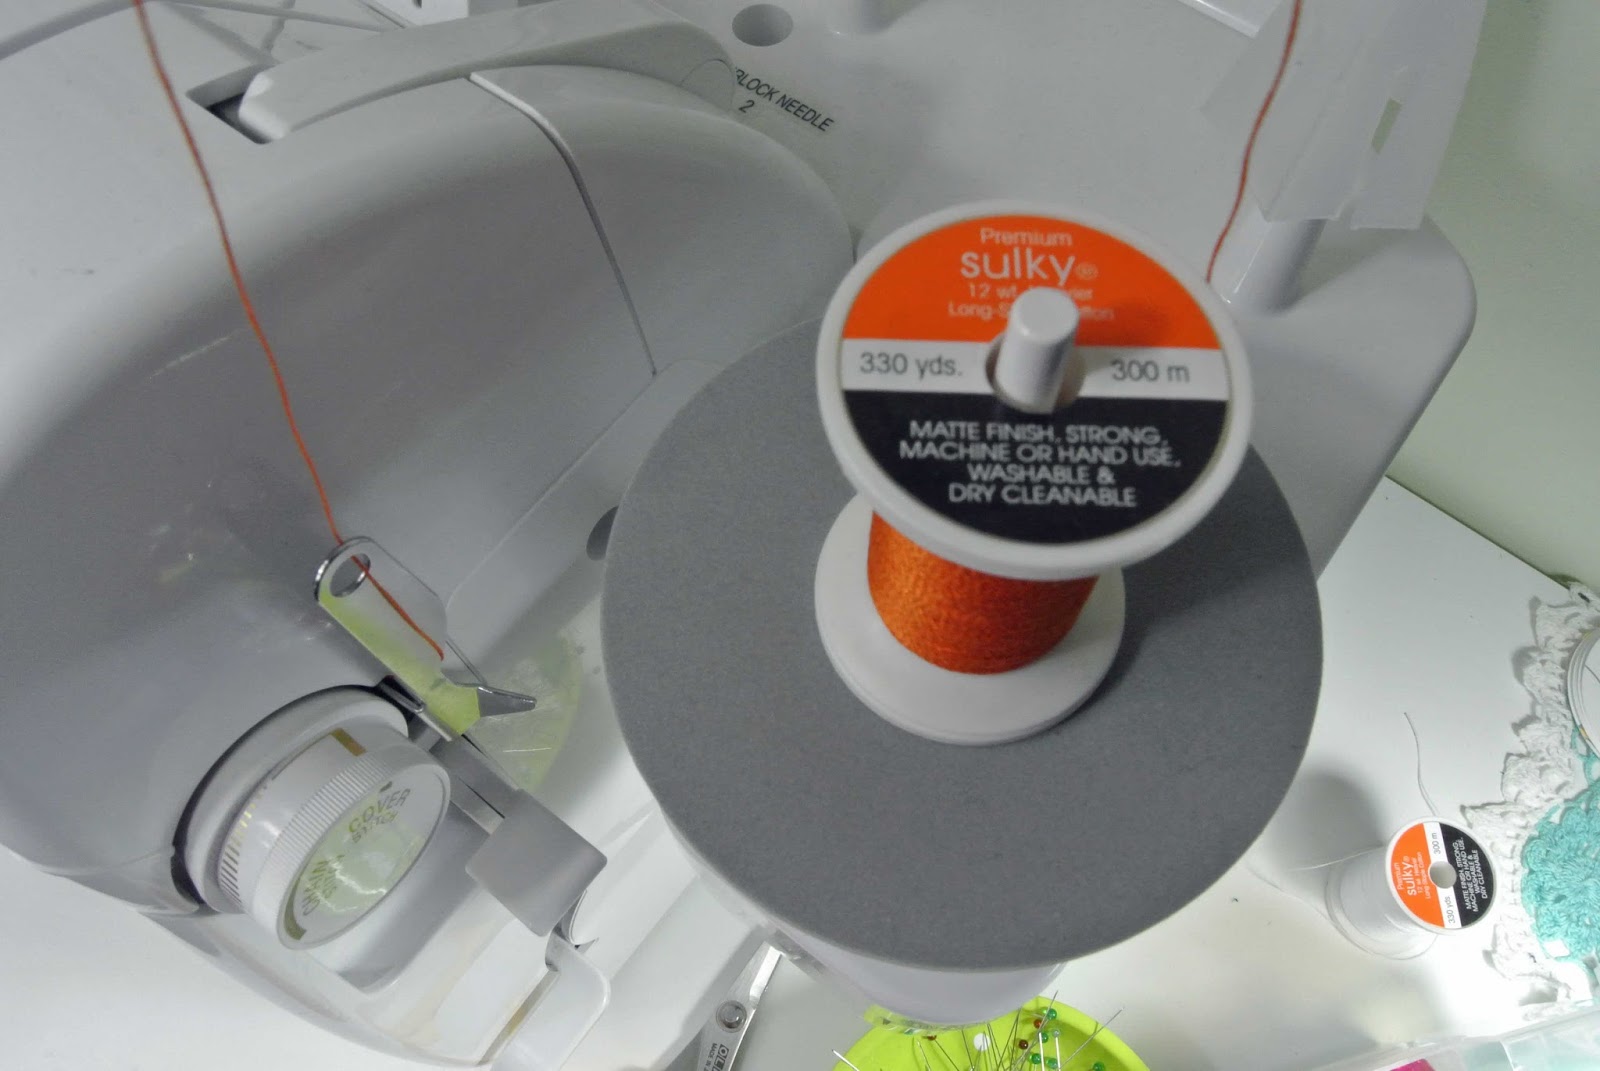
And I set my stitch length to 1.

That combination gave me a nice, sturdy chain for my garland.
I will definitely be putting my Cricut Maker and
my Baby Lock Triumph to use making more
seasonal garland in the upcoming months.
Do you make your own garland?
Do you use papercrafting, quilting, sewing, or something else?
I would love to hear about your garland decorating endeavors.
Please leave a comment, I enjoy hearing from you all.

Sew House Seven Toaster Sweater

It is challenging for me to find a comfortable, well-fitting sweatshirt in ready to wear.
The Toaster Sweater pattern by Sew House Seven fills that void in my winter wardrobe.
The style lines are such that it is comfortable without being overly bulky.
I like that it is semi-fitted, which is hard to find in a ready to wear sweatshirt.
The self fabric ribbing panel at the bottom helps the shirt stay in place,
which is necessary because this top falls just at or below the hip bones.
The funnel neck can be worn up as shown in this photo,
it can be “slouched”,
or it can be doubled over itself.
I like having options.
With the extra long cuff on the sleeves,
I can wear them long (over my hand just past my wrist) on those chilly days;
or I can easily push up the sleeves and they stay up.
The pattern features dolman sleeves, which make the sweatshirt extra comfortable.
The forest green hemp French terry fabric from Fancy Tiger Crafts
is a perfect pairing with this pattern.
I’m anxious to sew up another Toaster Sweater in some stretch velour in taupe/cream
that I just ordered from StyleMaker Fabrics.
I stitched the entire sweater on my Baby Lock Serger, no sewing machine required.
(If you don’t have cover hem capabilities on your serger,
you will need to use a sewing machine for the topstitching.)
Thank you for visiting.
Please leave a comment about your thoughts or questions.
I really enjoy hearing from my readers.
Have a blessed day.

Basic Serger Pillow with Hidden Zipper Closure

Happy Fall, sewing friends!
It’s time to start sewing for Christmas!
This is the October serger project that I am teaching
at our local Baby Lock/Husqvarna Viking dealer.

The pillow cover itself is just a basic, simple, no-frills cover.
The fun part is learning how to serge the hidden zipper closure.
Since very few supplies and fabric are required,
this makes a perfect inexpensive but heartfelt gift.
Once you learn the basics, the possibilities are endless.
So many options are available for personalizing this serger project.
The front of the pillow cover could be embellished with embroidery (machine or hand),
the front could be made from a large quilt block,
or the front could be made from a pre-printed block.
Sew many possibilities!
This is a serger only class, no sewing machine needed.
If you are in the local area, here’s your invitation to join the fun:
WHEN:  Wednesday, October 27, 2017
TIME:  9 a.m. – 12:30 p.m. @ the Ogden Wimmer’s Sewing & Vacuum
– OR –
             1:30 p.m. – 4 p.m. @ the Layton Wimmer’s Sewing & Vacuum
Please stop by the store to sign up so we know how many kits to make.
Thanks so much for reading my blog.
I love to hear from you, please leave a comment.