


Hello Sewers! Here is a look at my muslin-testing process to bring me to the point of stitching up my version of the Cielo Dress.

I used a cotton/linen blend fabric from Hobby Lobby to make my muslins. I used the same fabric to make two muslins. For the first one I sewed a size 12 straight from the envelope with no adjustments and no design changes. On the second muslin I used my Silhouette Pattern Armhole Templates to change up the fit in the armhole area. Take a look at my video at the end of this post to see which version I prefer. 🙂

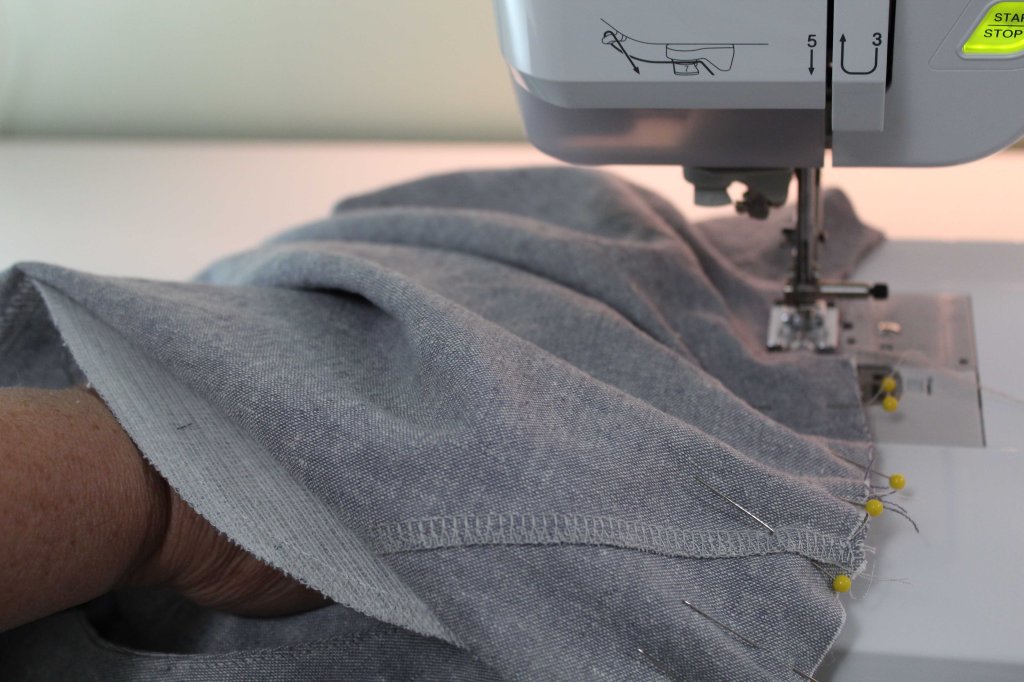
When I stitched the sleeves to the armholes (both versions), I used the Silhouette Patterns method of stitching with the sleeve on the bottom and the bodice on the top, which is opposite of how I was taught to insert sleeves. Sewing with the sleeve on the bottom makes it so I don’t have to stitch two rows of basting stitches and pull up the threads to fit the sleeve into the armhole area. It just naturally eases into the area beautifully.

A unique dart in this dress is the bust dart that comes in from the armhole. I’ve never seen a pattern with a dart placed at that position.

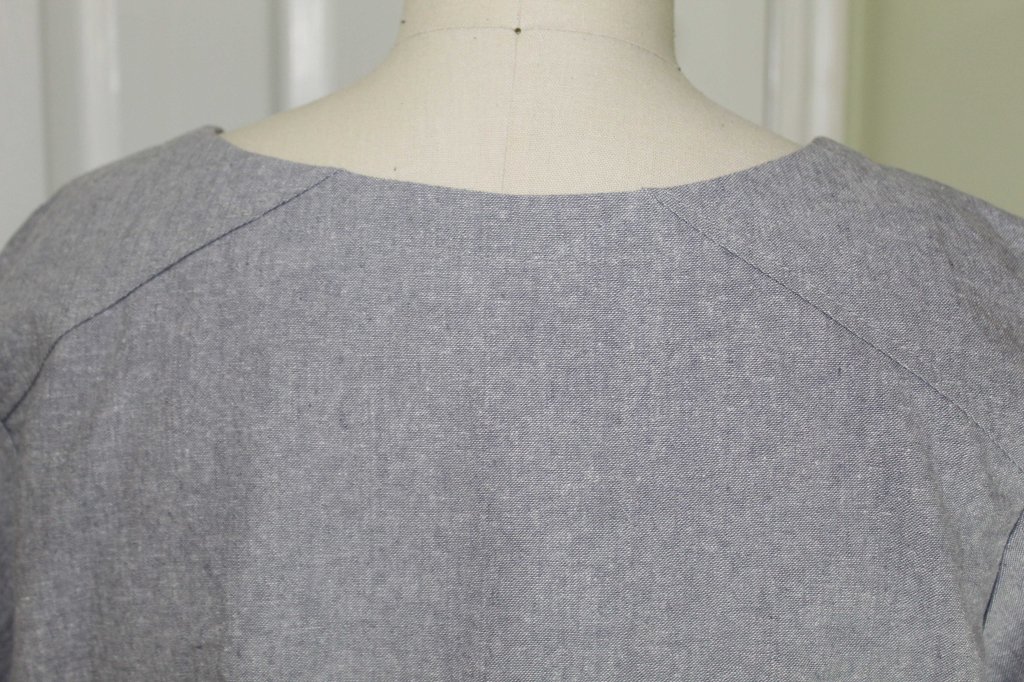
I like the design details such as the sewn down cuff and the insert in the back yoke area.
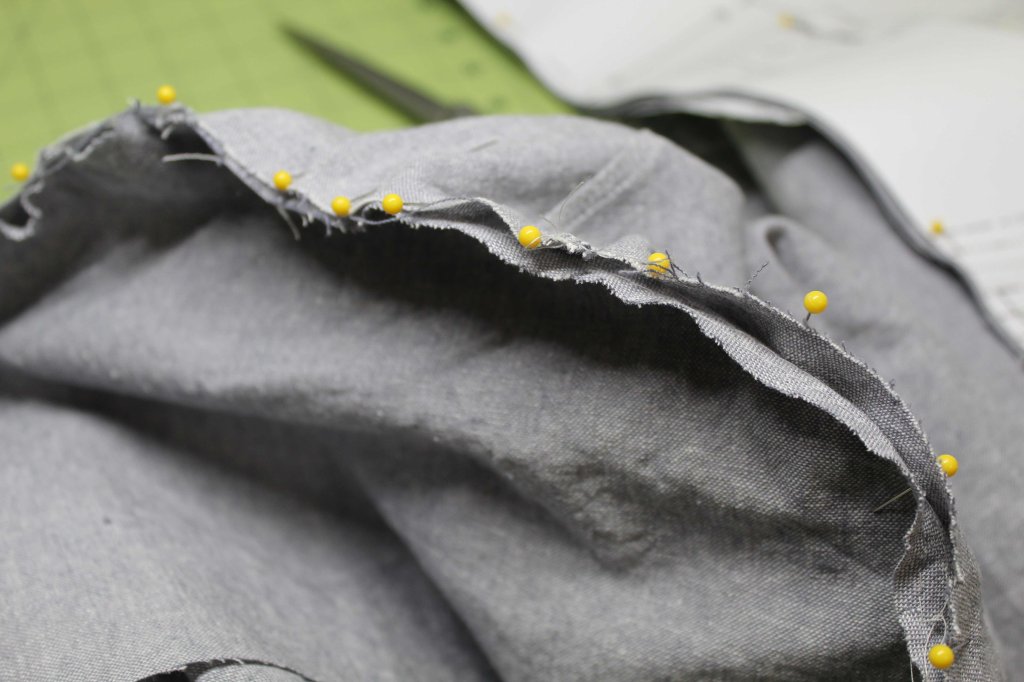
The pattern piece for the bottom half of the dress and the in-seam pockets is rather odd shaped. I have to be honest, even after reading the instructions, I wasn’t quite sure how this was going to go together!

Per the pattern instruction, I marked three sewing lines on my pattern piece (you can see them in white). I sewed the three lines with the pattern piece right side together with the bodice pattern piece. Then the fabric above those lines is folded down (so it is right side up) over those two U-shaped portions of the pattern (those are the pockets). The sewn lines form the front seam and where it is not sewn – those are the openings to the pockets. Clever..

I used my serger to sew this dress together, so all the seams are nicely finished.
Here is a video review of my Cielo Top & Dress:
Thank you for stopping by today, I appreciate the time you take to read my blog posts.


