Silhouette Patterns #719 – DVF’s Blouse & A Giveaway

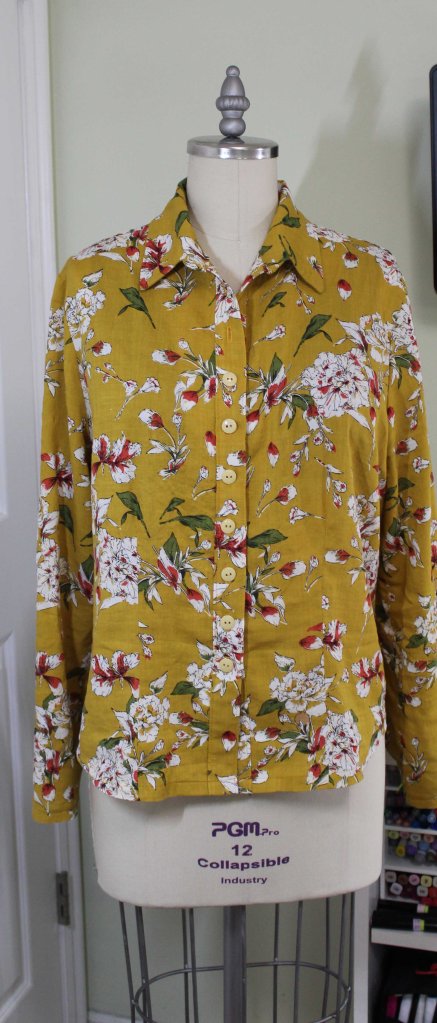
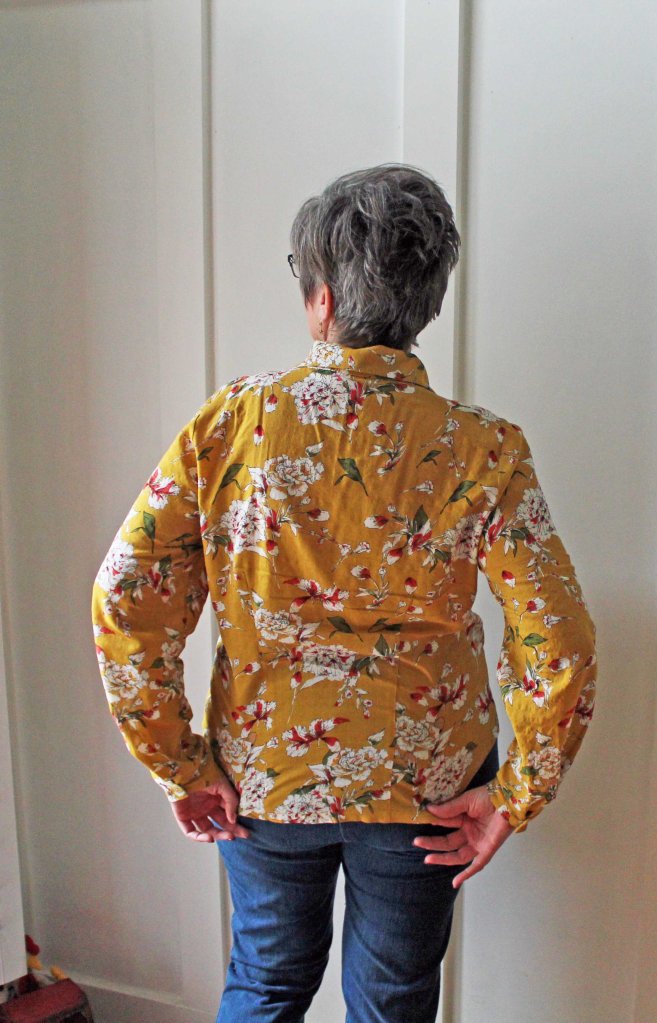
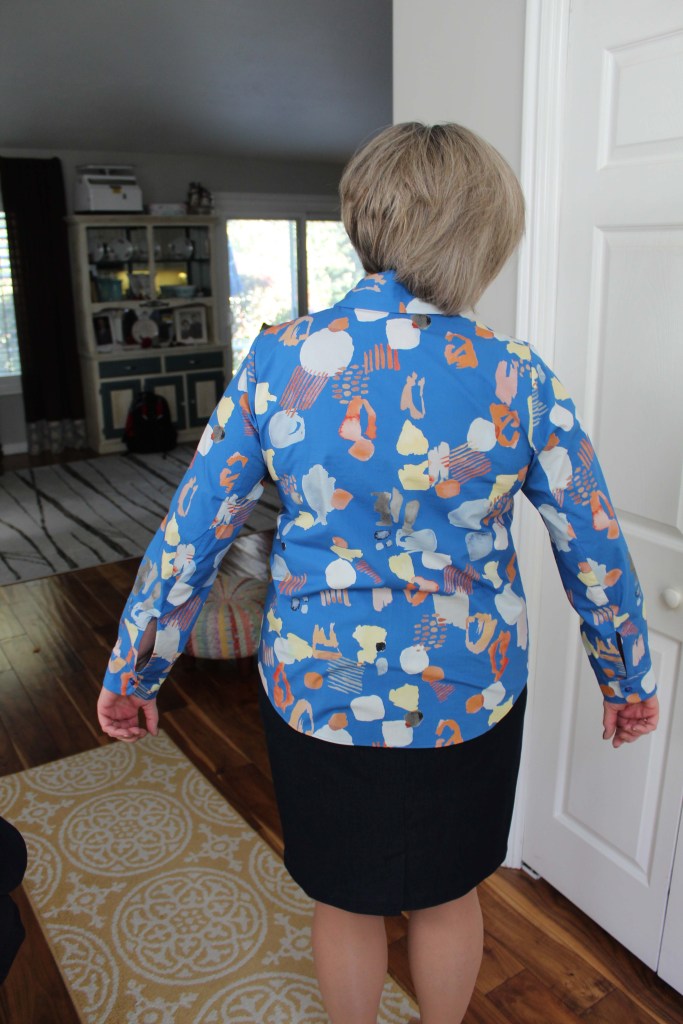
Here is what I sewed with the fabric from my #sewhayleyjane subscription box. I needed a blouse to coordinate with my RTW skirt and jacket. I’ve been wearing a simple white tee with this outfit, but I wanted to step it up a notch. This blouse does the trick.

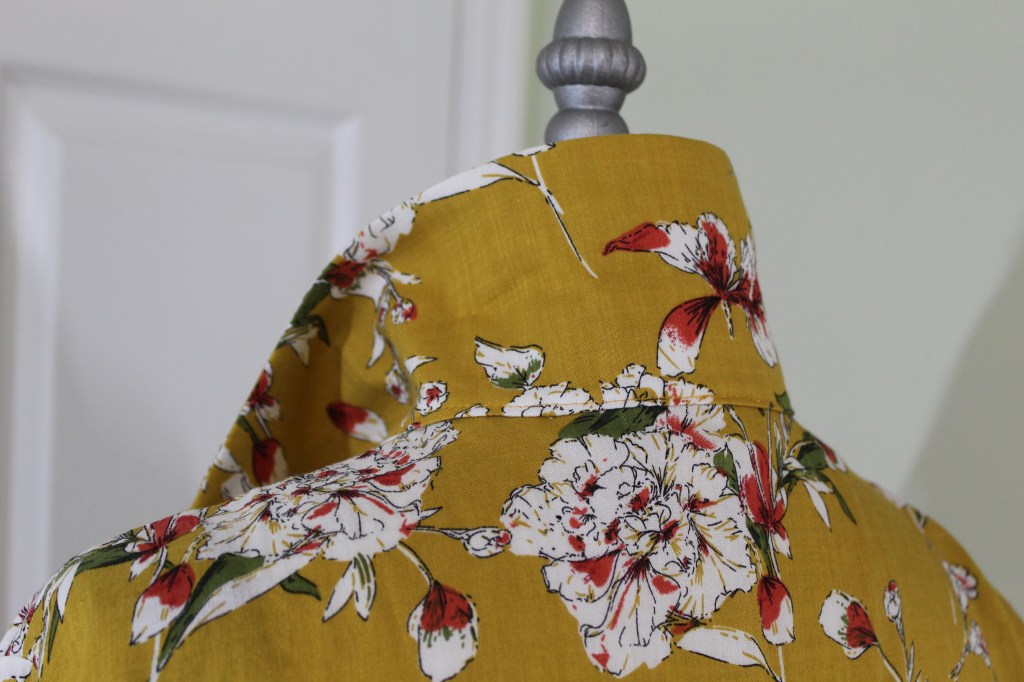
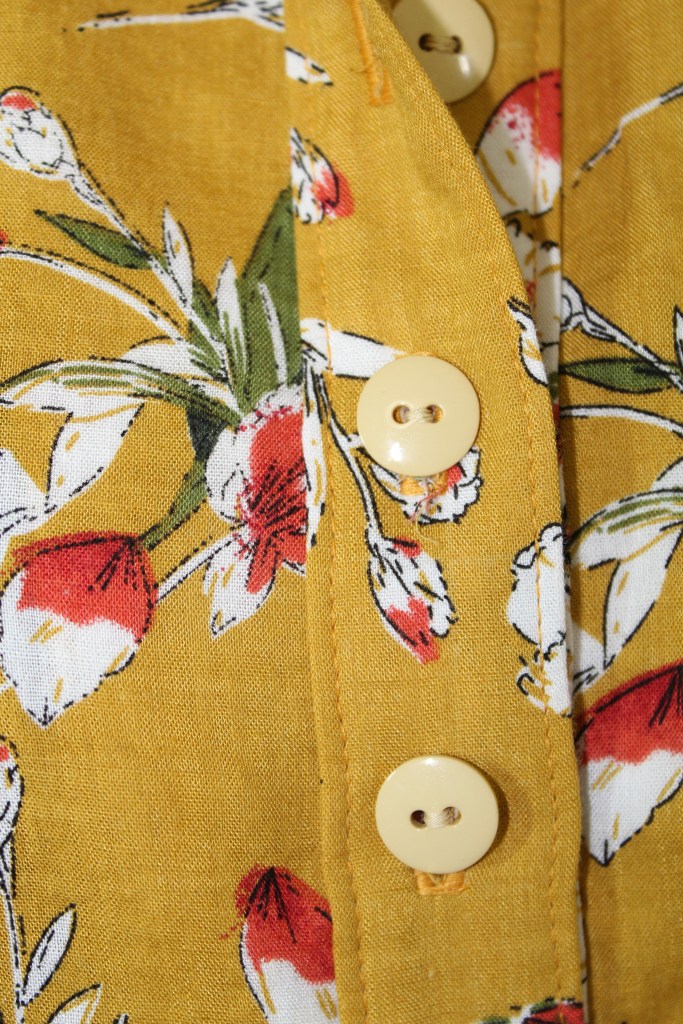
Believe it or not, this is a pullover style blouse! No snap, no zips, no buttons. I sewed the bust darts and the vertical waist darts on the front, but I chose to eliminate the vertical waist darts on the back.

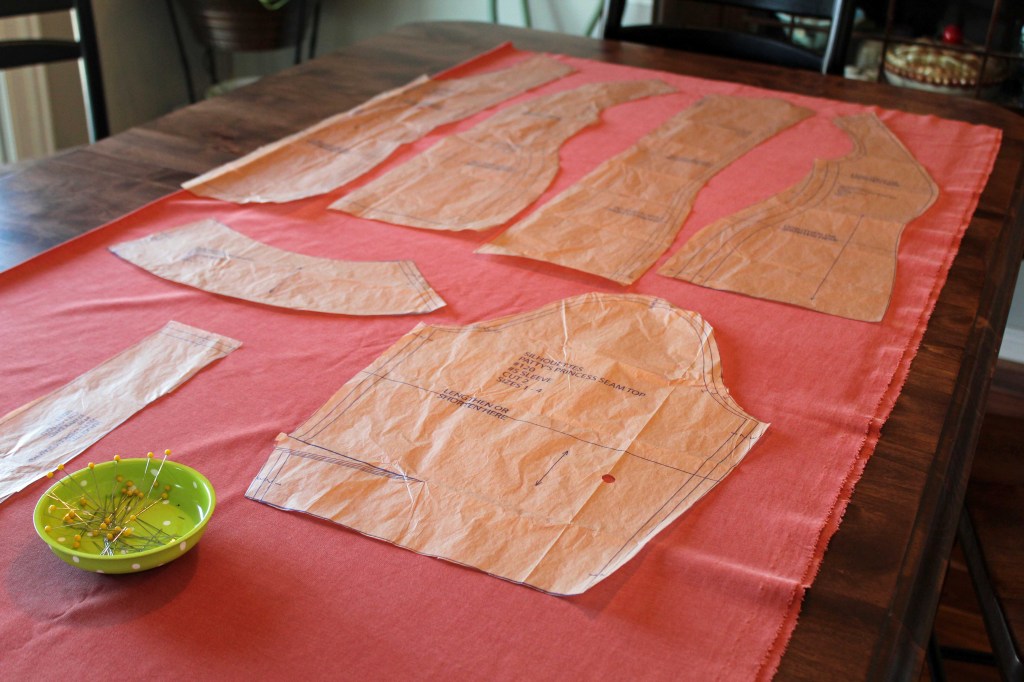
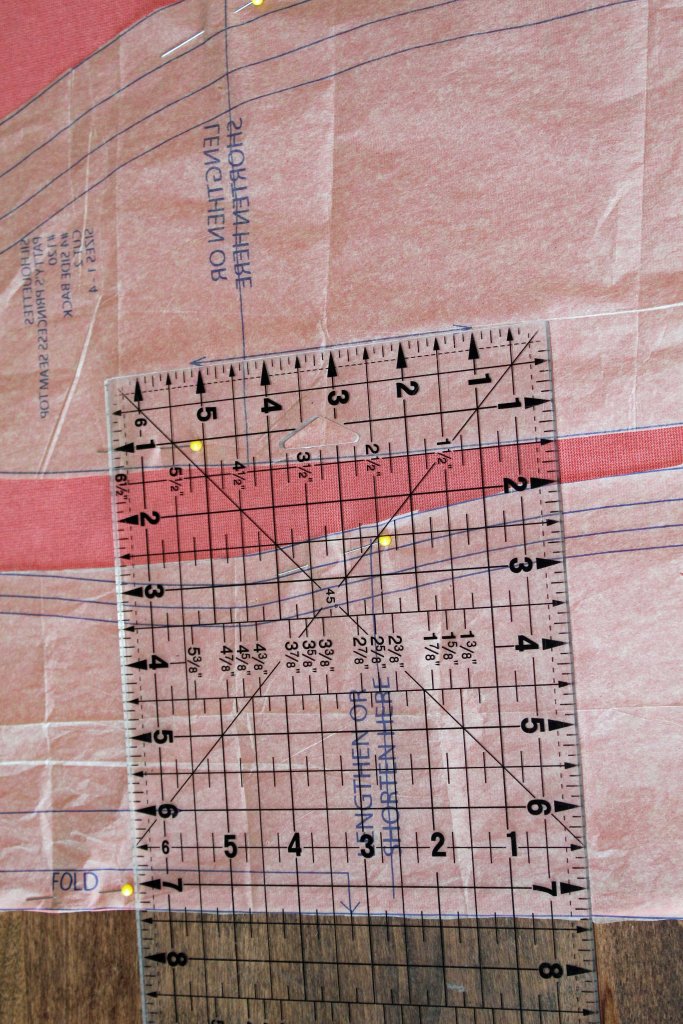
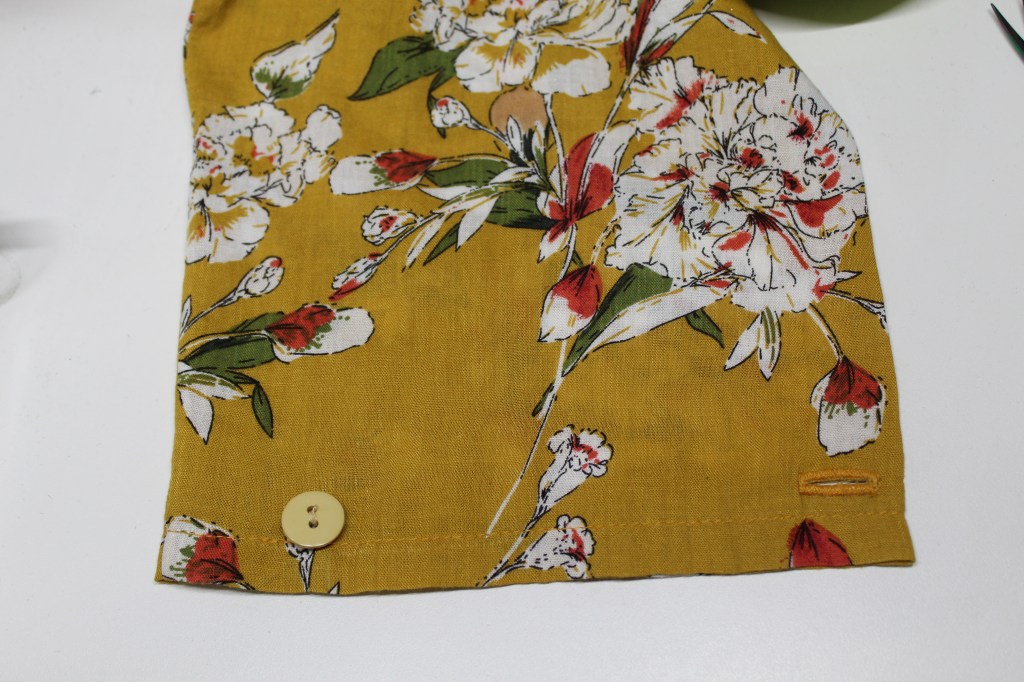
Since the fabric is 100% cotton, I prewashed it in warm water and dried it on medium heat. After I cut all the pattern pieces, I used a three thread narrow overlock to finish the edges of all the except the neck seam and the sleeve edge where the cuff is attached.

The pattern has good instructions and the fit is spot on. This was a satisfying sew and I am so glad to add this blouse to my wardrobe.

Here’s my video with an additional review of this pattern. I am also doing a giveaway. The instructions on how you can enter the drawing are in the video.

Thank you for reading my blog and be sure to enter the giveaway.

Happy Sewing!

Silhouette Patterns #120: Patty’s Princess Seam Top

Here’s my test version of this princess seam top. Overall I’m quite pleased with the outcome. The color washes me out a bit, but that has nothing to do with the pattern and everything to do with the fabric. 🙂 BTW, the fabric is a medium weight, stable knit from Joann Fabrics.

I sewed a size 3, and the pattern calls for 2 yards of 60″ wide fabric. This is how I laid out my pieces. I did not measure the length of fabric, but I know it did not use 2 yards. I’m guessing it was about 1 1/3 yards of fabric.

I always use my quilting ruler to measure from the straight of grain pattern line to the fold of my fabric so I don’t get any garments that hand with a skewed drape.

These odd little marks are on the side back pattern piece along the princess seam edge. I’m not sure for what they are to be used. There is no indication on the instruction sheet and this is the only pattern piece on which they showed up. I just ignored them!

The sleeve pattern has a dart, which was an interesting addition that I’ve not come across until now. Here is what it looks like when finished:

I discuss the arm dart more in my YT video. There is a link at the end of this post.

The neckband is attached in a continuous loop, then the “V” is made by sewing a small dart into the band. Here is a look at the inside of the neckband where that dart is sewn:

When you sew the dart, be careful to sew ONLY the neckband being careful to not catch any of the garment under neath your presser foot (do not go past the seam line or you will have a pucker at the point of the “V” – trust me, I speak from experience.

Thread sinks into knit fabric and it is a real challenge to pick out stitches without making a hole in the fabric (see example above) *sigh*.

This is an easy top to sew and I like the little bell sleeve.

Here is my YT video:

Thank you for spending a few minutes of your day with me. 💜

If you have questions or comments, please leave them in the comment section below. I really enjoy feedback from my readers. Until next time, happy sewing!!!

Silhouette Patterns #600: Classic Blouse

**Please Note** Links to the pattern, fabric, interfacing, etc. are listed on YouTube below my video (video link at the end of this post)

I don’t own a lot of blouses, therefore, I don’t wear a lot of blouses. I’m not sure why. Perhaps it is because RTW button up blouses seem a bit stiff – the collar stands up too high and rubs my chin line, so I end up with makeup all over the collar of my blouse – the bodice area is too snug, so all my rolls show – if I purchase a blouse that is not so snug in the bodice area, then the shoulders are too wide and droop down my arm! This blouse pattern addresses all those issues. I shall be wearing more blouses in the future!

I sewed this blouse with a cotton/rayon blend voile shirting that I purchased from Stylemaker fabrics. It is so lovely and soft, no stiffness at all.

The collar is attached to the blouse body. No collar stand so it does not stand up high enough to rub my jaw line.

The bodice features front and back waist darts that can be sewn into the garment, or left off completely. I sewed the waist darts (front and back) because I like the little bit of added shaping that they give. The blouse has shape without being too snug and the shoulders still fit nicely.

To give a little stability to the under collar and the placket, I used Pro Tricot Deluxe Knit Fusible interfacing from Fashion Sewing Supply. The pattern suggests fusible knit interfacing, but Peggy Sagers discourages using interfacing on her sew along video on YouTube. In my video, which I link below, I address this discrepancy and why I chose to interface the collar and the placket.

The pattern notions listed on the back of the envelope, indicate you will need 8 buttons – 6 for the blouse and 2 for the cuffs. I used 10 buttons – 8 for the blouse and 2 for the cuffs. That was a personal preference choice.

The sleeve does not have an actual cuff such as one thinks of a traditional sew-on cuff. But rather, the sleeve has extra circumference that is folded over at the wrist to create a sort of psuedo-cuff effect.

This is what the sleeve looks like when it is not buttoned.

Here’s a photo of the placket/yoke on the inside of the blouse.

I would love to hear your thoughts. Please leave a comment below.

If you are interested, here’s a video of my review: