ScrapBusters: Patchwork Trivets with Circular Quilting

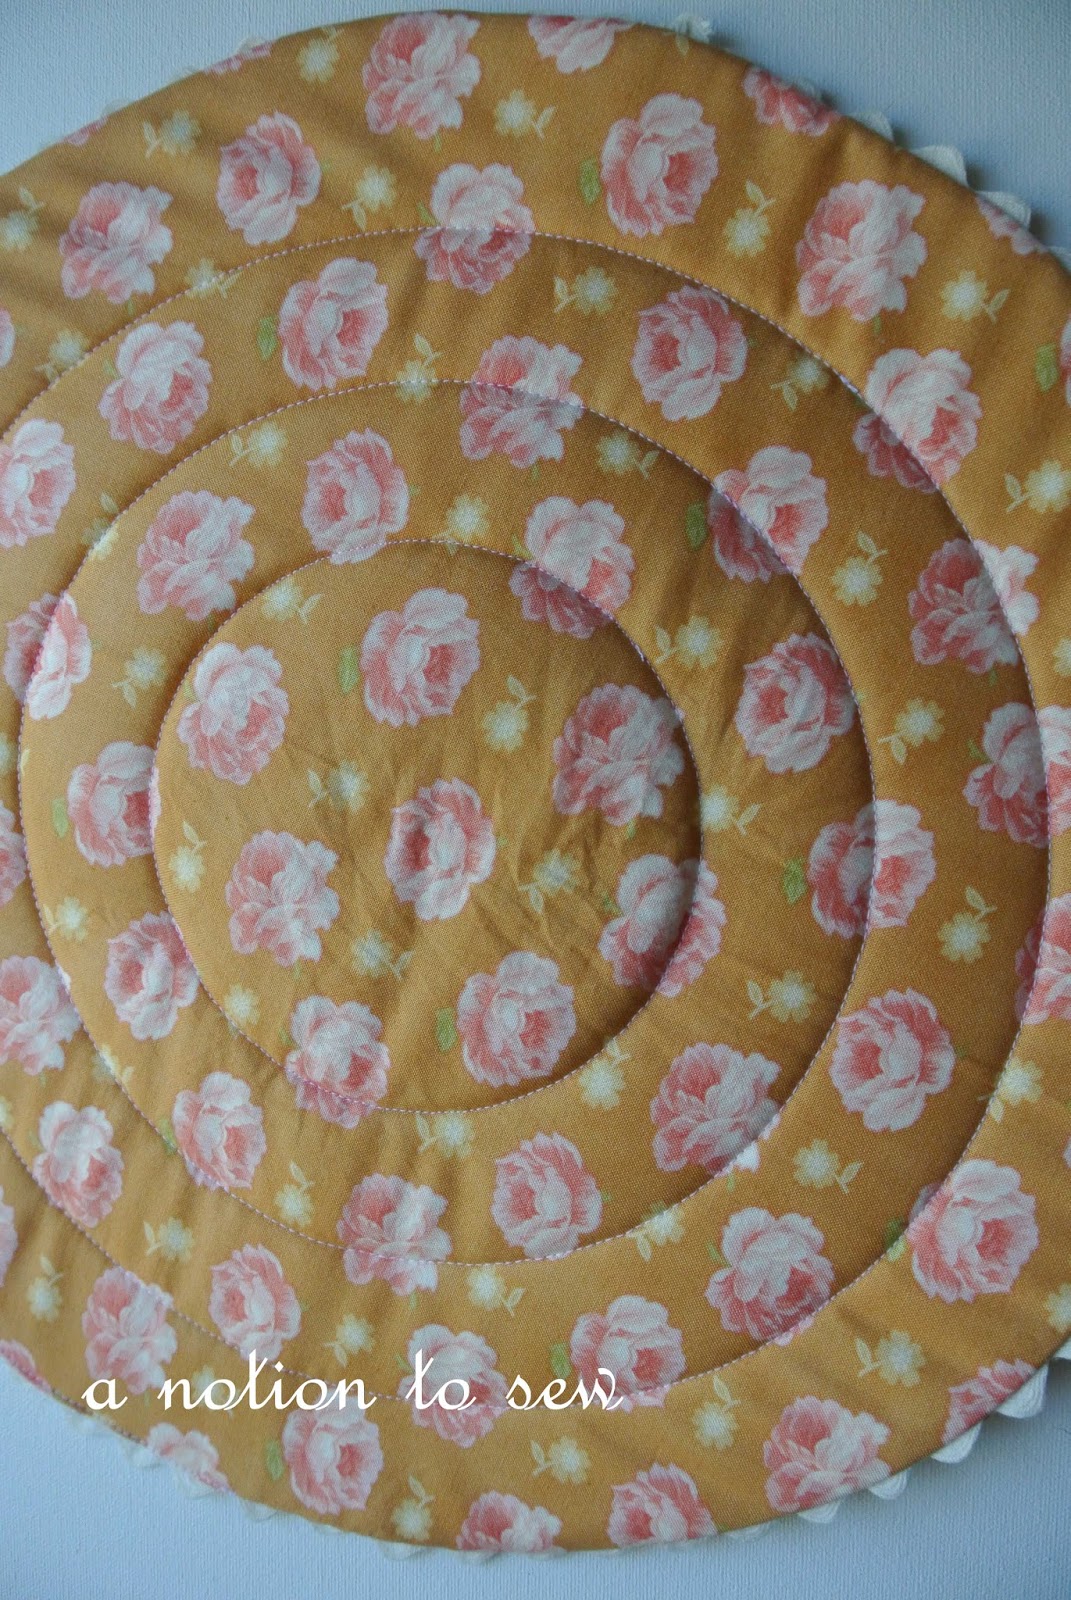
I love trivets!  But my intended use for this one is not for hot pots, but rather to add a decorative touch to this vintage chair that sits in the corner of my entryway.  The pattern is from the Sew4Home blog.   I used fabrics and supplies I already had on hand.  The fabric is leftover from this bed runner.  The over sized green ric rac was purchased a couple of years ago from one of my local quilt stores.  As you can see in the photo below, the trivet is a bit sparse on this chair seat, so I decided to alter the pattern a bit and make it slightly larger.

Here’s that same chair, but with the larger size trivet.   Ahhh, that’s better.  The new size plays better with the size of the seat.  I know I’m not comfortable when something is too small for my seat!

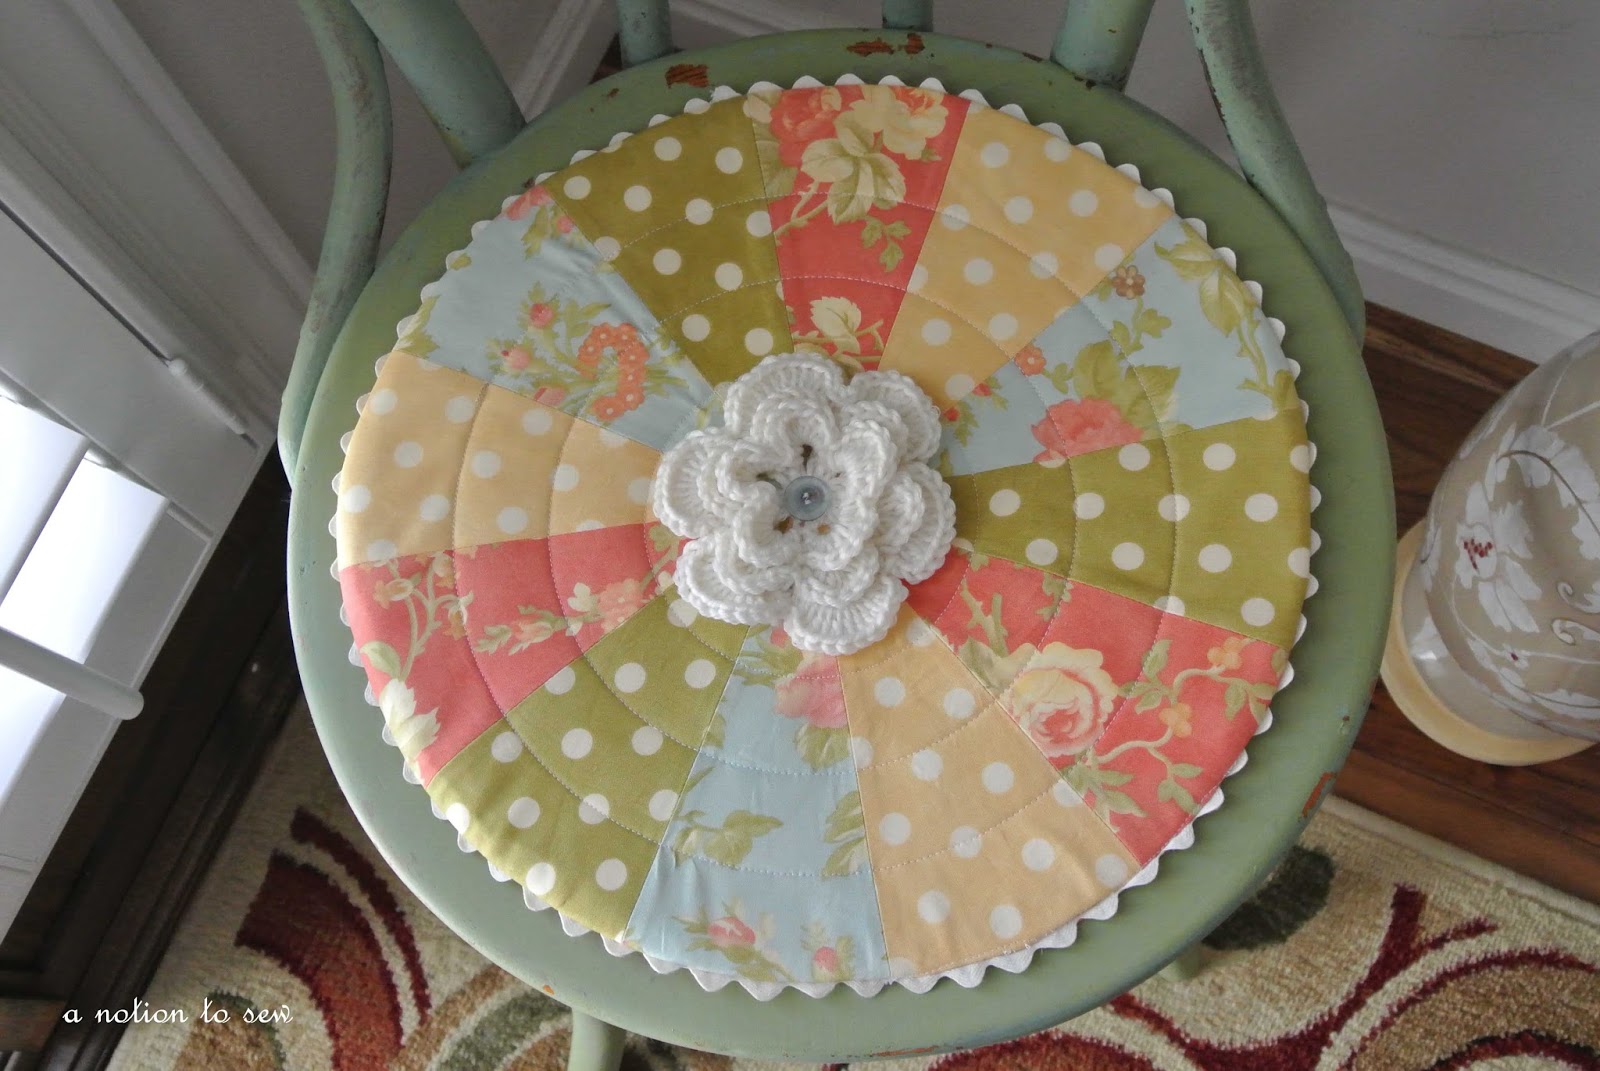
I added a crochet flower to the center of this one because in altering the pattern, I messed up the center where all the points are supposed to come together nicely (as they do on the original version when following the pattern as written). 

I knew that by adding two inches only to the length of that triangular piece and not changing any of the other dimensions, I was asking for trouble.  But I plowed ahead recklessly throwing any and all mathematical knowledge (which is very limited) out the sewing room door!  This, dear readers, is what I ended up with in the center of my project:  Aackkkkkkk!!!

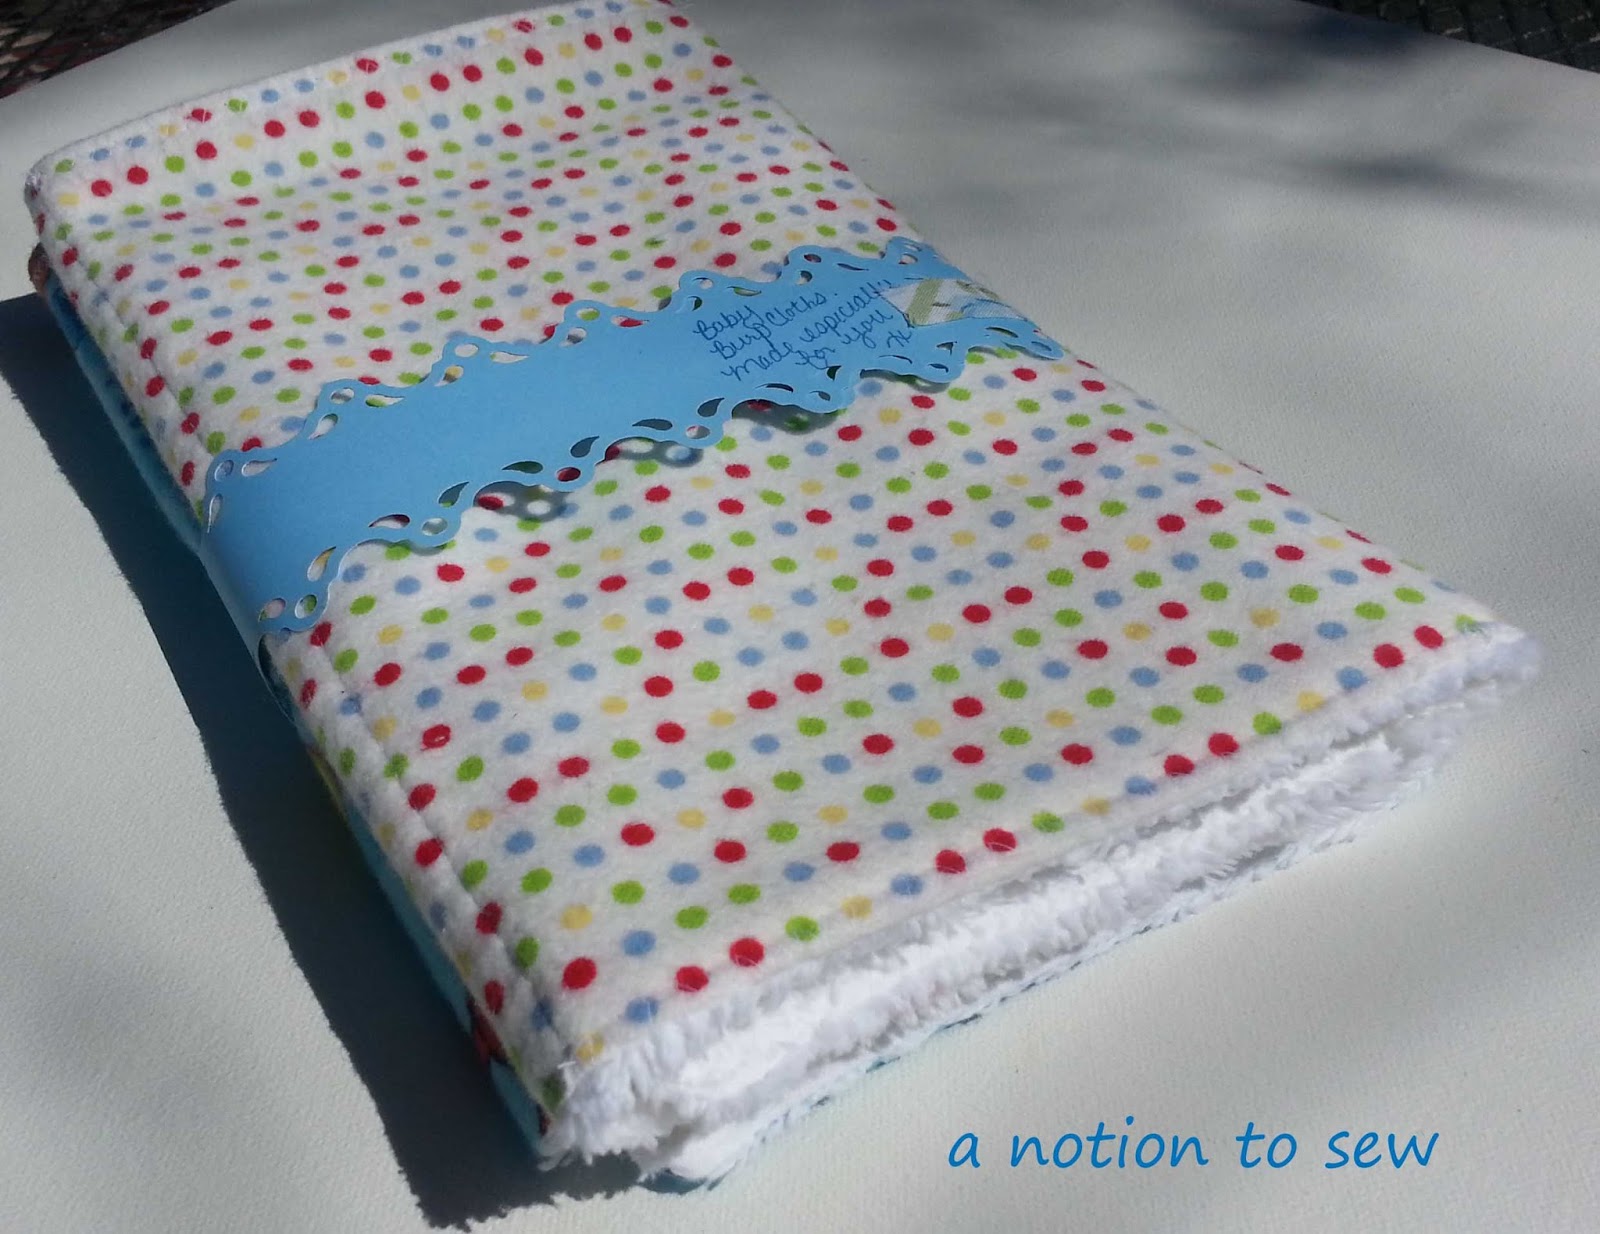
Now you see why the flower was added.  🙂   The back of the trivet looks like this:


And now the chair in the corner of my entryway looks like this:


I can rest easy knowing my seat has adequate coverage.  LOL
 
Have a beautiful Thursday, and to those of you who are state side – Happy Independence Day!
 
Pam 


Burda Dress and Milk Paint Chair and ScrapBuster Trivets, Oh My!

Hey everybody, I know it has been some time since I checked in on my pitifully-neglected blog.  Here are some of my completed projects from the month of June.  I just wanted to share a glimpse with you all before I head out the door for a camping weekend.  I will share complete posts on each one of them next week. I haven’t been able to write any reviews this month because  I dropped my camera broke and I was without one for about six weeks.  And let’s face it, a DIY review without photos is like a hot fudge Sunday without hot fudge!  My sweet hubby bought me a new camera two days ago and I’m learning to use it.

The top left is a peak of my new dress using Burda Style #108 pattern from the April 2013 issue.  Top right is a crochet table runner.  The little crochet flower will adorn the bottom left ScrapBuster Trivet from the Sew 4 Home blog.  And finally, another Sew 4 Home ScrapBuster Trivet is sitting atop the newly painted, chippy chair on which I used Miss Mustard Seed Milk Paint.

Okay, I’m venturing out into the 100+ degree temperatures to go camping.  Good thing the RV has air conditioning!  I know, that’s not really camping, but that’s how I roll!!!  The RV park  also has a swimming pool.  Don’t judge me!

Have a most excellent and enjoyable weekend.

Pam

Burp Cloths

 First, let me start with a warning!  These are not the best photos. 
My camera is broken and I had to use my cell phone for these photos.  🙂
 
I was invited to a baby shower but, *sigh*, I could not give the cute kimono and booties
because the mother to be is expecting a boy.
 
So I quickly sewed up a couple burp cloths and included a gift card for a nice little, last-minute gift.


I used kraft packaging paper for the gift ‘envelope’ by cutting it double the length,
then I folded it and sewed a straight stitch up the sides.
 
I then secured the two burp cloths together using a die cut strip of paper.
Then I clipped the gift card to it and tucked all of them inside the gift envelope.
 
The sweet deer tag was a free download from here. I’m not sure it is still available.
 
 
 I’ve never made burp cloths before
They are so straight forward and easy.
I sewed these in less than 30 minutes.
Having never made them before, and wanting to be sure my gift
did not fall apart in the first washing, I made an extra one to test.
 
Here it is after washing it in warm water
and drying it on the normal dry cycle.
 
 
I used white chenille on one side and a flannel print on the other side.
I must say, after the warm bath and dry cycle, this burp cloth
ended up soft as a baby’s behind.          🙂
 
Here’s a picture of the chenille side:
 
  
Now if you are in the market for such items as these,
there are a number of tutorials online.
Just search chenille burp cloths.
They are all pretty much the same.
 
 
Pam