Butterick 5824: Grey Wool Coat

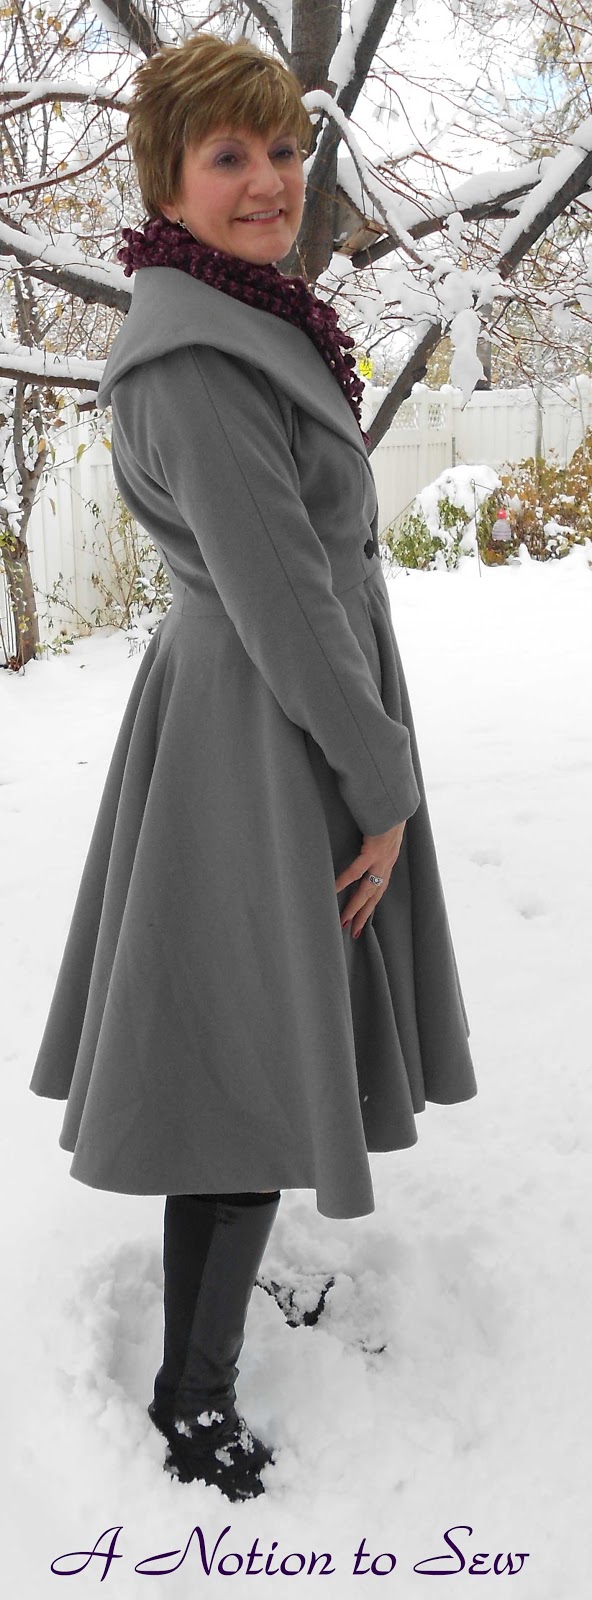
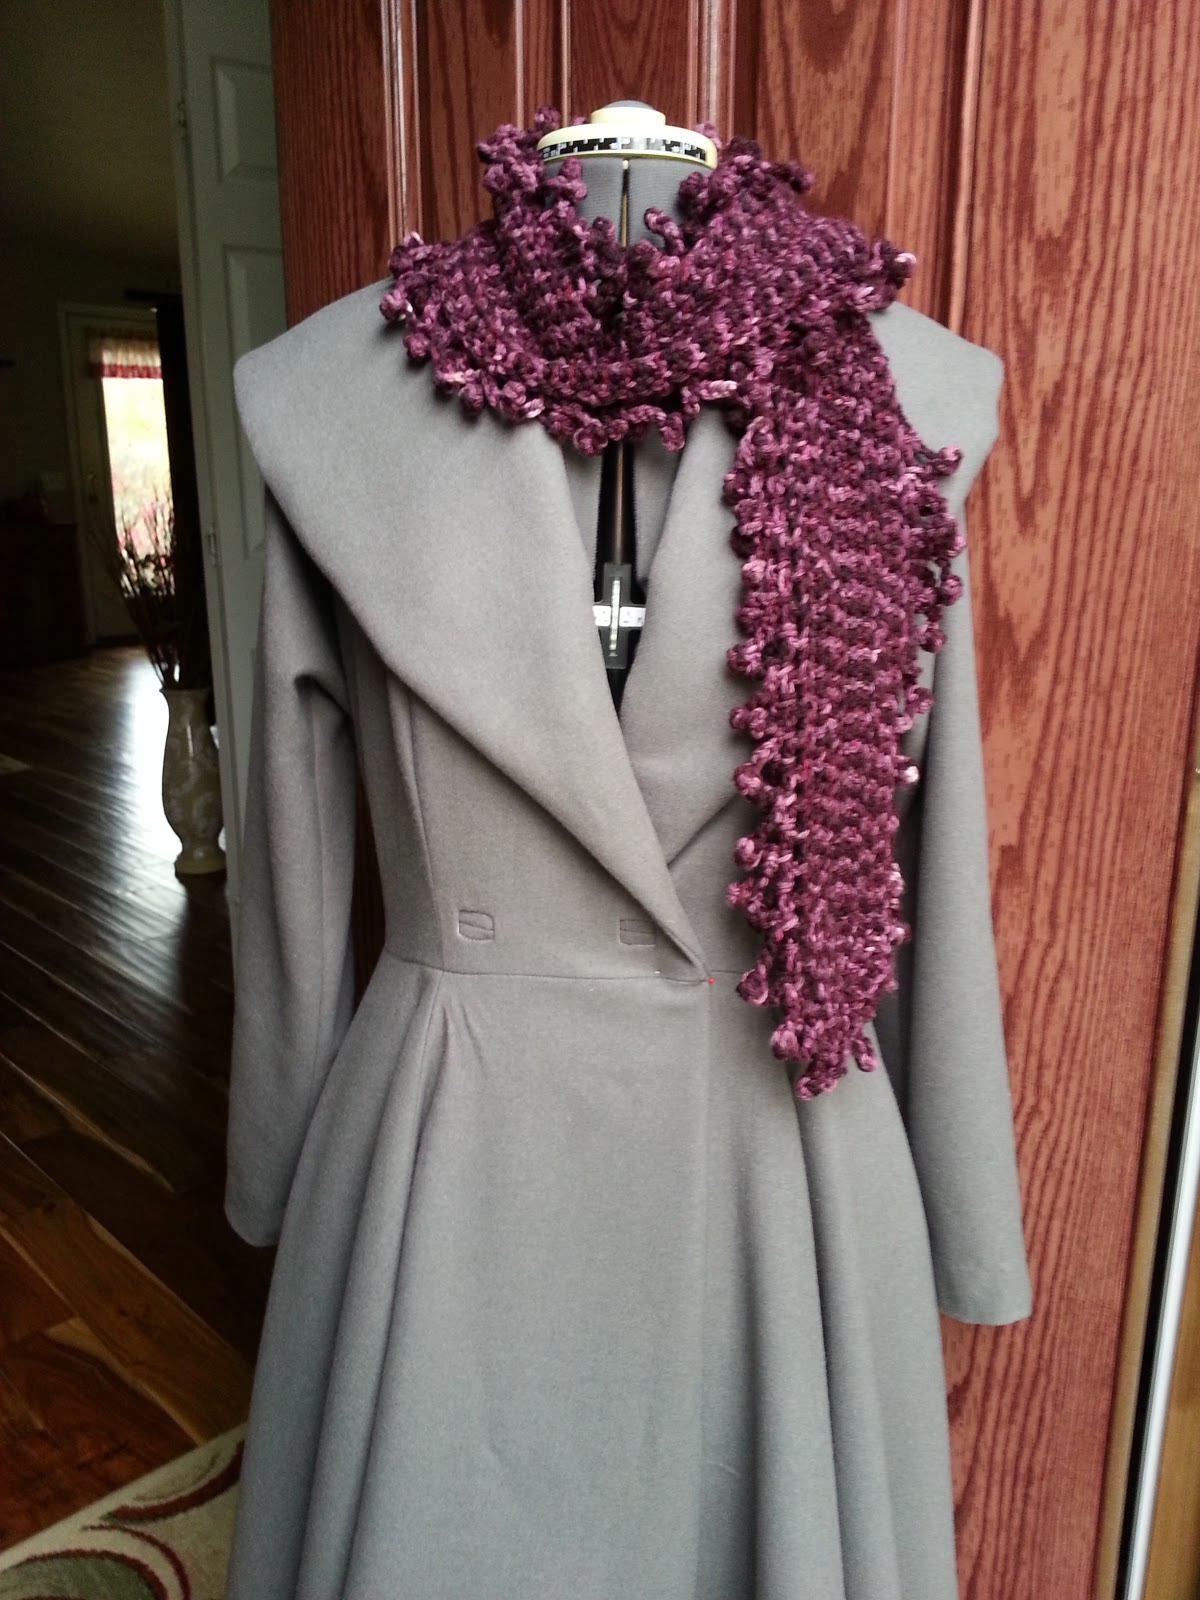
Finished, just in time for Winter Storm Brutus!!  This pattern is part of the new Patterns by Gertie line for Butterick.  I participated in the October coat sew-along on Gertie’s blog and I’m really glad I did.  There is no way I would have finished the coat on my own.  Well, not before next summer anyway!  The pattern is labeled easy, but I beg to differ.  The back collar treatment is a bit tricky, but Gertie put a great video on her blog that helps explain it much better than the written instructions ever could.  That was the only step that threw me for a loop.  Having sewn tailored jackets in the past, I found the process to be quite enjoyable.  Okay, upon journaling my review thus far, perhaps I was a bit hasty to correlate easy with beginner.  Yes, the pattern is easy if you are at least an experienced beginner.  I would not recommend this pattern as a first project, however.  That said, I LOVE this coat.

It certainly has the largest skirt sweep of any garment I own.  There is a lot of fabric there!  I purchased the grey wool at Joann fabrics ($30/yd) with a 50% off coupon for $15/yd.  Gotta love those coupons.  All that fabric gives the coat great twirl factor:


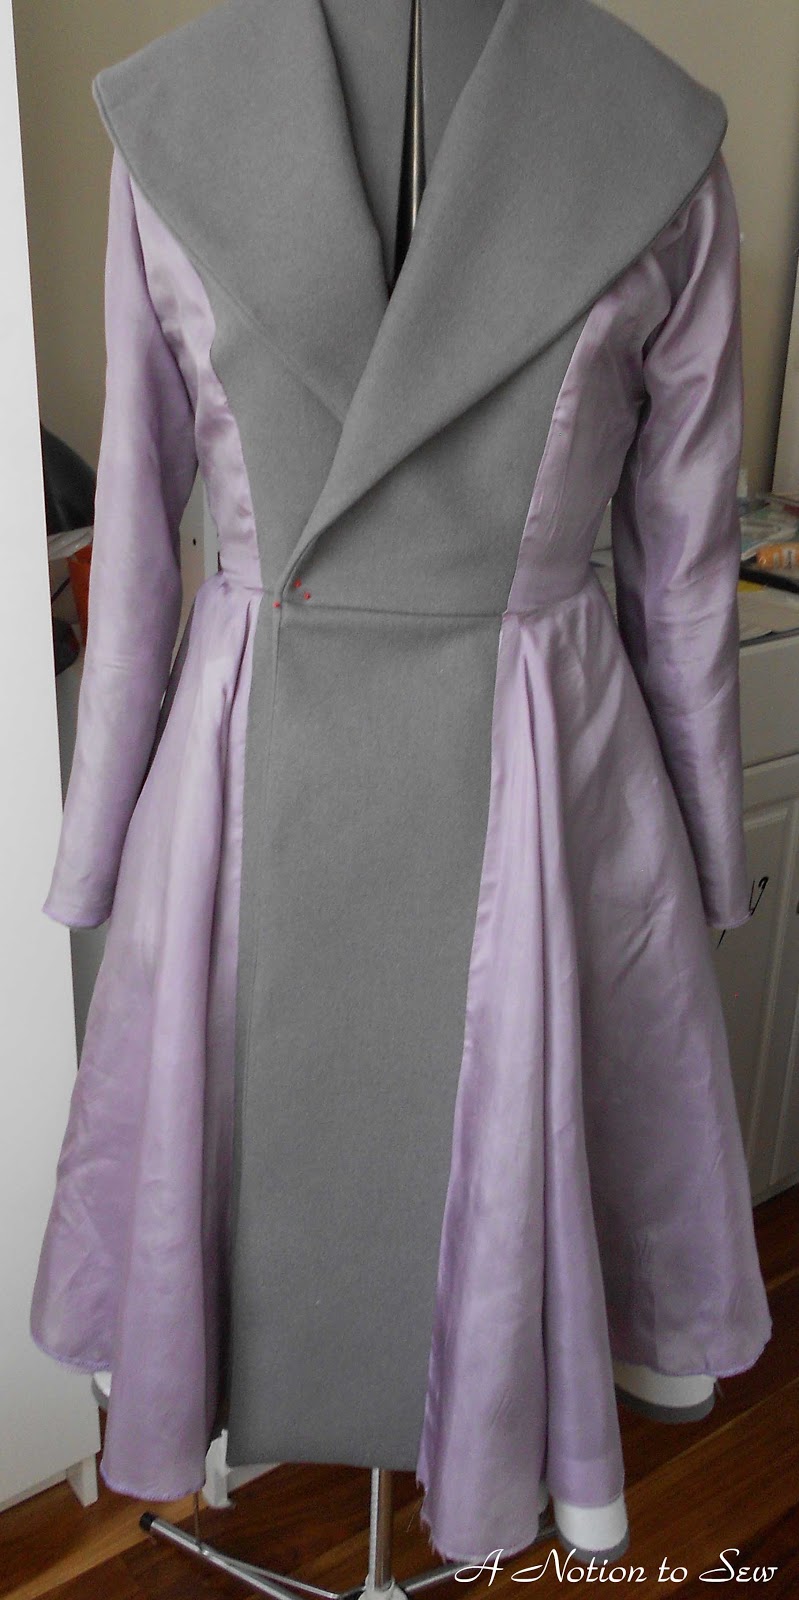
It is lined with lavender China silk, which I purchased at Yellowbird Fabrics in SLC.  When I was at Sewing Summit last month, I had the privilege of attending Saria Mitnick’s lecture on special occasion sewing.  After reading her Collette Sewing Handbook last year, I determined that I would sew with silk whenever the opportunity lended itself, and her lecture was the boost I needed to invest those $$ in high quality fabric.  Mind you, this coat requires yards and yards of outer fabric as well as lining fabric.  I was tempted to settle for a polyester lining because of the cost factor.  After all, it wouldn’t show and nobody would know whether it was silk or polyester, right?  Wrong.  I would know and it mattered to me.  So glad I made the leap from polyester to silk.  What a difference in the drape and the feel of the coat.  Here’s a picture of the lining before I finished the sleeve and bottom hems.

BTW, if you ever have the opportunity to attend an event where Sarai Mitnick is speaking, I encourage you to go.  It will be time well spent.

I made bound buttonholes and for the inside “slit”, I used the straight stitch buttonhole (#59) on my sewing machine.  It helps to reinforce the area around the slit so it doesn’t stretch out.

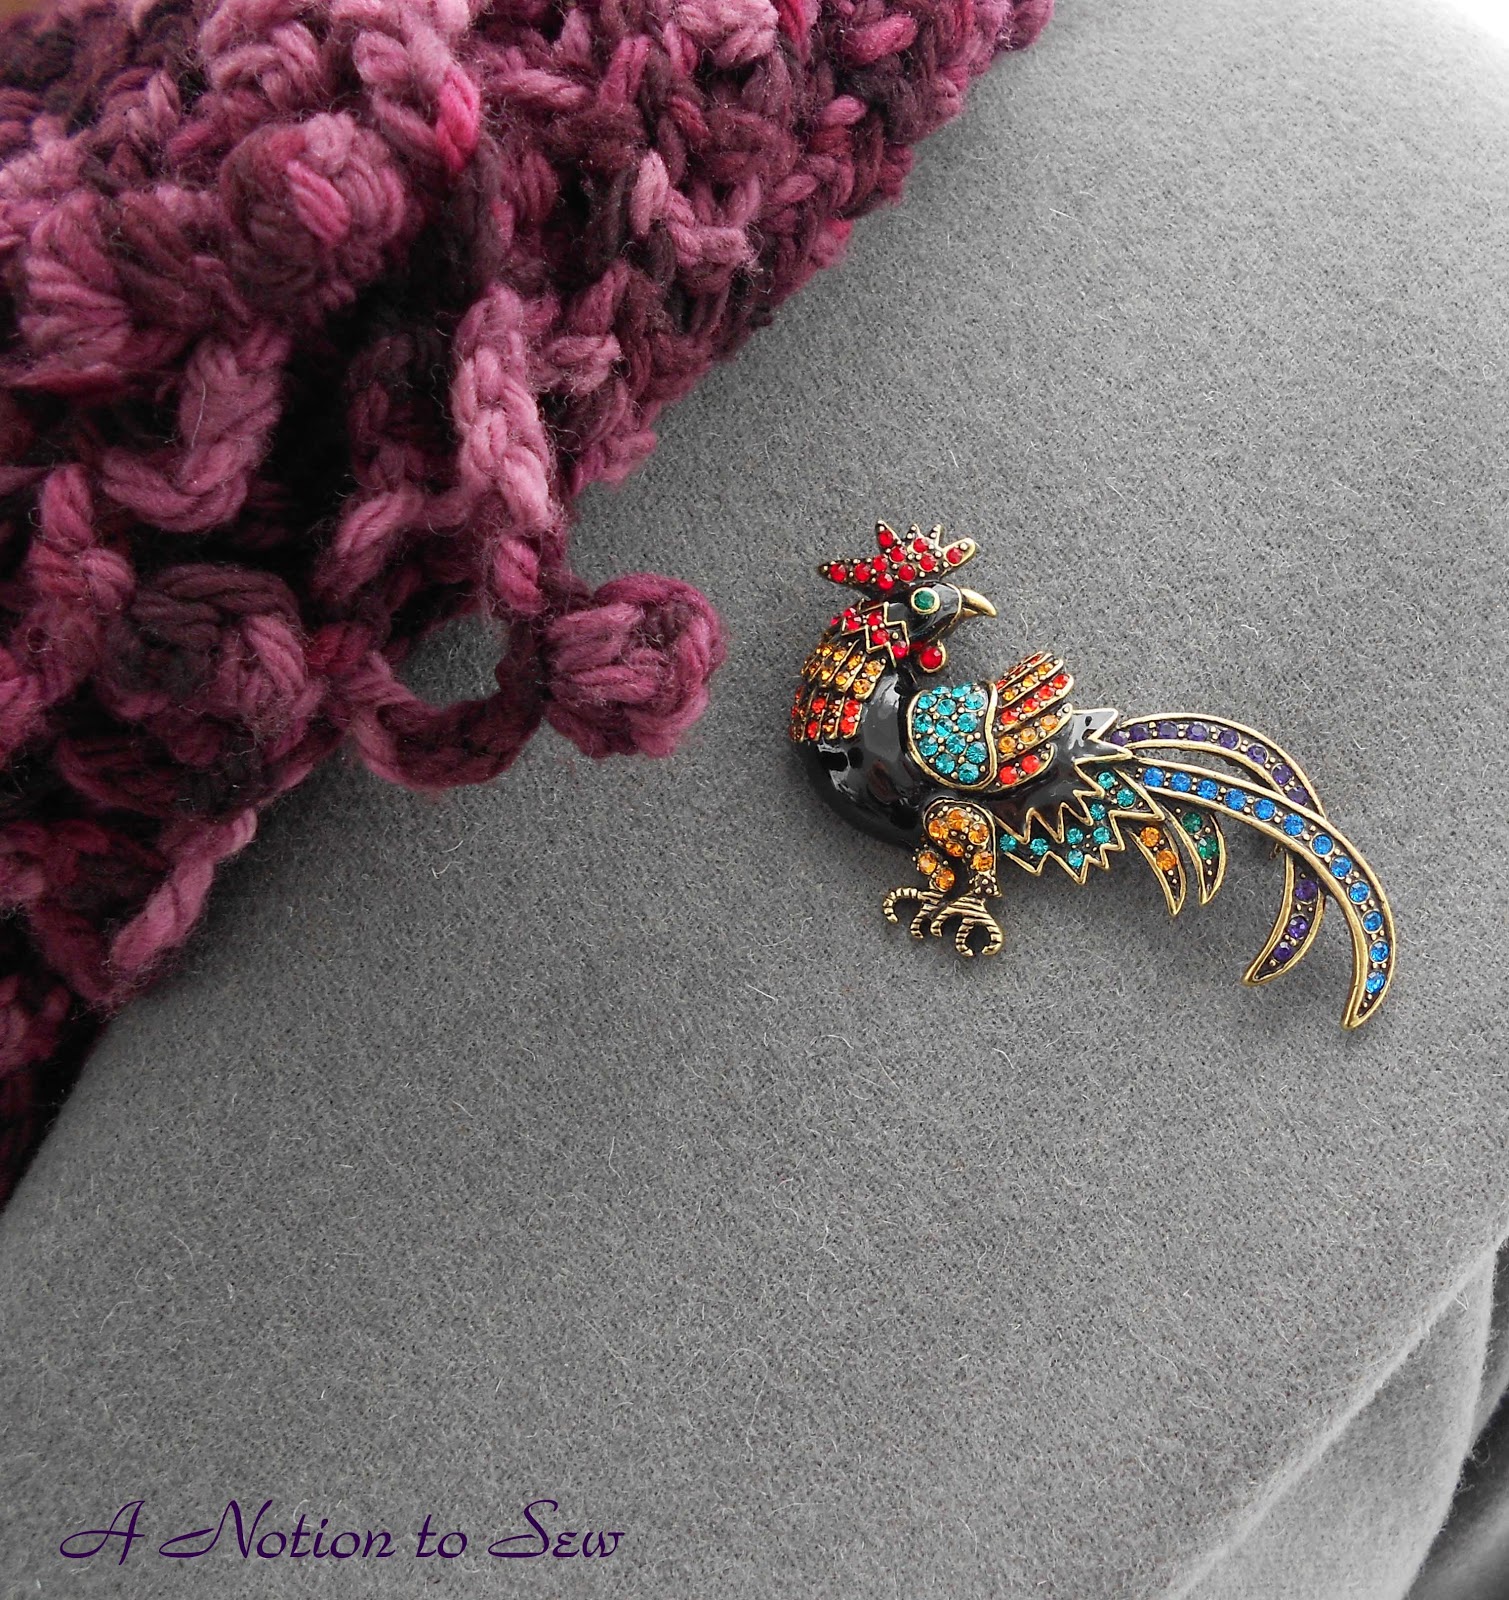
One last finishing detail is this great retro–inspired rooster pin that I purchased especially for my new coat.

Rooster Pin by Heidi Daus for HSN

Lastly, here is a gratuitous Basset photo of my big boy in the background plowing through the snow with his sniffer as all good hound dogs would do.

On my sewing table this week is Vogue 8667.  Thanks for stopping by and please leave a comment as I love to interact with other blog readers.

Pam

Double Bobble Scarf

Here’s a beautiful scarf that I crocheted some time back, but neglected to post it here on the blog:

It’s called the Double Bobble Scarf and the pattern is in Crochet in Color by Kathy Merrick.  The whole scarf is done in an oval pattern rather than back and forth rows like a lot of crochet scarf patterns are designed.  It crochets up rather quickly and I love all those bobbles!

The best thing about this scarf is that it goes beautifully with my new Butterick Coat that is almost complete.  My coat is gray wool and the lining is lavender China silk.  I should have a full review some time next week.  Until then, here’s a picture of the almost-finished coat and the Double Bobble Scarf together.

We’re off on a camping trip this weekend.  I’ve started another crochet project that will keep me busy until I can return home to my sewing machine.  Do you have other crafty hobbies that you enjoy when you can’t be near your sewing area?

Add a Quick and Easy Pocket Label to Your Quilt

Colorful Boy Quilt with a quick and easy pocket label


My favorite workshop at the Sewing Summit last week was Perfect Pockets with Deborah Moebes of WhipstitchThat girl truly loves pockets and would like to see them on everything –  everything I tell you!  I signed up for the Perfect Pockets workshop because I avoid adding pockets to almost any and all projects I sew.  I think they add bulk to my already bulky body.  Deborah did, however, change my mind.  Her enthusiasm and humor were quite contagious.

As I was quilting my grandson’s quilt upon returning home from Sewing Summit, I began to think back about the weekend and all the lovely, lovely women I met and all the great teachers and speakers from whom I was priveleged to learn.  Deborah Moebes and her Perfect Pockets workshop jumped to the forefront of my thoughts and I pondered adding pockets to everything as she encouraged us to do.  I envisioned pockets on the quilt, but I am a very practical person and I needed a reason for those pockets to be there.  The quilt was already sewn and halfway quilted so I knew I would not be incorporating pockets into the design.  The only other detail left to add after binding it was the appliqued quilt label on the back side.  Eureka!!!

I added a flap pocket to the back of the quilt and incorporated my embroidered quilt label onto the pocket.  And yes, the pocket actually serves a purpose.  My original intent was to give my little grandson a tooth fairy pocket.  Last year, my daughter inadvertently threw away a tooth that my granddaughter lost, so I reasoned this would be a “safe” place in which lost teeth could await the tooth fairy.  Then, the tooth fairy could just put the money exchanged for the tooth into the pocket for safe keeping until morning.

But in addition to tooth-fairy duty, this quick and easy pocket label could also be used to store small “treasures”.  I did not put a closure on the flap.  I was concerned that hook & loop tape, a zipper, buttons, or snaps could be uncomfortable if my grandson rolled over on the quilt pocket while sleeping.