Christmas Decorating with Machine Embroidery

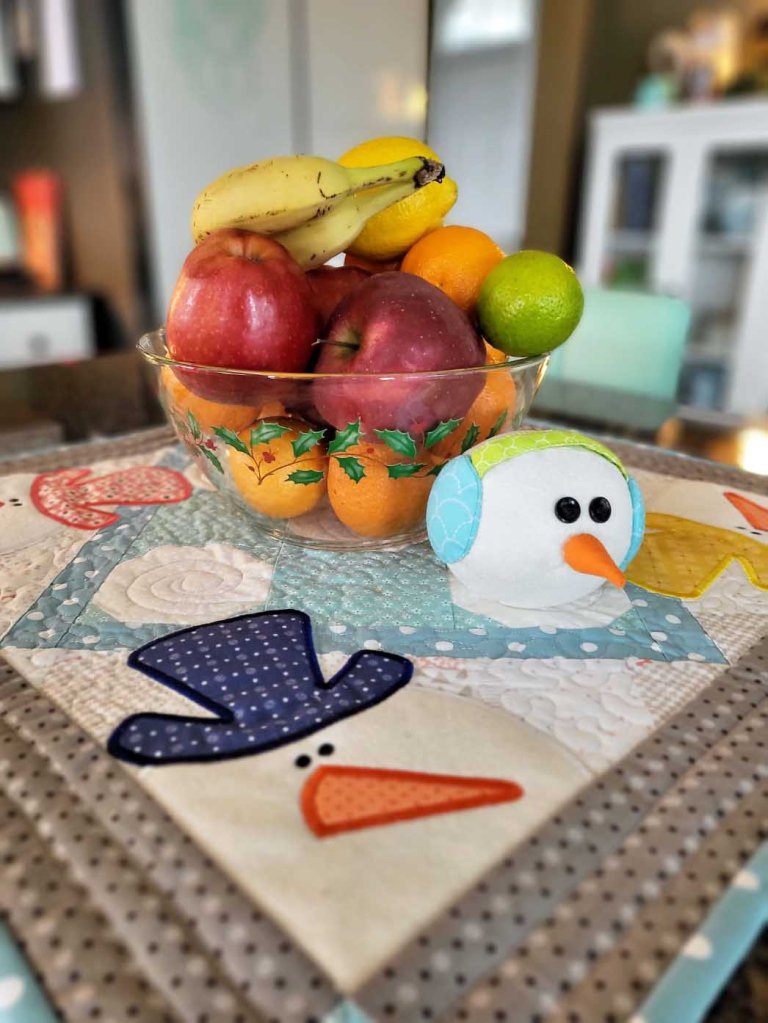
Merry Christmas Sewers! Pour your favorite beverage and sit back and enjoy the photos of my machine embroidery decorated Christmas home. For most of the projects, I used machine embroidery designs from Kimberbell (they’re just sew darn cute and easy). This is one of the table toppers from Kimberbell Cuties Seasonal Table Toppers Vol. 1

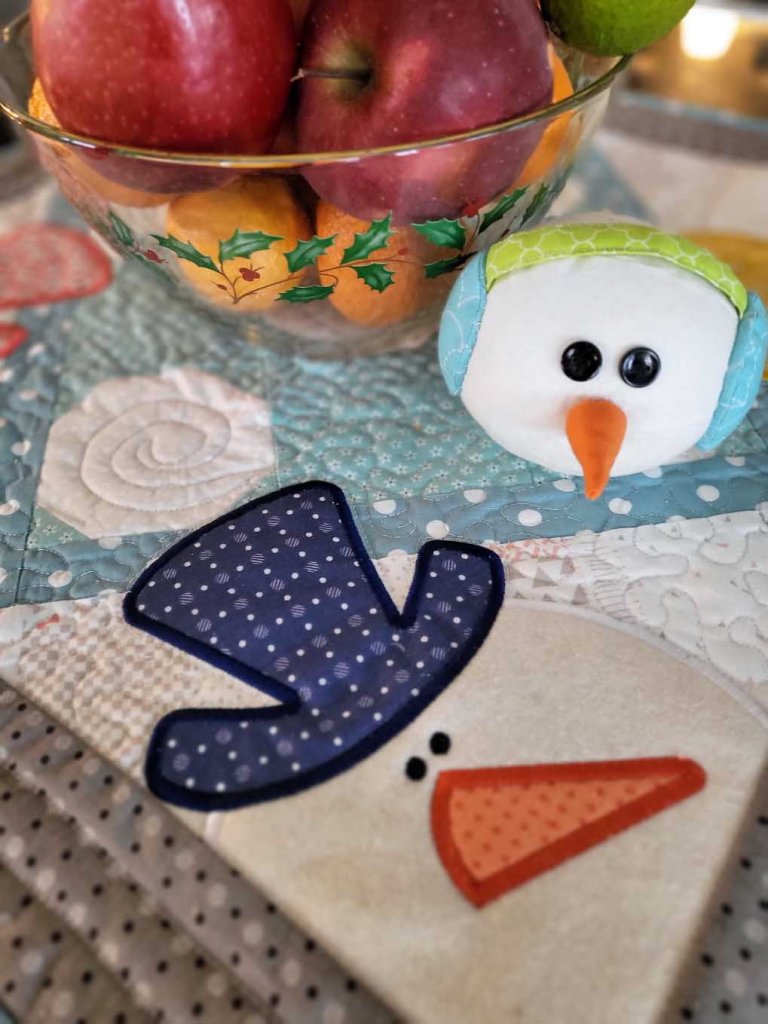
The little snowman head is a sewing pattern by Nancy Halvorsen.

This oldie but goodie wall hanging was a quilt along on Lori Holt’s blog back in 2014. It is not machine embroidery. It uses pieced blocks.

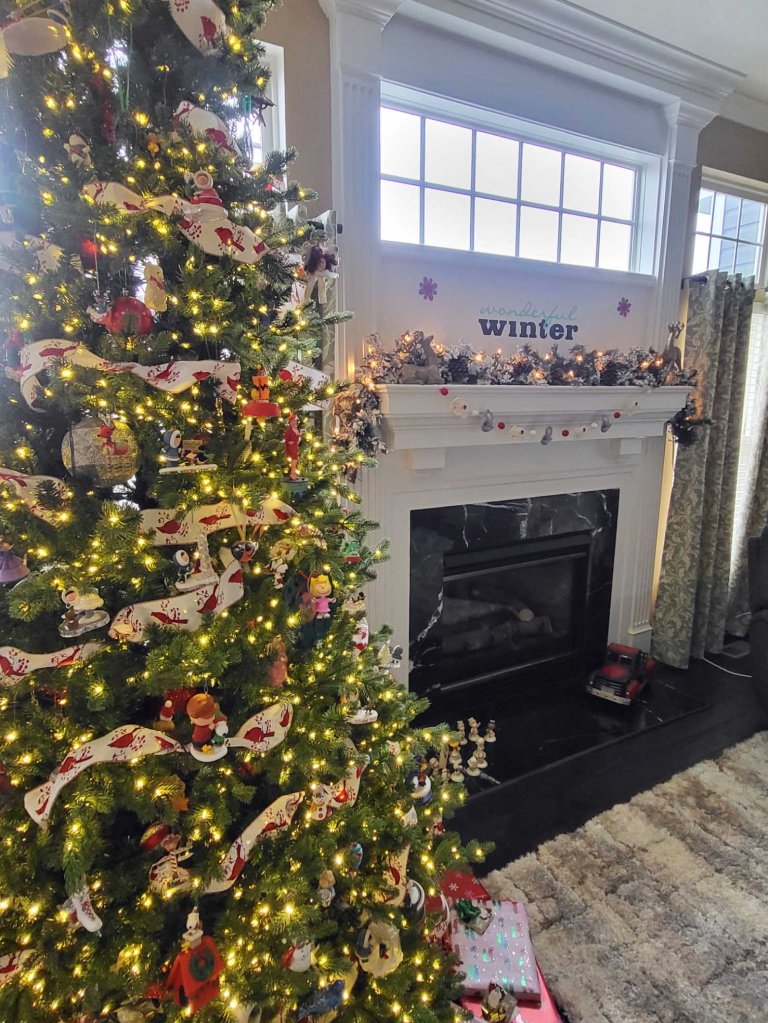
To add a handmade touch to my fireplace mantel, I used a vinyl phrase and a woodland-style garland.

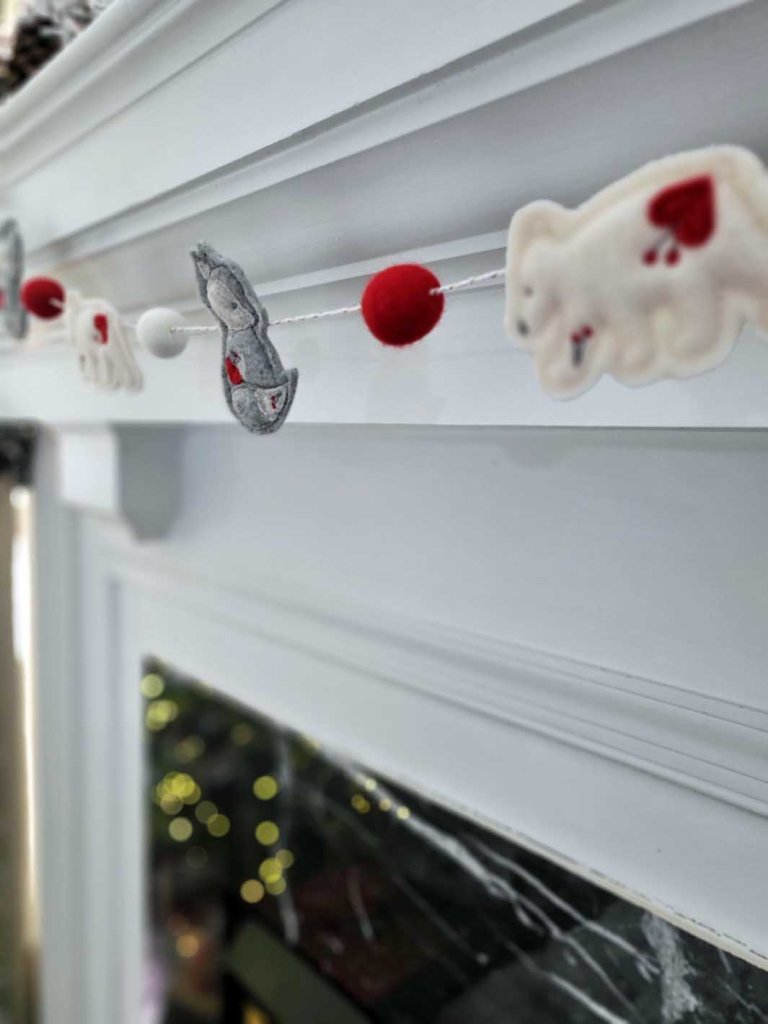
The cute little critter garland is from the Kimberbell Heart-Felt Friends collection.

For the “wonderful winter” phrase, I cut removable vinyl with my Cricut maker. The phrase is from Cricut Design space.

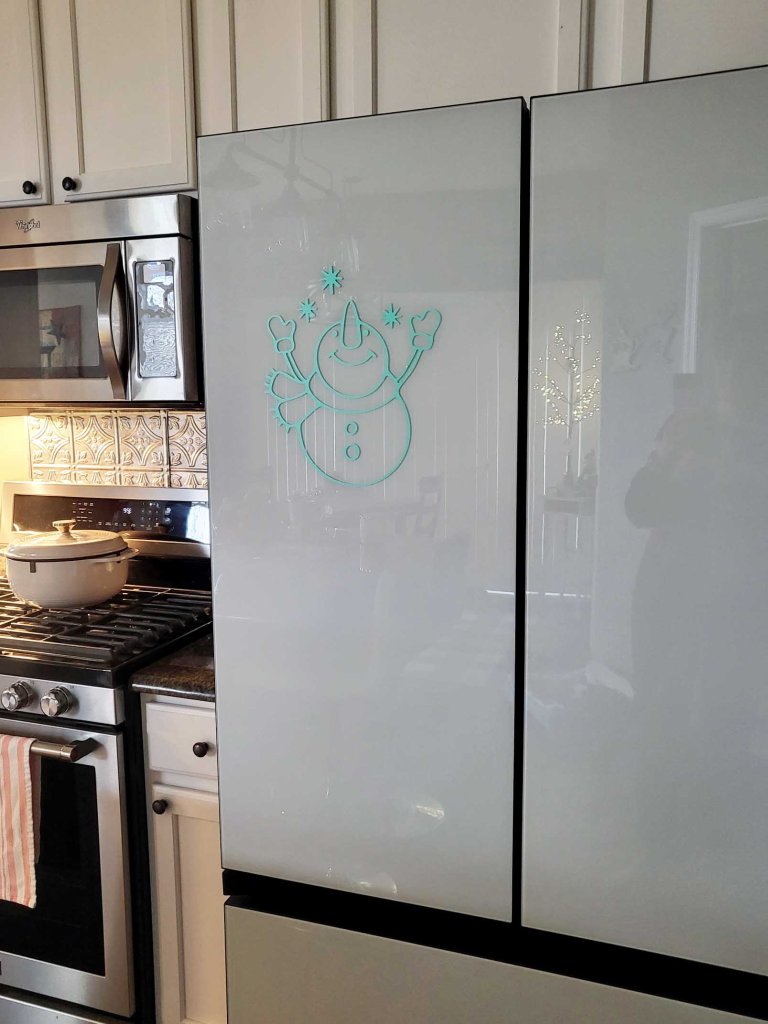
Another removable vinyl design that I added to my winter decor is this sweet snowman. It was difficult to get a nice photo because my refrigerator reflects the images in the room.

My Jingle All the Way quilt hangs in the entryway to greet guests at the front door.

I appreciate all the details that Kimberbell adds to their machine embroidery designs.

This 3 tier tray is a favorite of mine from last Christmas (2022). It sits here on my dining table on top of a small pieced and quilted topper that I sewed up for my mom in 2010. The memory of sewing that table topper and gifting it to her, makes it feel like she is present here with me at Christmas.

These Kimberbell embroidery hoop frame designs give my prim style tree a touch of modern Christmas whimsy

Thank you all for reading my blog. I hope you enjoyed the handmade decoration tour. If you celebrate the birth of our Lord, I pray that you have a blessed, Merry Christmas. And to all of my readers, you are in my thoughts often. 

Running With Scissors, Patterns by Annie

I used one of Annie Unrein’s (Patterns by Annie) newest patterns:
Running With Scissors to sew this useful case.
The name of the pattern itself is clever,
but the assembly instructions for this one
are some of the most clever from any of the Patterns by Annie.

I started by quilting my main fabric, Soft and Stable,
and lining fabric together using my Block Rockit quilting machine.
BTW, I have my 14″ Block Rockit on a 5 foot frame.
In my opinion, that is the perfect set up for a bag maker such as myself.
The cotton quilting fabric that I use is 44/45 inches wide,
which fits perfect on the 5 foot frame.
Also, I don’t ordinarily quilt large quilts, just lap size,
so my set up stays this way all the time.
I prefer to quilt my fabrics and soft and stable all in one large piece
because cutting of all the components of the bag goes very quickly
after the fabric is all quilted.
Patterns by Annie usually follow a general set of steps.
In case you missed it, click here for my blog post on those steps.
There is an updated method of sewing the handle and “spine” support for this pattern.
It is different from other By Annie patterns that I have sewn in the past.
I really, really like the new method.
It helps keeps the top of the bag from bowing when it is filled with your supplies.
Speaking of supplies, you can fit a plethora of sewing supplies
(or whatever type of supplies you plan to carry) in this handy case.
The interior of the spine features fold-over elastic bands to hold items such as spools of thread.
And there are numerous slots and zippered pockets (vinyl, mesh, and quilted fabric).

Another plus about this pattern, is that the construction is done flat.  

← Interior

Exterior→
The zipper does not go in until the interior and exterior have been completed.
After the zipper and zipper tab are done,
the binding is added and that is the last step.
Here is what I have to say about the zipper and tab:
1.  After inserting the zipper, cut it the length instructed in the pattern,
then, if it is too long for your taste, cut a little off at a time until it is the length you wish
(for my personal taste, this zipper tail is too long, so I plan to cut it down by about half).
2.  Add a metal zipper end for a more professional touch:
Gather your zipper end supplies and mark the length of your zipper

Cut the zipper along your marked line (DO NOT use your good fabric scissors)

Roll the sides of the zipper toward the center on the wrong side of the zipper

Use a dab of glue for added security
(my favorite is Guterman HT2, available on Amazon)

Push the zipper down into the zipper end as far as it will go
and allow the glue to set for about 30 minutes

Add the teeny, tiny little screw that comes with the zipper cord end,
and tighten it down with a teeny, tiny screwdriver

Here’s what it looks like on the top side

In case you haven’t had enough of my ramblings,
here’s a video to give you a closer look at my tool case:

Thank you so much for reading my blog.
Have a terrific time sewing your own tool case.

Katie Cupcake Cheerio Wallet Pattern

I’ve really put my Necessary Clutch Wallet through the paces,
so I decided it was time for a new wallet.
Whilst I love my NCW, I also really enjoy trying new patterns.
So I decided on the Cheerio wallet pattern this time around:
I did alter the flap pattern piece so I could use the metal edge trim from Emmaline Bags.
The lining is one big, long piece.
Be certain to mark all the lines as indicated on the pattern.
Beginning with the bottom of the lining,
self-made (or purchased) binding is attached at the first line
(with the lining wrong sides together folded at the line).
Then the binding edge is folded up to the next line, etc.

It’s kind of like fabric origami.
If you are new to zipper insertion,
or just timid about giving it a try –
no worries.
The pattern walks your through a very simple zipper insertion method.
I used an ivory By Annie handbag zipper and a lipstick color zipper pull.
I love having the option to customize my zippers.
I used By Annie Soft and Stable instead of the fusible fleece as suggested in the pattern instructions.

The Soft and Stable is a bit thicker than the fleece, so I added a stitched line to serve as my
“score” line so the wallet would fold nicely.
I chose to add an embroidered monogram to the front flap because the Blush linen 
just asked for some kind of embellishment.

The one step that I did not change, but that I would change on a future wallet,
is that I would insert a piece of Timtex the full size of the flap, rather than just a 2 x 2
piece as called for in the pattern instructions (see how the outline of the Timtex shows
through the fabric underneath the snap).
The fabrics I used for this wallet are:

English Roses by Penny Rose Fabrics for Riley Blake Designs

All in all, this is a quick and easy wallet pattern.
If you are in the market for a new summer sew,
this one would not take up much of your summer sunshine!
Happy Summer Sewing, friends!
Thank you for reading my blog.