I highly recommend this new pattern from Simplicity.
Before I go into any details about the pattern itself, I have to post a disclaimer about my choice of fabric: **I used what was in my stash because this is my muslin to test for fit and any alterations I might need to make.** That said, I used the fabric left from the flower girl and toddler boys’ vests that my son’s then-fiance asked me to sew for their soon-to-be-aborted wedding. No, I’m not bitter, just venting a bit. It has been almost 3 years since she stomped on my boy’s heart, so I’m moving on to using up all the bridal fabric that I didn’t have to pay for. Yay! So here is my fit muslin done in some kind of polyester bridal fabric:
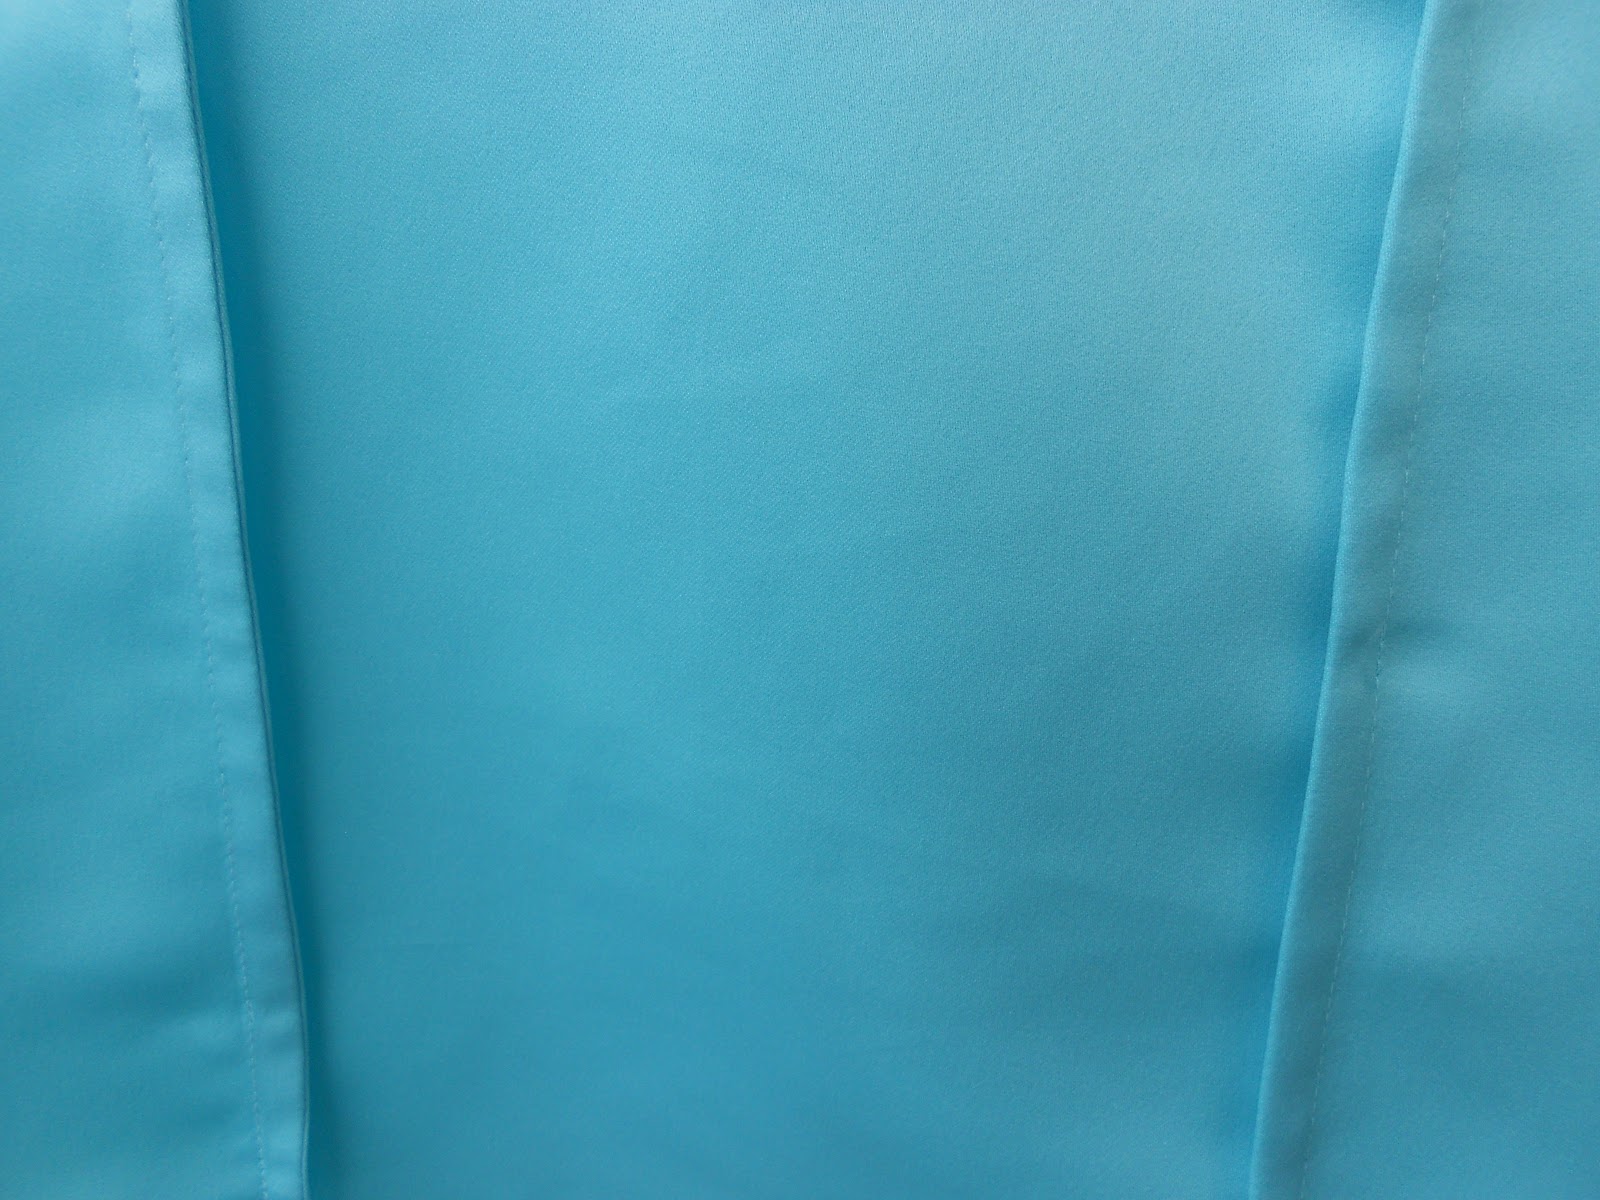
I do like the color a lot. And, yes, I realize I cut off the top of my head in this photo. That’s what happens when you’re using Sir Tripod and his trusty sidekick, Camera Timer!
This pattern sewed up quickly – maybe 2 hours from cutting out the pattern to hemming the garment. The side flounce is what sets it apart from being just another boring tank top. Sometimes we need those basic pieces such as tank tops, but I’m into some added details lately. Here’s a picture of the tank without the sweater:

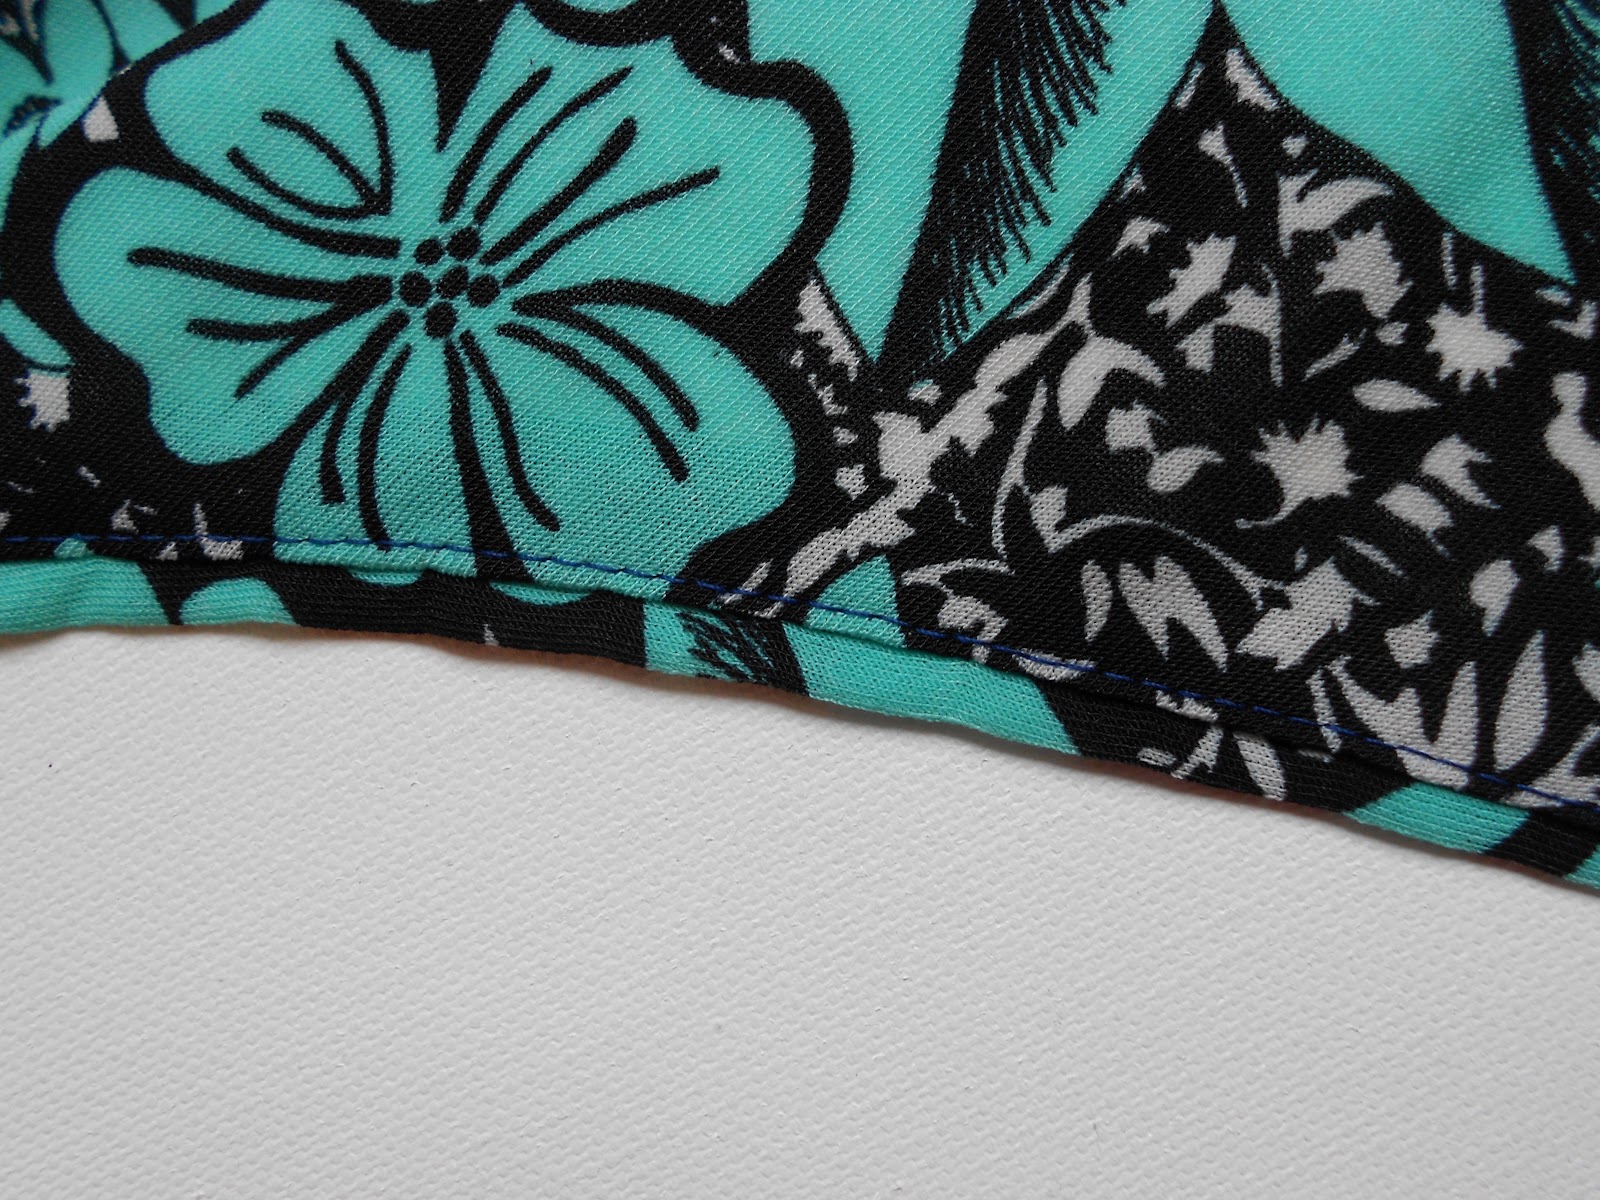
The pattern instructions call for a narrow double turned hem on the flounce. I am so not into making narrow, double turned hems. They are tedious and I always burn my fingers with the iron when I try to press down the hem. Enter my serger. I’ve come to rely on that nifty narrow rolled hem more than I realize. It’s my cop out to avoid narrow hems. But what stopped me from using that nice, neat, narrow rolled hem this time? My serger is at my local dealer for its annual cleaning. And to make matters worse, instead of the usual 7-10 day turnaround, they told me it will be 3 weeks before my serger will be ready. Are you kidding me? I can’t be without my trusty serger that long! Okay, okay. Take a deep breath, suck it up, and make that narrow double-turned hem as instructed. Here is a close-up of that dreaded hem:
But stay tuned. I will make one more version of this top. Next time it will be in 100% silk and that flounce will have a serged, narrow-rolled hem.
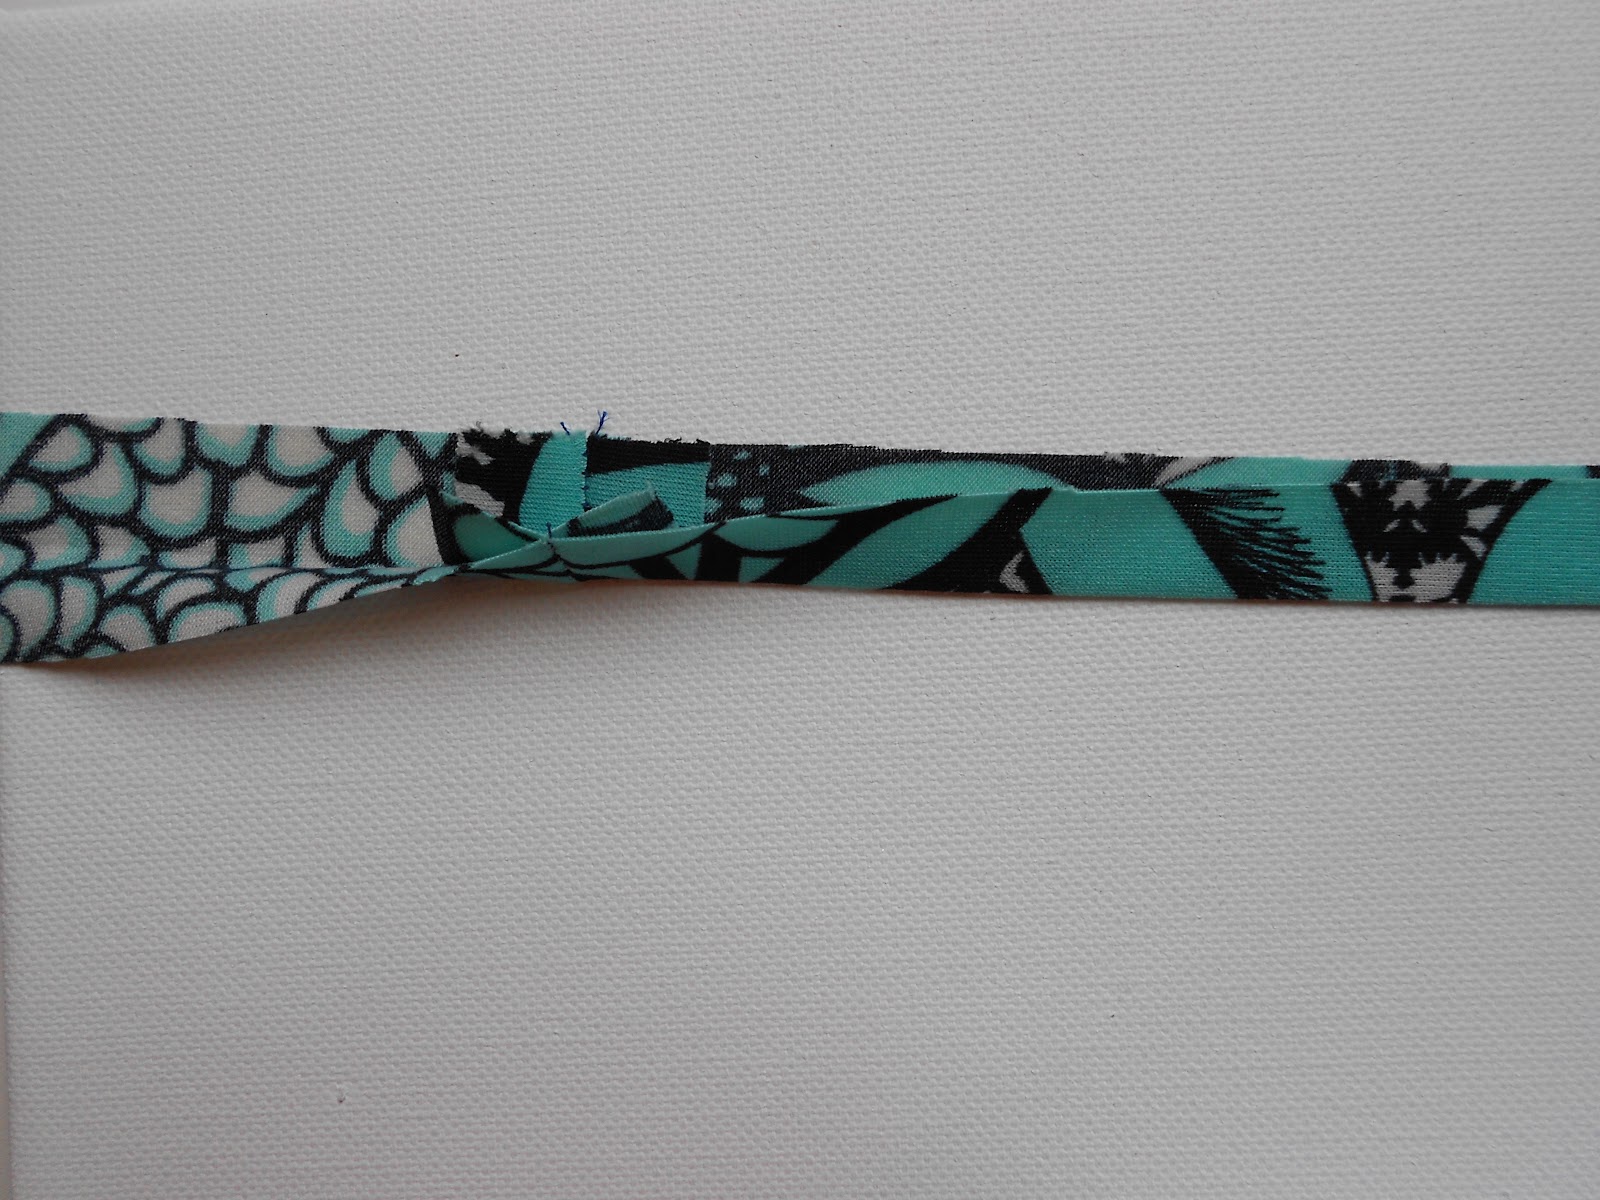
I also resorted to french seams as this fabric ravels terribly. They do give a nice professional finish to the inside.
Overall, this is a great pattern. Beginner’s should find it very easy to sew as well. Just be certain to use a nice drapey fabric. And when you sew those side front sections to the front piece, I recommend you pin that flounce out of the way so you don’t catch it in the seam. Just saying . . .