Scrappy Sunshine Quilt

I sewed this quilt in 2024 as a free sew along with Sew Very Easy on YouTube.  It was a mystery block of the month.  If you want to stitch up this quilt, the sew along is still on the Sew Very Easy channel.

I used mostly fabrics by Lori Holt, but the white (with teeny tiny yellow circles) background fabric is Basin Feedsacks by Stacy West.  The red is a Kona Solid.

I believe the quilt finished up around 72″ square.  I used a Lori Holt wide back and did some basic freemotion quilting with my Block Rockit.  My new quilt is at home in our guest room.

Thank you for stopping by. Happy Sewing!

Free Machine Embroidery Download – Valentine Coasters

If you are looking for a sweet, quick, and FREE Valentine accent for your home,
or for a gift, head on over to Creative Machine Embroidery Magazine
Do hurry, though.
The free download expires February 28, 2018.
The instructions are in the January/February 2018 issue.
The design will fit in a 5 x 7 hoop,
but I wanted to stitch out two coasters at a time,
so I chose to use the 8 x 8 hoop on my Baby Lock Alliance.
I used embroidery software to copy and paste a second coaster.
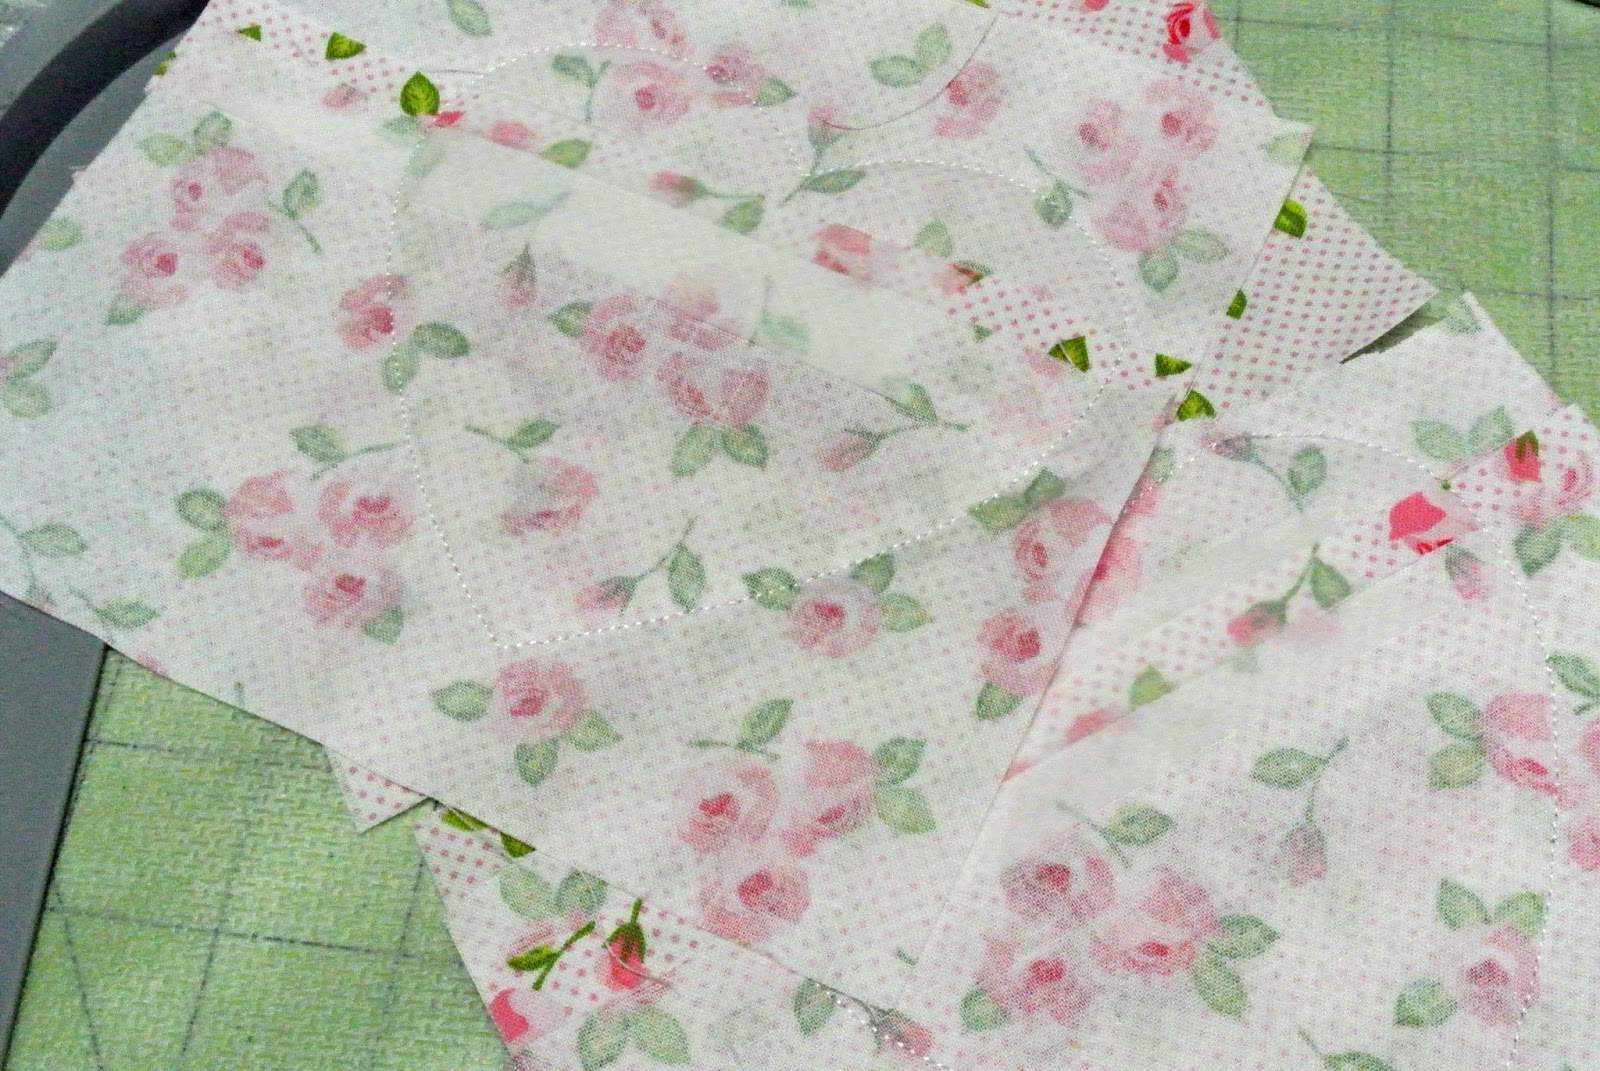
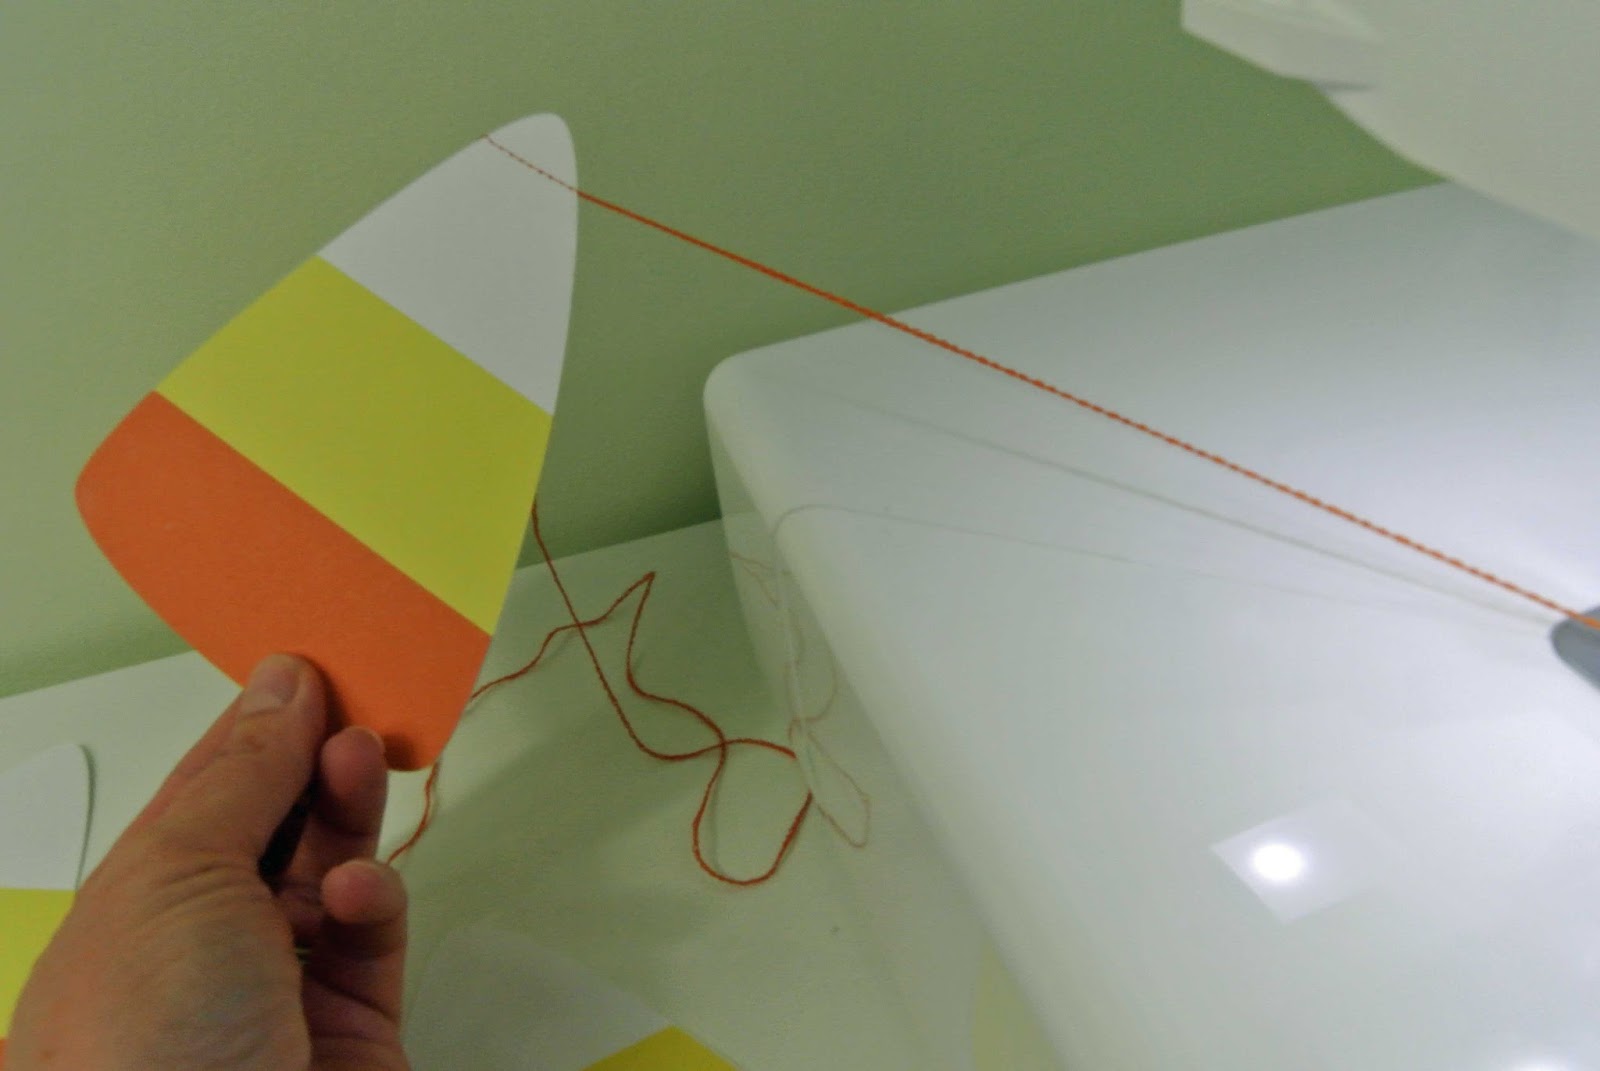
As you can see in the above photo, I did have to turn each design
slightly to fit both of them inside the hoop.
Because I pretty much “squished” two coasters into this hoop,
I cut the batting and main fabric piece at 5 x 7 inches,
which is smaller than indicated in the instructions;
but they still covered the placement line.
Once the front of the heart is stitched out,
two 4 x 7 inch fabric pieces are placed face down on top of
the stitched out heart (I used low tack tape to hold them in place).
The outline of the heart will then stitch them in place,
you will remove the entire design from the hoop,
trim around the heart, and turn it right side out.
The instructions suggest using pinking shears
to trim around the heart, and I highly recommend doing just that.
They add the perfect ‘clip’ marks so your heart turns easily with nice, smooth edges.
There is one misprint in the instructions:
The third bullet point under PREPARE on page 21 of the magazine
instructs you to fold the short edge of one 4 x 7 rectangle toward the wrong side –
in actuality, you should fold the long (7″) edge of the 4 x 7 rectangle
toward the wrong side and press.
I recommend using a press cloth over the embroidery.
Some embroidery threads could melt or discolor under direct contact with the iron.

A beautiful stemmed glass (purchased for $4.50 at a local vintage shop)
and a lovely Valentine coaster make my morning cranberry juice that much sweeter!
With much l💙ve, thank you for reading my blog.

Candy Corn Garland

Here’s a papercrafting project that also uses a bit of sewing, or serging, as the case may be.
This garland is hanging from the side window of my cute, backyard potting shed.
The candy corn cut file is a free download from Hey Let’s Make Stuff.
I cut the card stock on my Cricut Maker and for each candy corn,
I cut two of each of the yellow and orange components
( one for the front and one for the back)
because I knew the back side would show since it was going to hang in a window.
That way my candy corn is double sided.
I’ve seen a number of paper, felt, fabric, etc. garlands stitched together with the sewing machine.

That is an effective way to quickly make garland, but if you have a coverstitch serger,
the chain stitch gives you more flexibility in designing your garland.
When using a sewing machine, the candy corn would have to be right next
to each other because sewing machines are not meant to sew without something under the needle.
But a serger allows you to endlessly chain off without anything passing under the needle.
I spaced my candy corn pieces about 12-15 inches apart from one another.
That way I didn’t have to spend a lot of time making numerous candy corn pieces,
but I could still make my garland the length I needed to drape in front of my window.
I used Coats and Clark polyester sewing thread in the needle,
and I used Sulky 12 weight thread in the chain looper.

And I set my stitch length to 1.

That combination gave me a nice, sturdy chain for my garland.
I will definitely be putting my Cricut Maker and
my Baby Lock Triumph to use making more
seasonal garland in the upcoming months.
Do you make your own garland?
Do you use papercrafting, quilting, sewing, or something else?
I would love to hear about your garland decorating endeavors.
Please leave a comment, I enjoy hearing from you all.