Burda Style City Dress

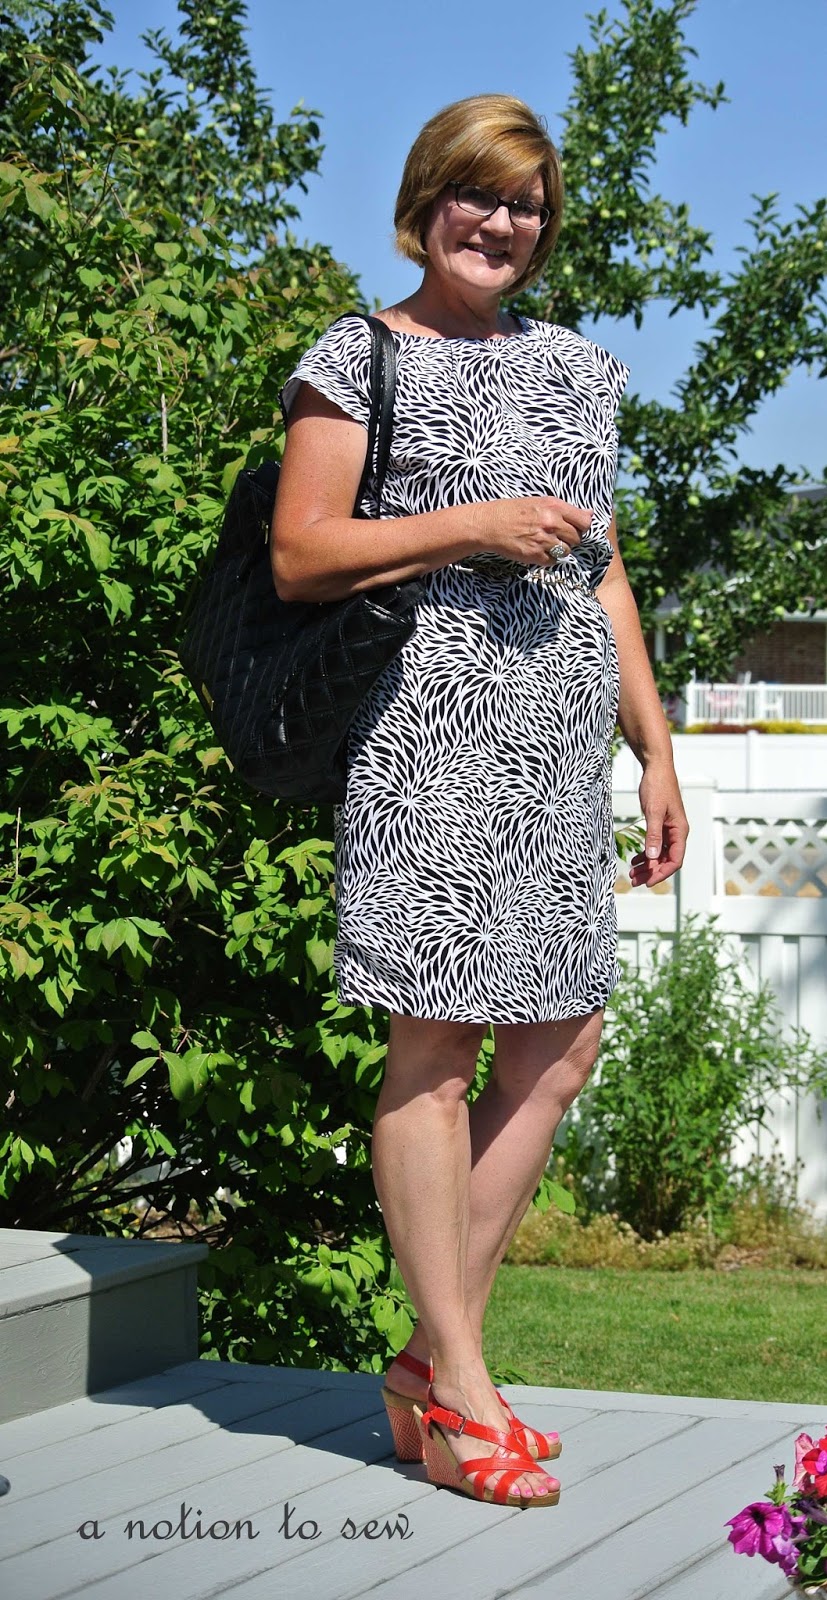
This pattern (Burda Style 04/2013 #108) was my attempt to try something different.  Am I pleased with the outcome?  Hmmmmmm, kind of.  The dress does look like the pattern photos, but unfortunately, I don’t look like the pattern model!

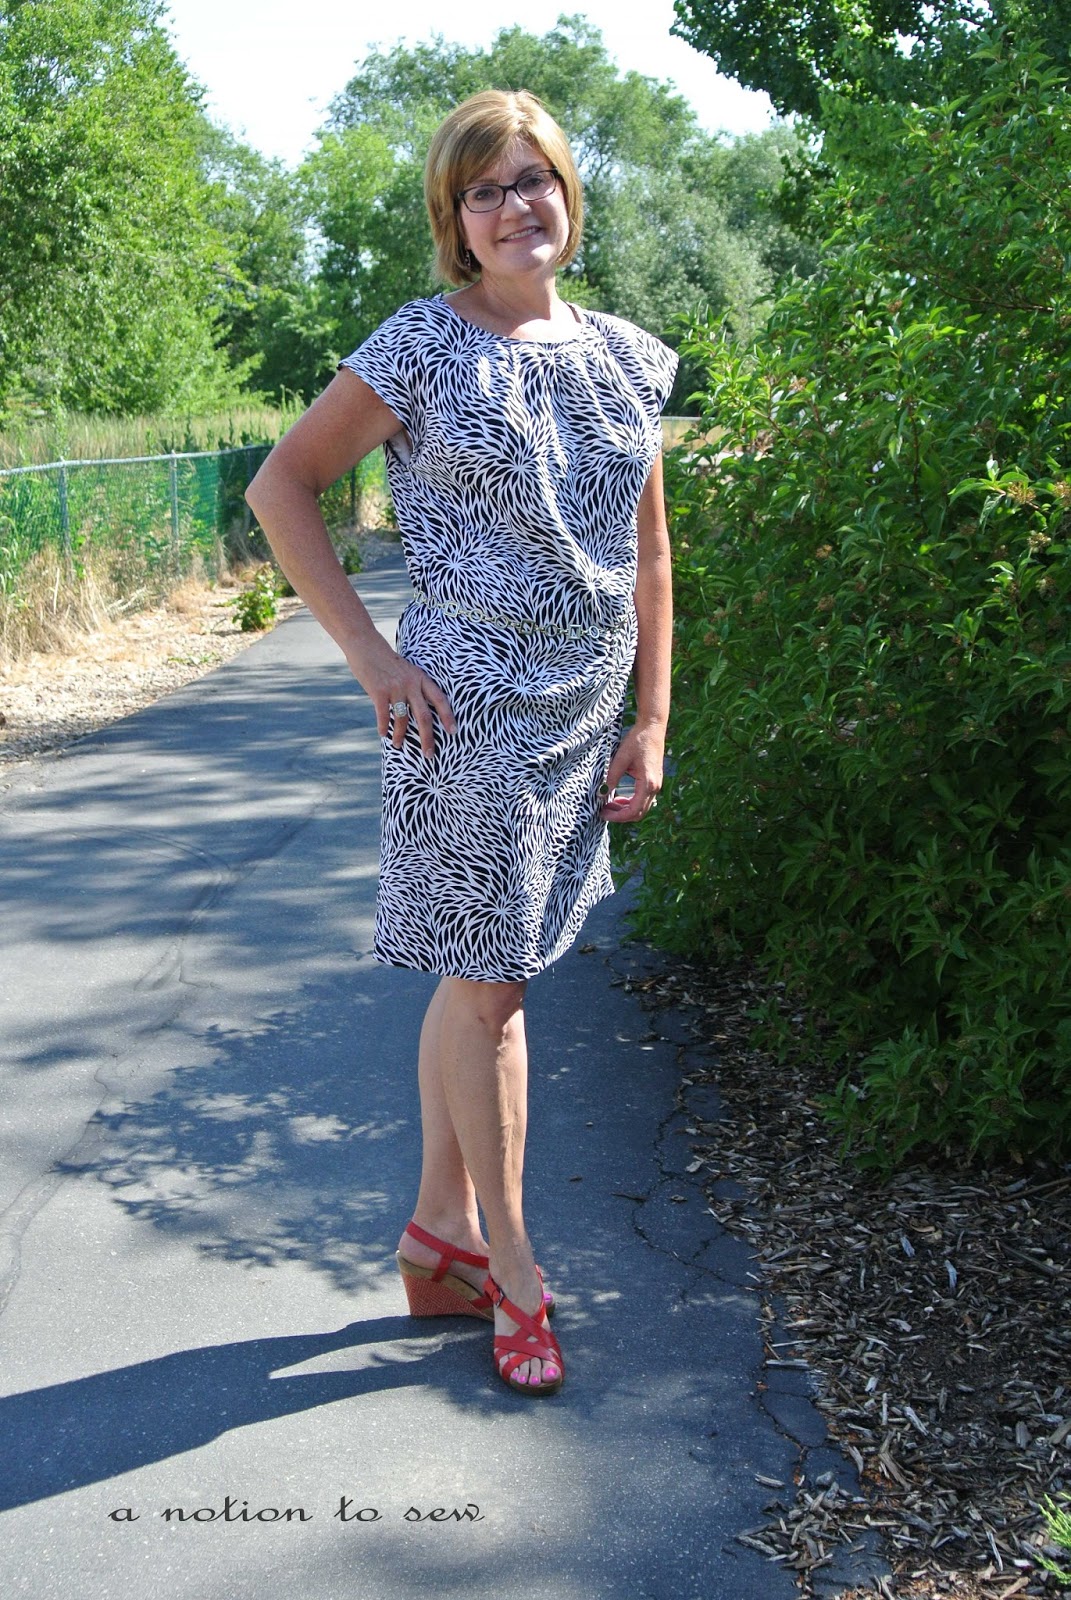
I am wearing a belt with the dress, but it still hangs like a sack.  I prefer my dresses to have more emphasis at the waist and to be more fitted through the torso.  I knew going in that this pattern didn’t have either of those preferences, but I just had to try something out of my comfort zone.  And now, my zone of comfort is to not wear this dress out and about.  But all is not a total loss.  I will wear it with flip flops when I’m hanging out at home.

Now on to something more my style.  Perhaps a cute button-up blouse, or a fitted-bodice, circle-skirted dress of some sort.

What about you, do you stick to the same styles when you sew for yourself?  Or do you venture into unknown territory?

Have an excellent weekend.

Pam

Burda Dress and Milk Paint Chair and ScrapBuster Trivets, Oh My!

Hey everybody, I know it has been some time since I checked in on my pitifully-neglected blog.  Here are some of my completed projects from the month of June.  I just wanted to share a glimpse with you all before I head out the door for a camping weekend.  I will share complete posts on each one of them next week. I haven’t been able to write any reviews this month because  I dropped my camera broke and I was without one for about six weeks.  And let’s face it, a DIY review without photos is like a hot fudge Sunday without hot fudge!  My sweet hubby bought me a new camera two days ago and I’m learning to use it.

The top left is a peak of my new dress using Burda Style #108 pattern from the April 2013 issue.  Top right is a crochet table runner.  The little crochet flower will adorn the bottom left ScrapBuster Trivet from the Sew 4 Home blog.  And finally, another Sew 4 Home ScrapBuster Trivet is sitting atop the newly painted, chippy chair on which I used Miss Mustard Seed Milk Paint.

Okay, I’m venturing out into the 100+ degree temperatures to go camping.  Good thing the RV has air conditioning!  I know, that’s not really camping, but that’s how I roll!!!  The RV park  also has a swimming pool.  Don’t judge me!

Have a most excellent and enjoyable weekend.

Pam

Burp Cloths

 First, let me start with a warning!  These are not the best photos. 
My camera is broken and I had to use my cell phone for these photos.  🙂
 
I was invited to a baby shower but, *sigh*, I could not give the cute kimono and booties
because the mother to be is expecting a boy.
 
So I quickly sewed up a couple burp cloths and included a gift card for a nice little, last-minute gift.


I used kraft packaging paper for the gift ‘envelope’ by cutting it double the length,
then I folded it and sewed a straight stitch up the sides.
 
I then secured the two burp cloths together using a die cut strip of paper.
Then I clipped the gift card to it and tucked all of them inside the gift envelope.
 
The sweet deer tag was a free download from here. I’m not sure it is still available.
 
 
 I’ve never made burp cloths before
They are so straight forward and easy.
I sewed these in less than 30 minutes.
Having never made them before, and wanting to be sure my gift
did not fall apart in the first washing, I made an extra one to test.
 
Here it is after washing it in warm water
and drying it on the normal dry cycle.
 
 
I used white chenille on one side and a flannel print on the other side.
I must say, after the warm bath and dry cycle, this burp cloth
ended up soft as a baby’s behind.          🙂
 
Here’s a picture of the chenille side:
 
  
Now if you are in the market for such items as these,
there are a number of tutorials online.
Just search chenille burp cloths.
They are all pretty much the same.
 
 
Pam