Simplicity 2215

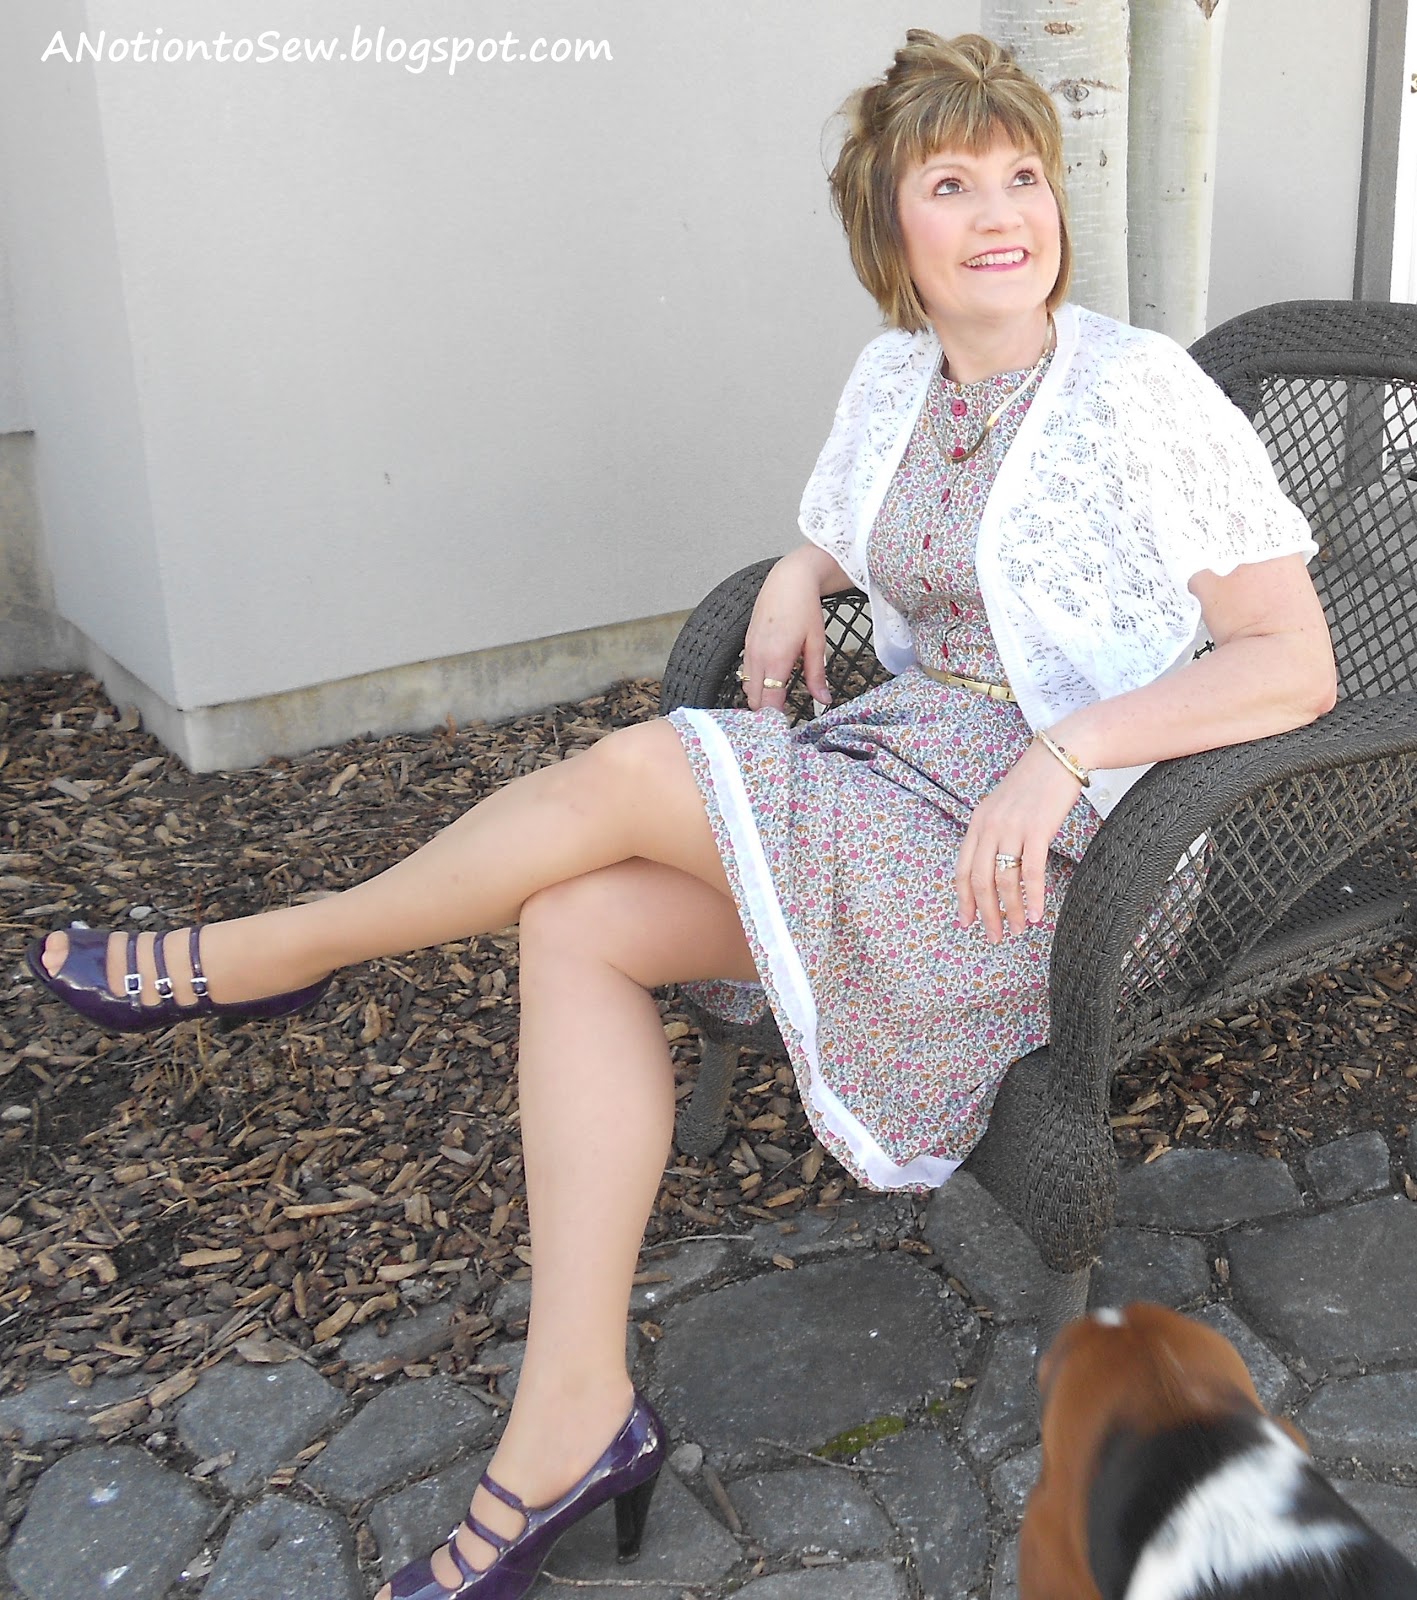
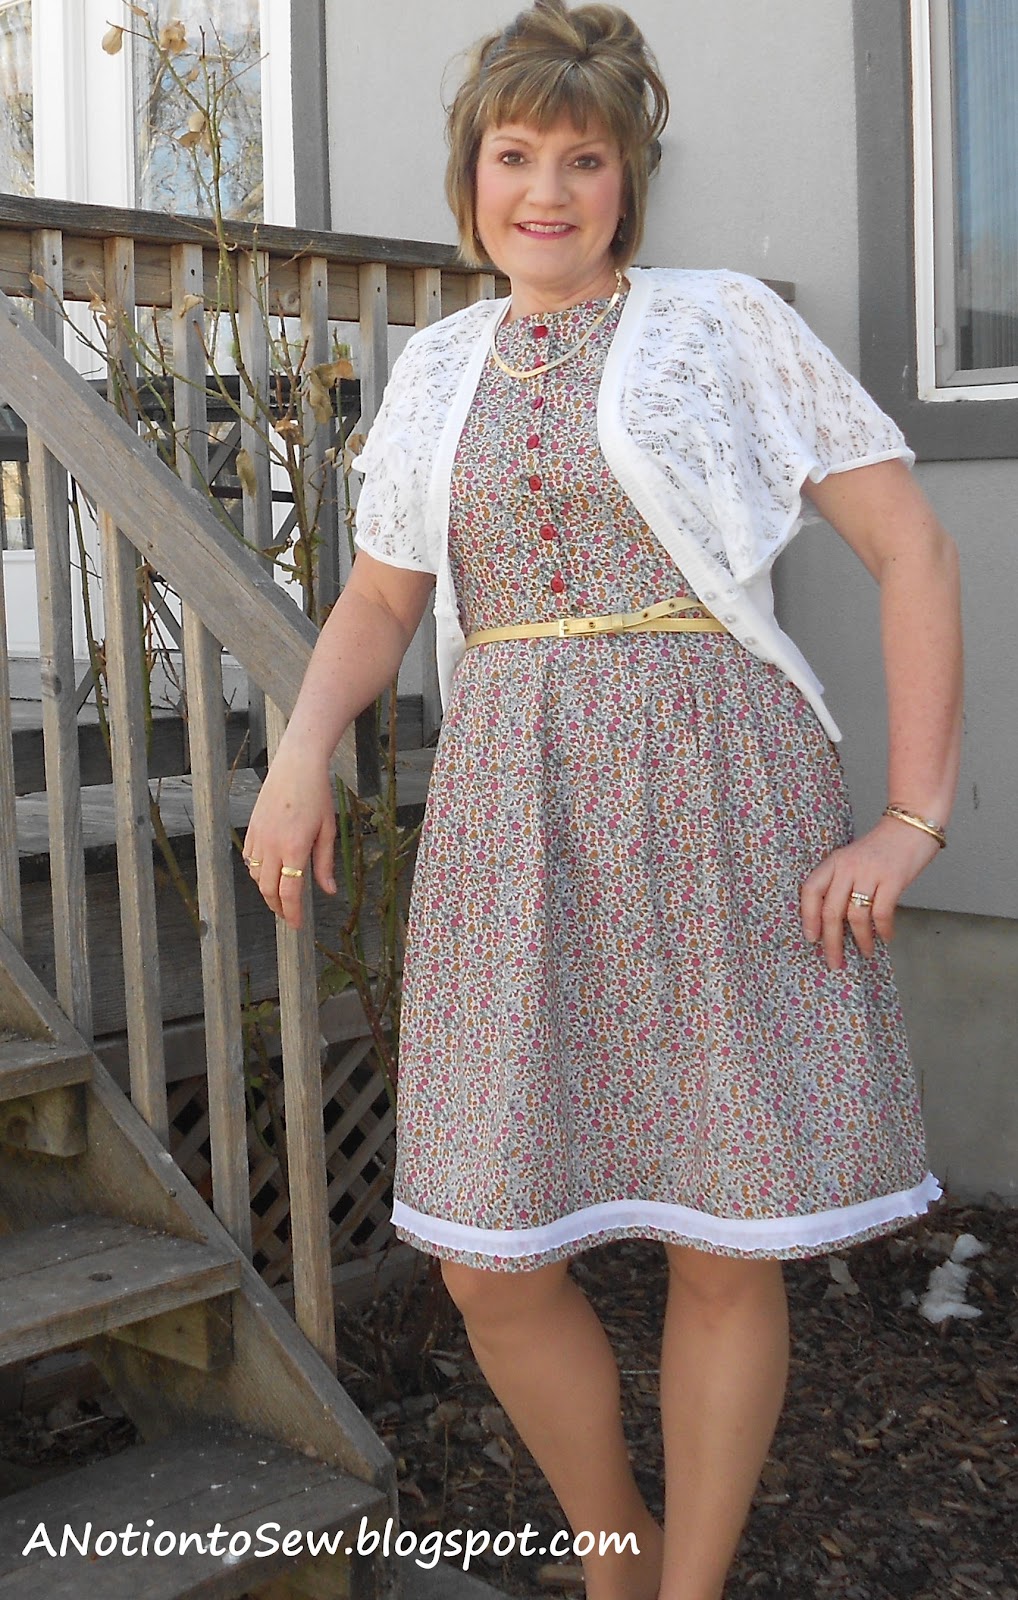
Here’s my Easter dress:

I used a beautiful, almost batiste-quality, 100% cotton fabric in a pretty springtime floral print from Yellowbird Fabrics in Salt Lake City.  The bodice lining is 100% polyester hang-free lining from Hancock Fabrics.
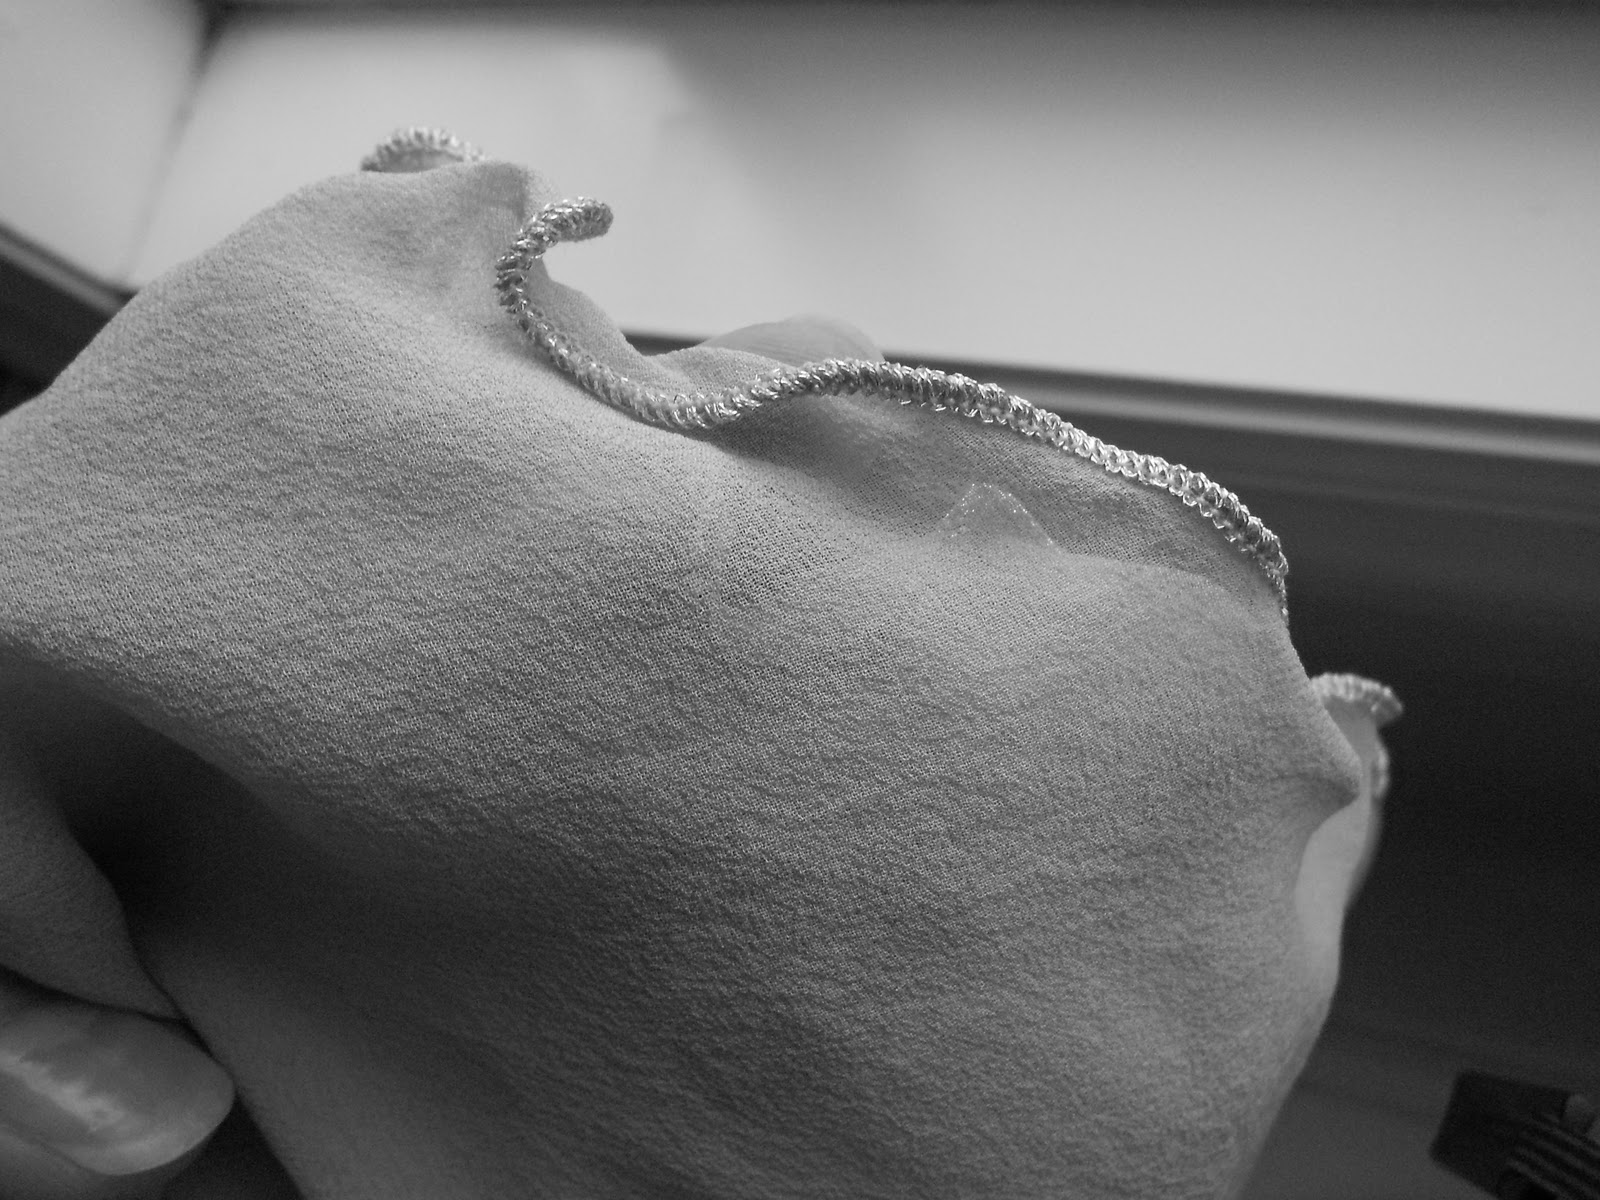
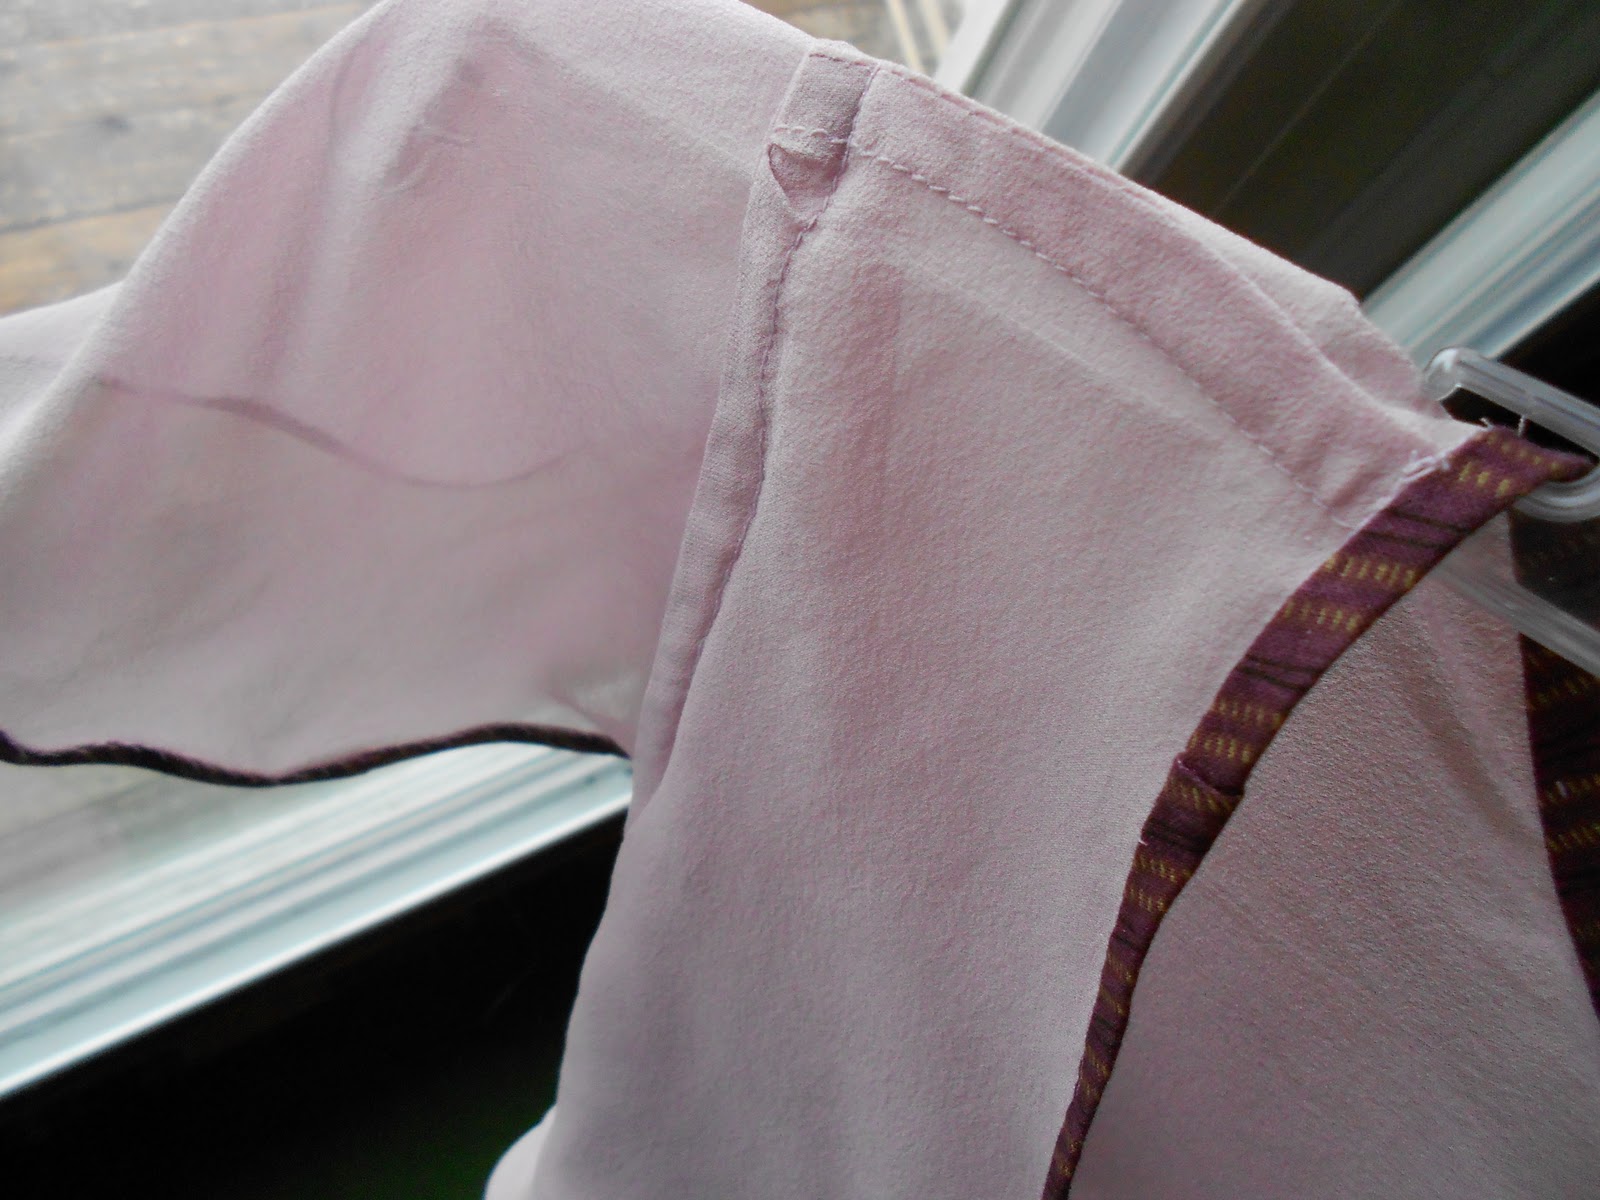
I only made two minor design changes.  The first was that I chose to not add the pockets.  I’m not a big fan of pockets in dresses and skirts, so I left them off.  On my frame, they add attention and sometimes bulk at the hipline, ugh!  The second change I made was to use ruffled fabric as a design element along the hemline.  I’ve included a tutorial of my process for adding the ruffled fabric.
I like that this dress has both a side zip and front buttons.  Side zips in a dress are a good thing because if I happen to get the zipper insertion off a smidge, it’s not so noticeable since it is buried under my arm!  I also like that it has the added benefit of front buttons.  The two entry openings make the dress very easy to slide on over the head.  The bodice is close fitting, so it is necessary to have as much ease as possible in getting the dress over the head.  It also helps to not mess up the hair!
I love the fit of this dress.  I made the size 12 and I did not have to alter any of the pattern pieces.  It is a very girly dress and looks very “Eastery”, but I will also be able to wear it all summer with flip flops or strappy sandals.  The fabric I chose is extremely lightweight so it should be very cool in our hot summer months.  A heavier weight fabric, such as denim as shown on the pattern envelope, could be used for a year-round version to be worn with sweaters, jackets, or long sleeve tees.  If you are not yet comfortable with inserting invisible zippers and/or buttons and buttonholes, I would not recommend this pattern until you have some experience with those techniques. 

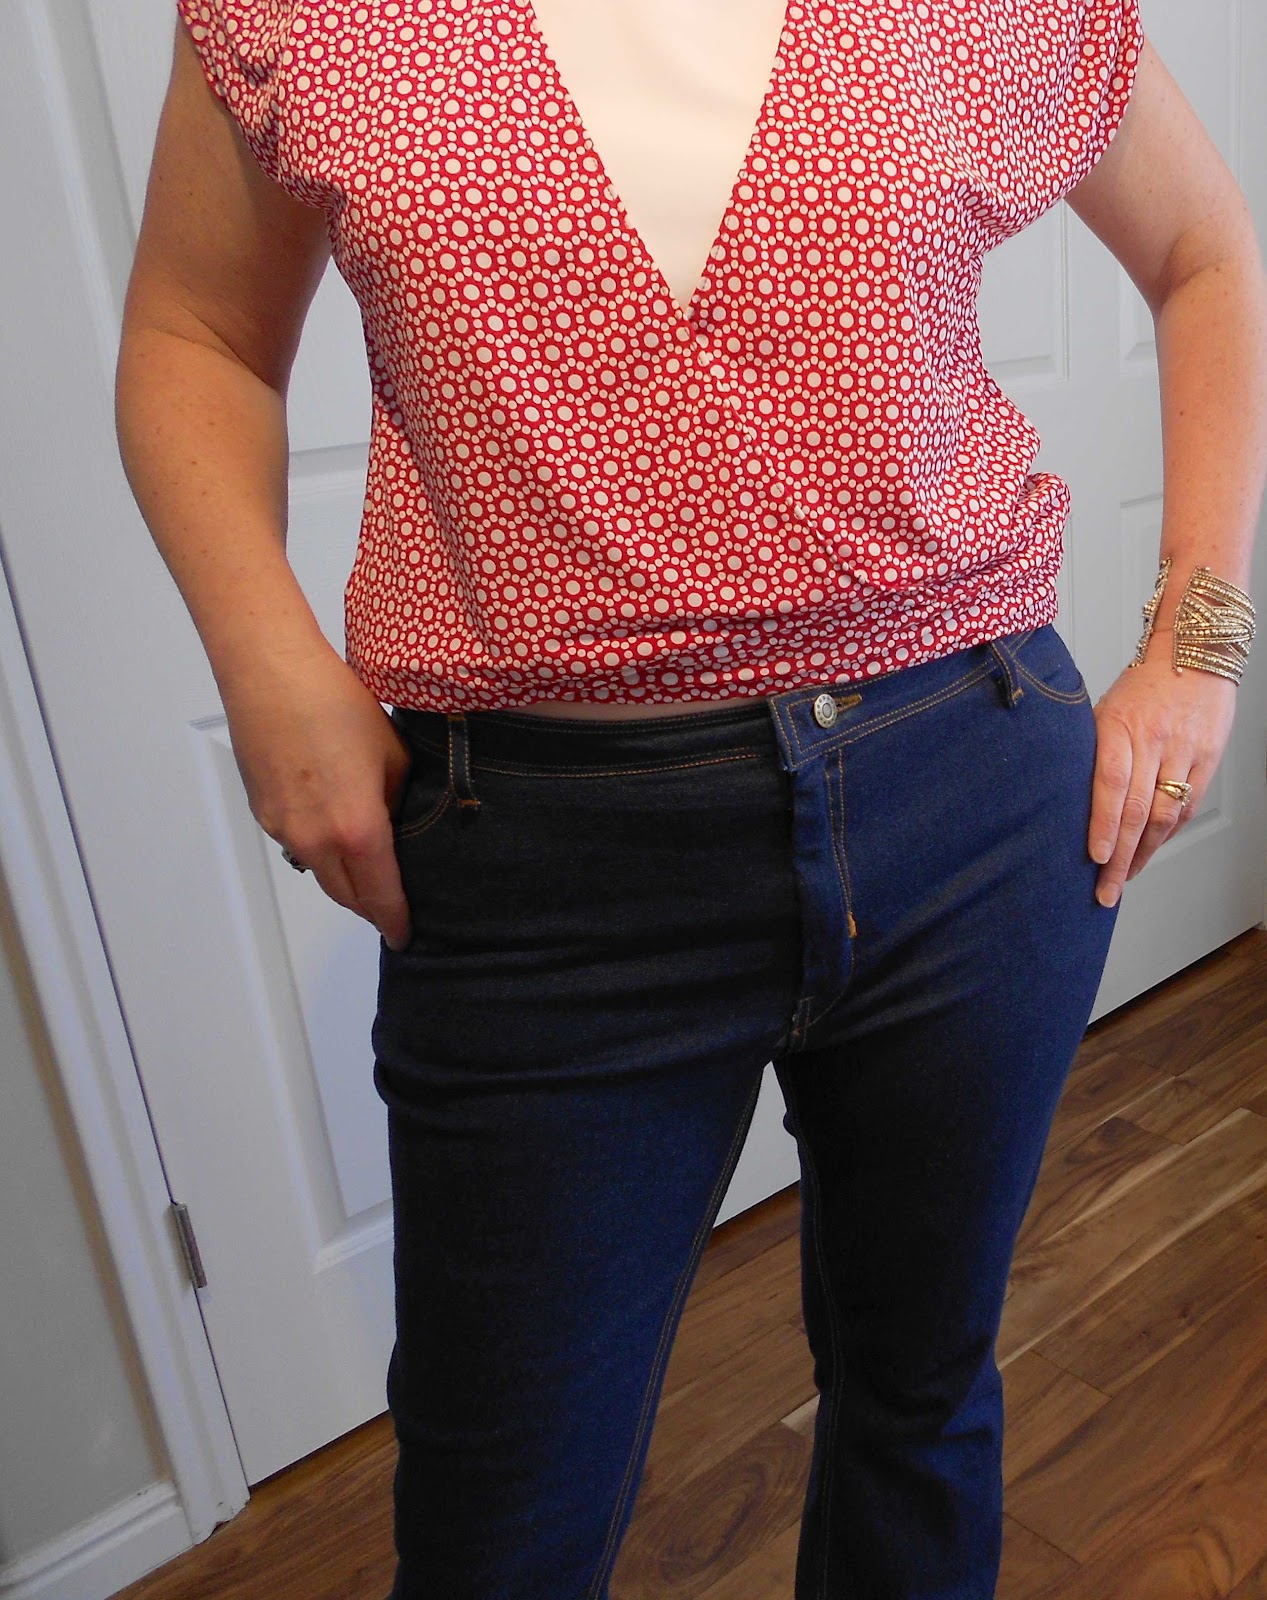
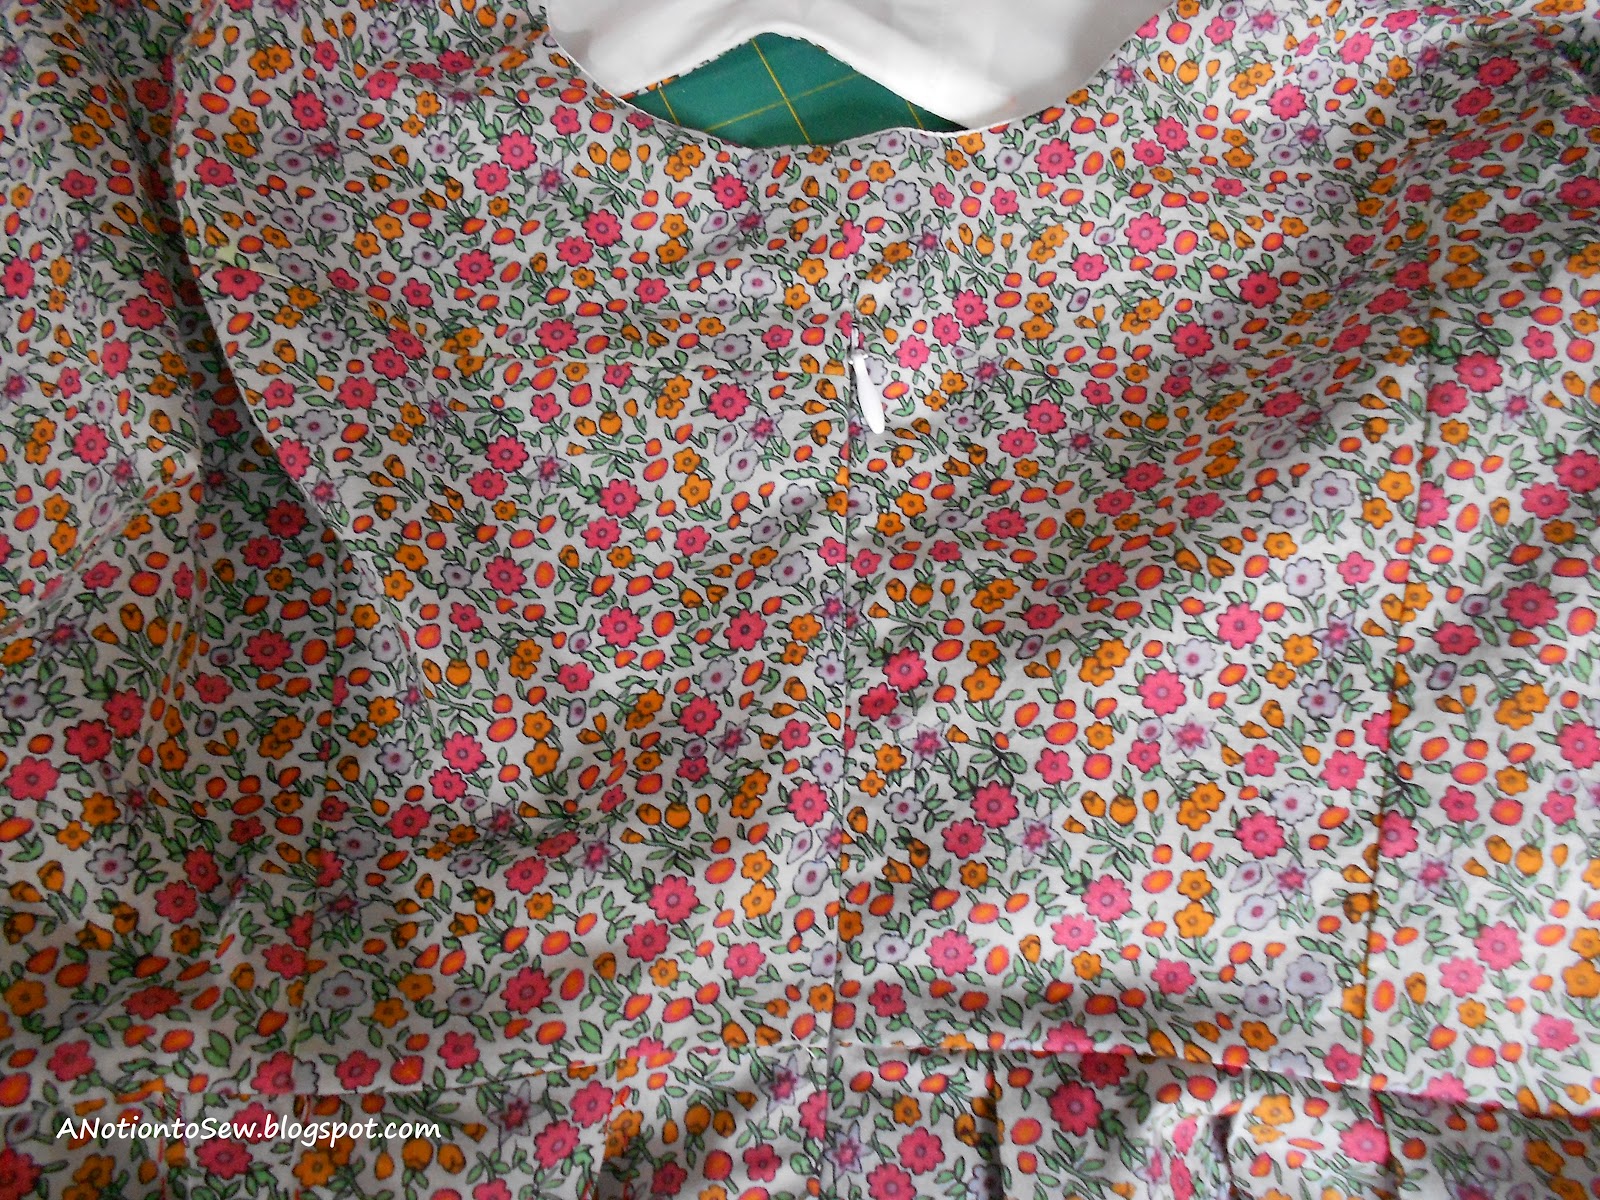
Here’s a shot of the side zip:

And here’s the buttons and buttonholes:

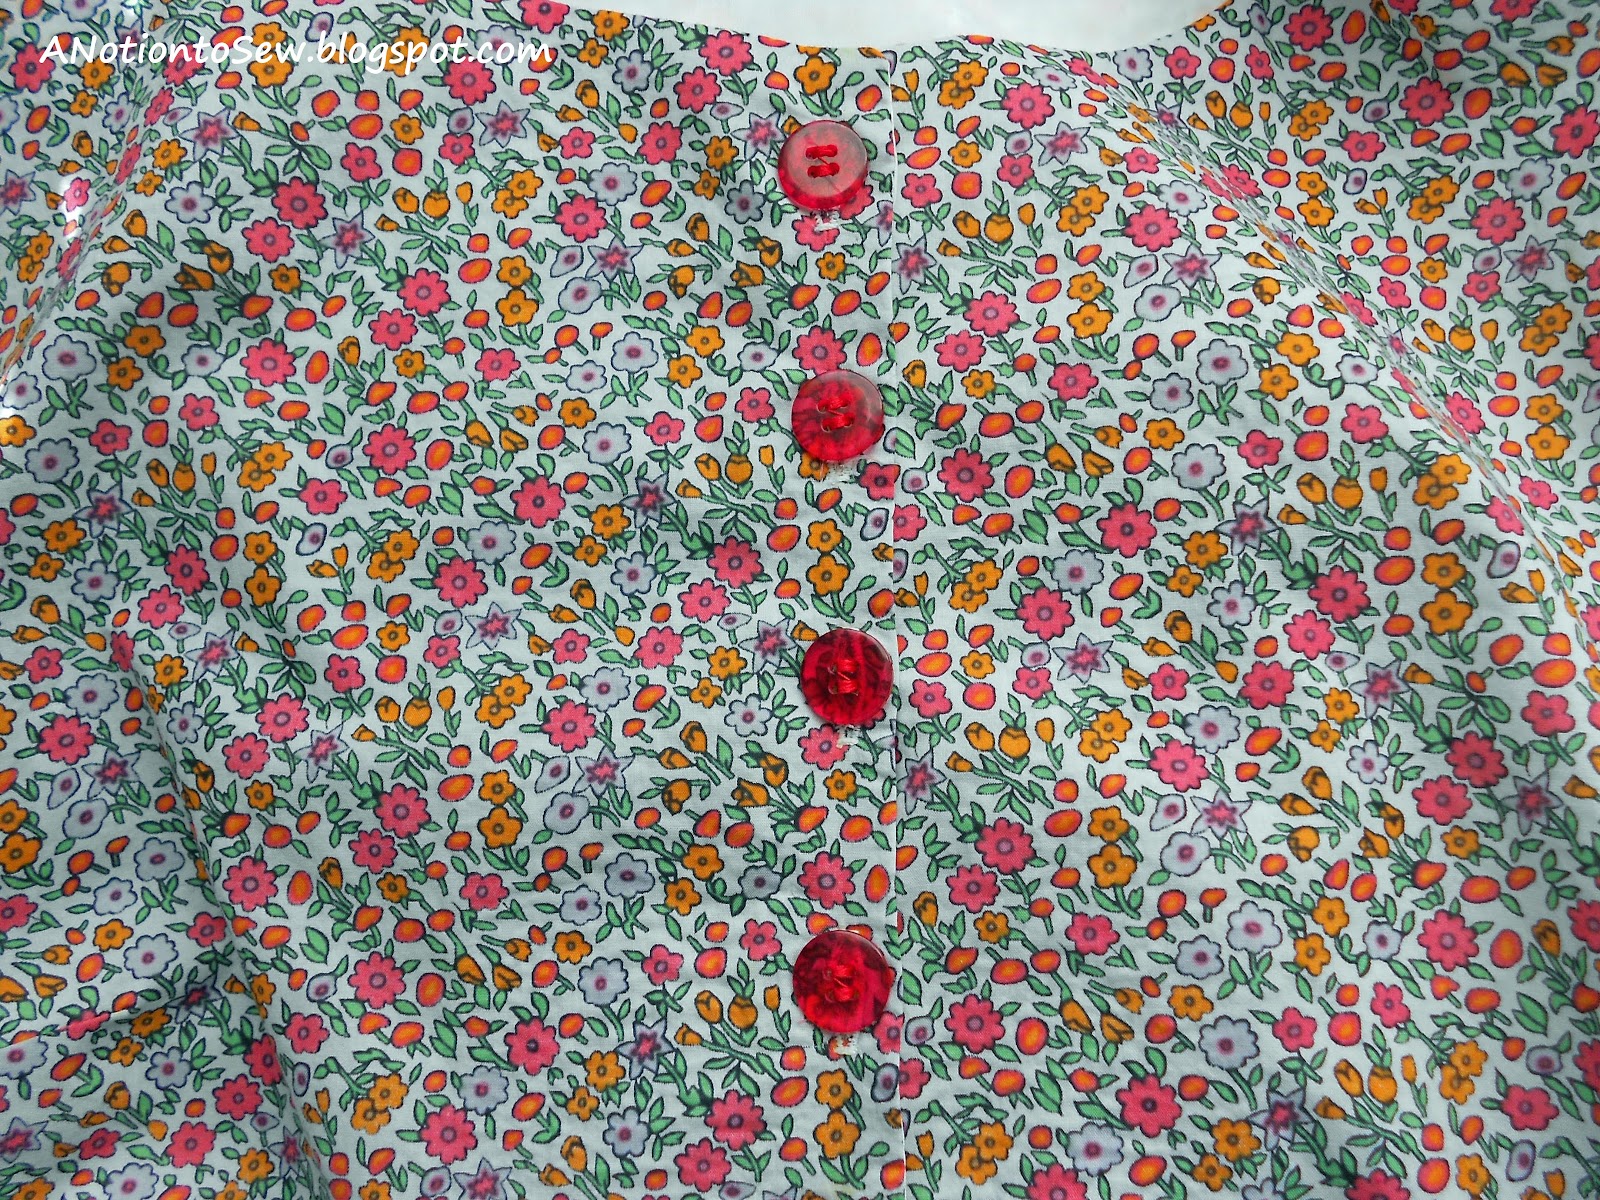
I did not follow the pattern instructions for either technique, so I can’t address how clear-cut the instructions are.  But the buttons and buttonholes are up front and center so they must be sewn with some precision. 

This is a great pattern and if it is your style I would encourage you to give it a try.

Jalie 2908 – Women’s Stretch Jeans

Let me start out by saying, “These are the most comfortable pair of jeans I own!” That would be because they fit!! I took Jennifer Stern’s Blue Print to Blue Jeans class over at Pattern Review and I actually made a muslin. In doing so, I discovered the reason my jeans always pull down in the back is not because I needed a longer crotch length, but instead, I needed to carve out just a little (5/8”) in the crotch depth. Ahh, no more sliding down my rear when I bend over!!! These jeans still looked good and fit great after wearing them for an entire day. That makes me happy.

(Top – Simplicity 3790)

View A has a low rise (2-3 inches below the navel) and View B has a regular rise (at the navel). I chose view B, regular rise, and they fall just slightly below my navel. I added 1 ½”to the length so I could wear my jeans with a slight heal.

I did not follow the pattern instructions as written because I was following along with the blue jeans class. I did however skim over the pattern instructions and I must admit, they seem to be a bit difficult to follow – logistically that is. They are printed on the very large pattern sheets along with the pattern pieces, which makes for an awkwardly large instruction sheet. Jennifer’s class on the other hand, was very easy to follow along.

I used indigo stretch denim from Hancock Fabrics that was 96% Cotton/4% Spandex. It is a bit lightweight, but will be nice for three seasons out of the year.

The pattern called for an 8” zipper, but I used a 6” zipper because that’s what my local store had. It was perfect. I think an 8” would have been too long for my taste. As for the rest of the closure, I used a jeans button and a rounded-end buttonhole. But a word of wisdom – when sewing the button hole, be certain to put it almost completeley against to topstitching along the vertical edge. As you can see, I was not paying attention to that little detail, and my button is too far to the left. I will have to add a hook and eye to that end to keep it flat.

The pattern pieces include three separate pieces for the fly construction (piece R-fly interfacing cut twice, and piece T-fly shield, cut once). I used Jennifer Stern’s method for fly construction which was much more straightforward and used only two pieces. I added ½” to the long straight edge of piece R and cut only one piece instead of two and I also used piece T-fly shield. The fly closure looks great and assembly was very easy to understand. Here’s an insider view of the fly:

For my first foray into jeans construction, I have to say it was a pleasant experience. I can’t vouch for the pattern instructions included with this pattern, but the pattern itself is terrific and the fit was just about spot on. It only required a few minor adjustments. I plan to make at least two more pair of these some time this year. One pair in a trendy color and another one in indigo, but a slightly heavier weight denim.

Colette Sewing Handbook: Taffy Blouse

Woo Hoo!  Here’s a blouse I know I will wear many times.

This is the second Colette pattern I’ve sewn up, and I’m liking the patterns more with each one that I make.  The fit is great.  I cut a size 8 from the shoulders down to the waist and then graded to a size 12 from the waist to the hem (darn hips!).  I did not make any pattern alterations.  Here is a picture from the side where you can get a glimpse of the back ties:
 

I will definitely sew up this pattern again, but the one and only design change I will make will be to move those back ties up a couple inches so they are just below my bust line.  In looking at these photos, I can see that would be a more flattering location for the ties.

The only detail I changed on this top is that I used my serger to make a narrow-rolled, lettuce hem.  I used regular poly thread in the needle and lower looper and for some interest I used a DMC silver metallic thread in the upper looper.  It is hard to see in these photos so here is a close up of the hem:

I always use French seams on sheer fabrics and this pattern is no exception.  For the binding, I simply used a 100% quilter’s cotton that I had on hand.  I initially thought it might be a little heavy for the neck binding and that it might “flop” down after it was applied, but I was wrong.  It lays beautifully along the neck and is not too heavy or bulky at all.

Bias binding


Inside finished seams

 Now I must begin my fit muslin for the jeans class that I am in over at PatternReview.com