How To: Five Easy Steps to Sewing with Patterns By Annie

If you are new to sewing a bag, tote, or organizer
getting started may seem a bit daunting.
Most of the patterns do not include actual pattern pieces.
That’s because the components are pretty much rectangles
or squares with rounded corners.
So the getting started instructions may seem extensive and intimidating.
If you look at the By Annie patterns with the following five steps in mind,
the process will come together much easier:

                                                                    1.  Gather
                                                                    2.  Quilt
                                                                    3.  Cut
                                                                    4.  Construct
                                                                    5.  Assemble

1.  Gather all your supplies as indicated on the back of the pattern and read through all the instructions before you start cutting.  Each pattern includes a back page that lists all the supplies you will need.

2.  Quilt your main fabric, Soft and Stable, and lining.  If you do this on your domestic machine, follow the cutting instructions before layering your fabrics and Soft and Stable for quilting.
If you are quilting your layers on a longarm machine, then do not cut the main fabric, Soft and Stable, and lining until after the quilting is completed.  **Instructions for each method are in the pattern**

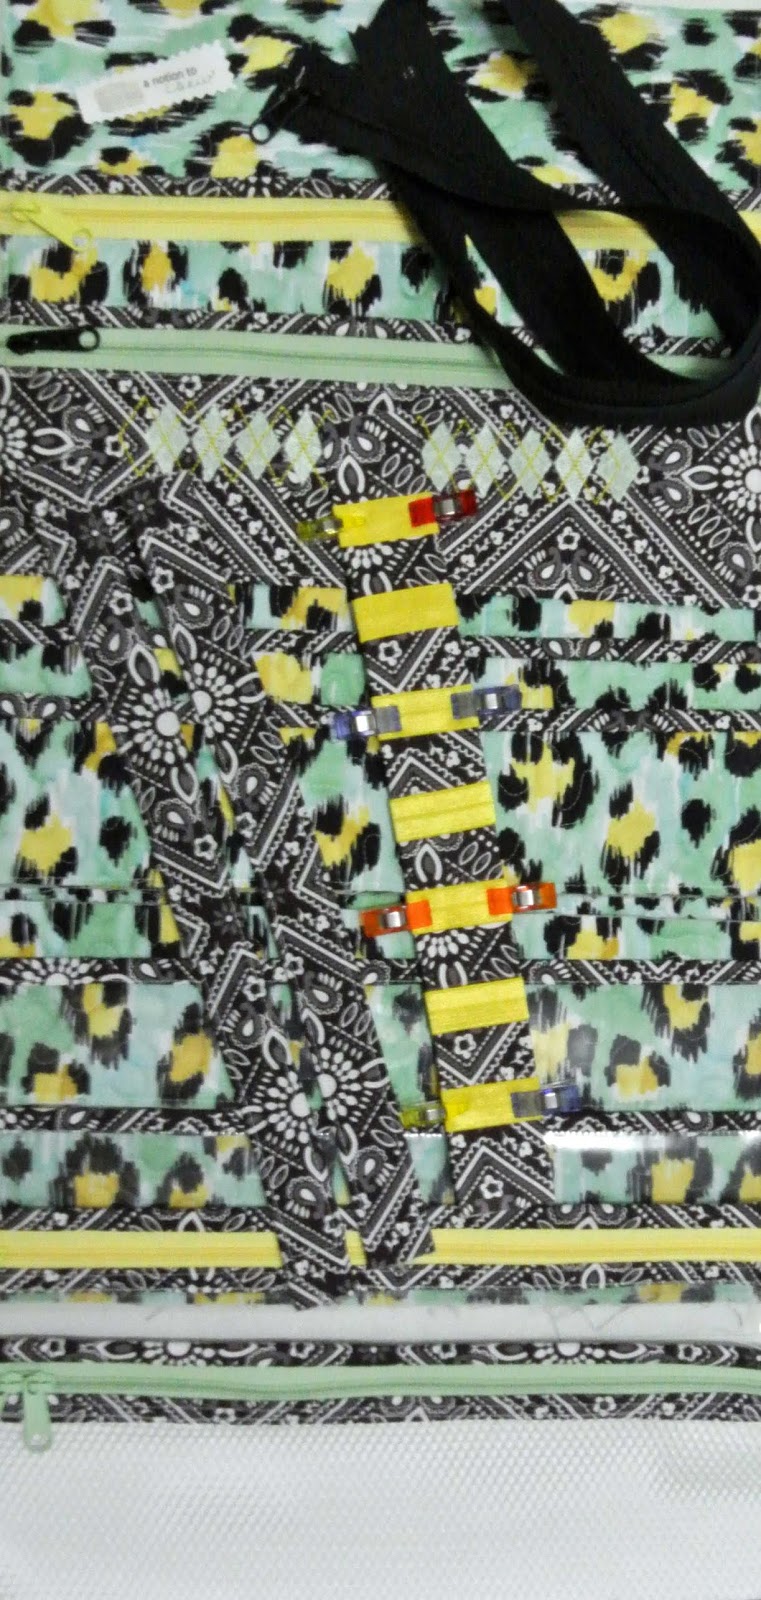
3.  Cut all your pieces (including your quilted fabrics) as instructed.

4.  Construct all the components for your project.

5.  Assemble your components as instructed.

I have sewn a number of patterns By Annie and all of them have followed these five steps.  When I break down the process by thinking of it in five steps, the project seems less overwhelming.  I like to set my goals according to these steps.  For instance:  Day 1 Gather: Day 2 Quilt: Day 3 Cut: Day 4 (and maybe day 5 if there are lots of components) Construct; and Day 5 (and/or 6) Assemble.

So if you’ve had your eye on one of those great patterns By Annie (or if you already have one), but have been a bit intimidated at the process, I hope this gives you the confidence to get started on your own bag, tote, or organizer.

I’ll be back in a few days with my completed Running with Scissors organizer.

Have a terrific weekend.

Katie Cupcake Cheerio Wallet Pattern

I’ve really put my Necessary Clutch Wallet through the paces,
so I decided it was time for a new wallet.
Whilst I love my NCW, I also really enjoy trying new patterns.
So I decided on the Cheerio wallet pattern this time around:
I did alter the flap pattern piece so I could use the metal edge trim from Emmaline Bags.
The lining is one big, long piece.
Be certain to mark all the lines as indicated on the pattern.
Beginning with the bottom of the lining,
self-made (or purchased) binding is attached at the first line
(with the lining wrong sides together folded at the line).
Then the binding edge is folded up to the next line, etc.

It’s kind of like fabric origami.
If you are new to zipper insertion,
or just timid about giving it a try –
no worries.
The pattern walks your through a very simple zipper insertion method.
I used an ivory By Annie handbag zipper and a lipstick color zipper pull.
I love having the option to customize my zippers.
I used By Annie Soft and Stable instead of the fusible fleece as suggested in the pattern instructions.

The Soft and Stable is a bit thicker than the fleece, so I added a stitched line to serve as my
“score” line so the wallet would fold nicely.
I chose to add an embroidered monogram to the front flap because the Blush linen 
just asked for some kind of embellishment.

The one step that I did not change, but that I would change on a future wallet,
is that I would insert a piece of Timtex the full size of the flap, rather than just a 2 x 2
piece as called for in the pattern instructions (see how the outline of the Timtex shows
through the fabric underneath the snap).
The fabrics I used for this wallet are:

English Roses by Penny Rose Fabrics for Riley Blake Designs

All in all, this is a quick and easy wallet pattern.
If you are in the market for a new summer sew,
this one would not take up much of your summer sunshine!
Happy Summer Sewing, friends!
Thank you for reading my blog.

New Products

Hello Sewers!
I have exciting news.
I am adding items to my shop from none other than Riley Blake Designs.
I’m so excited to be able to add fabric choices to complement
the great pattern and hardware selections that I currently carry.
I’m curious to know how you select your fabric for your
handbags, totes, and accessory projects.
Please leave a comment below, or contact me via email.
I want to supply products that ‘baggers’ want.

A huge benefit to living near Christensen Wholesale is that I can shop
in person for great items to offer my customers.
To see some of the new items that I am adding,
click on the video below:

I look forward to hearing from you.
Thanks so much for reading my blog.
Don’t forget to leave a comment below.