How to Easily Sew China Silk (and other slippery fabrics)

I’m sewing another Painted Portrait pattern.
This time it is a blouse instead of a dress.
The bodice lining is China silk.
I love to use China silk for lining.
I hate to fiddle with slick, misbehaving fabric.
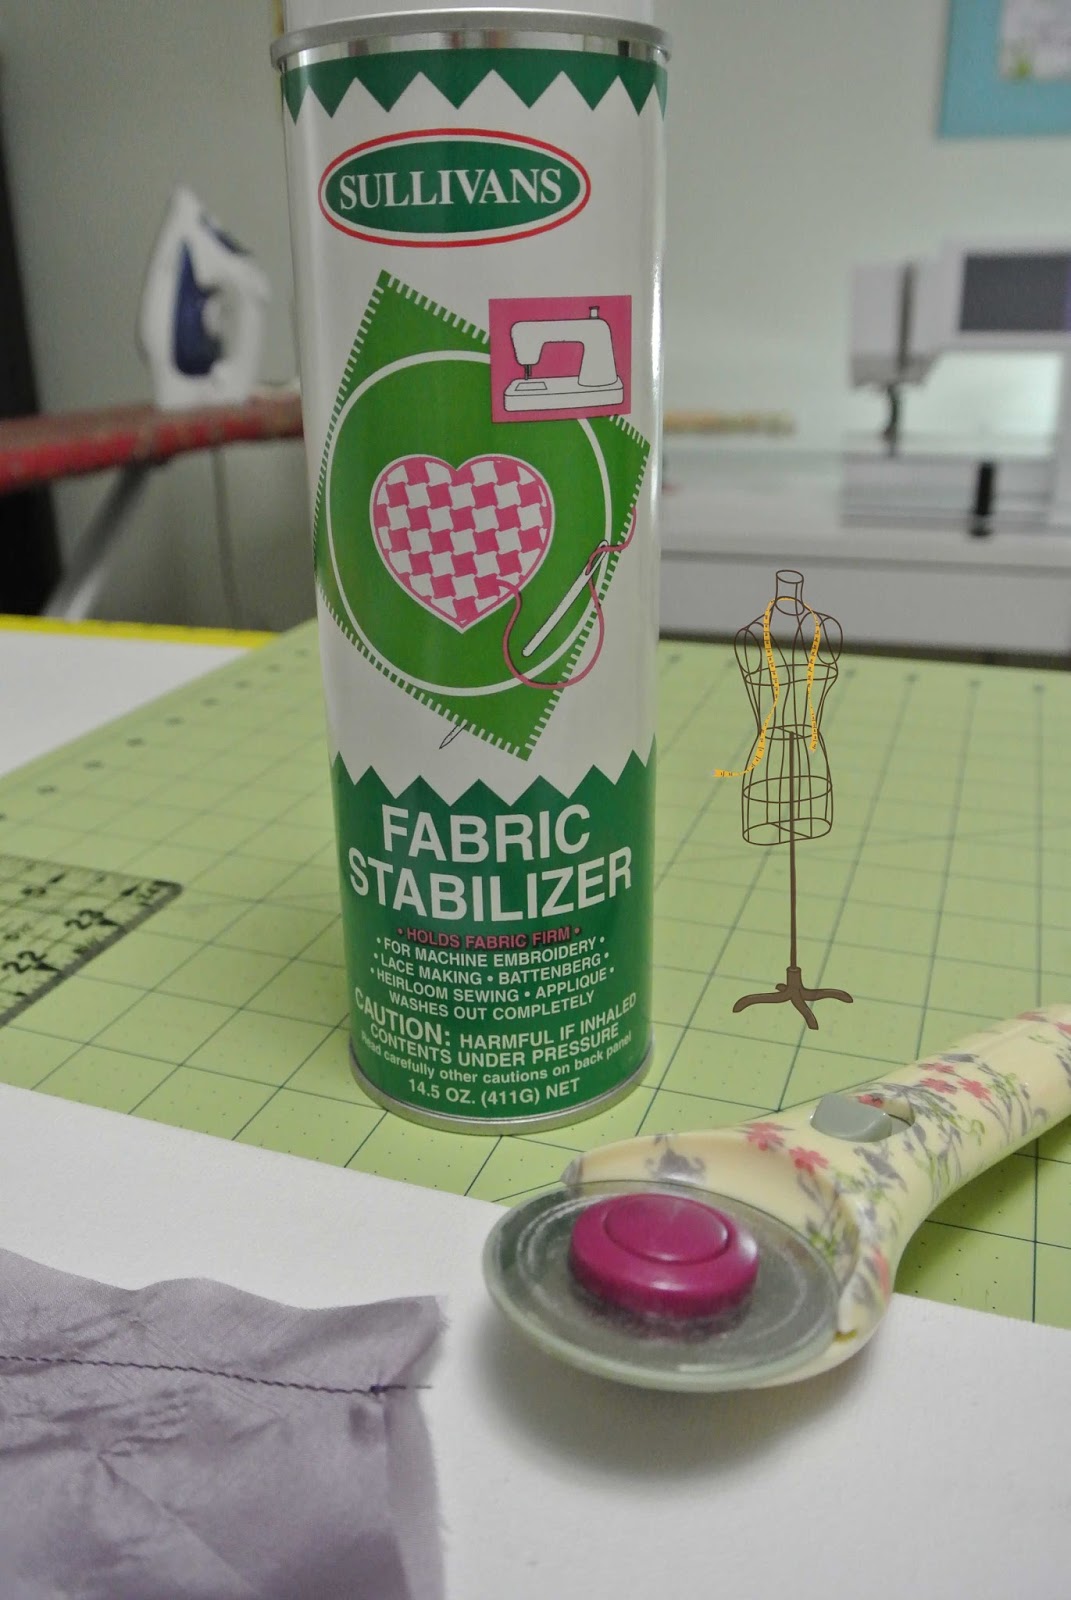
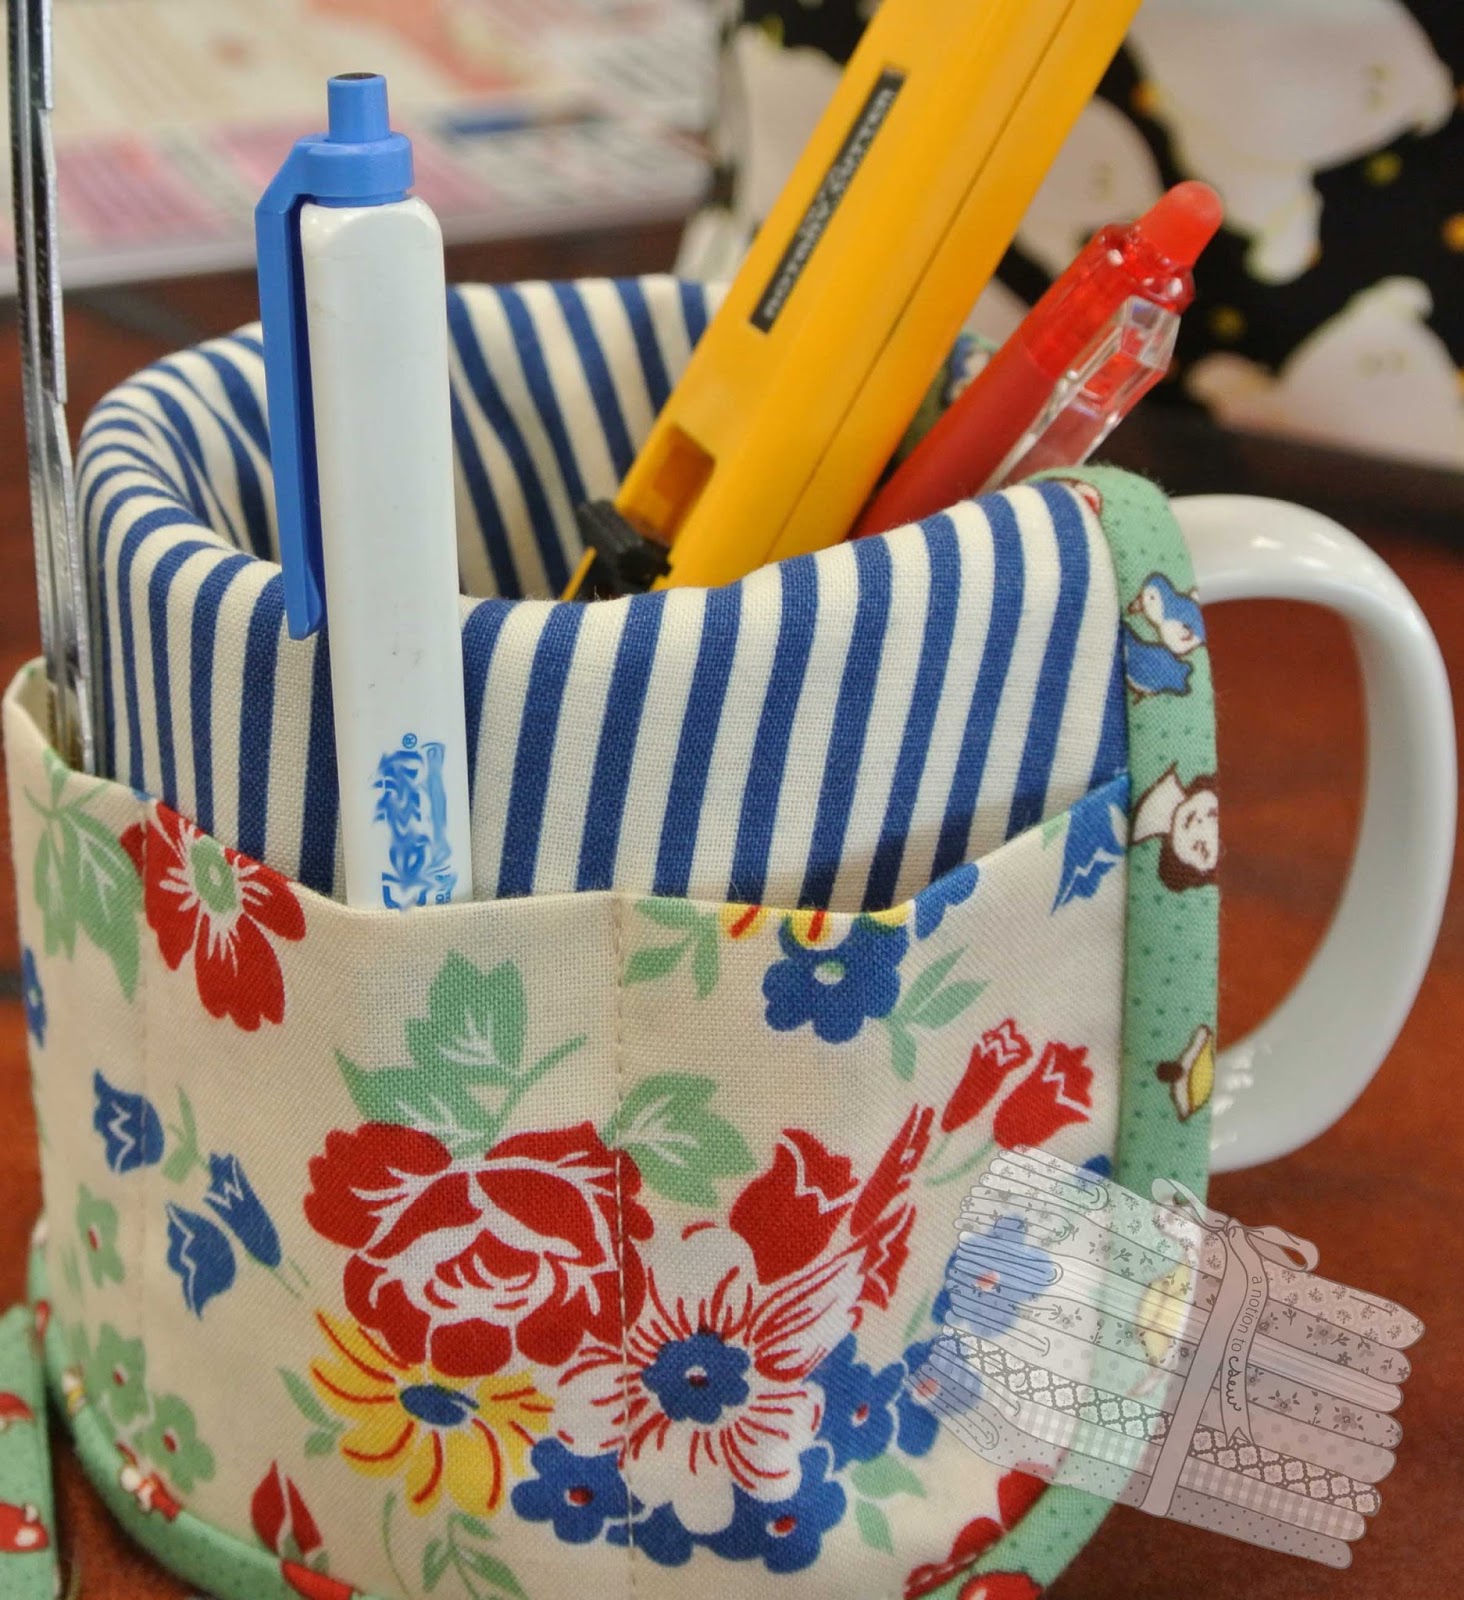
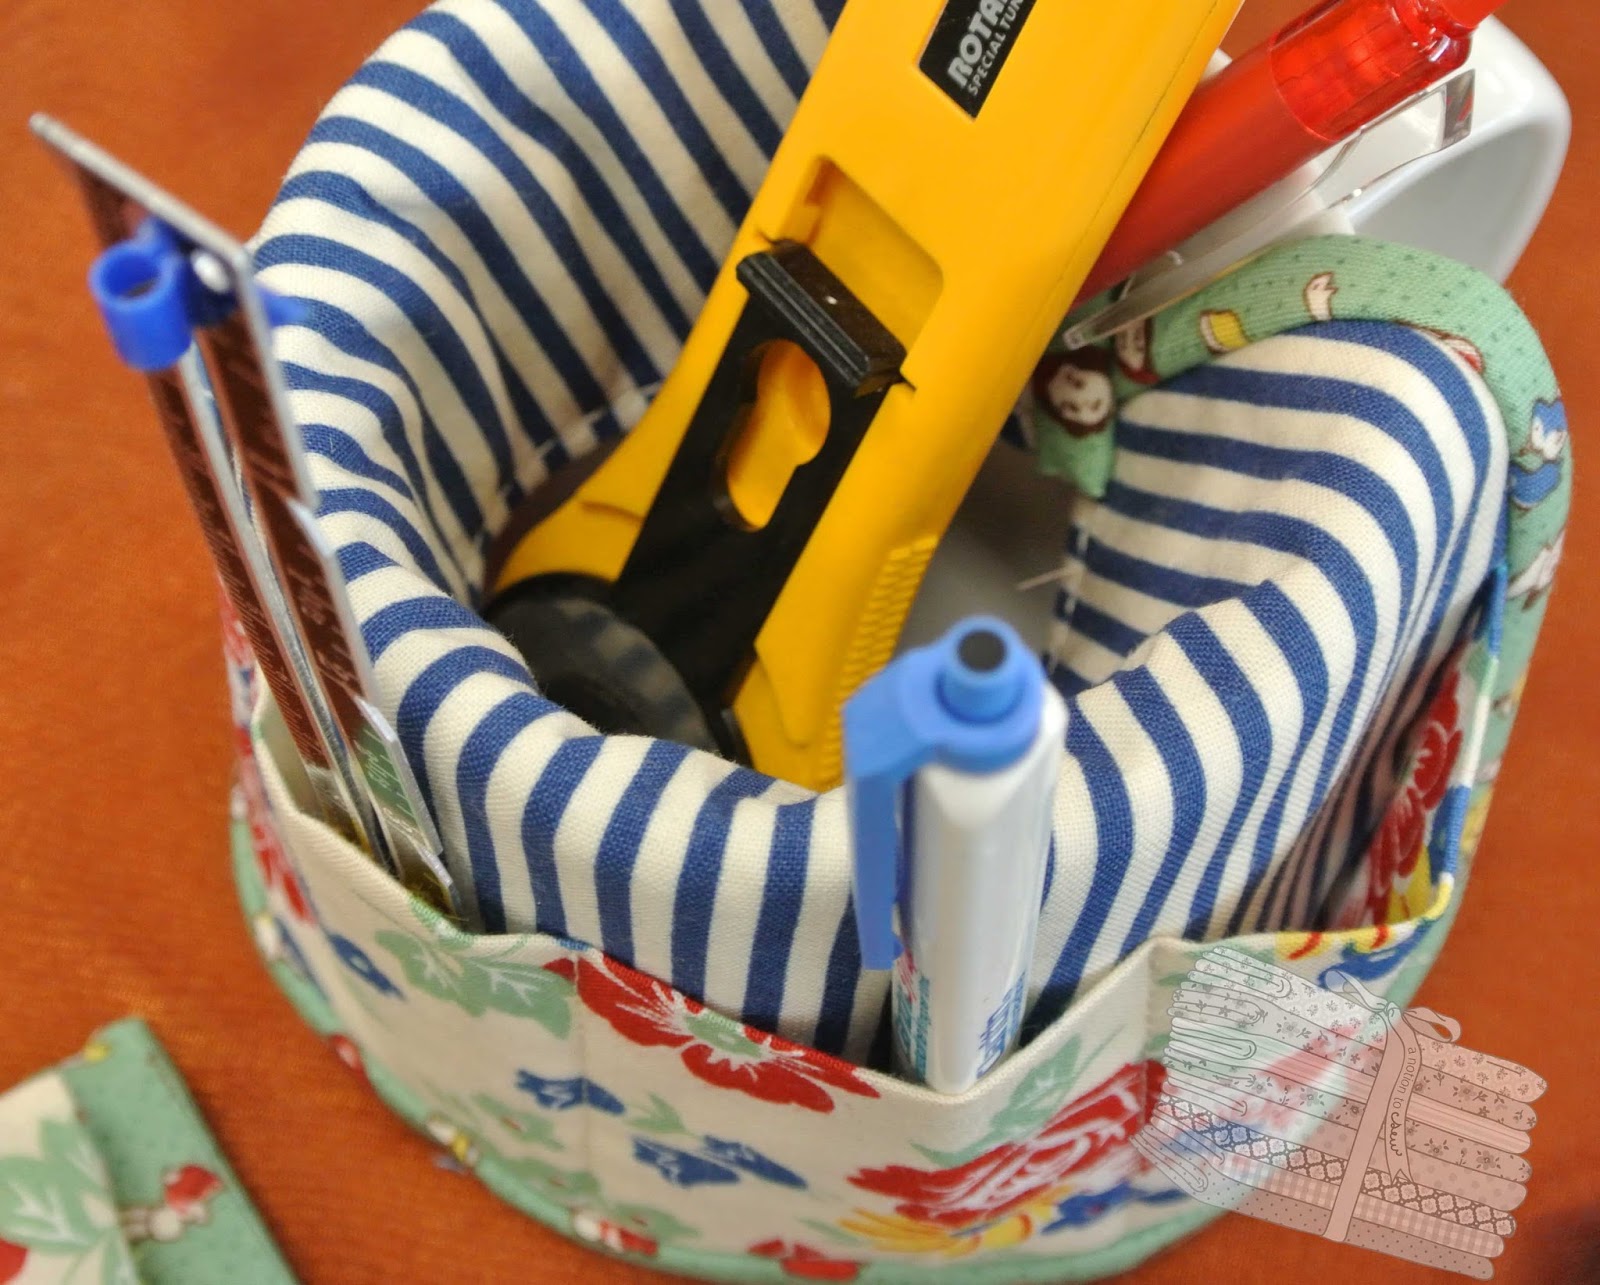
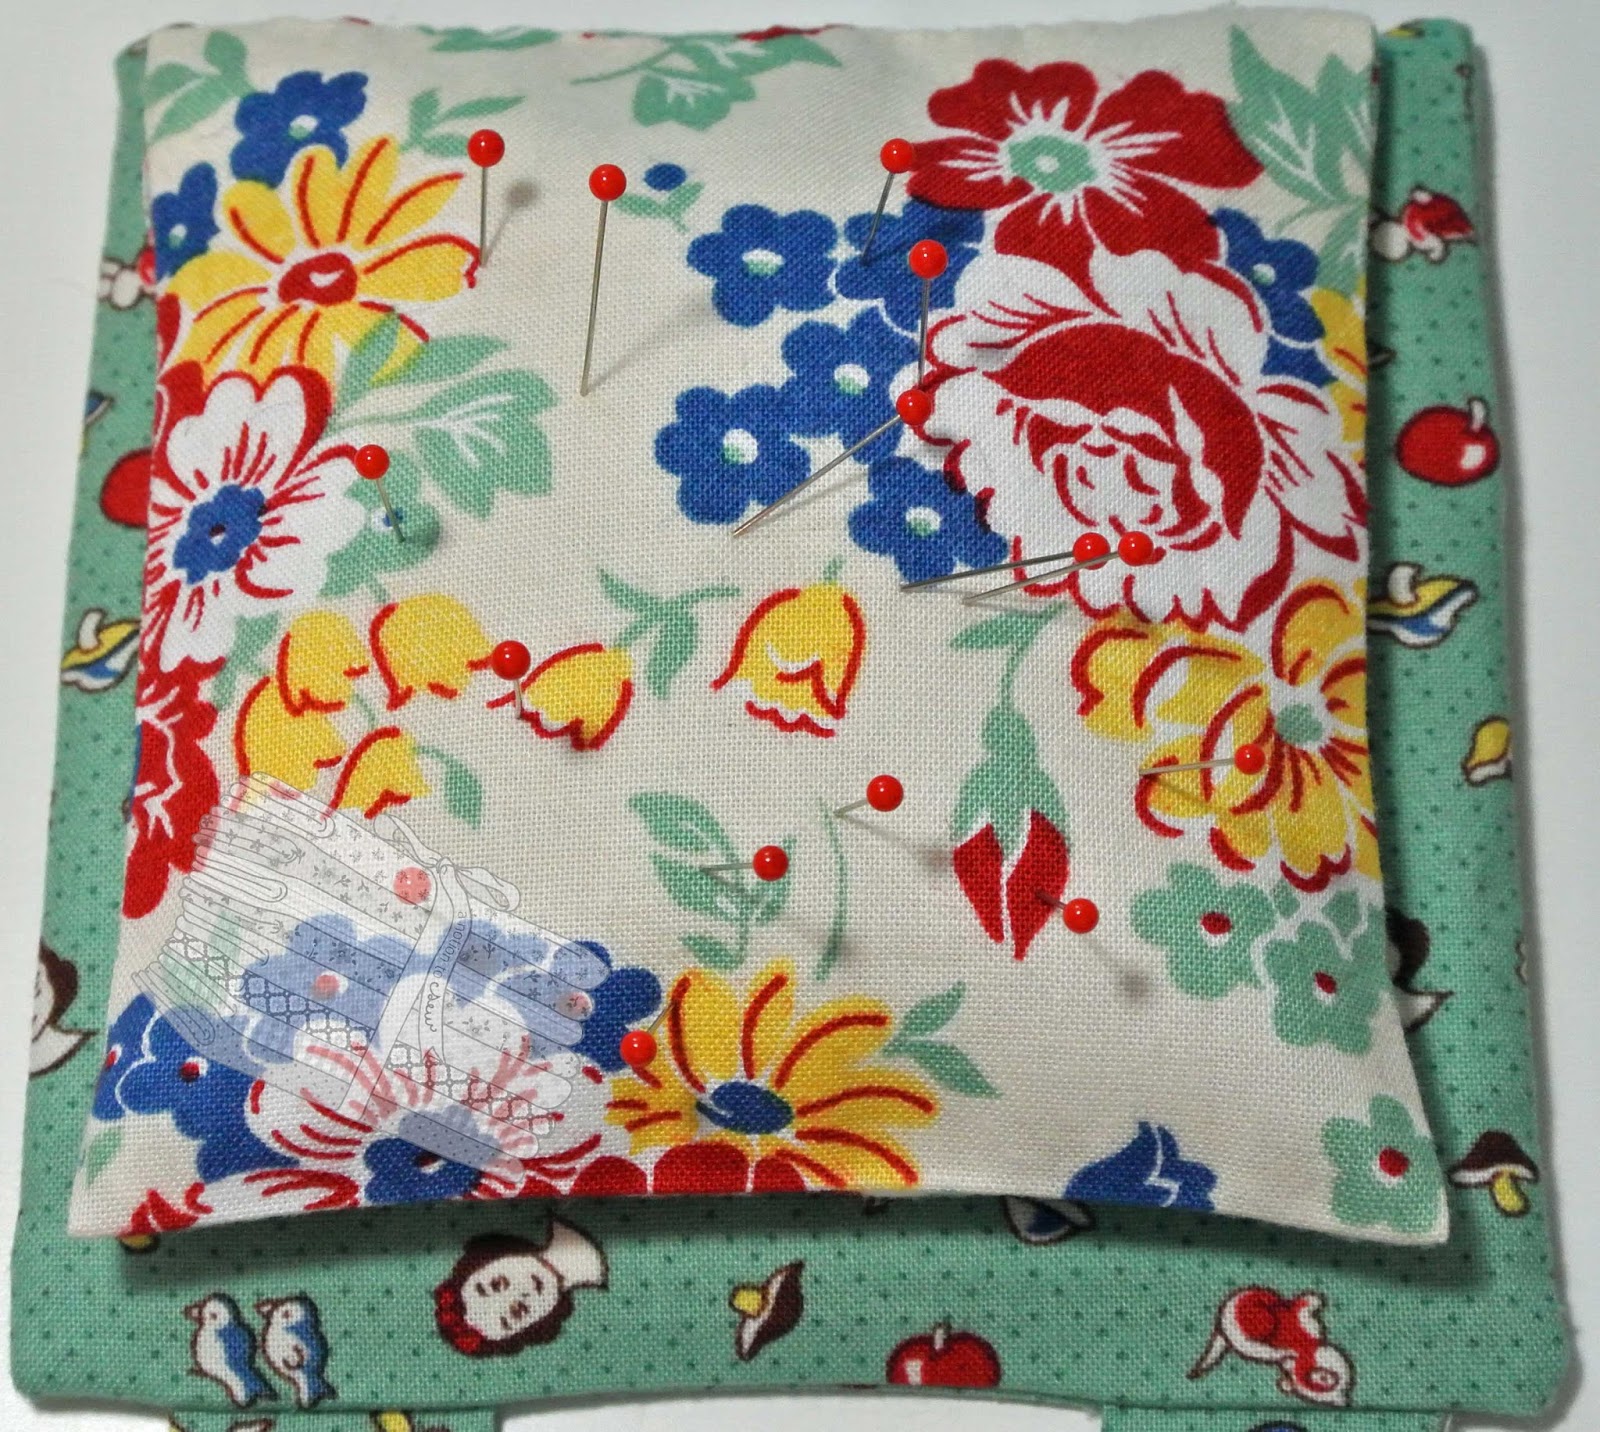
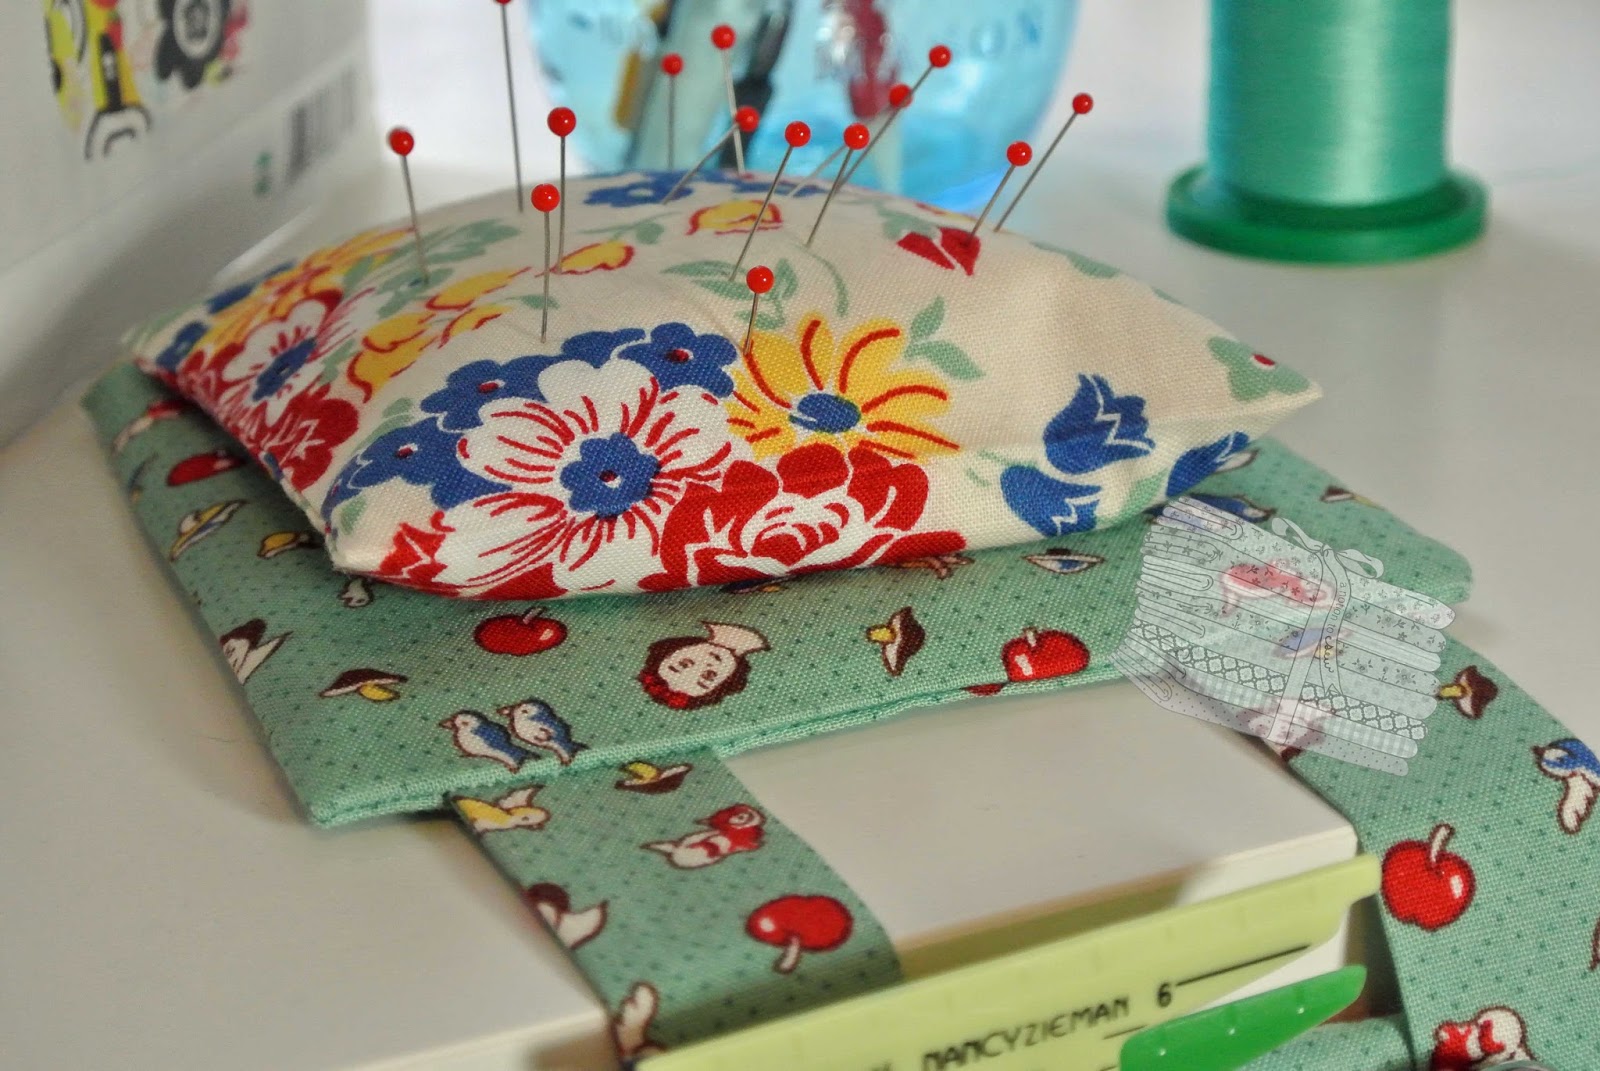
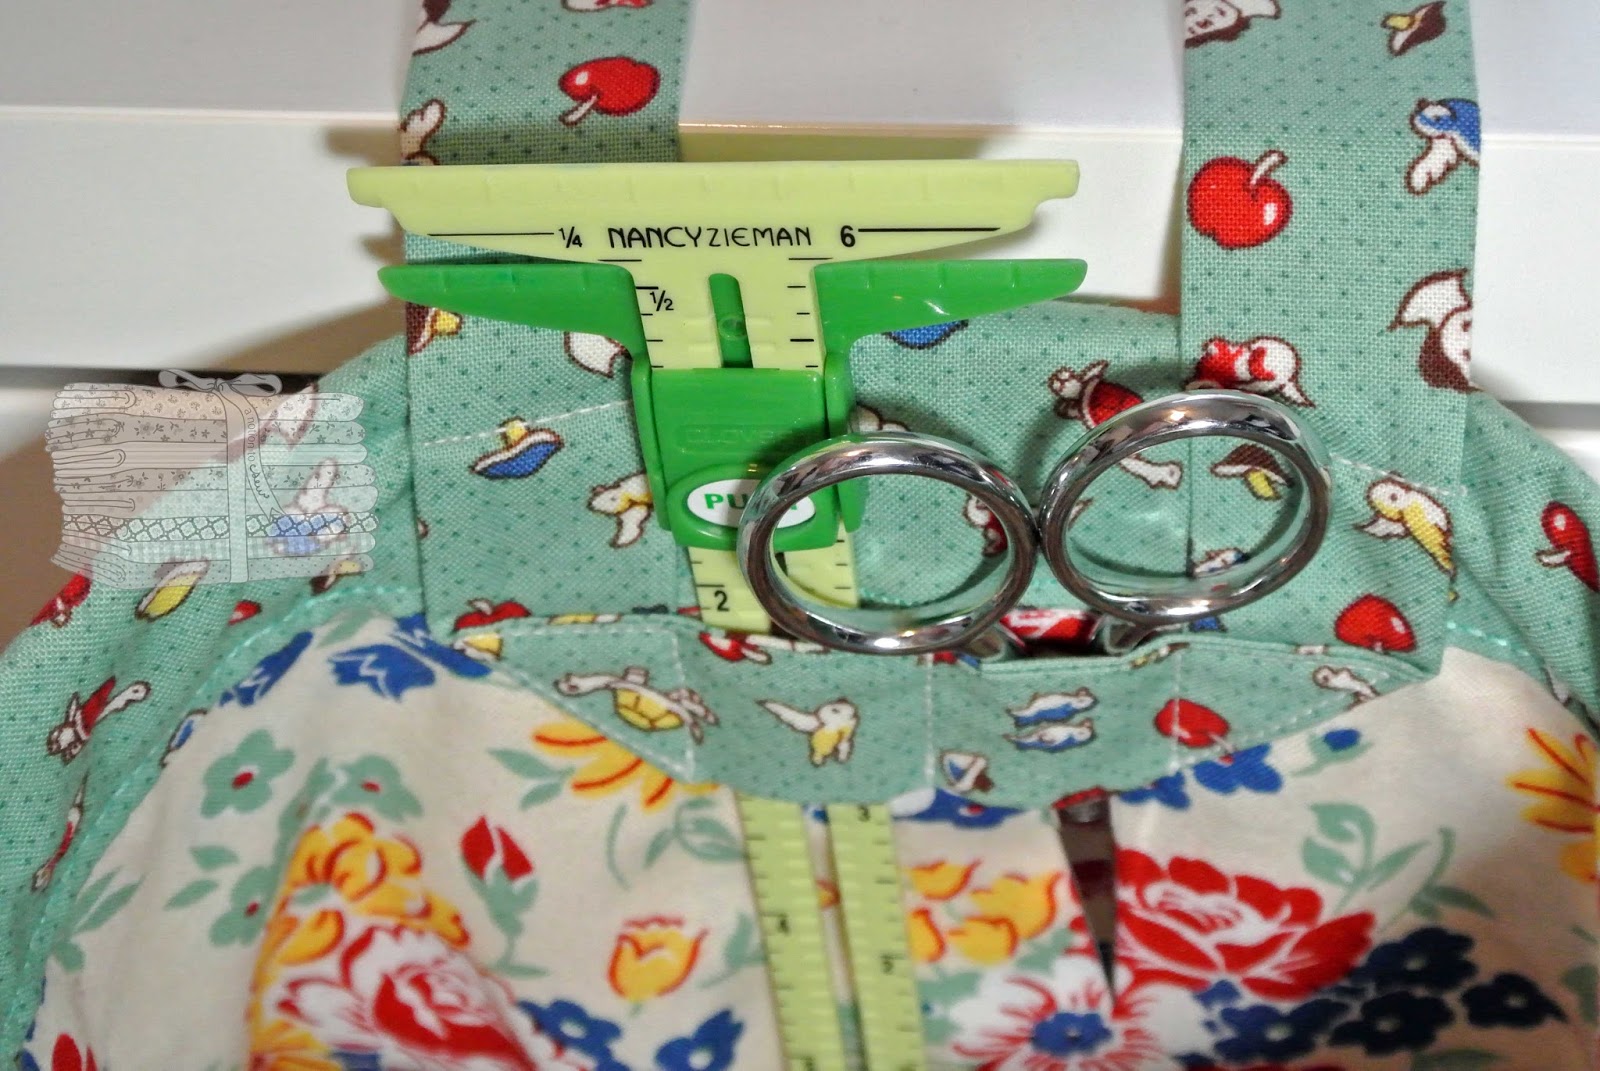
Above are some of my favorite tools to use with such fabric.
First, a tip from Sarai Mitnick of Colette Patterns:
lightly spray the fabric with Sullivan’s Fabric Stabilizer
(be certain to test it on a scrap first).
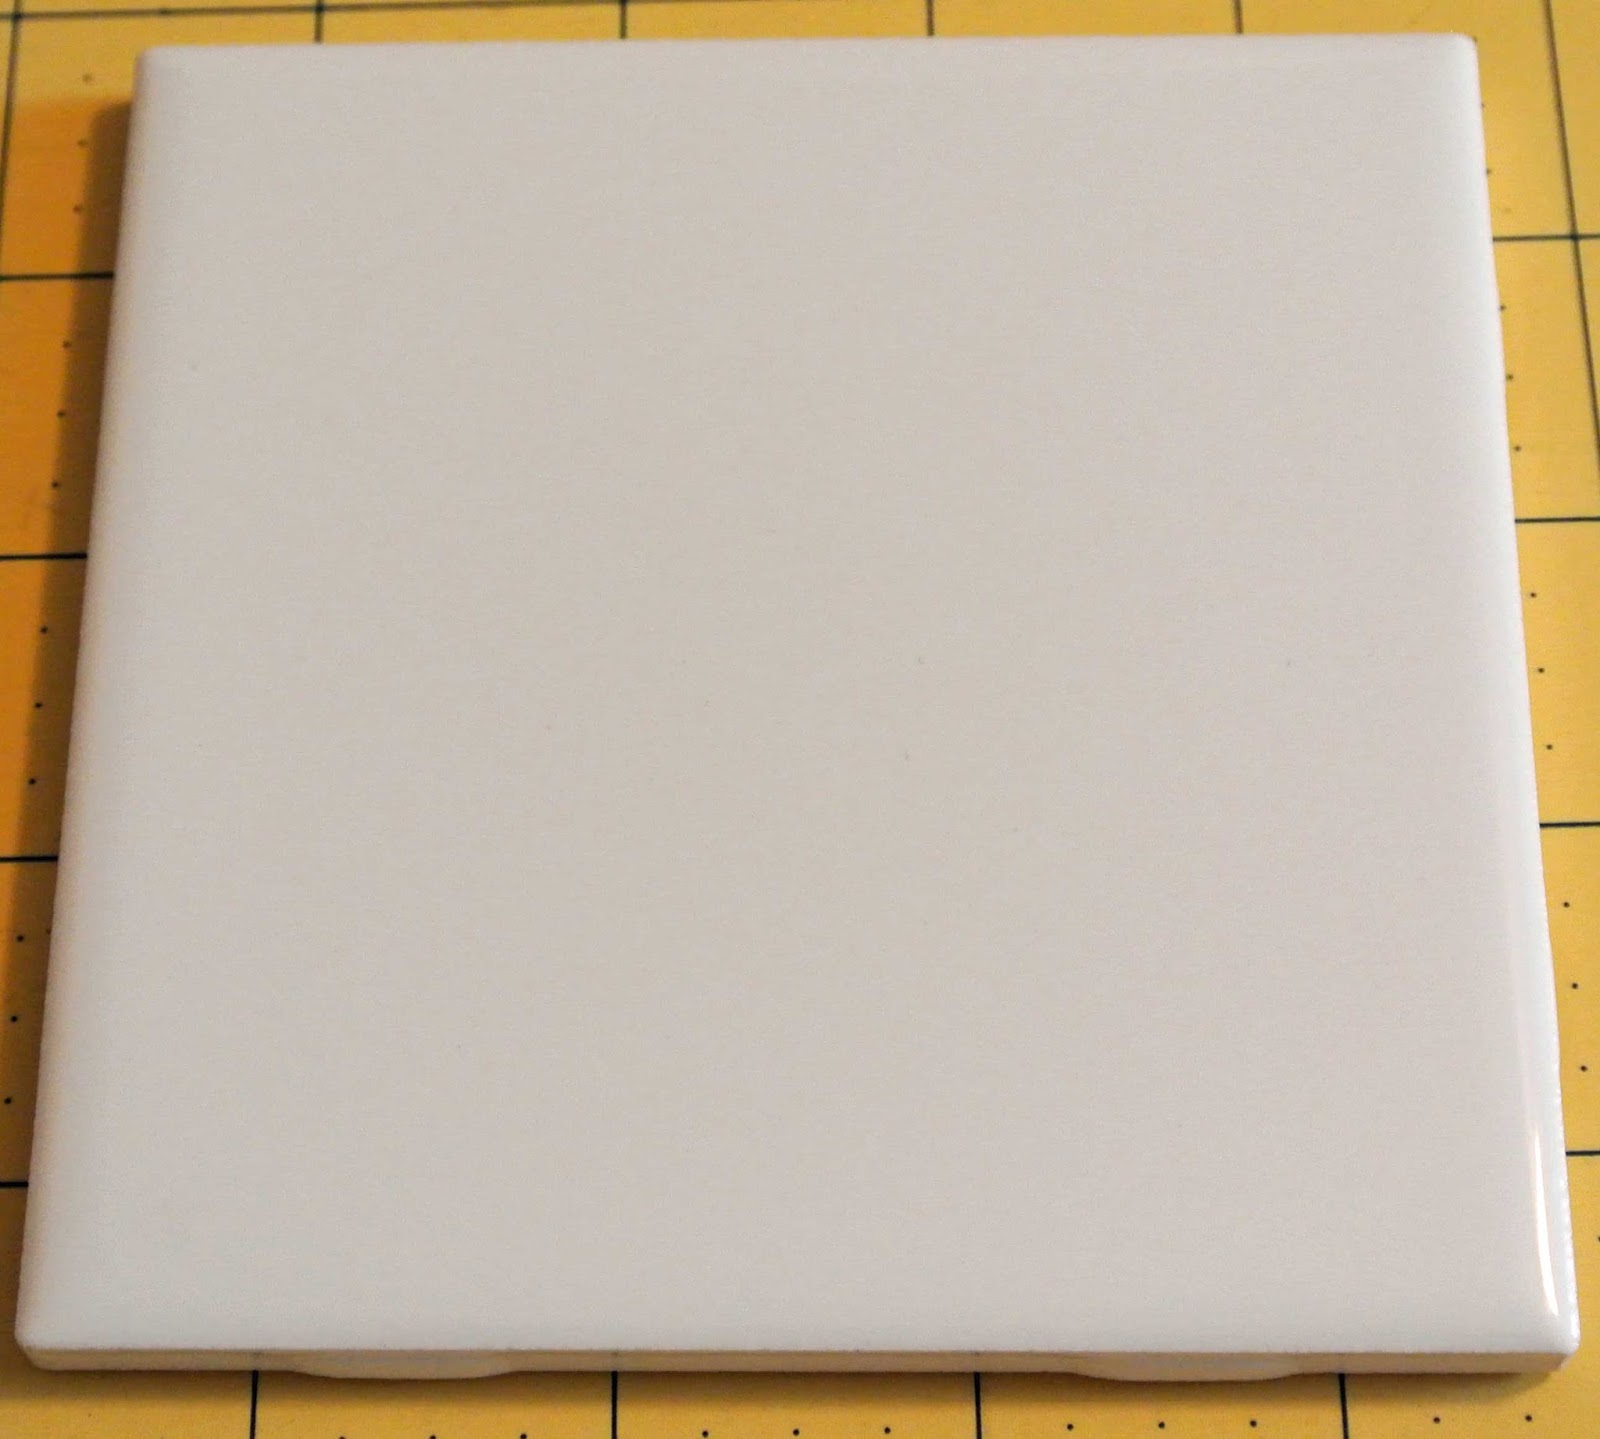
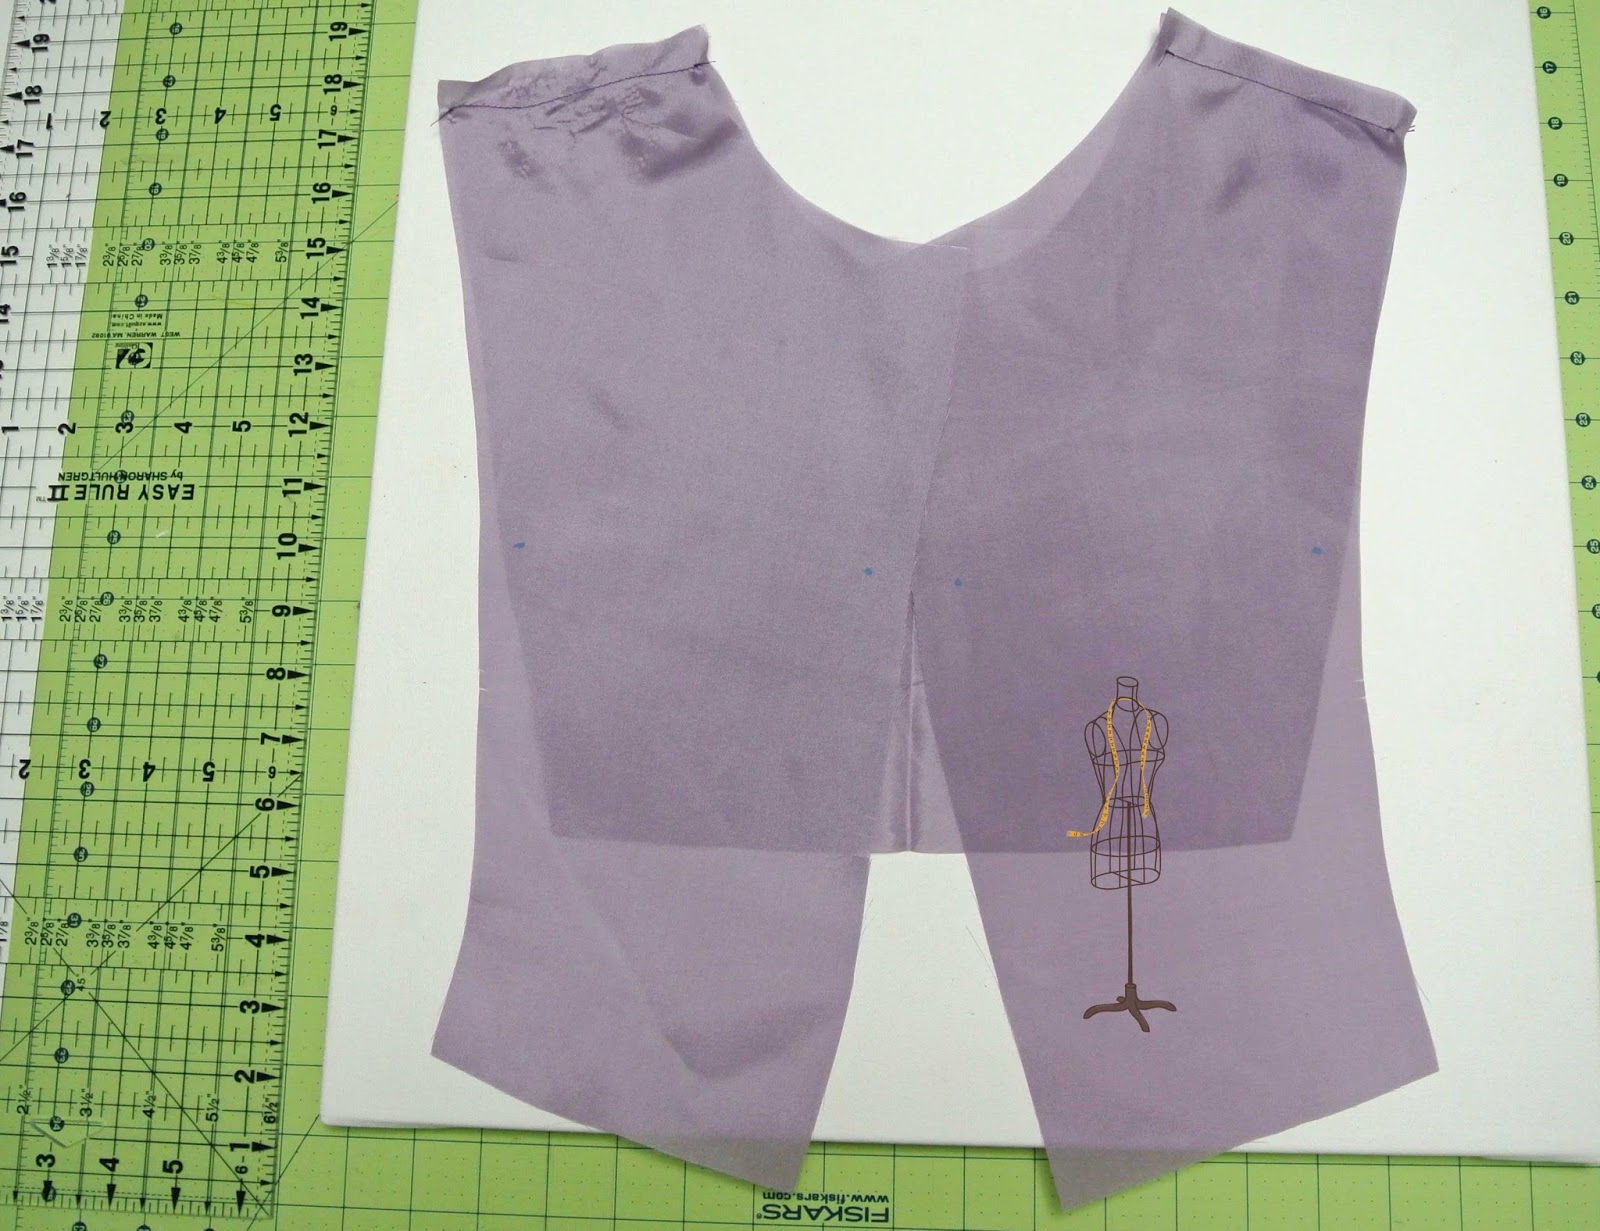
Then, I like to lay out the fabric and pattern pieces on a cutting mat.
Finally, I cut the fabric and pattern using a rotary cutter instead of sheers.
Works like a charm!
After my pattern pieces were perfectly cut,
I began sewing the lining together at the shoulders.
Ugh!  Look at the difference between the left and right shoulder seams.
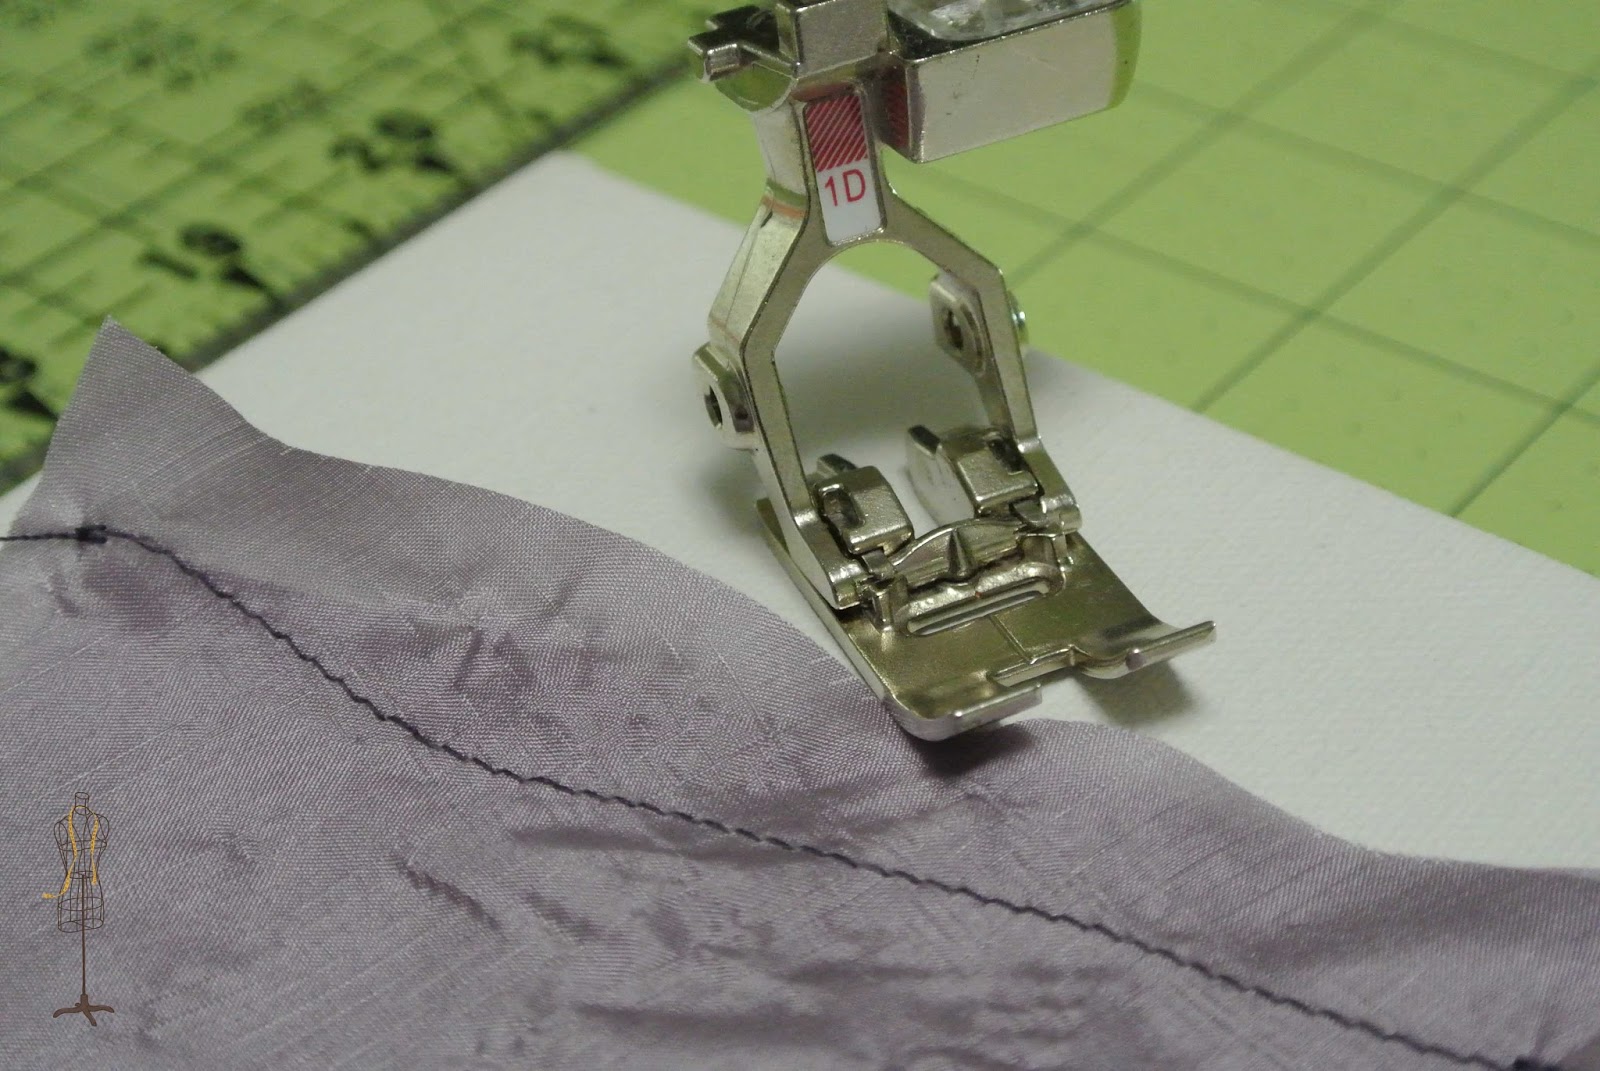
I sewed the first seam with my general purpose presser foot
(Bernina Foot #1, Reverse Pattern Foot)
The fabric got hung up under the presser foot and the seam slipped.
What a mess!
I switched to my non-stick zig zag foot
(Bernina Foot #52)
Wow!!!
What a difference.
Look at how smooth and lined up that seam stayed.
I’ve now added the non-stick presser foot to my
group of favorite tools to use with slippery fabrics.
Are you shy about sewing with specialty fabrics?
Do you have any tips to share when sewing with these fabrics?
Please share with the rest of us.
I love to learn new tips and ideas.
Have a smooth sewing week, my friends.

Cup Organizer

Kwik Sew 3886
Happy dog days of summer, friends.
It’s time to take a break from the heat
and have a seat in front of your trusty sewing machine.
Here’s the organization cup that accompanies the a fore-posted
I call it a mug apron.
This one is so quick and easy.
I probably need one in several rooms of my home
It can be used to organize office supplies, crochet implements,
or even personal care items such as makeup brushes,
combs, and lip stick and lip gloss.
The apron lies flat, but when you insert it into your cup
it magically molds to the shape of the cup.
Love it!
Not only do you have storage in the little outside pockets,
but you have additional storage inside the mug.
This one, along with the sewing space thread catcher,
will be offered as a kit to make and take at Nuttall’s
Witches Night Out on October 10.
Join us for some sewing fun and for some tasty potluck dishes.

Happy and stylish organizing!

Sewing Space Thread Catcher

My local Bernina dealer where I teach classes uses thread catchers similar to this one.
There have been numerous requests for a class on sewing these handy little items.
I located a pattern and quickly sewed up this one in great vintage inspired fabric by Kaye England.

The top of the holder has an attached pin cushion.
The pattern calls for sand as a filler.
I used crushed walnut shells because I had them on hand (don’t ask).
Straps connect the base to the bag.
The strap is sewn on in such a way as to provide loops for notion storage.
Clever.
A common, inexpensive tile ($.16 at Home Depot) is inserted into the base under the pin cushion.
The unit tends to slip just a bit.
Next time, I would use a grip fabric on the underside of the base cover.
One could drop an awful lot of thread snips into that thread catcher.
The pattern called for plastic tubing and a dowel in the rim to give it shape.
I used 1/4″ boning because that’s what I had on hand.
Worked like a charm.
The only other change I would make is to add a lightweight stabilizer
between the bag lining and outer bag.
It could use a bit of a shaper,
Speaking for myself as well!!!
The pattern is Kwik Sew 3886.
You can sew this up in an afternoon.
Be sure to save your thread from the project
When you finish you will have somewhere to put it.
Go on, get busy keeping your sewing space tidy.
Enjoy, friends.
If you are in the local area,
please send me an email or give me a call if you want us to offer this as a class.