Colette Patterns 1016 (Ginger Skirt)

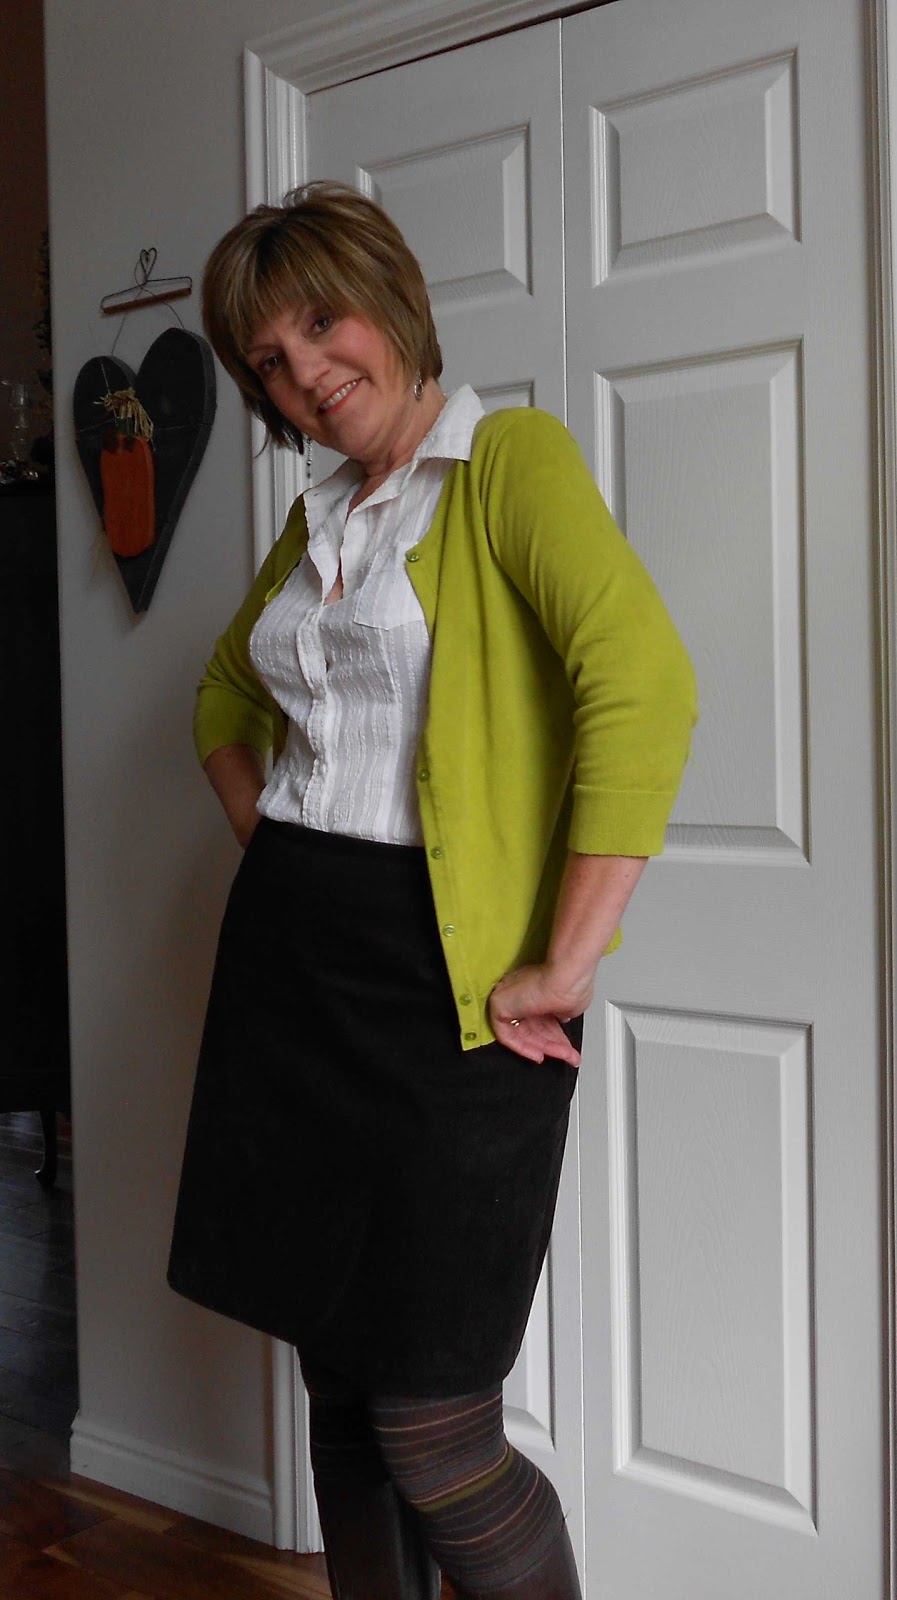
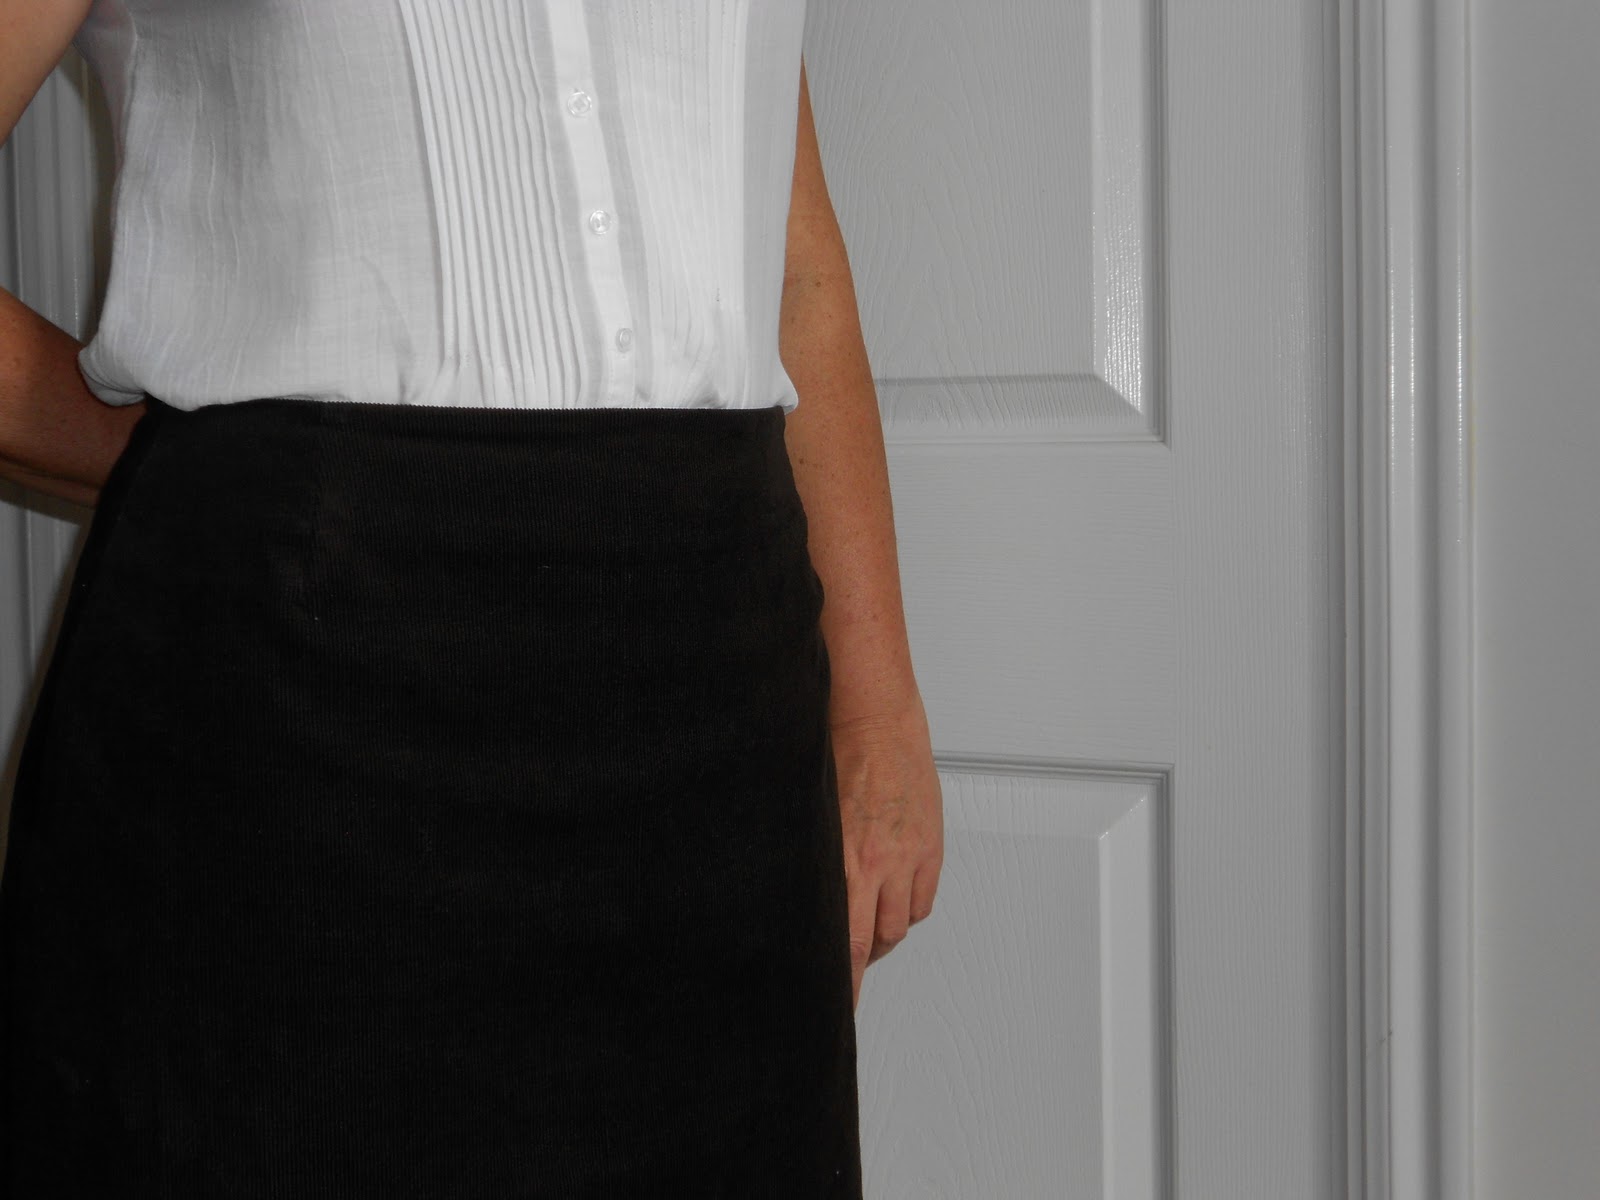
This pattern offers an a-line skirt with three waistband versions.  I chose to make version 3, which has a straight waistband, but the skirt is cut on the bias.  Since this was my muslin, I used a very inexpensive suiting fabric that I purchased on sale at my local Hancock Fabric store.  I paid just under $10 for the fabric.  I did not need to alter the pattern at all.


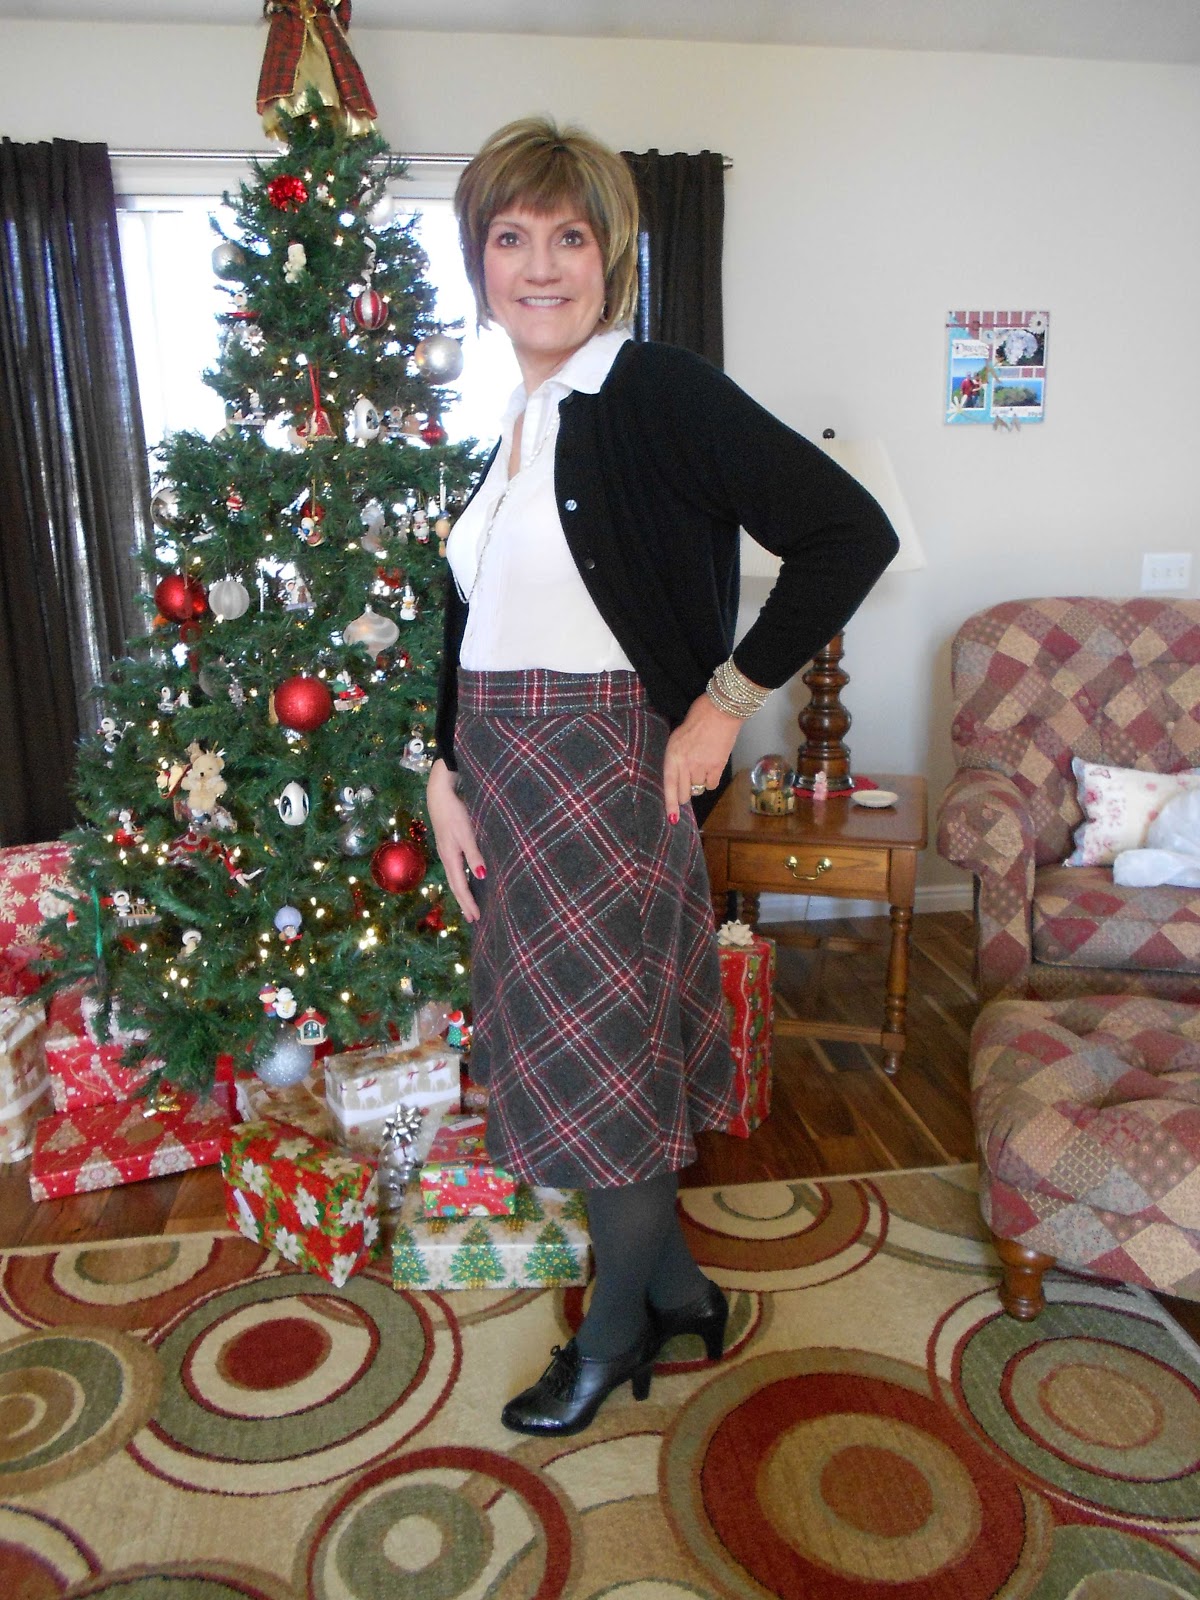
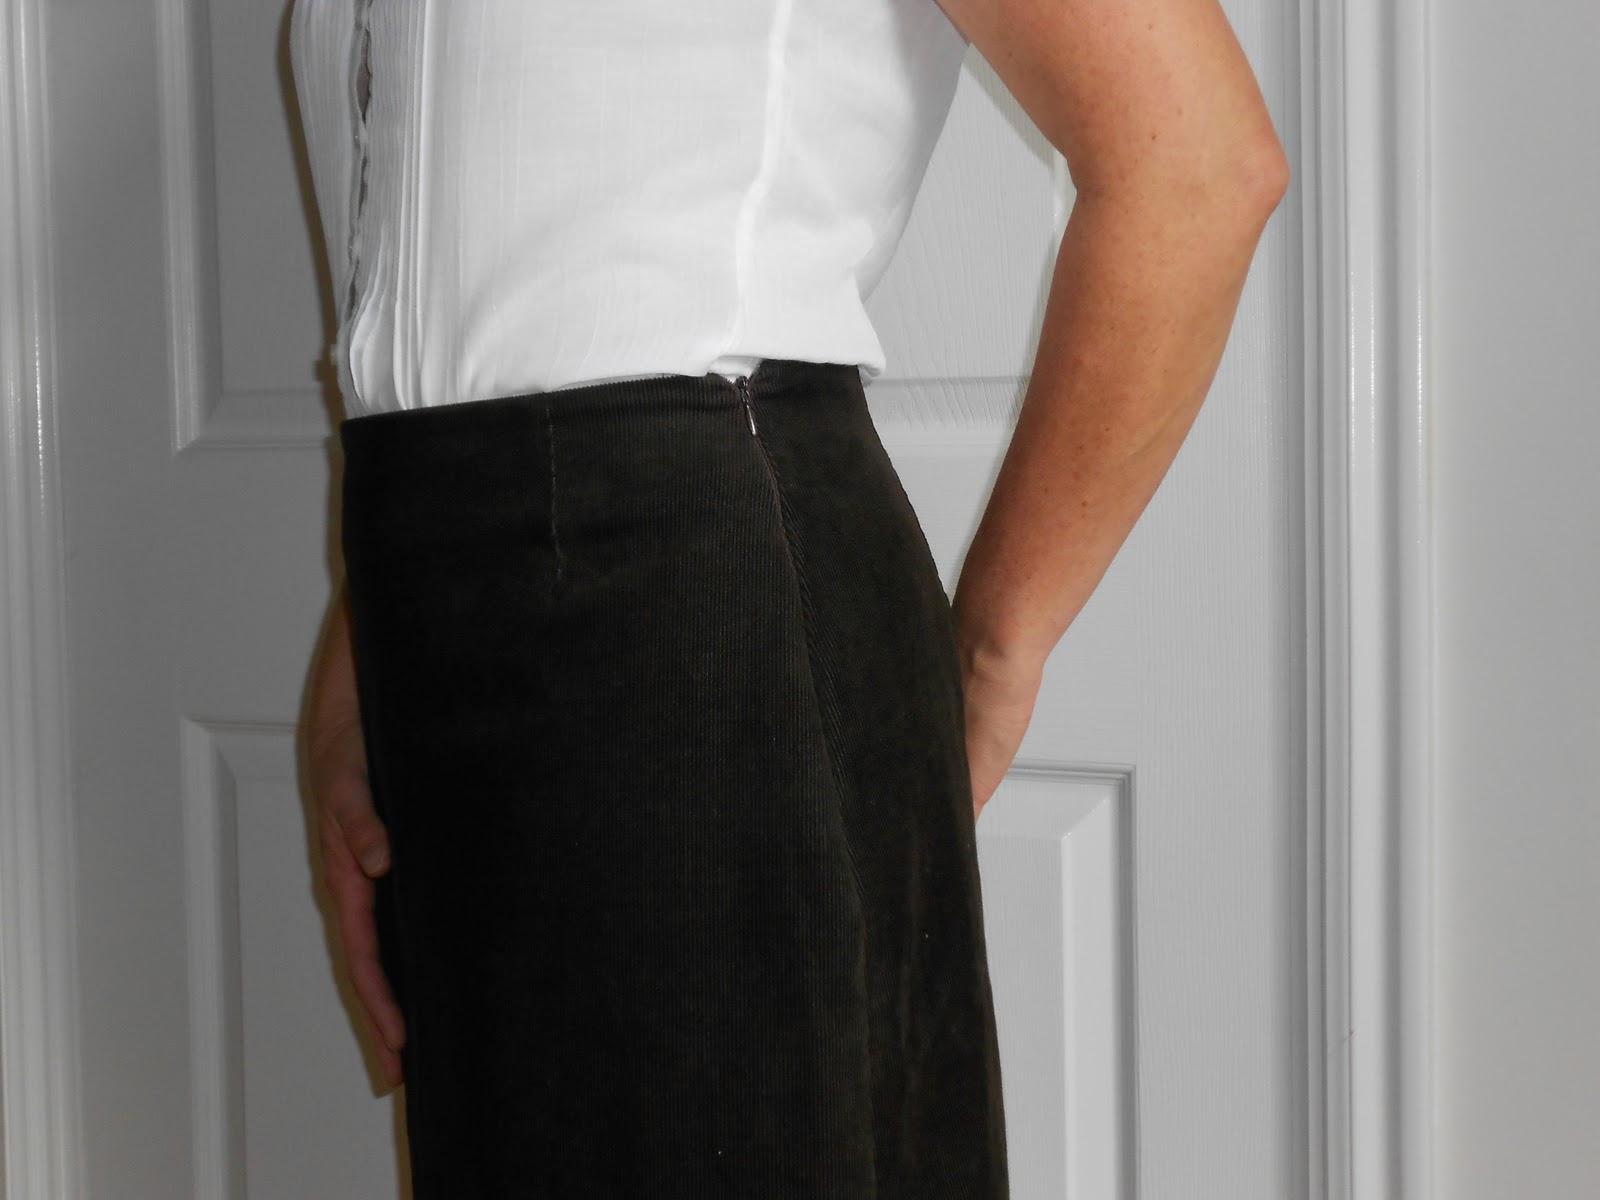
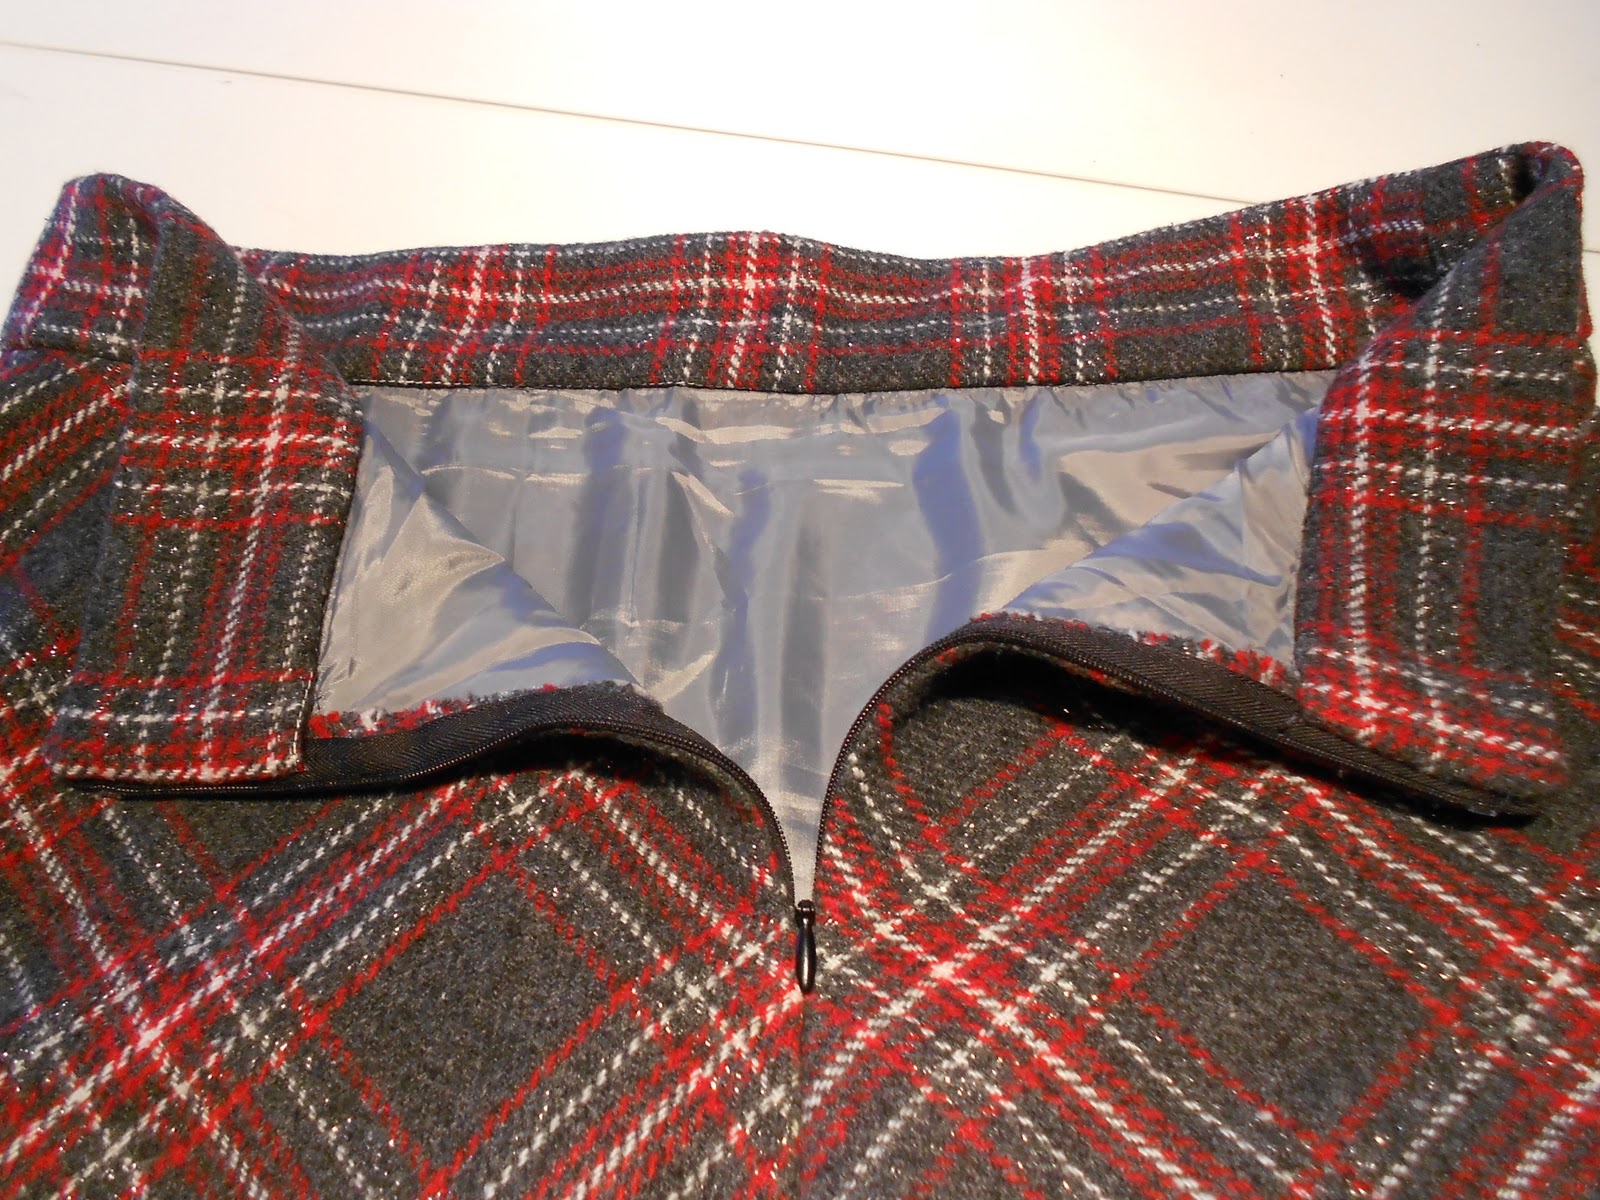
This was the first Colette pattern that I’ve used and I have to say . . . . I am hooked!  I love everything about the pattern from the fit to the packaging.  The pattern does not have instructions to add a lining, but that’s a really easy addition so I did put one in this skirt.  I prefer to line most of my skirts. 

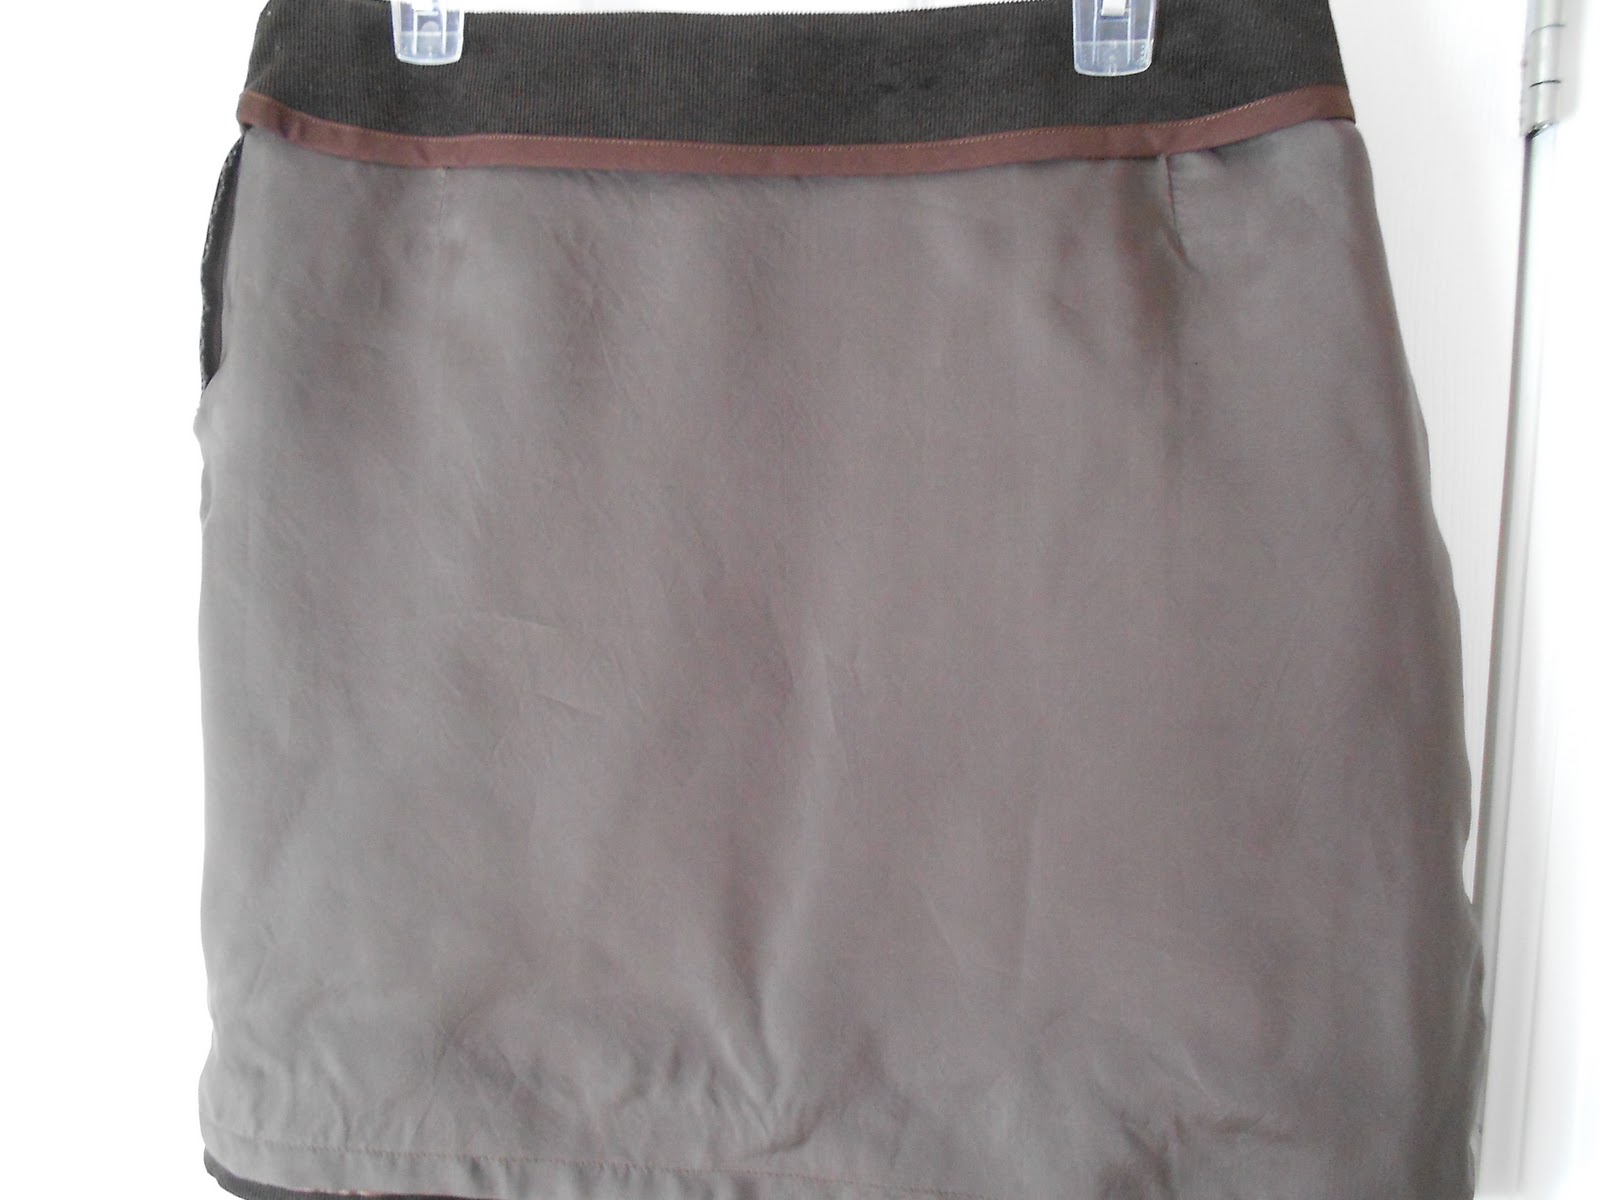
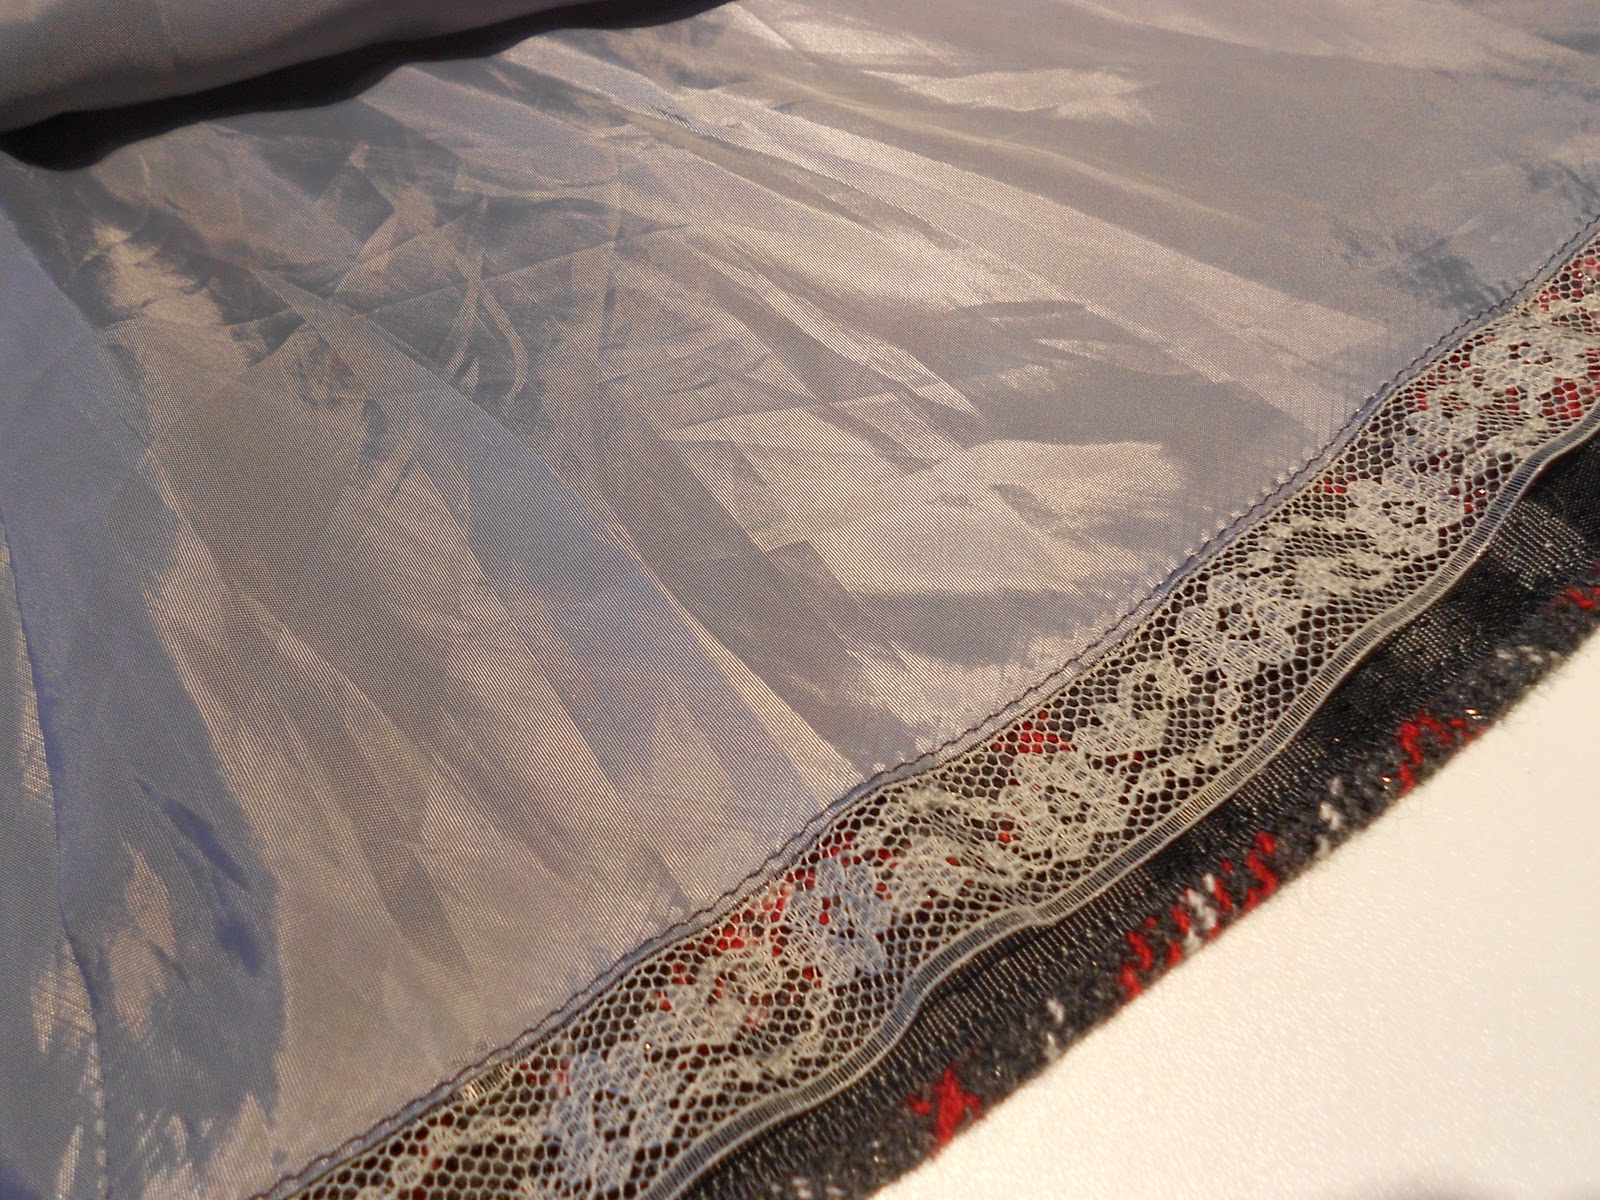
Rather than hemming the bottom of the lining, I added lace to it and tacked it down at the front, back, and side seams.  I like the feminity that the lace adds.

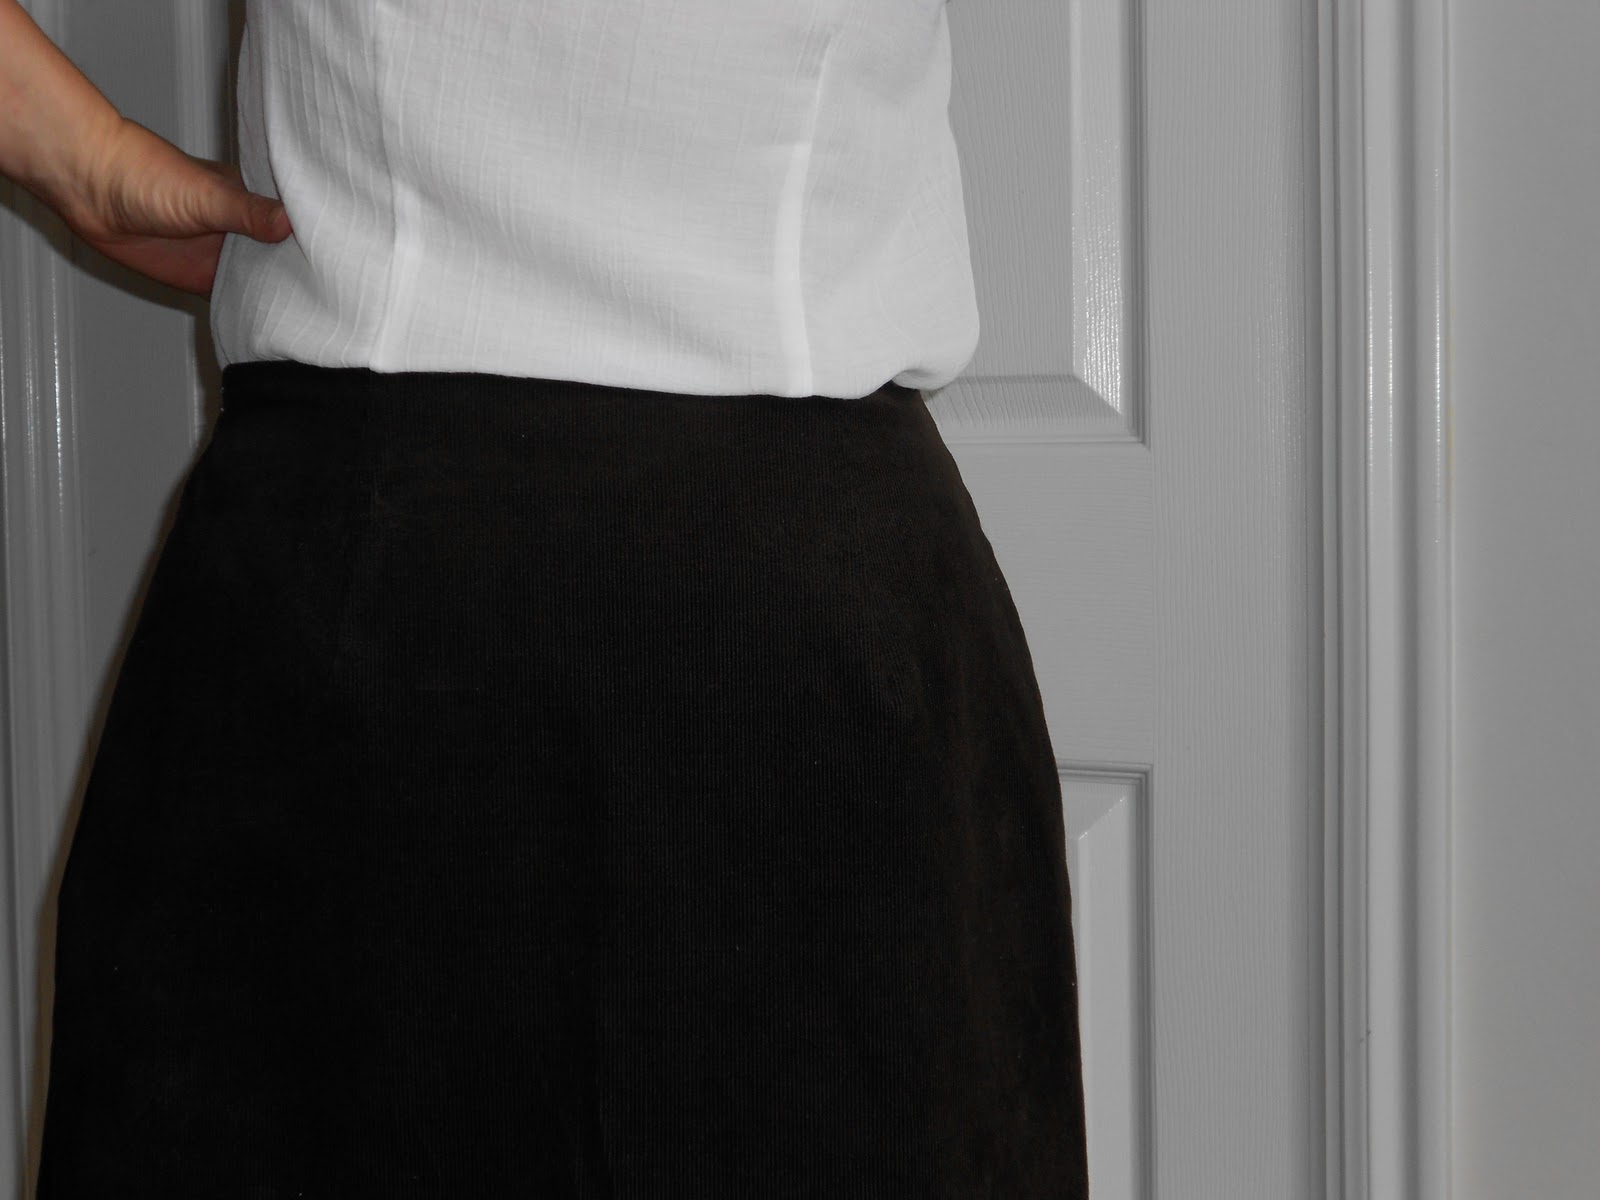
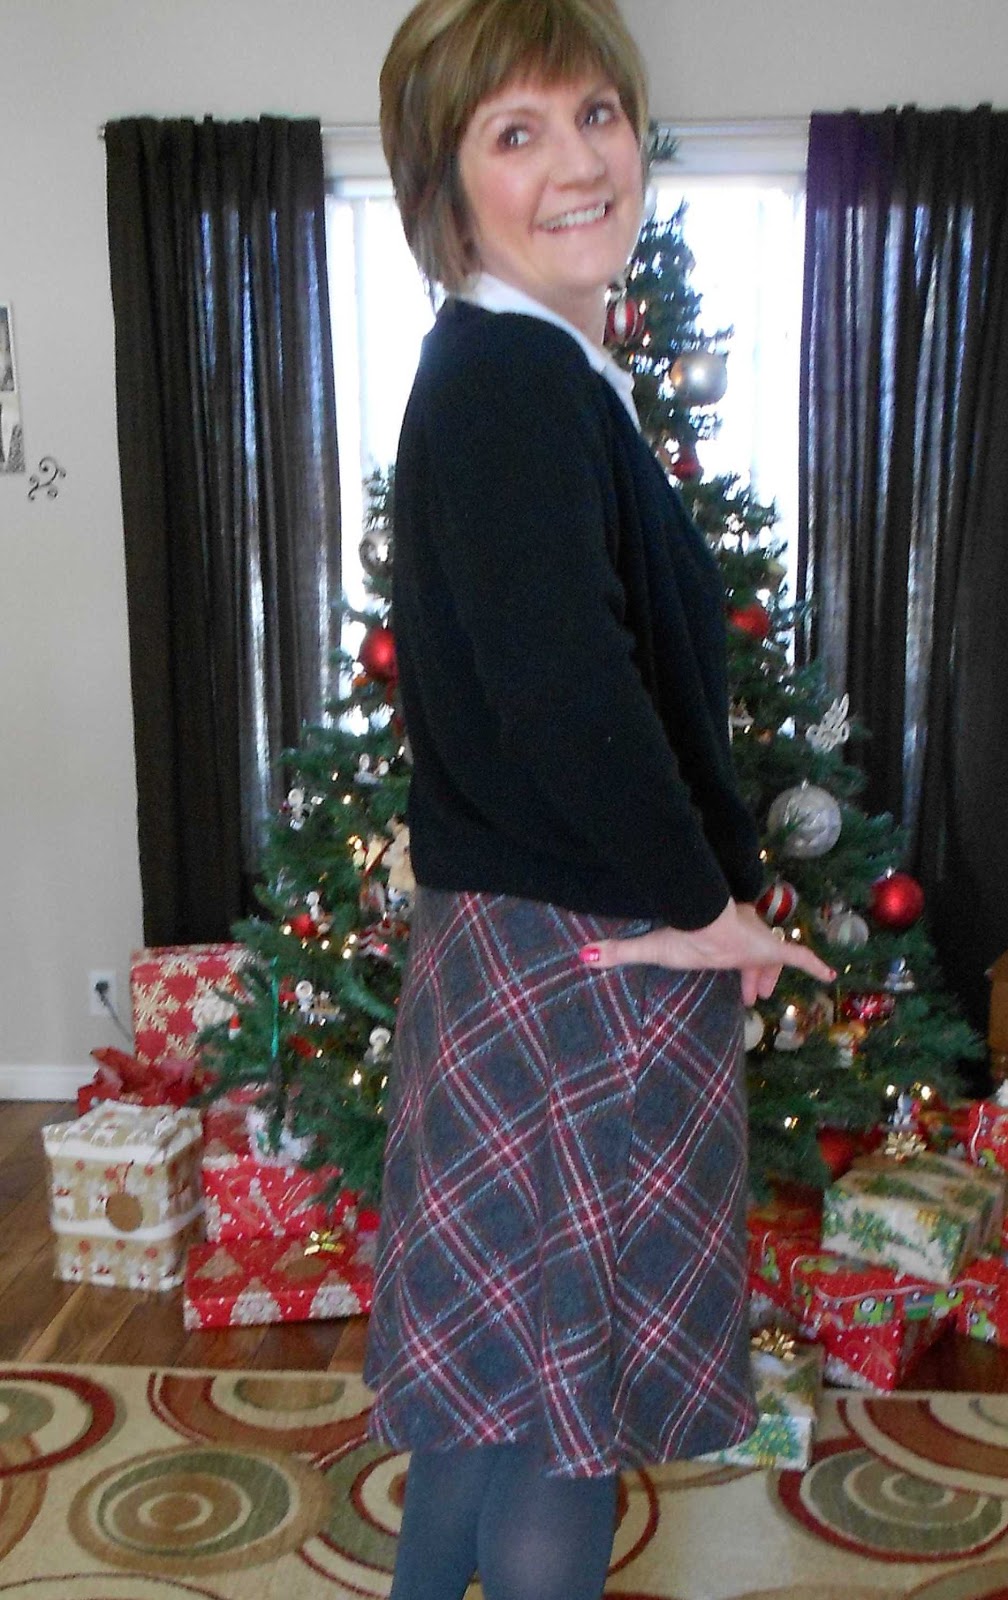
Here’s a picture of the how pretty the skirt hangs around the hemline.  I really like how the skirt is fitted in the hips and then flares slightly toward the hemline.  The concept kind of reminds me of the nice silhouette that bootcut jeans give.

I like this skirt so much that I purchased some very expensive, 4-ply, 100% silk fabric from Yellowbird Fabrics in SLC to make into a beautiful Spring garment.  I plan to sew it up in either version 1 or 2 next time.


Vogue 1275

I made view A (the brown, long sleeved view).  

It fits nice and I did not make any alterations to the pattern (since it is made from a knit, I knew it would stretttttch over my lumps!)  The neckline also sits nice.  I thought it might be a bit “gapey” because of how it fit before I applied the neck band, but when it was finished, it behaved itself nicely.

Here’s a photo of the neck before I added the band.  I was concerned that it would gape like that after it was finished and I planned to take in the neck line, but I decided to wait until I got the neck band sewn on.  I’m glad I waited, because the neck band made the neck line lay down nice and flat against my skin.

I especially like the ruched effect on the sleeves, it is a nice design detail and very easy to sew.

Here’s the inside of the sleeve to show you how the elastic is applied with a zig zag stitch and stretched to fit.

And here it is from the right side:

It is difficult to see because of the busyness of the print, but the front ruching detail is quite flattering for my small bust.  Here’s a close up (under poor indoor lighting).

The fabric is a polyester/lycra knit that I purchased at Jo-Ann Fabrics.  It’s part of a fabric collection by April Johnston (for those of you who are Project Runway fans, she was on season 8).  All in all, I really like this top and I plan to wear it quite often during these cold, winter months.

BurdaStyle 3/2010 #105 Skirt

This is not a terrific skirt because of the pattern details, as it really doesn’t have any.  But rather, what makes it a terrific skirt is the arsenal of fabrics that could be considered when making this pattern.  For my first version I chose fine wale corduroy from Yellowbird Fabrics in Salt Lake City. The fabric has just the right amount of body without being stiff.  I’m not exactly sure how I will style the outfit.  I just used the white button-up blouse because it is easier to see the skirt that way and the green sweater just added a pop of color.  I’m thinking a gorgeous silk blouse (perhaps made up from a salmon color silk I saw at Yellowbird fabrics) and a great belt will really set off this simple skirt. 

I made view A but cut the length for view B (it was approximately an inch longer).  This is such a basic, straightforward skirt pattern.  It has only four pieces – skirt front and back, and facing front and back; therefore, I didn’t follow the pattern instructions.  All I did was sew the darts in the front and back, sew up the side seams, insert the zipper and add the lining, and finish it up with the facing and hem.  IMO BurdaStyle patterns fit great.  I graded up one size from the waist to a size larger at the hip and it was a perfect fit without any alterations.  Here are the front and back pics, but since it lacks any design details they look pretty much the same.

I used my Bernina invisible zipper foot # 35 to insert the zipper and the method for the facing is from the “Simple Way to Sew Facings with Invisible Zippers” tutorial on the Colette patterns Web site. 

Invisible Zipper

Here’s a look at the lining. 

I used a brown ambiance lining fabric that I also purchased at Yellowbird fabrics.  The raw edge of the facing is finished with purchased double-fold bias tape.  I prefer a bias tape or some type of ribbon as opposed to a narrow, double fold for skirt facing edges as it adds a nice finishing detail to the inside of the skirt.

I will wear this skirt a lot this fall and winter and there are numerous ways it can be styled.  I will probably use this pattern to add skirts from other fabrics into my wardrobe as well.