Round Trip Duffle Bag

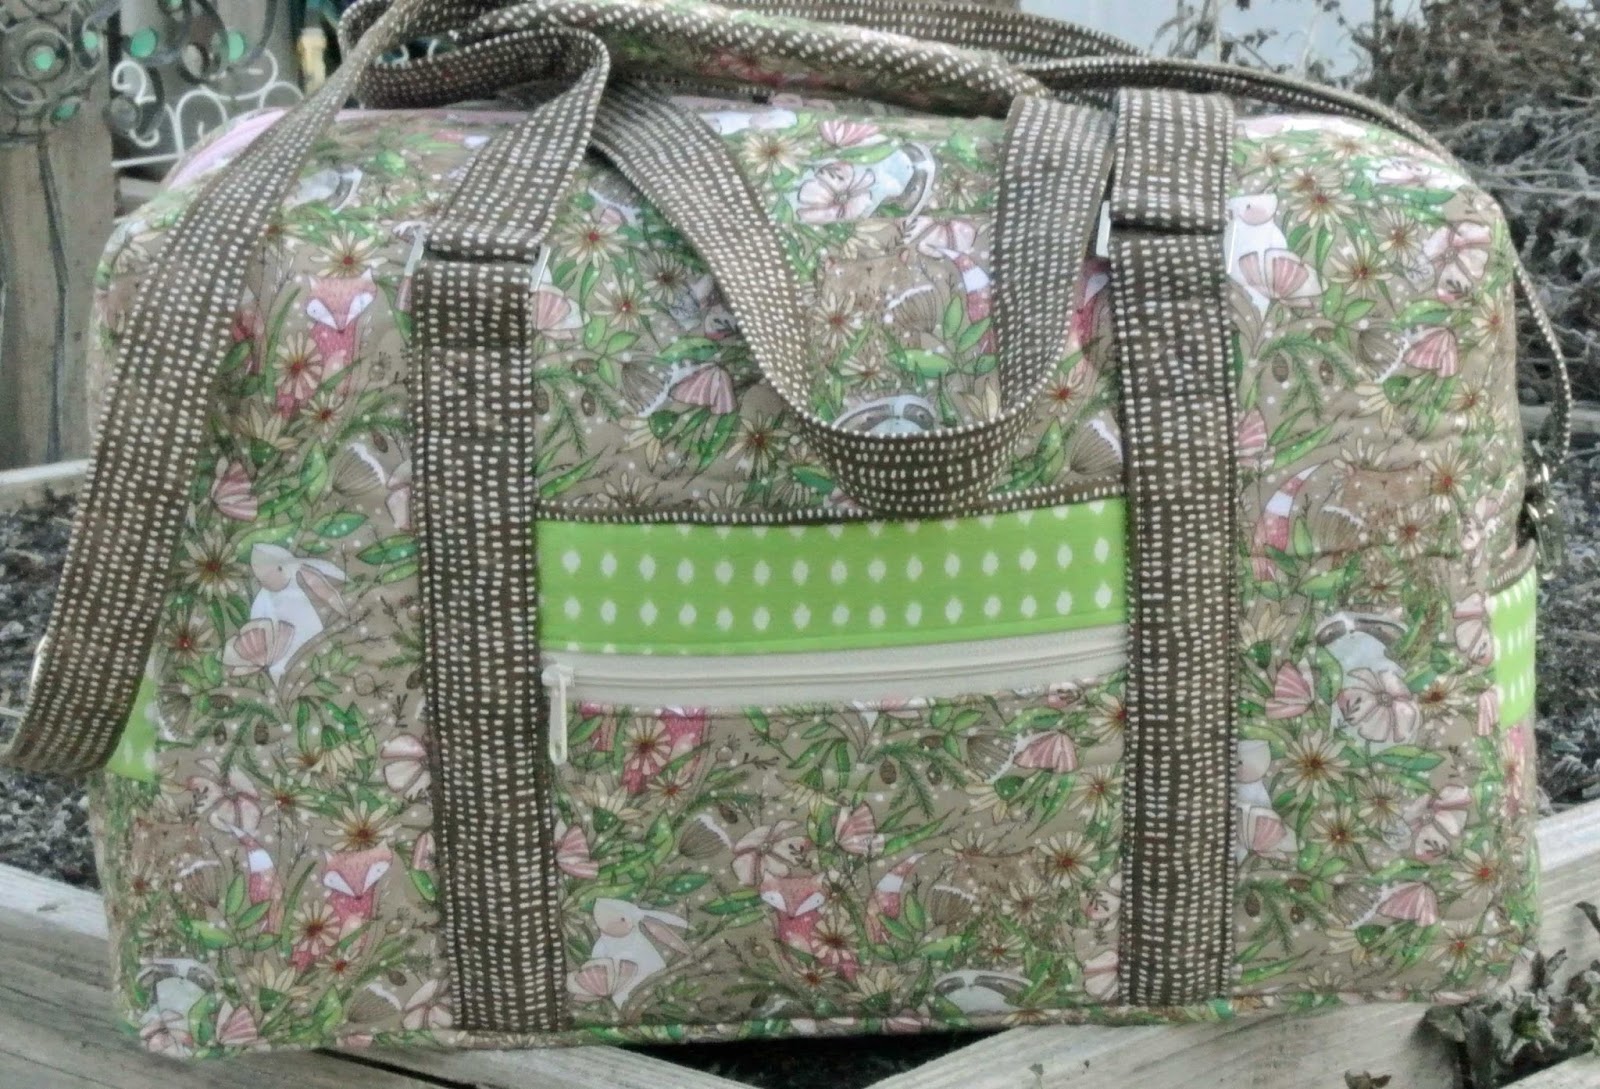
If you, or somebody you know, needs a BIG duffle
this is the pattern for you!
It is the Round Trip Duffle pattern from Patterns by Annie.
The finished measurements are 12″H x 19.5″W x 7.5″D

The pattern suggests quilting your main fabric, Soft and Stable, and lining fabric
together on a long arm (if you have access to one) before you cut your pattern pieces.
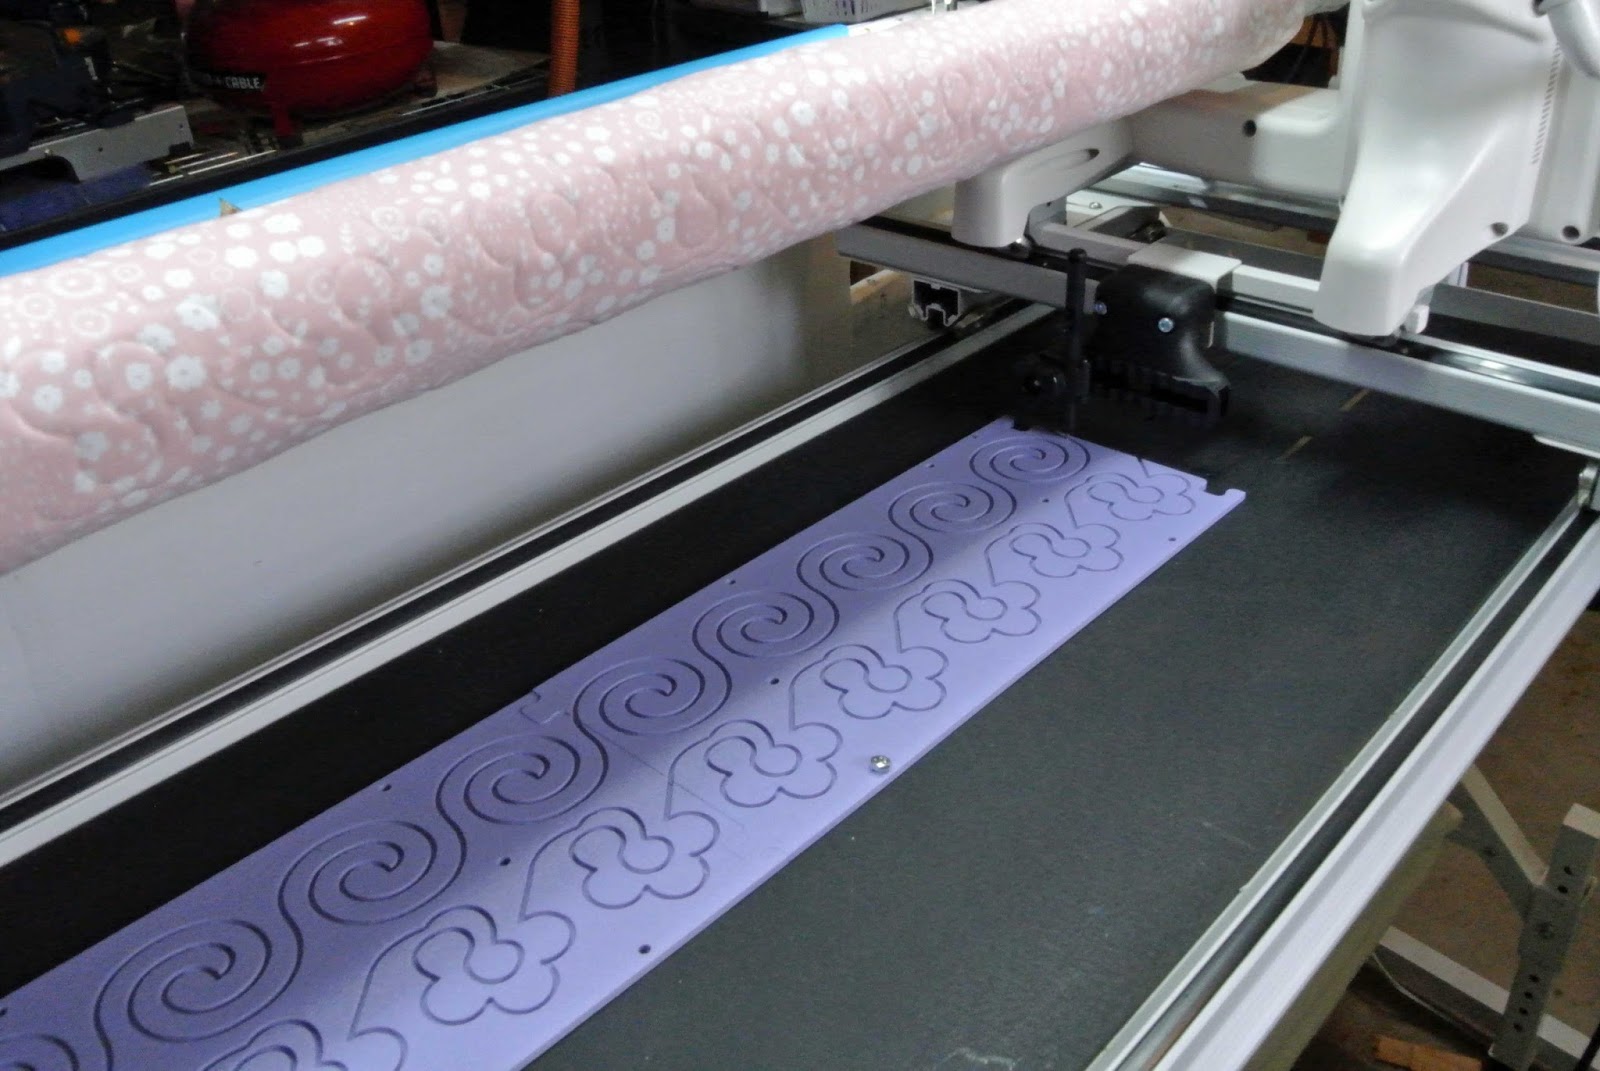
I used a groovy board and quilted mine with my Block Rockit.

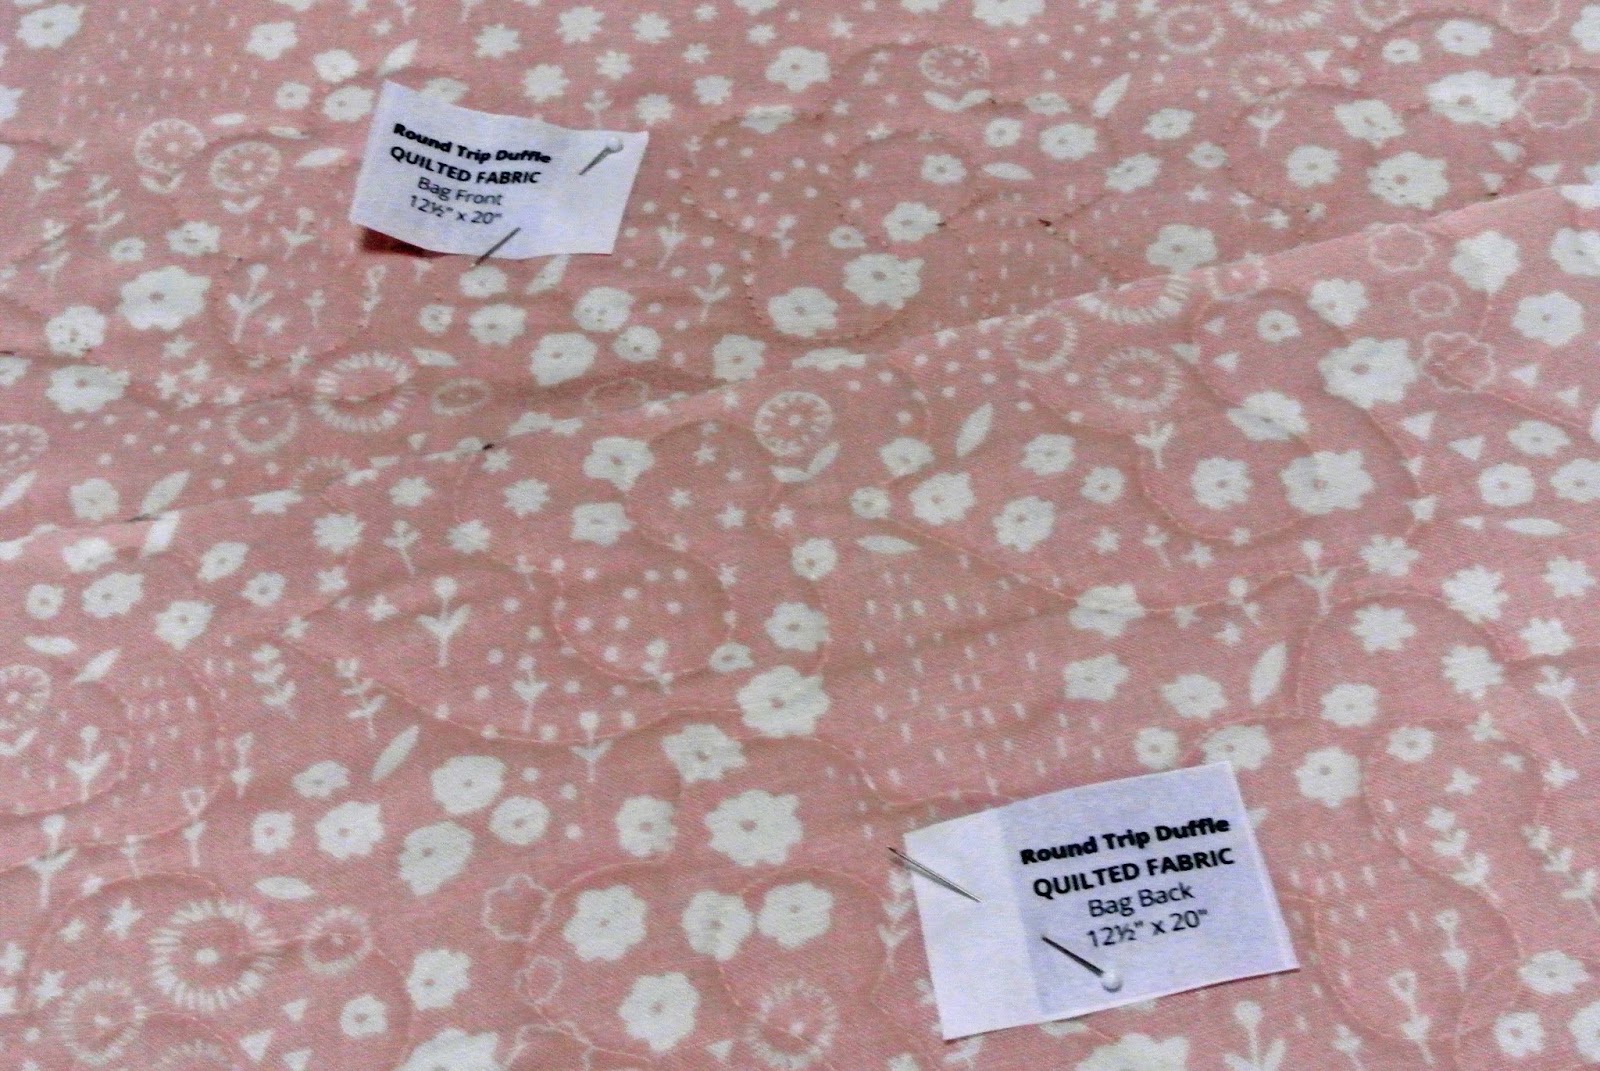
When you cut your pattern pieces, be certain to use the little labels that are included.
They help keep all your pattern pieces identified
and they will make your sewing life sew much easier!

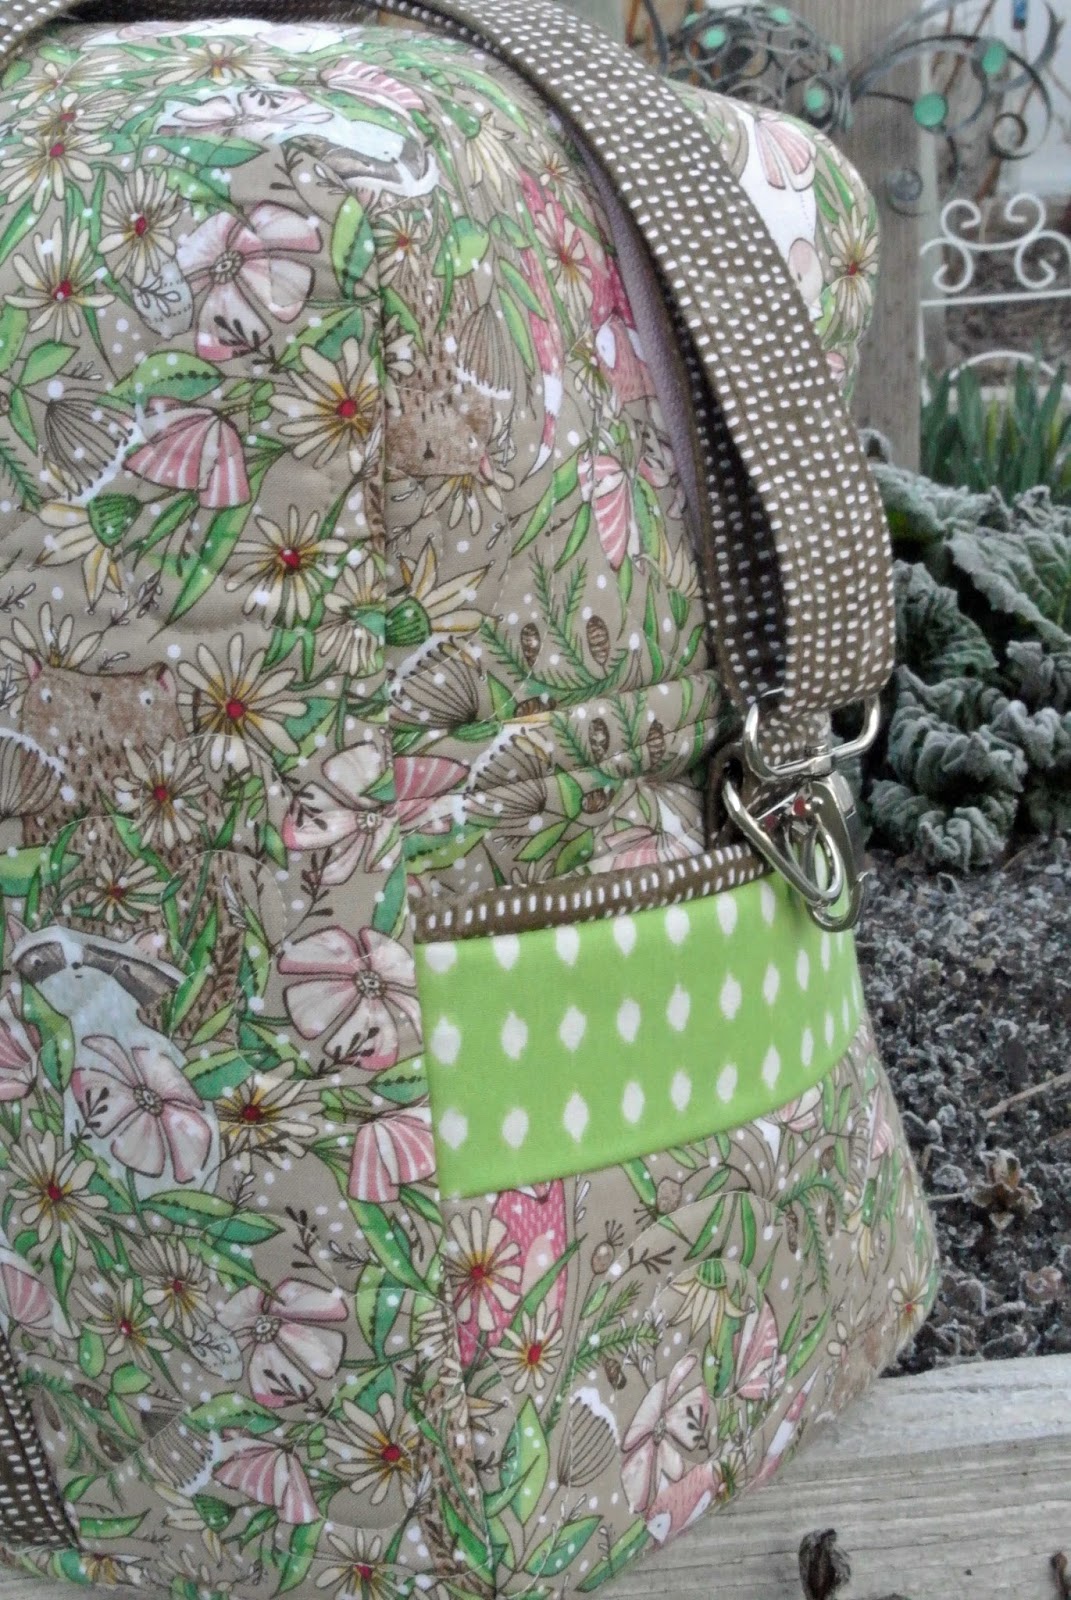
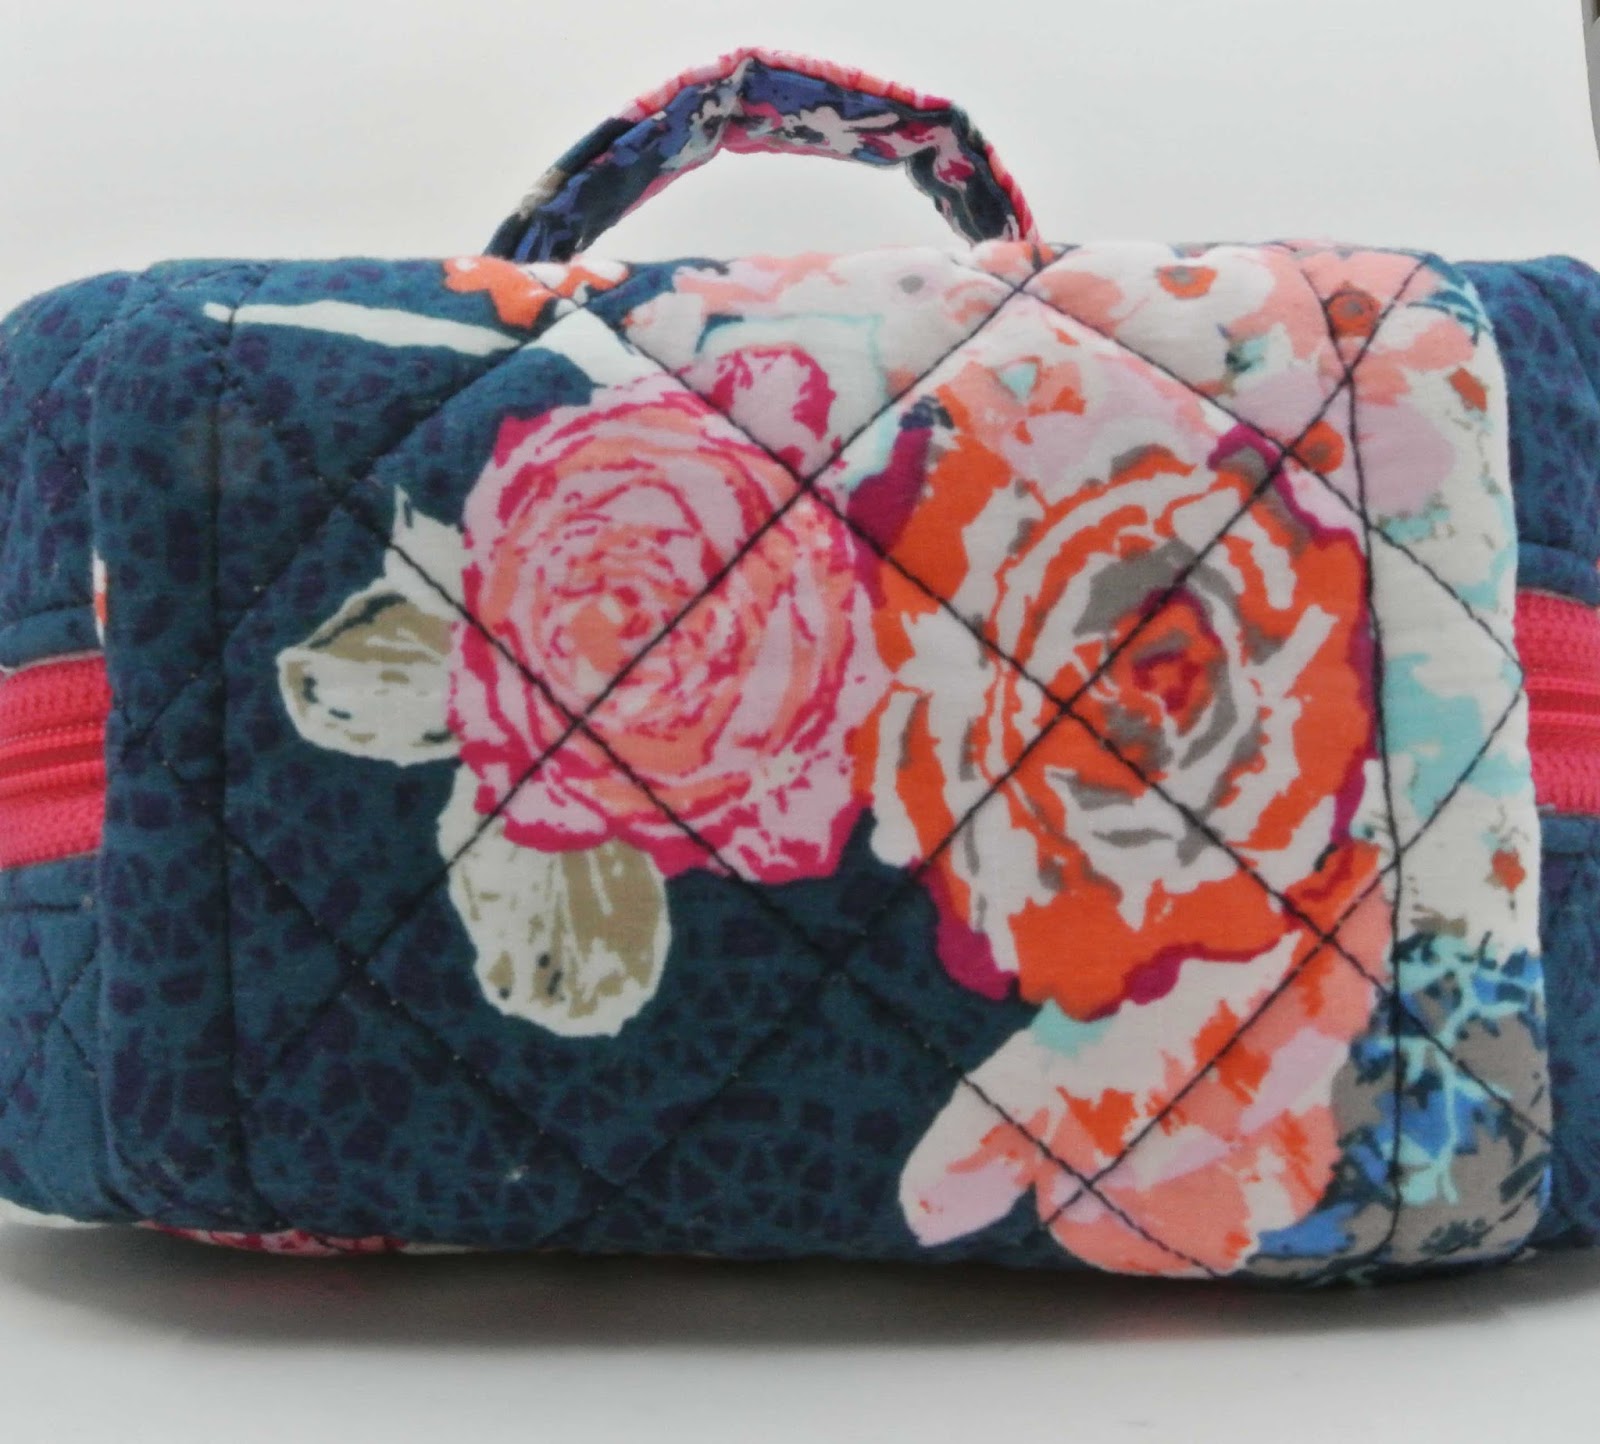
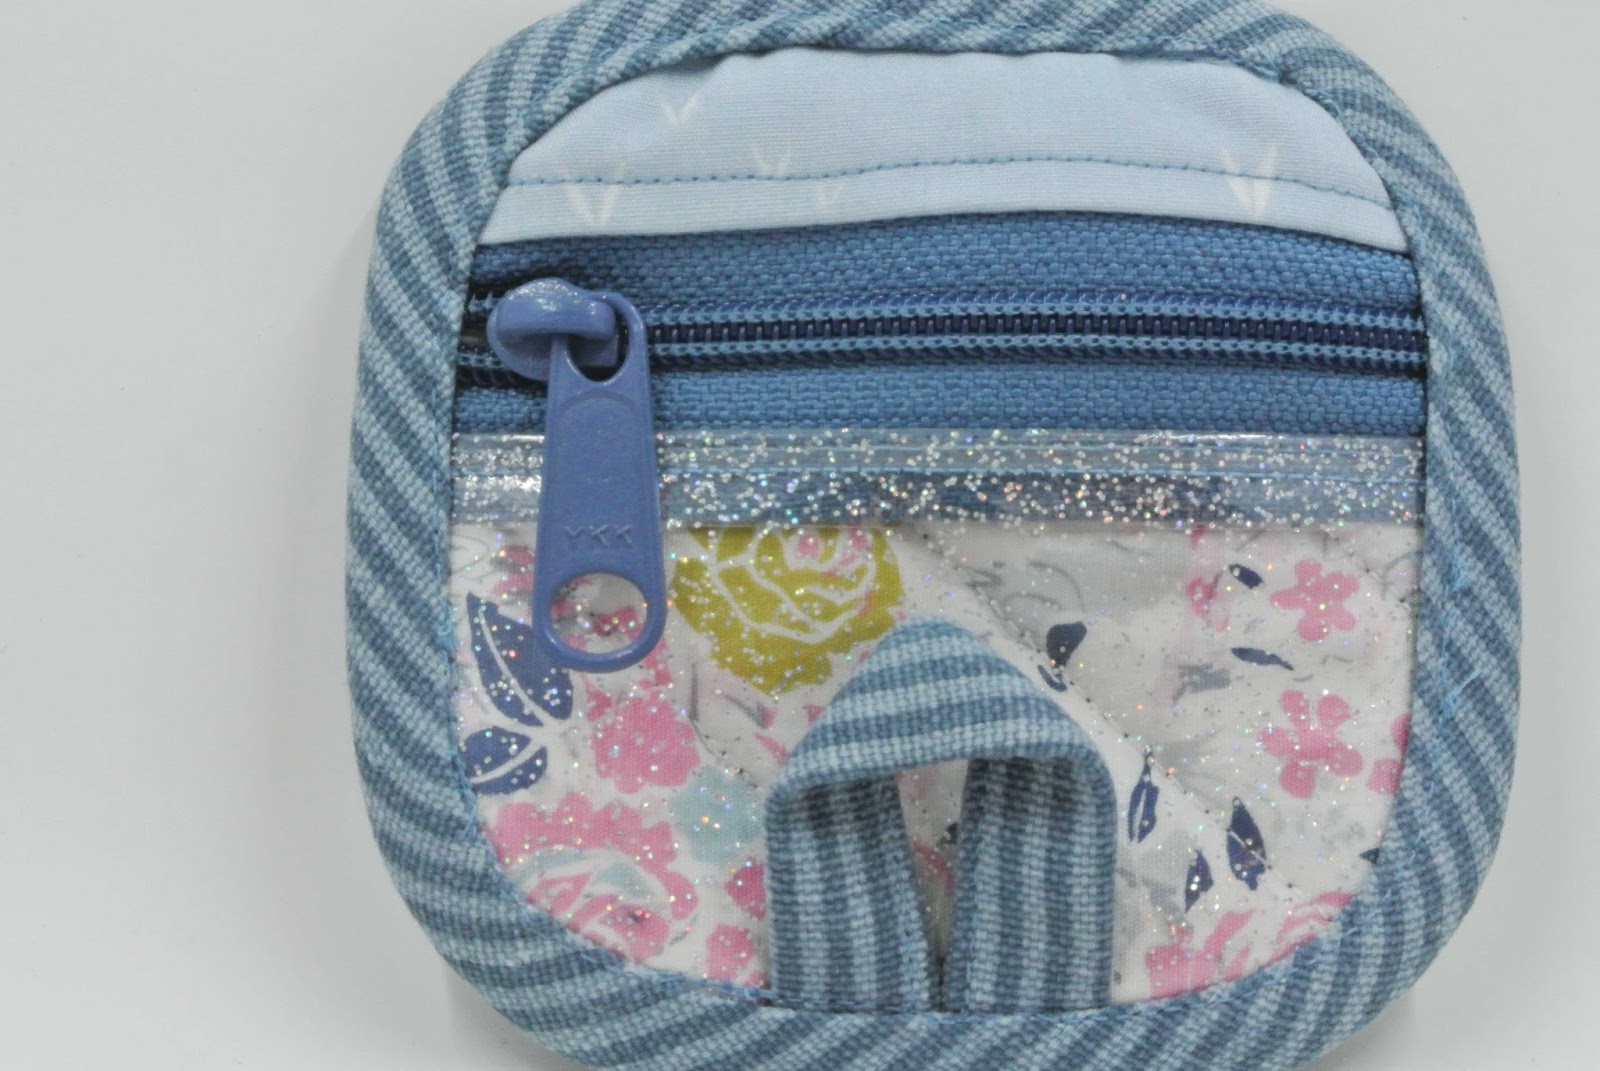
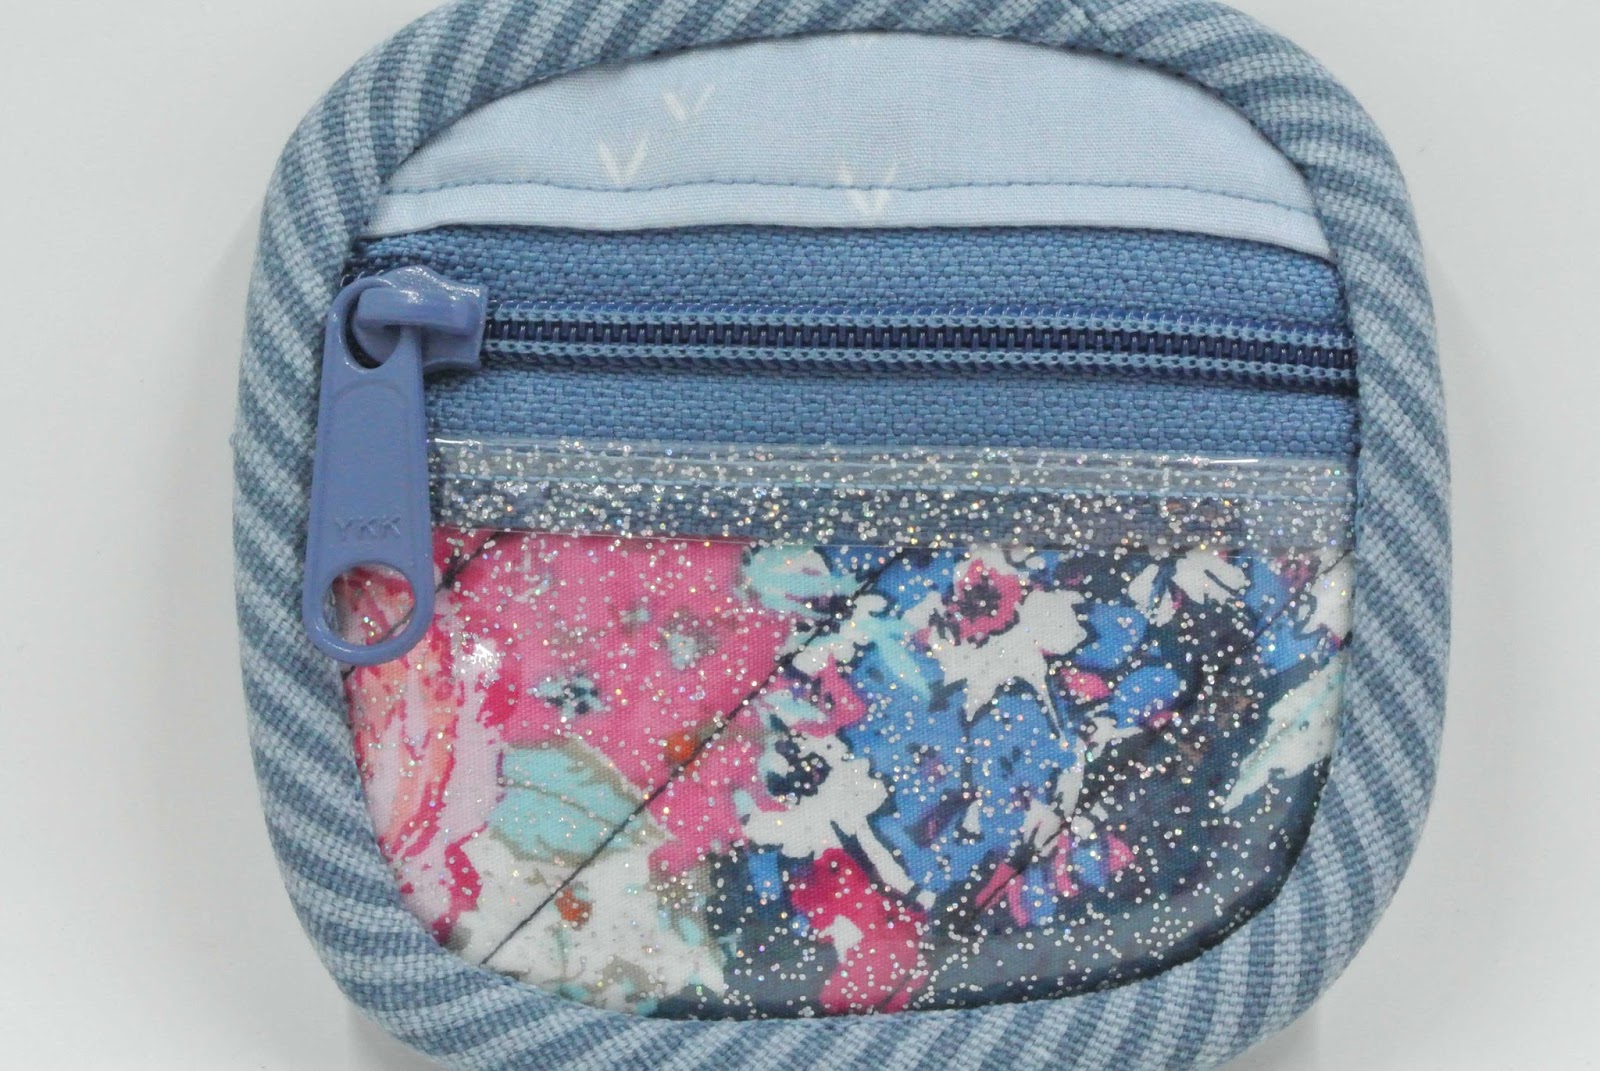
There is a nice size slip pocket at each end of the duffle.
That’s also where you will add a triangle ring or a D-ring and a swivel snap hook
to attach your shoulder strap.

The shoulder strap also features a slider so you can adjust the length according
to your needs.  To protect your shoulder, the metal slider slips into the
comfortable, padded cover that is part of your shoulder strap.
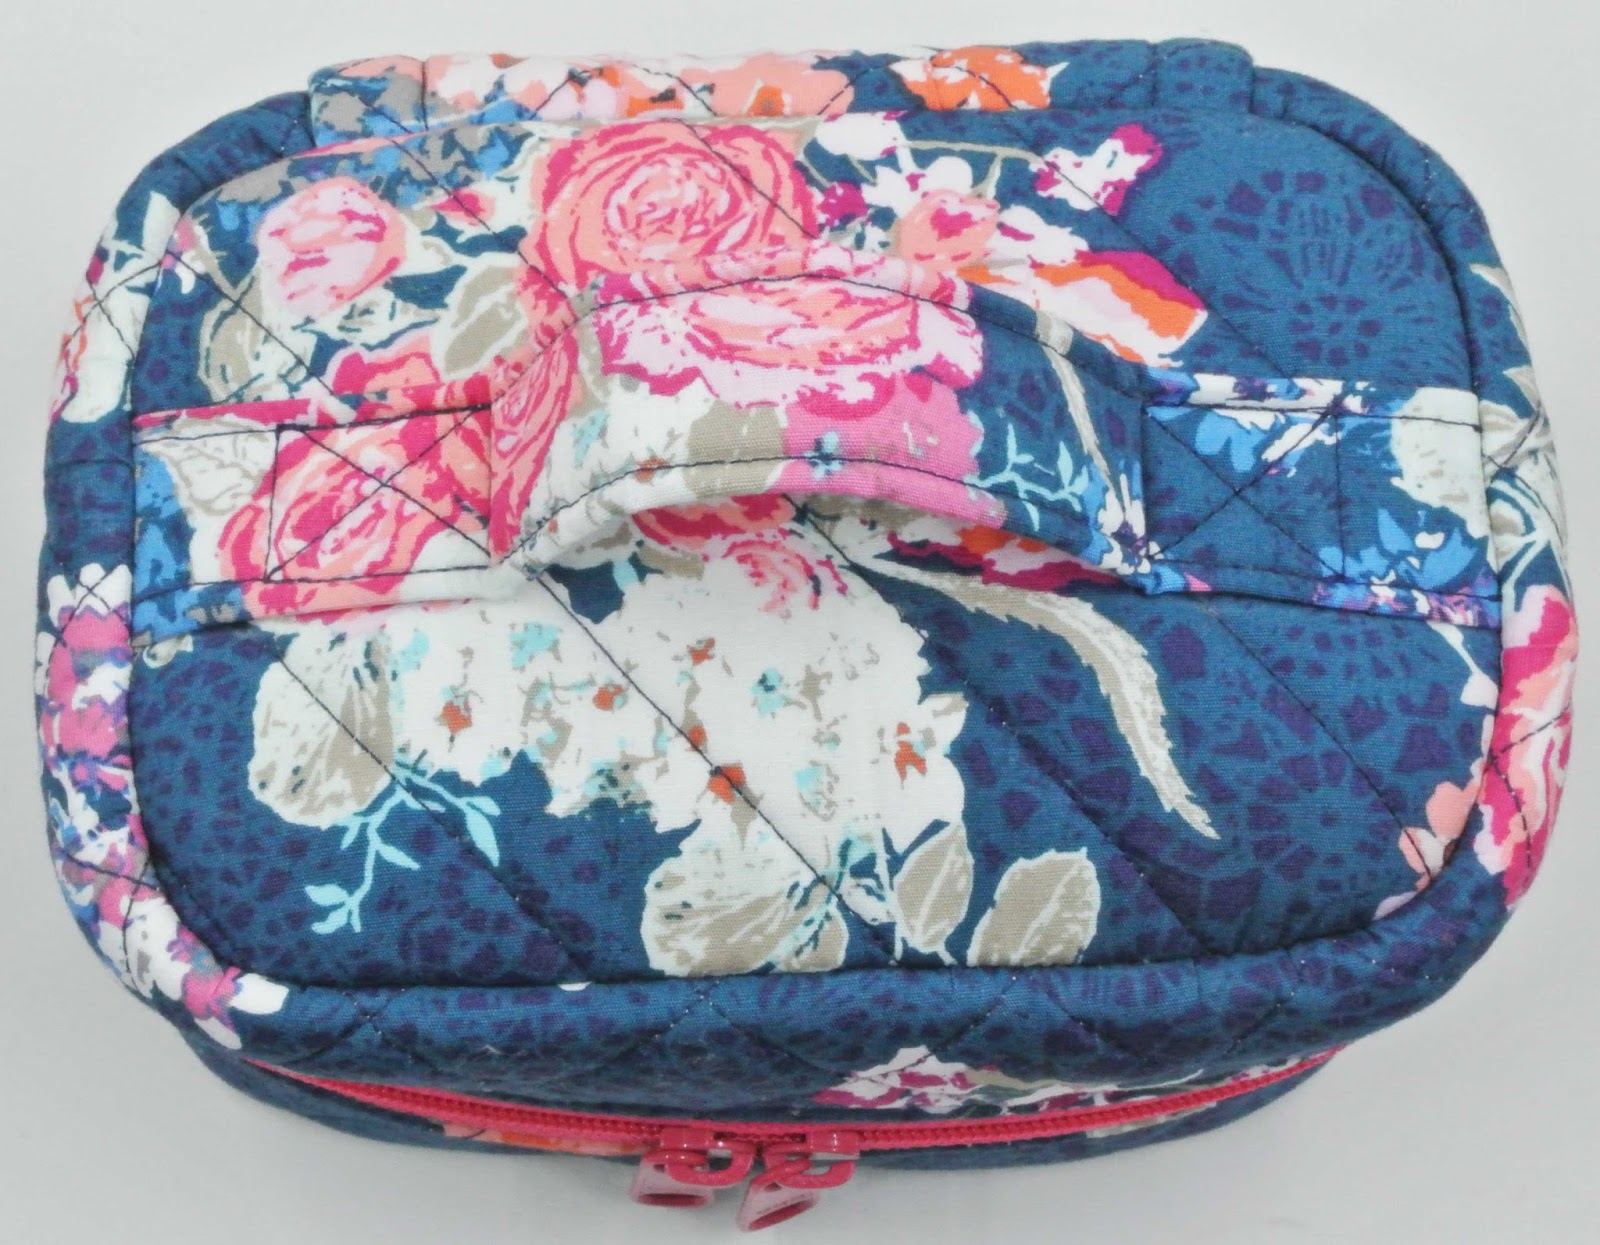
You also have the option of using the handy carry straps that are attached to each
side of the duffle using rectangle rings.
And when you need to be hands and shoulder free,
you can secure your duffle to your rolling luggage with the handy trolley sleeve
that is sewn to one side of the duffle.

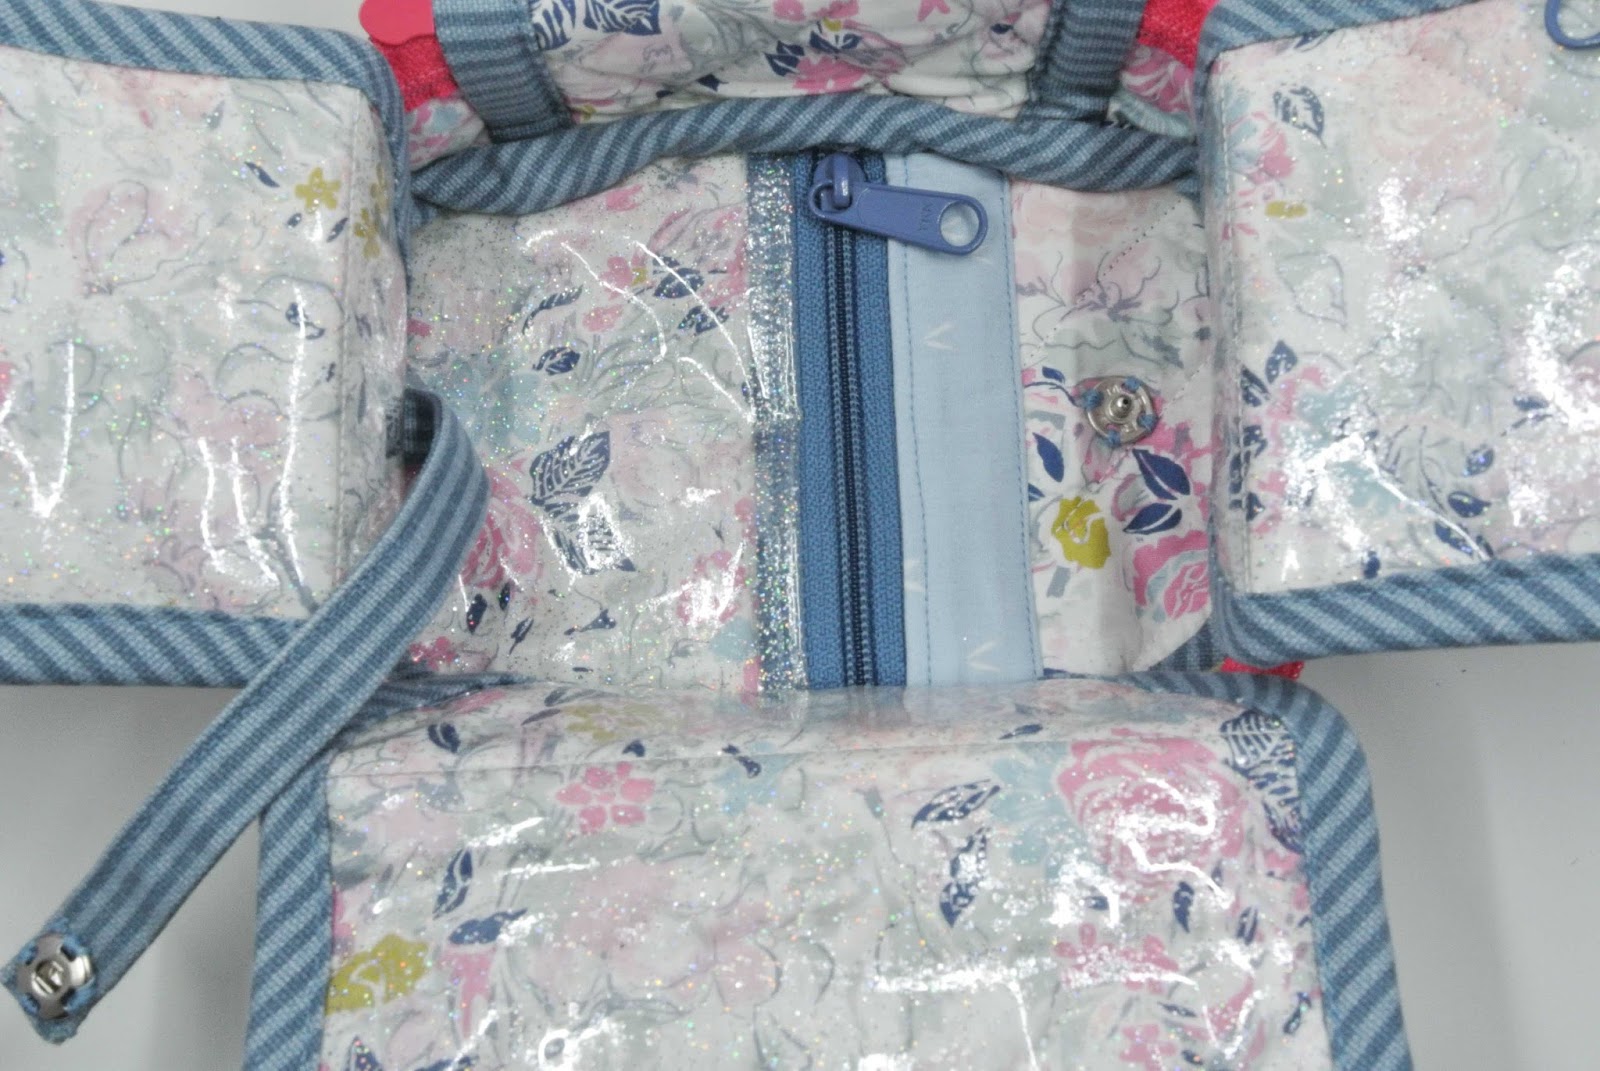
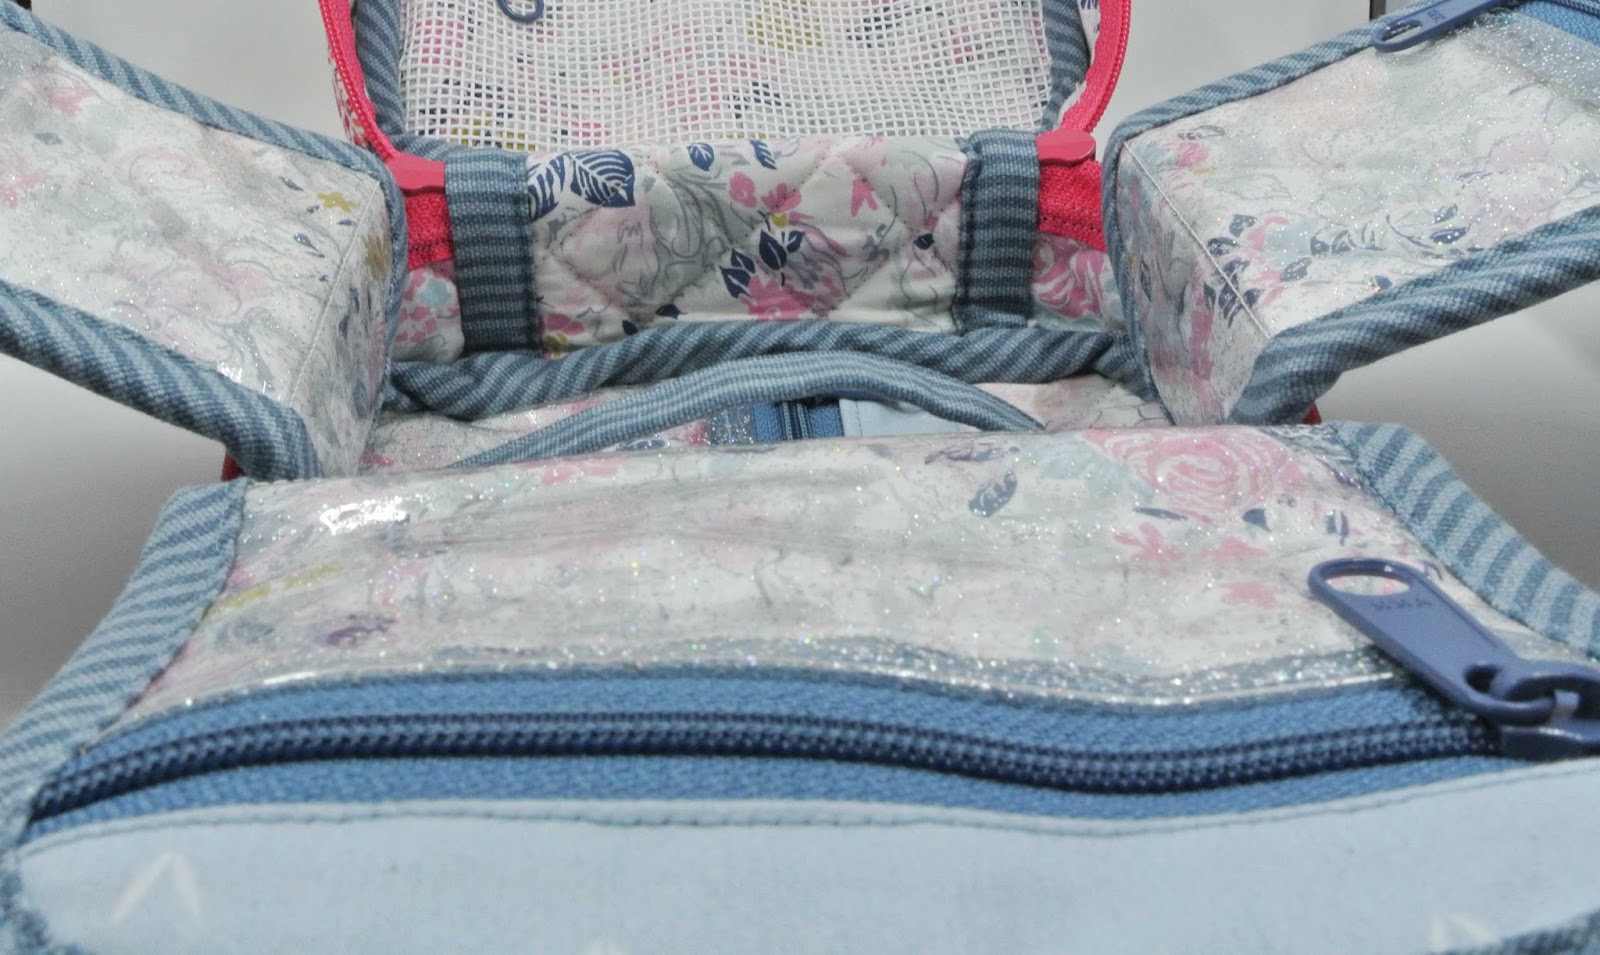
There is a large mesh zipper pocket on one side of the interior,
and handy slip pockets on the opposite side of the interior.
The bottom of the bag is supported by a piece of acrylic, cut to size, that is covered
with a sleeve (an acrylic support pillow case, if you will).
To help keep the bottom exterior of my duffle clean and to help reduce wear,
I added four feet to the underside.
The pattern does not give instructions to do this,
but that is how I prefer to finish a bag this size.
It is easy to add this step, but be certain to do it before
attaching the bottom of the bag to the sides of the bag:
On the exterior of the bag bottom,
mark the desired location of your bag feet (I used four)
If your machine has an eyelet stitch, that’s the one to use for this technique.
It looks like the above stitch #62 on my Bernina.
If your sewing machine doesn’t have this stitch, that’s okay!
Simply draw circles (approx. 1/4″ to 3/8″ circumference) on the exterior bottom of your bag.
Then use a small zig zag stitch or a triple straight stitch to sew around your marked circles.
Now it’s time to clip the circle open.
The easiest way to do this is to fold the bag bottom in half right through the middle of the eyelet,
snip it open with the tip of your scissors – DON’T SNIP THROUGH YOUR STITCHING
Then fold the bag bottom in half the other way and snip so you make an “X” opening.
At this point it is good to add a little seam sealant to the clipped edges.
This is the lining side of my duffle bag bottom.
Insert the prongs of your bag feet so the prongs are on the lining side.
You can add a drop of fabric glue (this one is my favorite)
The prongs will not show on the lining side because your acrylic support will cover them.
Here’s a video to give you a closer look at this great pattern:
It’s not a quick sew, but I think you will be very pleased with the results
if you give this pattern a try.
Thanks for reading my blog, I appreciate all my readers so very much.

Glo and Go Cosmetic Wrap

Hello sewers and hello 2018!
With the start of each new year, I find myself in organization mode.
This Glo and Go cosmetic wrap from patterns By Annie
is your go to makeup brush and supply organizer.

The pattern instructions call for quilting cotton for the exterior of the wrap,
but I chose to use marine glitter vinyl.
The marine vinyl is easy to sew and easy to wipe clean.
I purchased mine from Pile O Fabric
If you decide to use the marine vinyl for your exterior,
you can omit the interfacing that is called for in the pattern instructions.
The vinyl is more than stable enough on its own.
This wrap is for my daughter, so I machine embroidered her monogram to the font of the wrap.
Before doing so, I searched and searched for blog posts, you tube videos, etc. that might
give me some helpful tips on embroidering on marine vinyl.
I came up empty, as everything I found focused on vinyl applique.
I plan to record a video on said topic, so check my YouTube channel in the near future.
I used my Baby Lock Alliance and I experimented . . .
and it wasn’t pretty!
The above photo was the first font I chose for my monogram.
Such a pretty font – not such a pretty stitch out.
I hooped Inspira light cut away stabilizer and placed the vinyl on top.
Do not hoop your vinyl – it is too thick for the hoop and the hoop would leave marks on the vinyl.
The stitches were embedding down into the vinyl, so I added wash away stabilizer
on top of the vinyl (you can see a remnant of the wash away on the second stitch out).
But it still wasn’t a pretty monogram.
Soooooo . . .
I changed the font, used the Inspira light cut away stabilizer,
and used wash away stabilizer on top.
Look at that!
The font was the culprit!
The original font was just too delicate.
It got lost in the loft of the glitter vinyl.
The inside of the wrap features mesh pockets to house your brushes and supplies
and a clear vinyl flap to protect your supplies and to keep your wrap clean from makeup
that might be on your brushes.
The top edge of the mesh fabric is finished off with fold over elastic.
Here’s a video on how I attach the fold over elastic to the mesh fabric:
 
The interior (lining) fabric, which is quilting cotton, is coated with Slicker iron-on vinyl.
This pattern can be customized in so many ways.
You can vary the number, the type, and the size of mesh pockets.
Have fun sewing your version to meet your needs.
If you don’t want to sew your own, or if you don’t sew,
please send me a message,
and I would be glad to sew a custom version just for you.
Okay, back to organizing and de-cluttering my house!
Thank you for stopping by, my friends.
Here’s to an organized New Year!!!

Treasures and Trinkets Case


It is so rewarding to sew custom orders for my awesome clients!
We started with the #treasuresandtrinkets pattern from #patternsbyAnnie
and my client (V) customized it for her needs
You see, she is a jewelry maker and she requires lots of little storage pockets
The pattern has instructions for 3 sizes (S, M, L)
V chose the smallest size, which finishes at approximately 4 x 6 x 3.75 inches
This isn’t just any ordinary little case . . .
It’s like opening up nesting dolls
There’s more and more storage as you progress through all the layers
The pattern is designed to have a zipper pocket
only on the lining side of the “flaps”,
but V requested double-sided pockets,
and I was happy to oblige.
We also made the little removable pods double sided.
The bottom of the case is designed to just house the strap
that holds those pods in place,
but V requested an additional zipper pocket on the bottom.
If you decide to add a pocket here,
just be certain to allow room to attach
the snap for the pod strap above the pocket
V also requested a mesh zipper pocket on the inside lid of the case
instead of the mesh earring bar as designed in the pattern instructions
I used the vinyl mesh as directed in the pattern, but I made it into a zipper pocket
The vinyl mesh is sturdy and V can still attach earrings to the pocket
and/or she can store items inside the mesh pocket as well (pretty smart, isn’t she?)
The small removable pods measure about 3 x 3 inches
and they have a loop on one side to allow them to be attached to the snap strap
at the bottom of the case
This is the perfect size case for travel, but if you are new to bag making,
I would recommend starting with one of the larger sizes
and sew the case as instructed, without the extra pockets, 
as this smaller size can be a bit tedious
and it is a little fiddly to attach the binding
to those double-sided vinyl zipper pockets.

If you are an experienced bag maker,
go for it!  Have fun customizing your own version of this handy case.

V’s fabric choices are just lovely and the case is so useful with all those storage pockets.  
Perhaps she should pursue pattern design!     😉

If you have made this, or any other byAnnie patterns, please share in the comment section.
Happy Sewing, my friends!!!