A Girl Can Never Have too Many Totes

 
Hub and I went camping last weekend.
Crochet is my go-to camping activity!
Forget the hiking, fishing, outdoorsy stuff
(okay, I enjoy those also).
But crocheting is a perfect way to spend a lazy afternoon
under the RV awning.
 

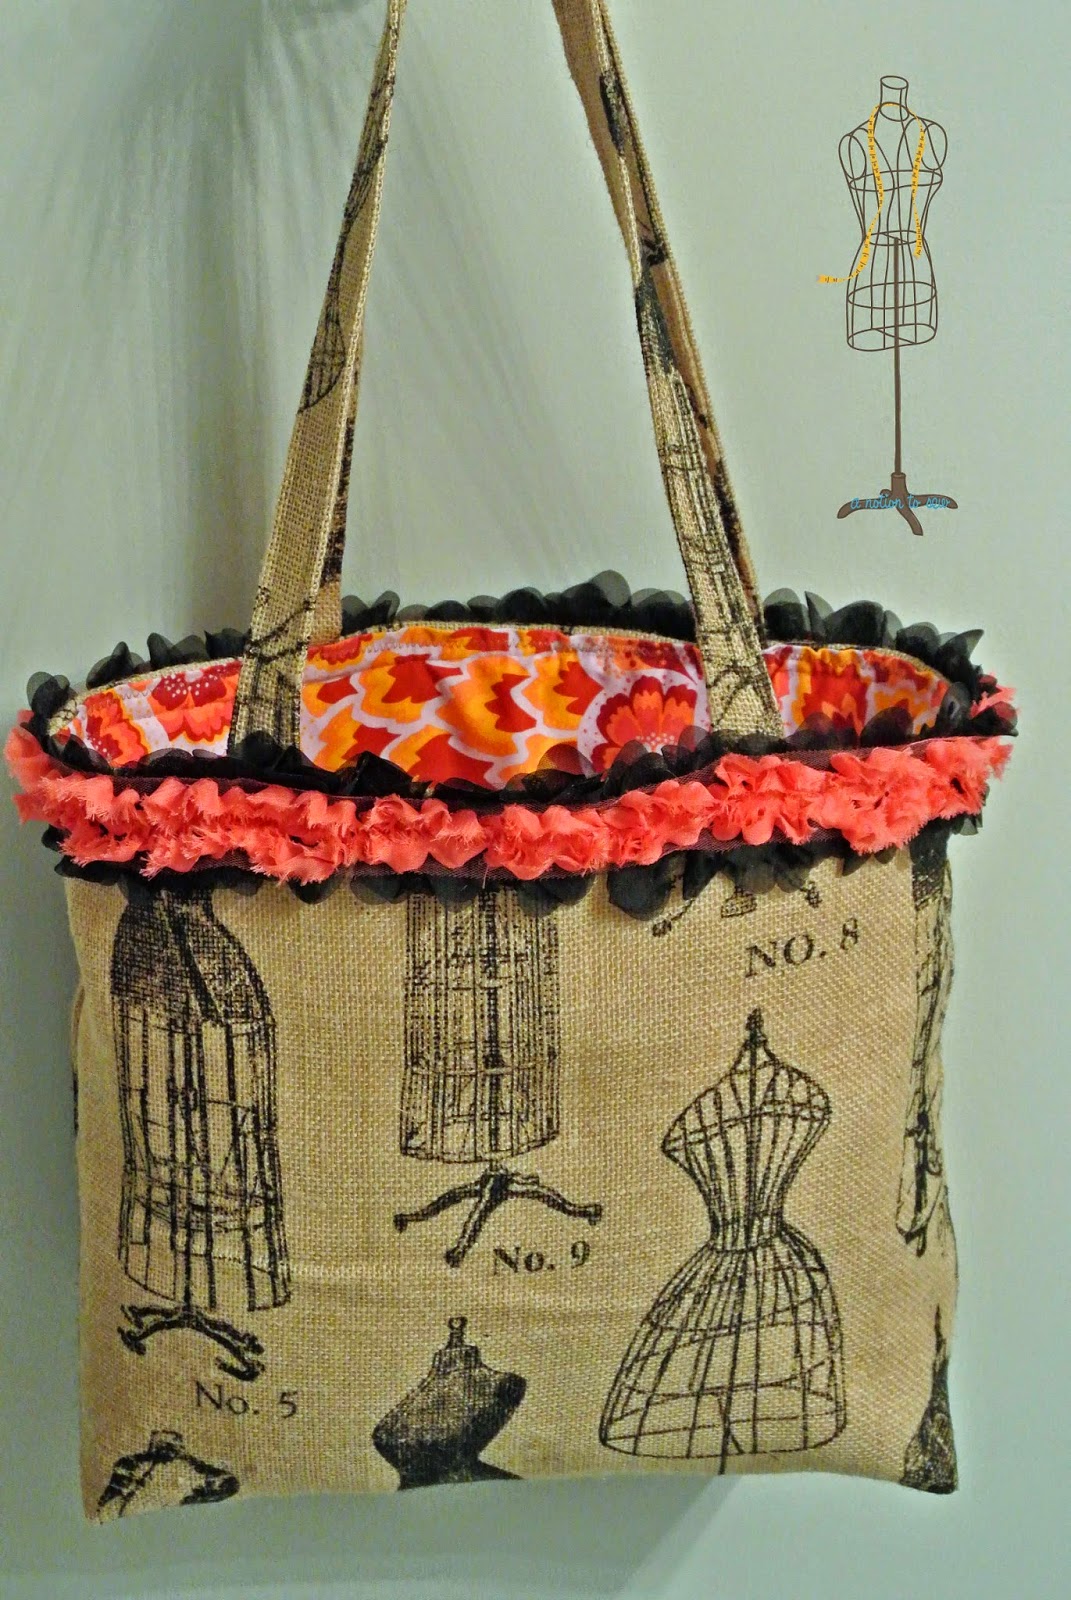
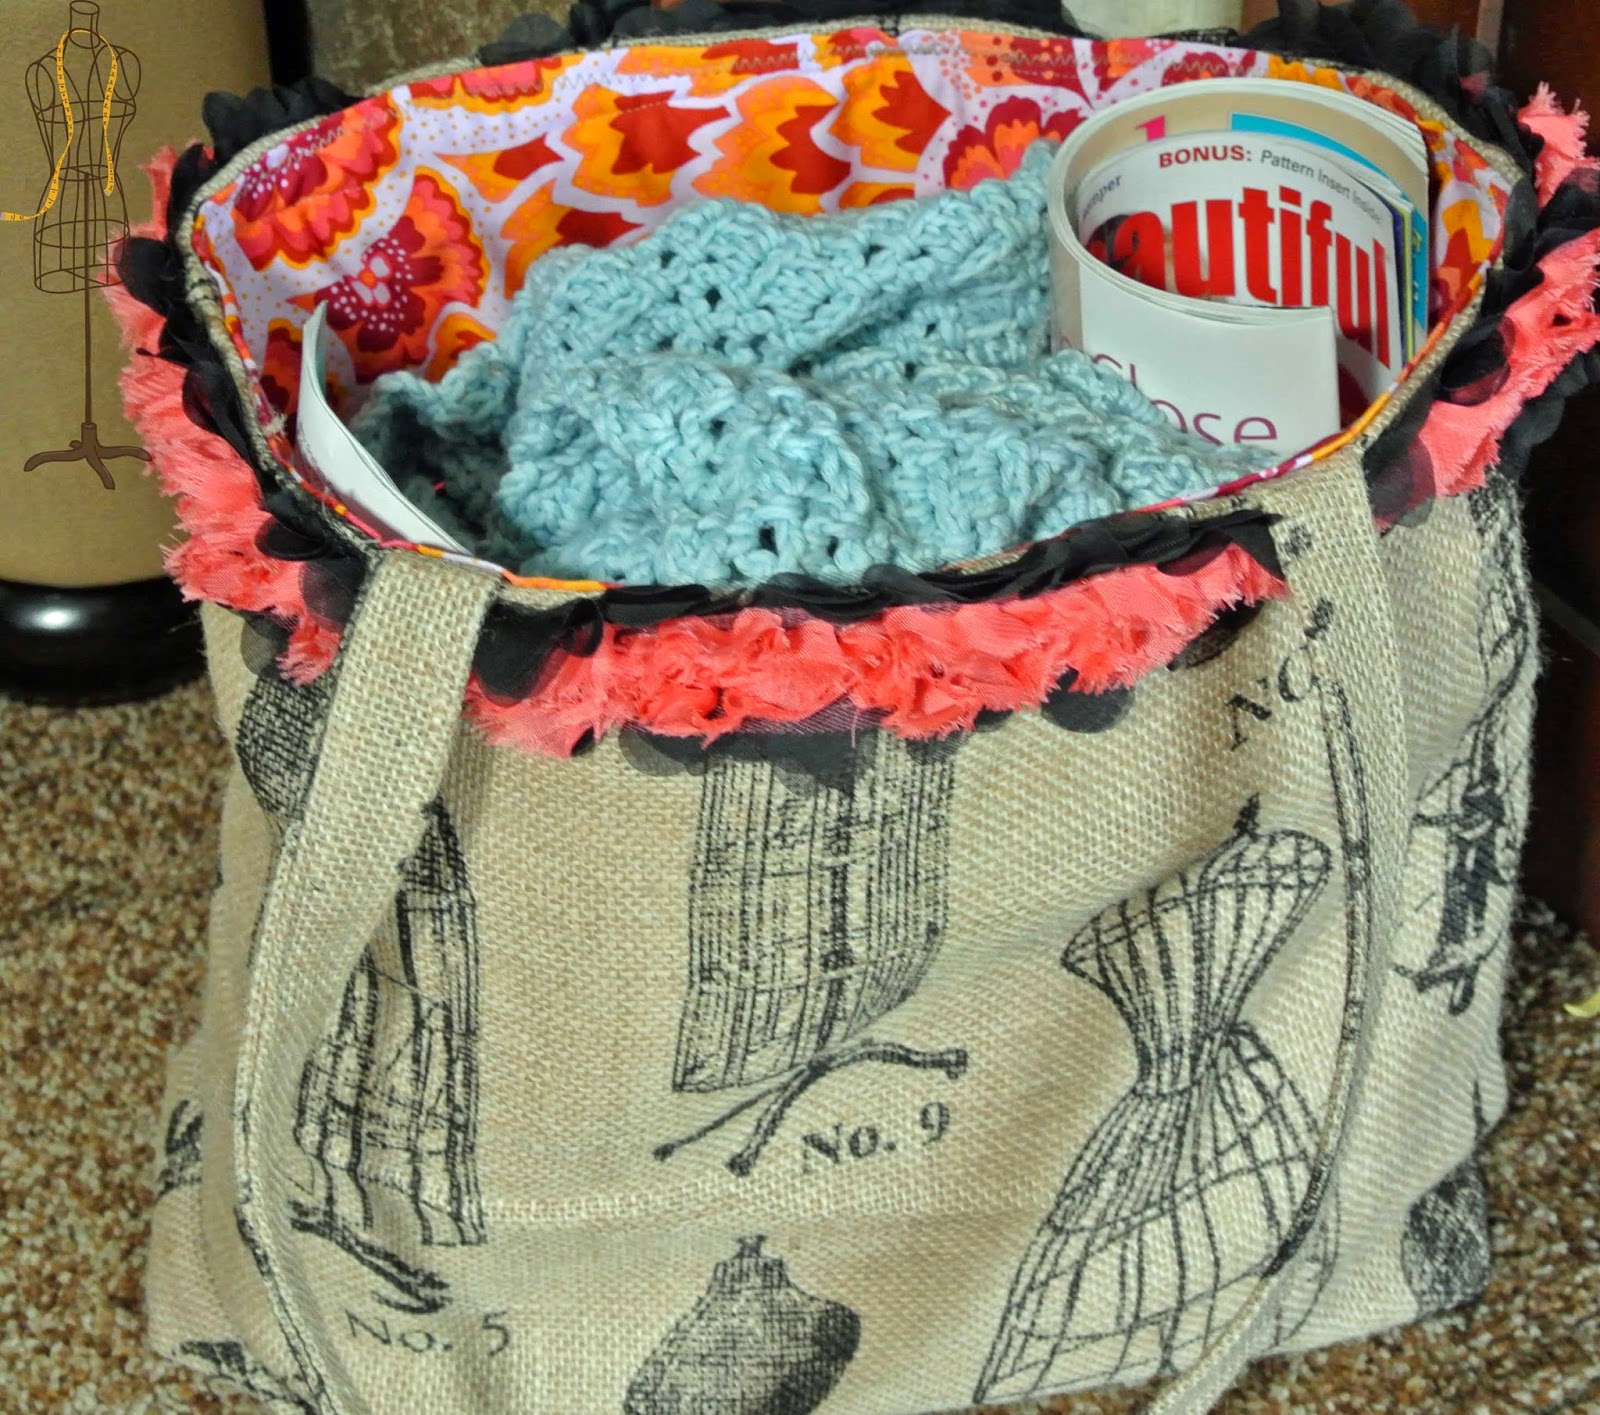
My handy, and very stylish, Martha’s Tote, housed my crochet supplies.
This is another required project for the Martha Pullen Teacher Licensing course.
It is also a sewing class that I will offer once my licensing is complete.


The exterior is printed burlap.
The interior is a cotton twill print by Amy Butler.
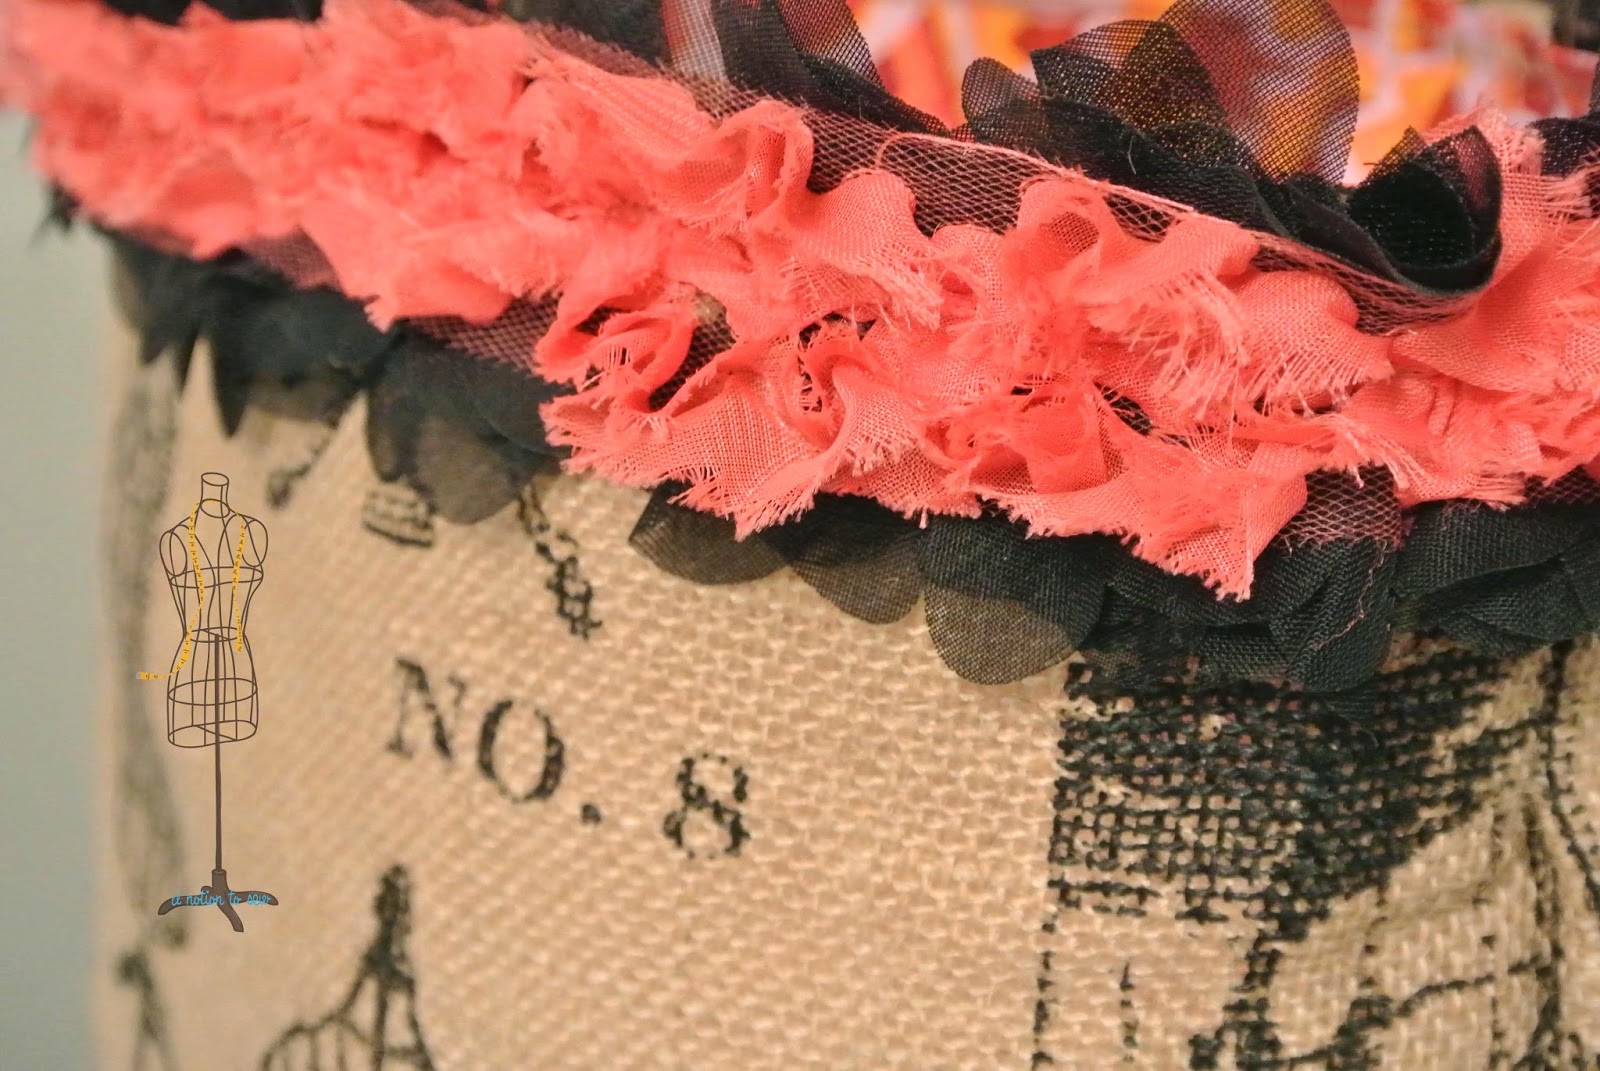
I picked up that fun, flirty, girly trim at JoAnn Fabrics.

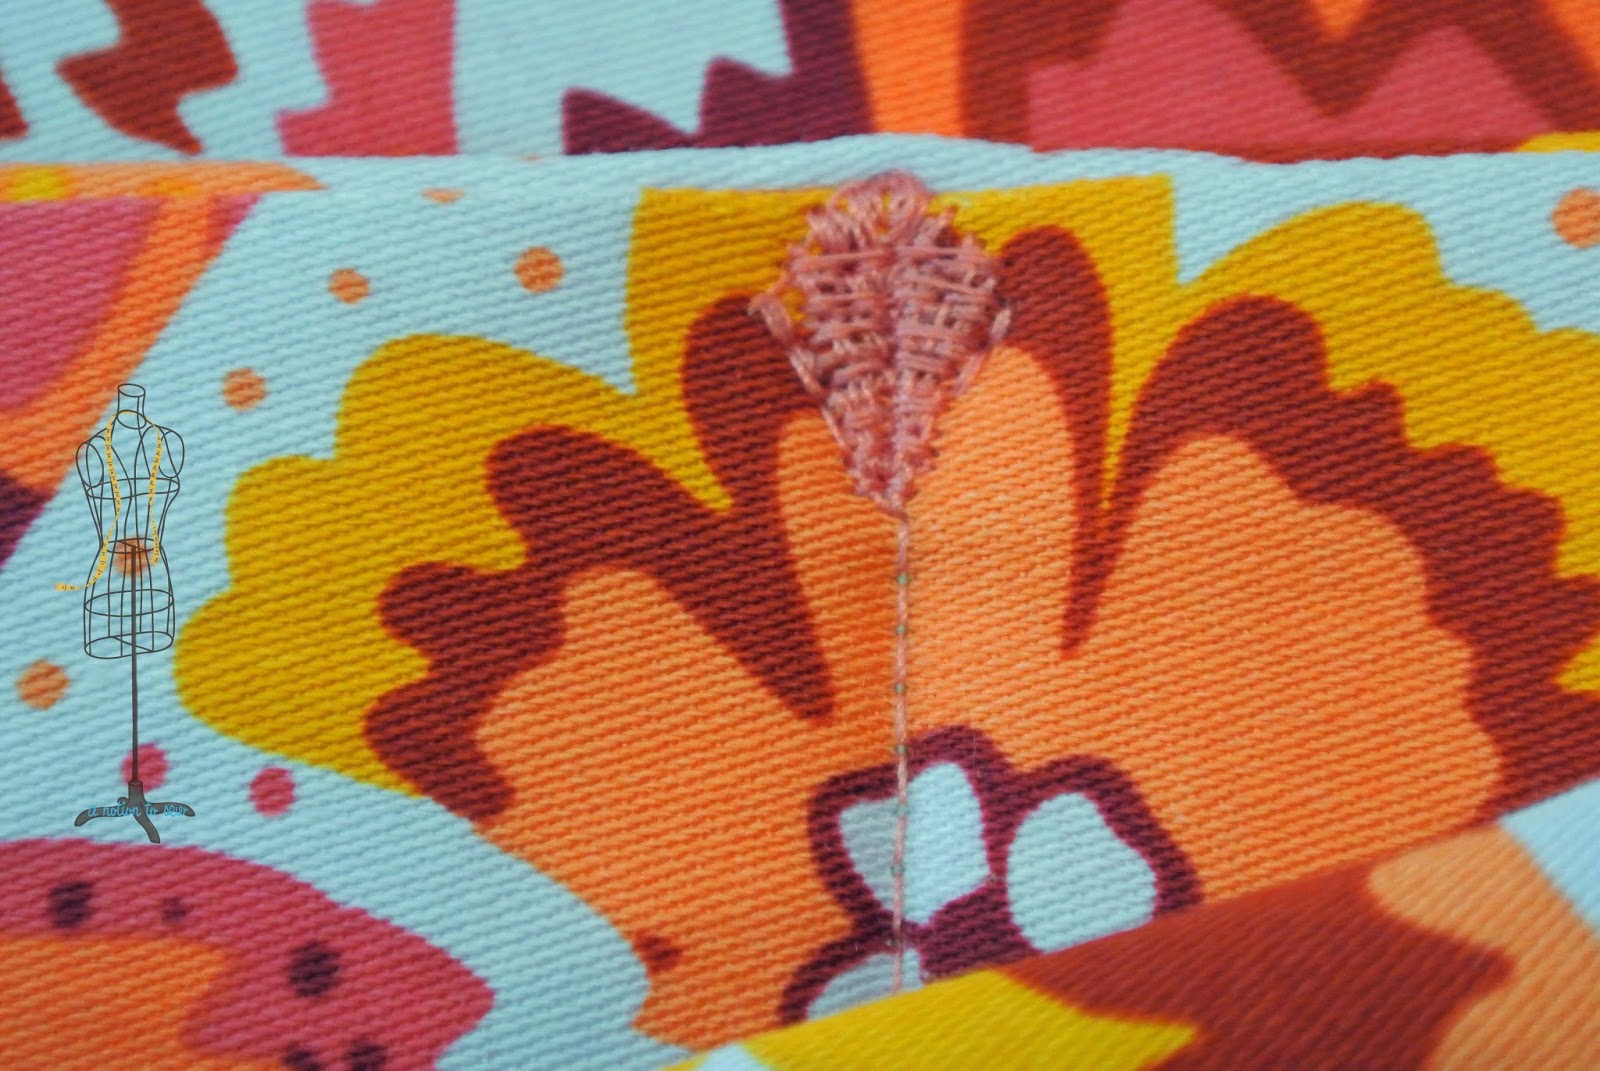
I secured the top of each interior pocket with a fly stitch.
The fly stitch is used to add strength to high stress seams.
Have you ever had a pocket that tore loose at the top edge?
A fly stitch will help ease some of the ‘pull’ created on that seam.
Have you used the fly stitch?
 
Happy Sewing, my friends!


DIY Living Room Curtain Makeover

 
My living room curtains used to hang just above that window frame.
The room has vaulted ceilings, and after having them painted that serene blue/gray color,
I decided to raise the curtain height to better flow with the lines of the vaulted ceiling.
 
 
Of course, in doing so, the original 84″ long curtains ended up much too short.
Quite functional in a flood, but aesthetically dysfunctional!
A brand new pair of 93″ long curtain panels was out of the question.
I have a limited budget, plus I would rather update and renovate what I already have.
 
 
I found this lovely blue and cream print decorator fabric on the remnant table at Hancock’s.
My existing curtains were 54″ wide and that lovely new fabric was 58″ wide.
Perfect!
 
All I needed was to cut two panels 15″ x WOF:
Hemming each 15″ side with a 1″ double fold hem gave me 54″ wide panels.
Serging the top edge of each panel and adding a 1″ single fold top hem,
plus 2.5″ double fold bottom hem gave me the extra 9″ length needed
for the new curtains.
 
 
Why, you may ask did I completely finish off the panel addition before
attaching it to the existing curtain panel?
Rather than simply seaming the two pieces together,
I wanted that added length to look like it was intended rather than added.
So I chose to attach it with a hemstitch.
Perhaps it is a bit unconventional to use an heirloom stitch to seam curtain panels,
but I *heart* the added detail.
Heavy duty thread adds to the strength of the stitch.
 
 
 The Bernina Spanish Hemstitch Attachment attaches easily to the base of the machine
and the clear guide sits in the center of the #20 presser foot.


That clear guide allows the fabric to glide smoothly and perfectly along either side
as the machine stitches.
This DIY Living Room Curtain Makeover offers optimal impact at minimal cost.
🙂
Happy decorating, my friends.


Pillow Sham

I’ve made numerous throw pillows in my time (including the two front and center),
but Martha’s Quilted Pillow Sham was the first of its kind for me.


I’m not sure why a pillow sham project has never been one of my endeavors.
This is another one of the required items to be stitched up for the
Martha Pullen Teacher Licensing course.
I can see more of these in my future.
  
 
Invisible zippers are such an easy, clean method of finishing off the back opening.
  
 
The zipper gives easy access for inserting and removing the pillow.
  
 
I used leftovers from my stash which match the bright fabrics
already accessorizing our guest room.
They are an assortment of Anna Maria Horner prints and Bella solids.
This room sports the brightest of decorator colors in my home.
It is important for me to make my guests feel welcome by giving them
a bright, colorful, cheerful environment.
Please, if you are ever in the area, stop in and stay for a spell.
🙂
 pam
Throw pillows made by me
Quilt Topper made by me