Multi-tasking

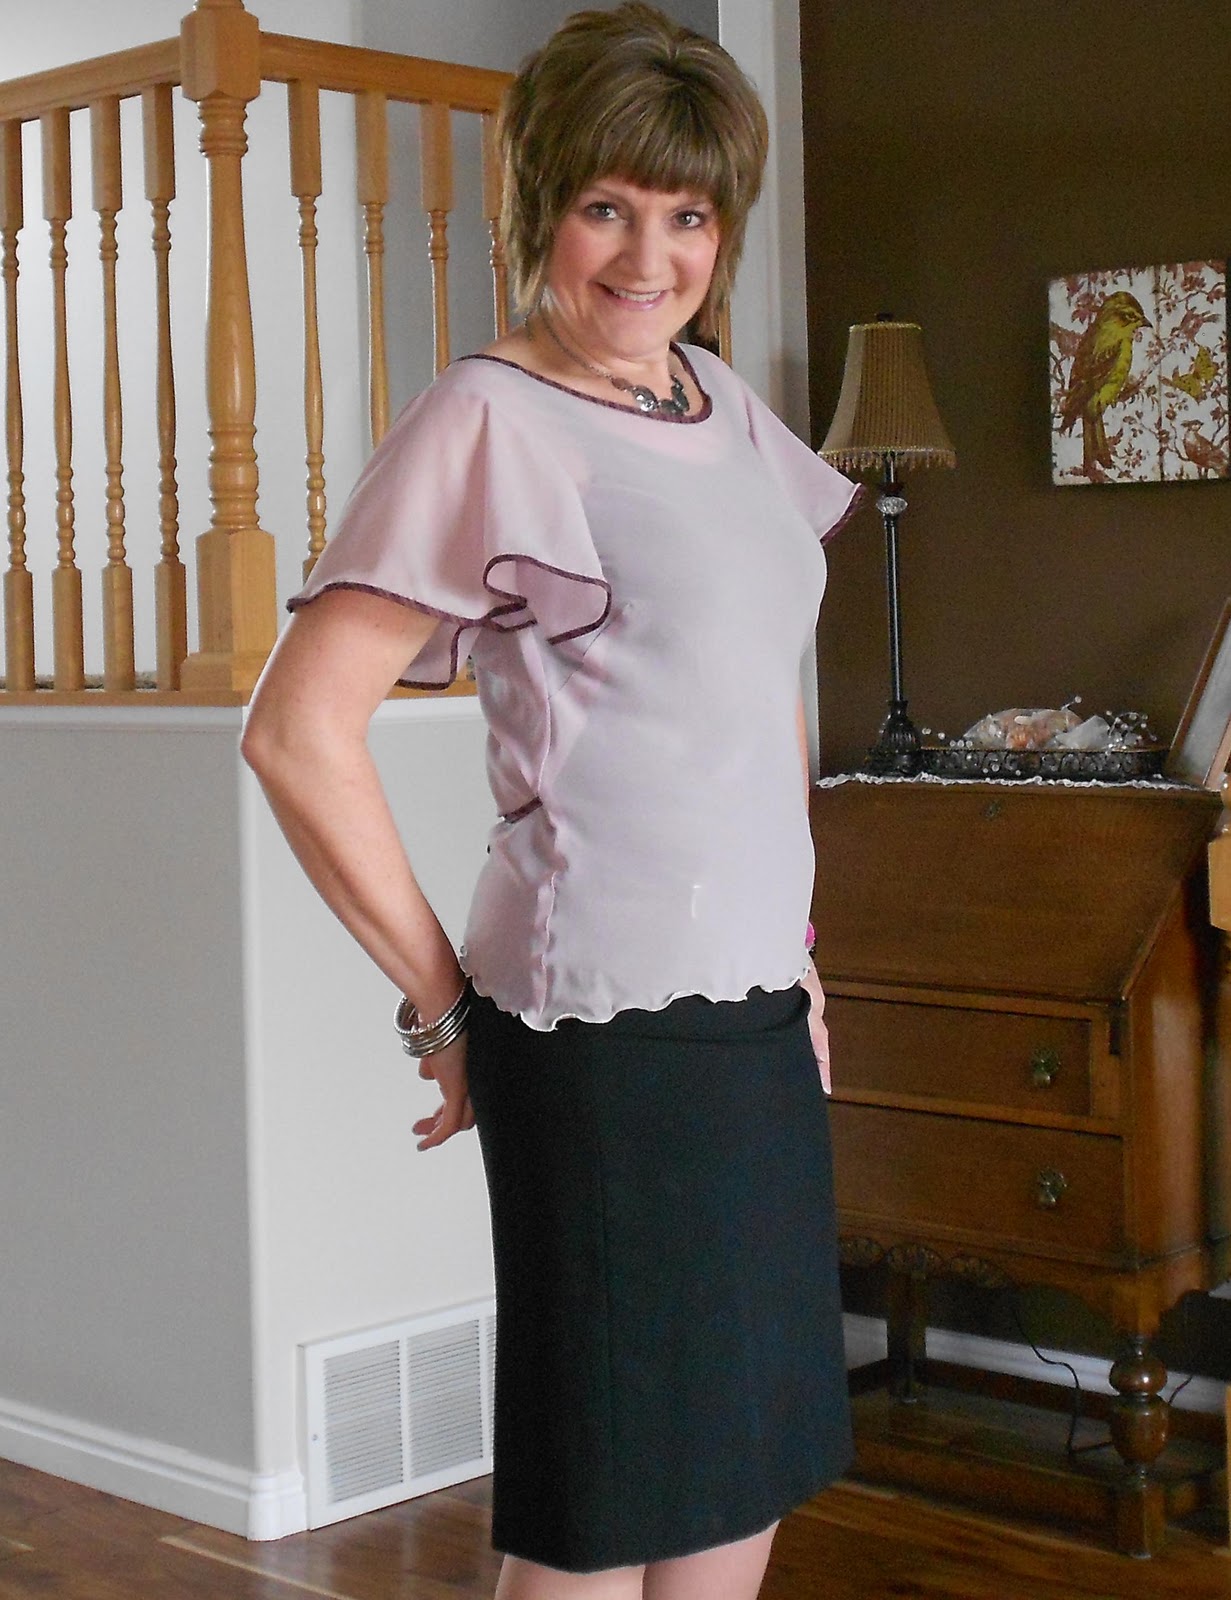
I didn’t make a whole lot of progress on my Jalie jeans this week, but here’s a couple of pics.
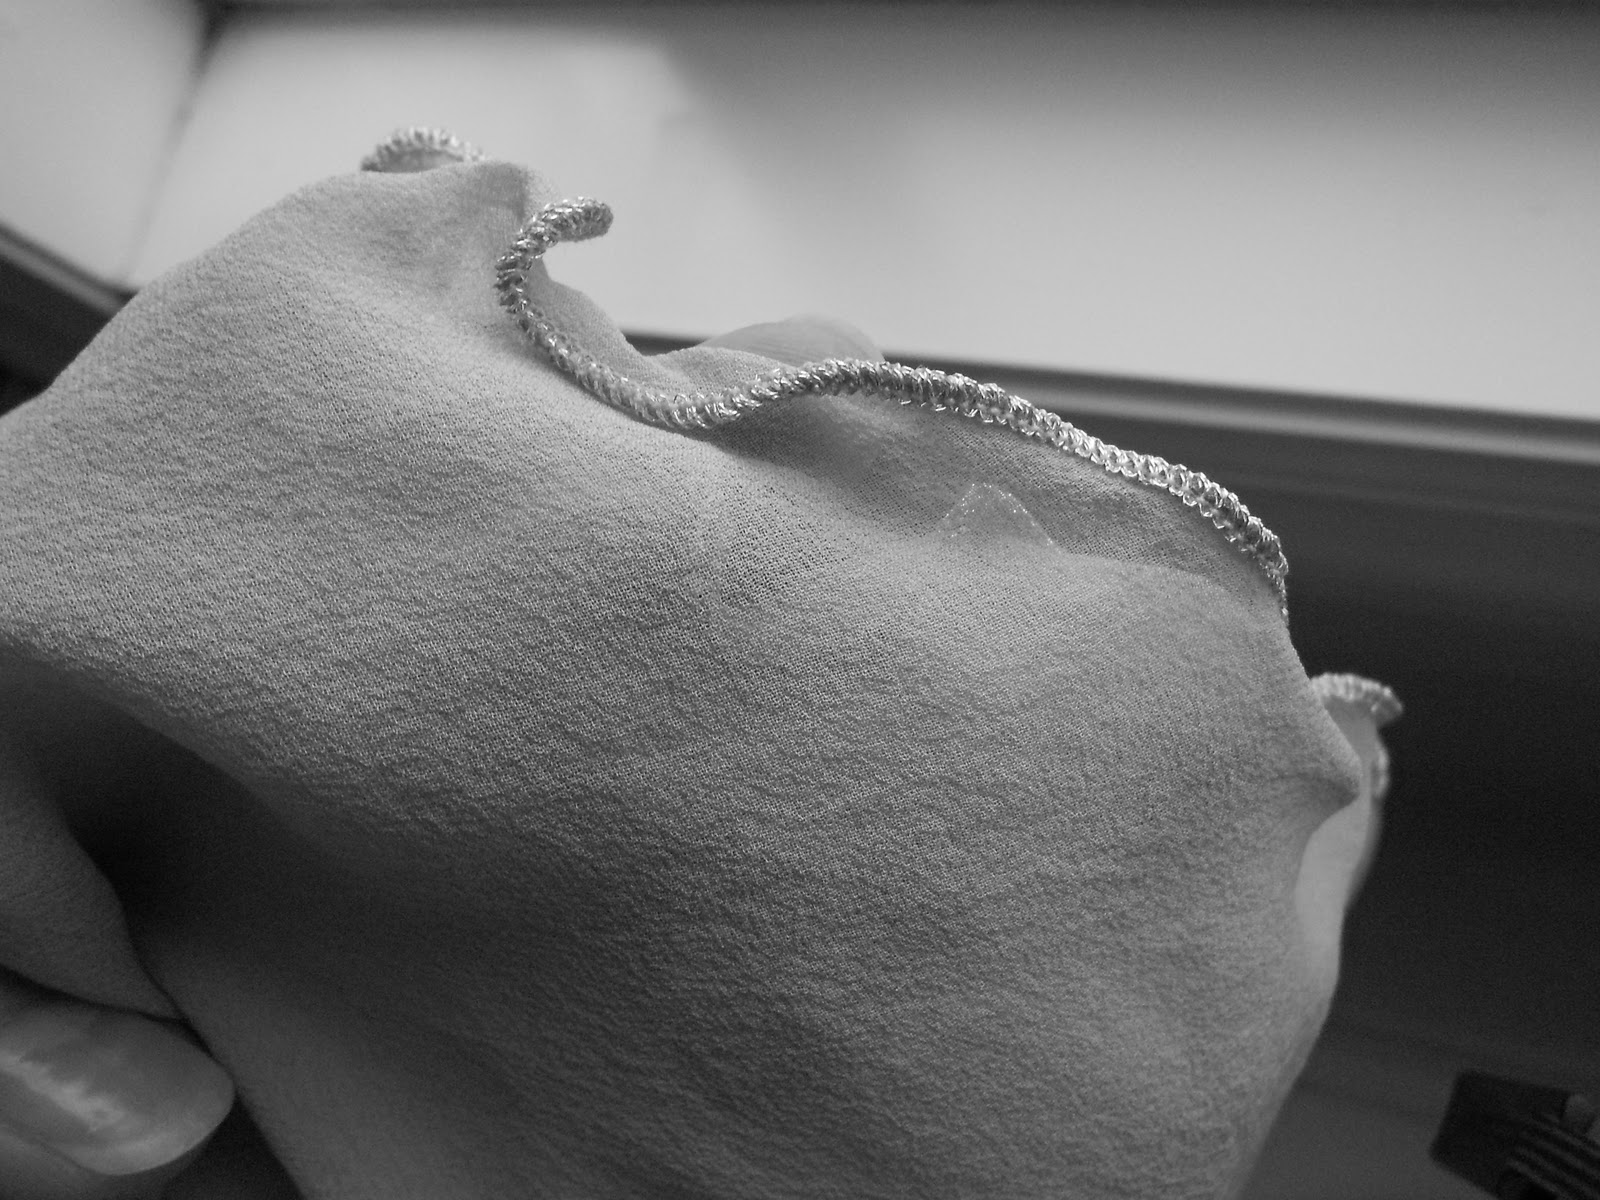
First is the front pocket ‘bag’.  This is what I will see each time I pull on my new jeans:

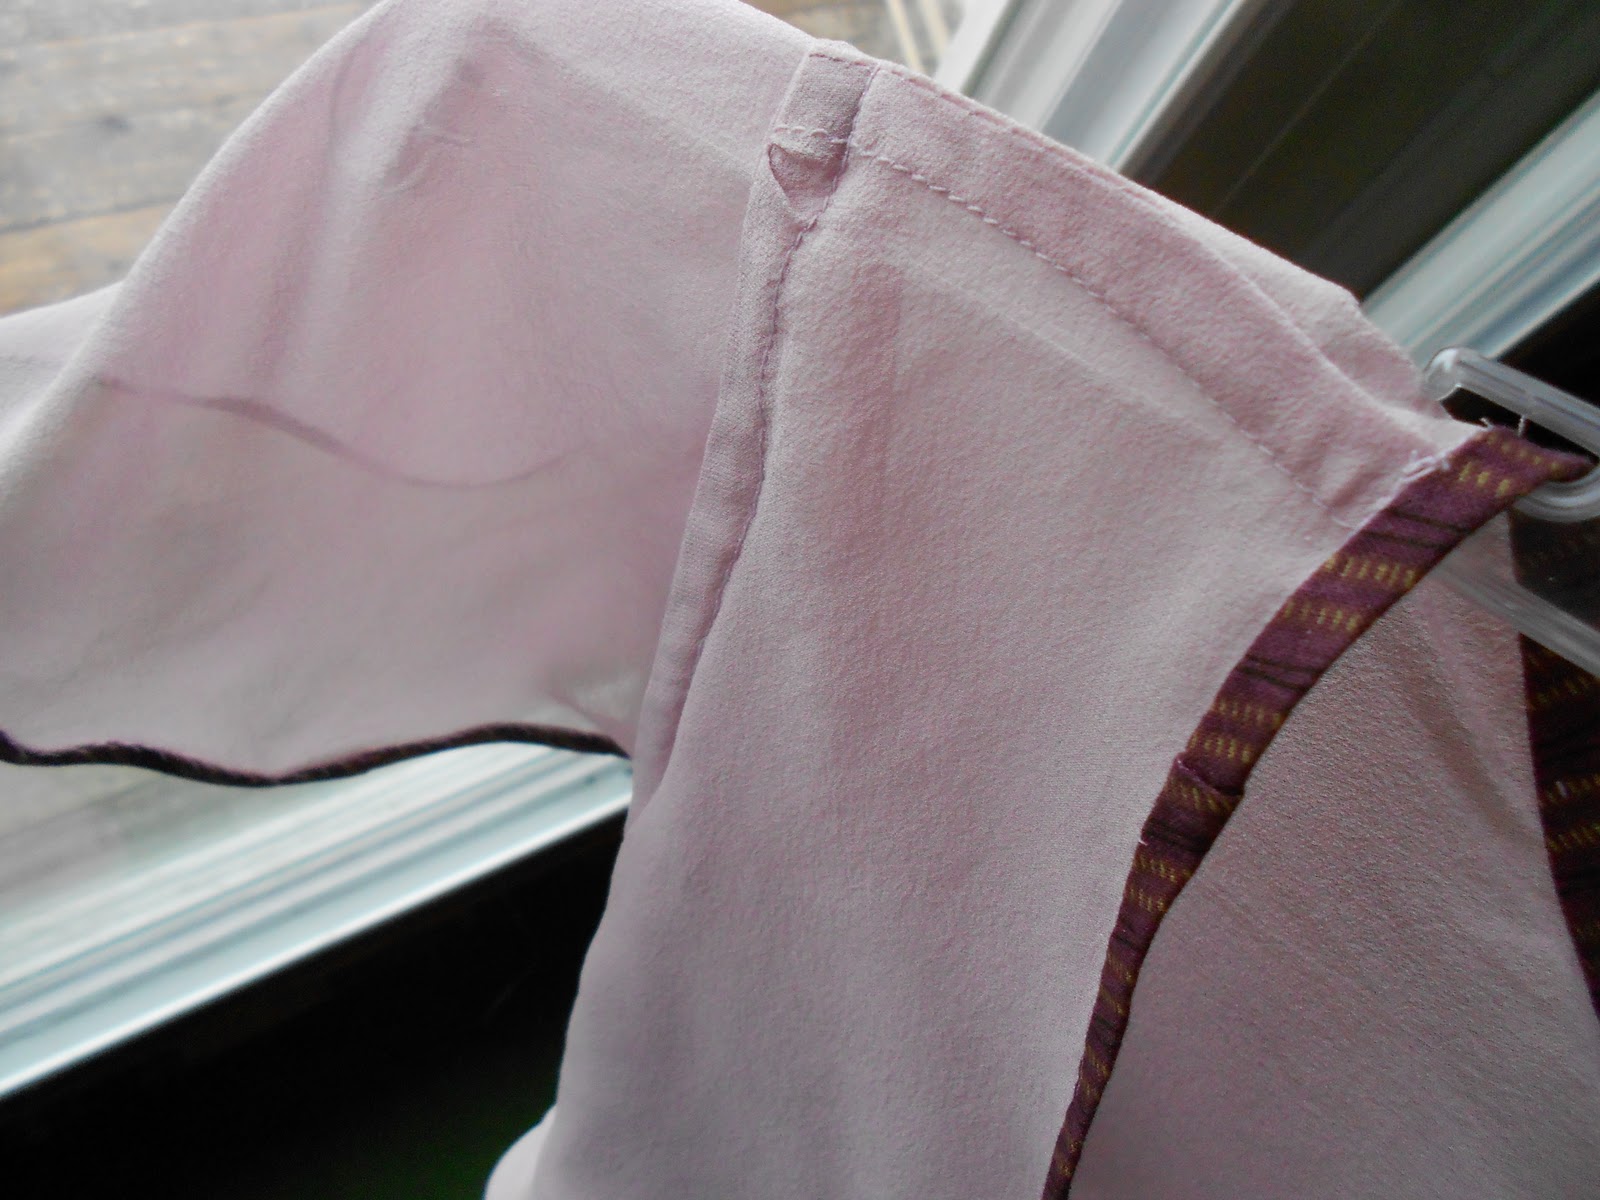
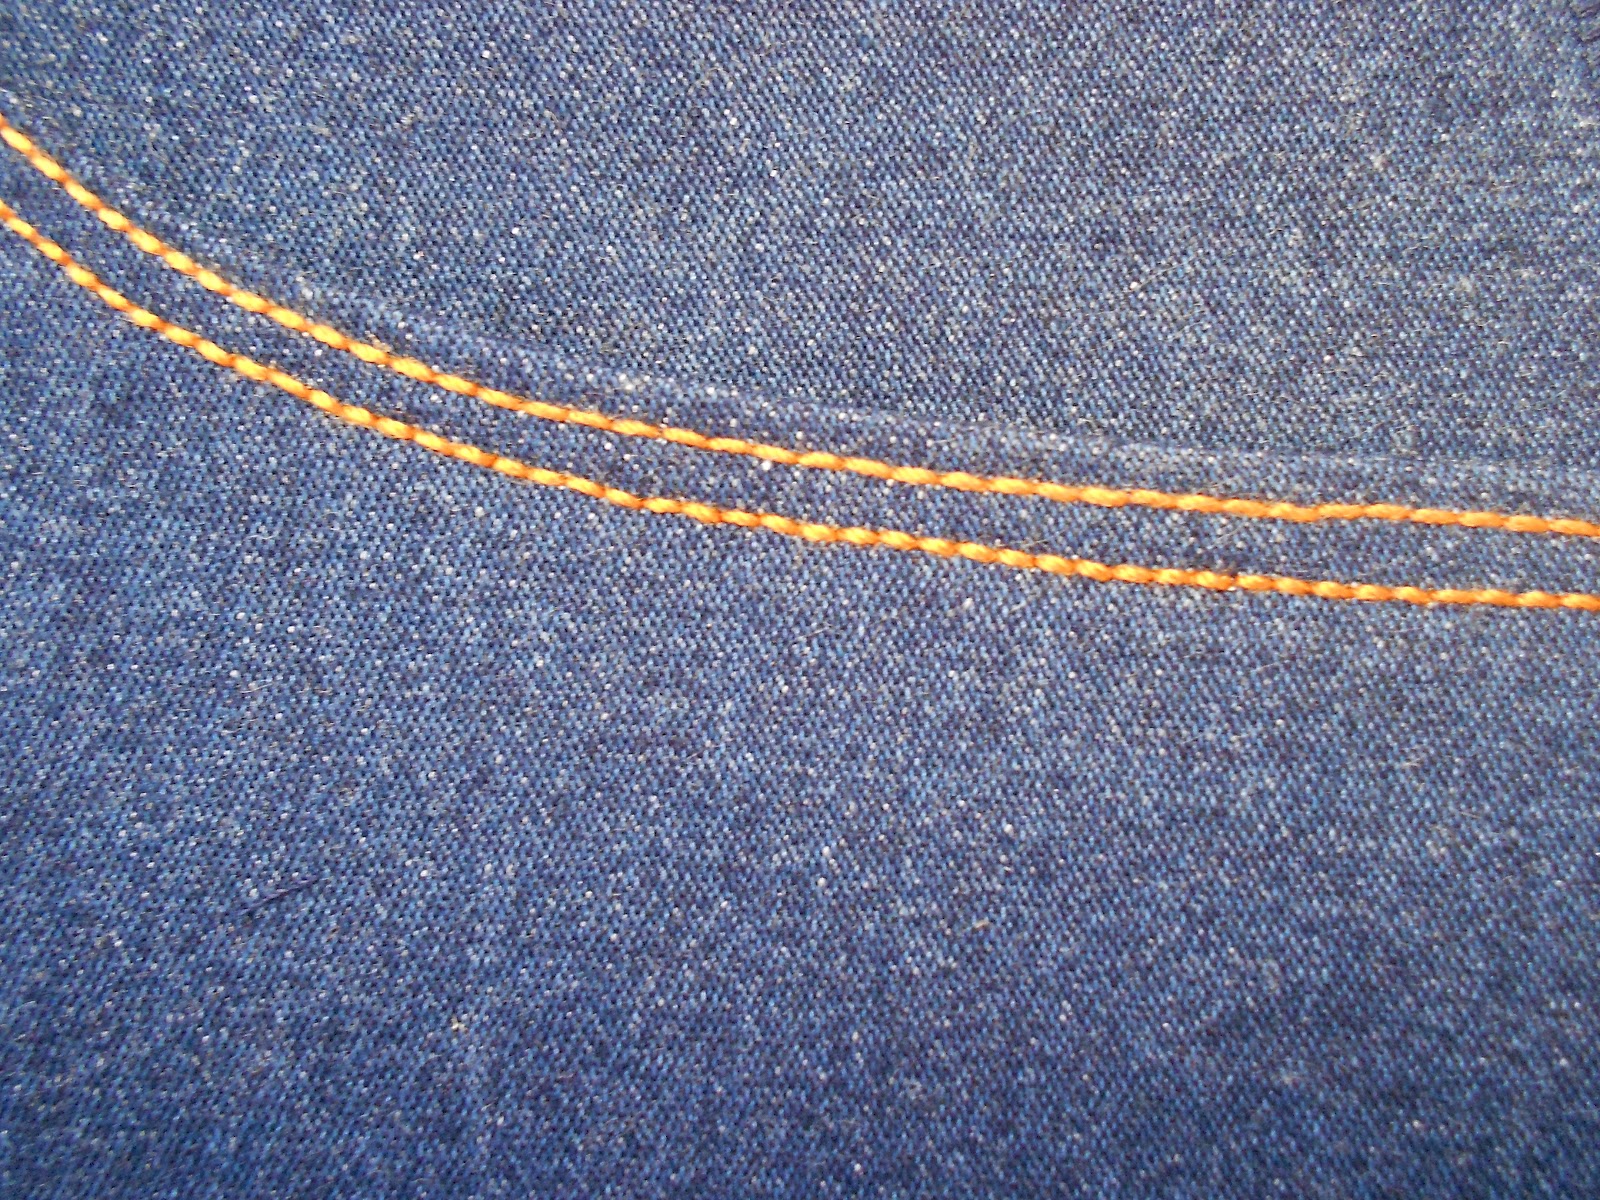
Second is a close-up of the front pocket topstitching.

I’m almost done with the zipper insertion, but don’t have any pictures to share yet.  Construction of the jeans has been temporarily halted as my little grandson was born three weeks early and I am hosting a baby shower for my daughter this month so I must make the baby quilt a couple of weeks sooner than I anticipated.  I’m almost done piecing the baby quilt and plan to completely finish it by next weekend. 

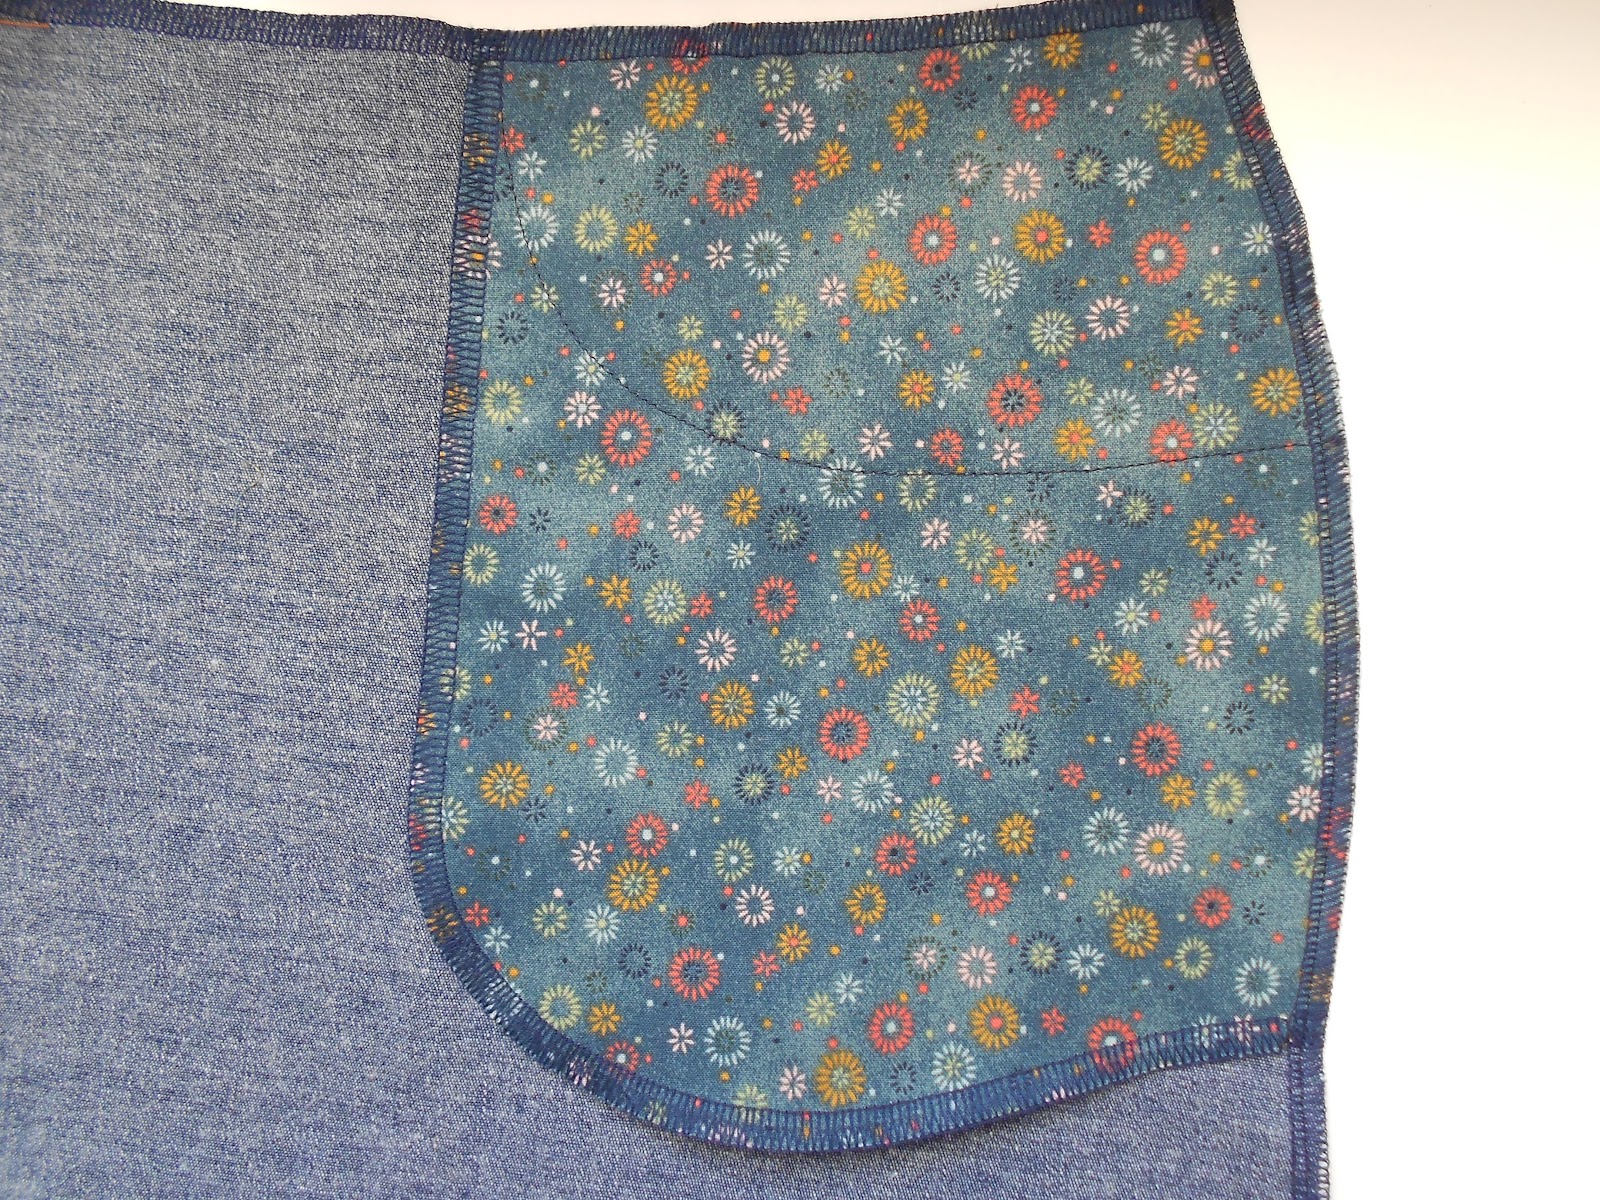
This is what I used earlier this week

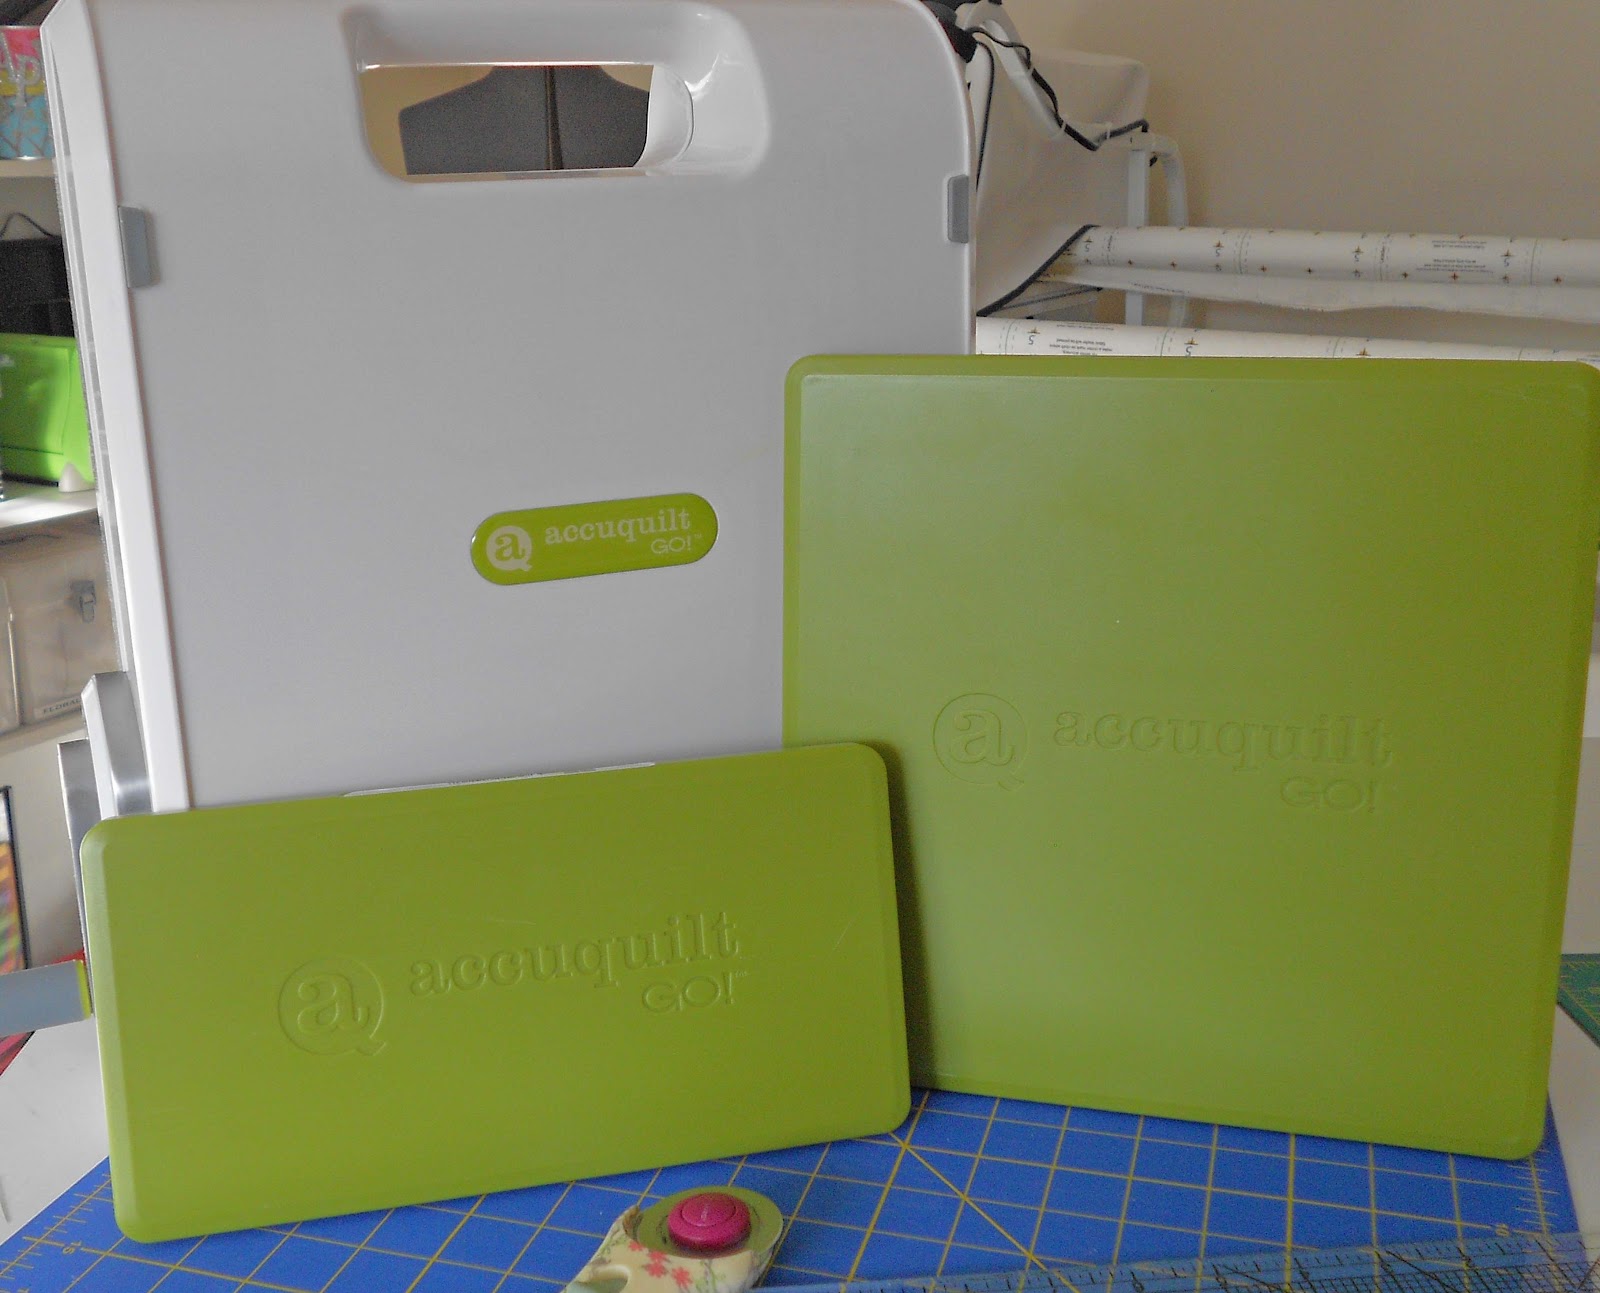
to accomplish this in about 15 minutes:

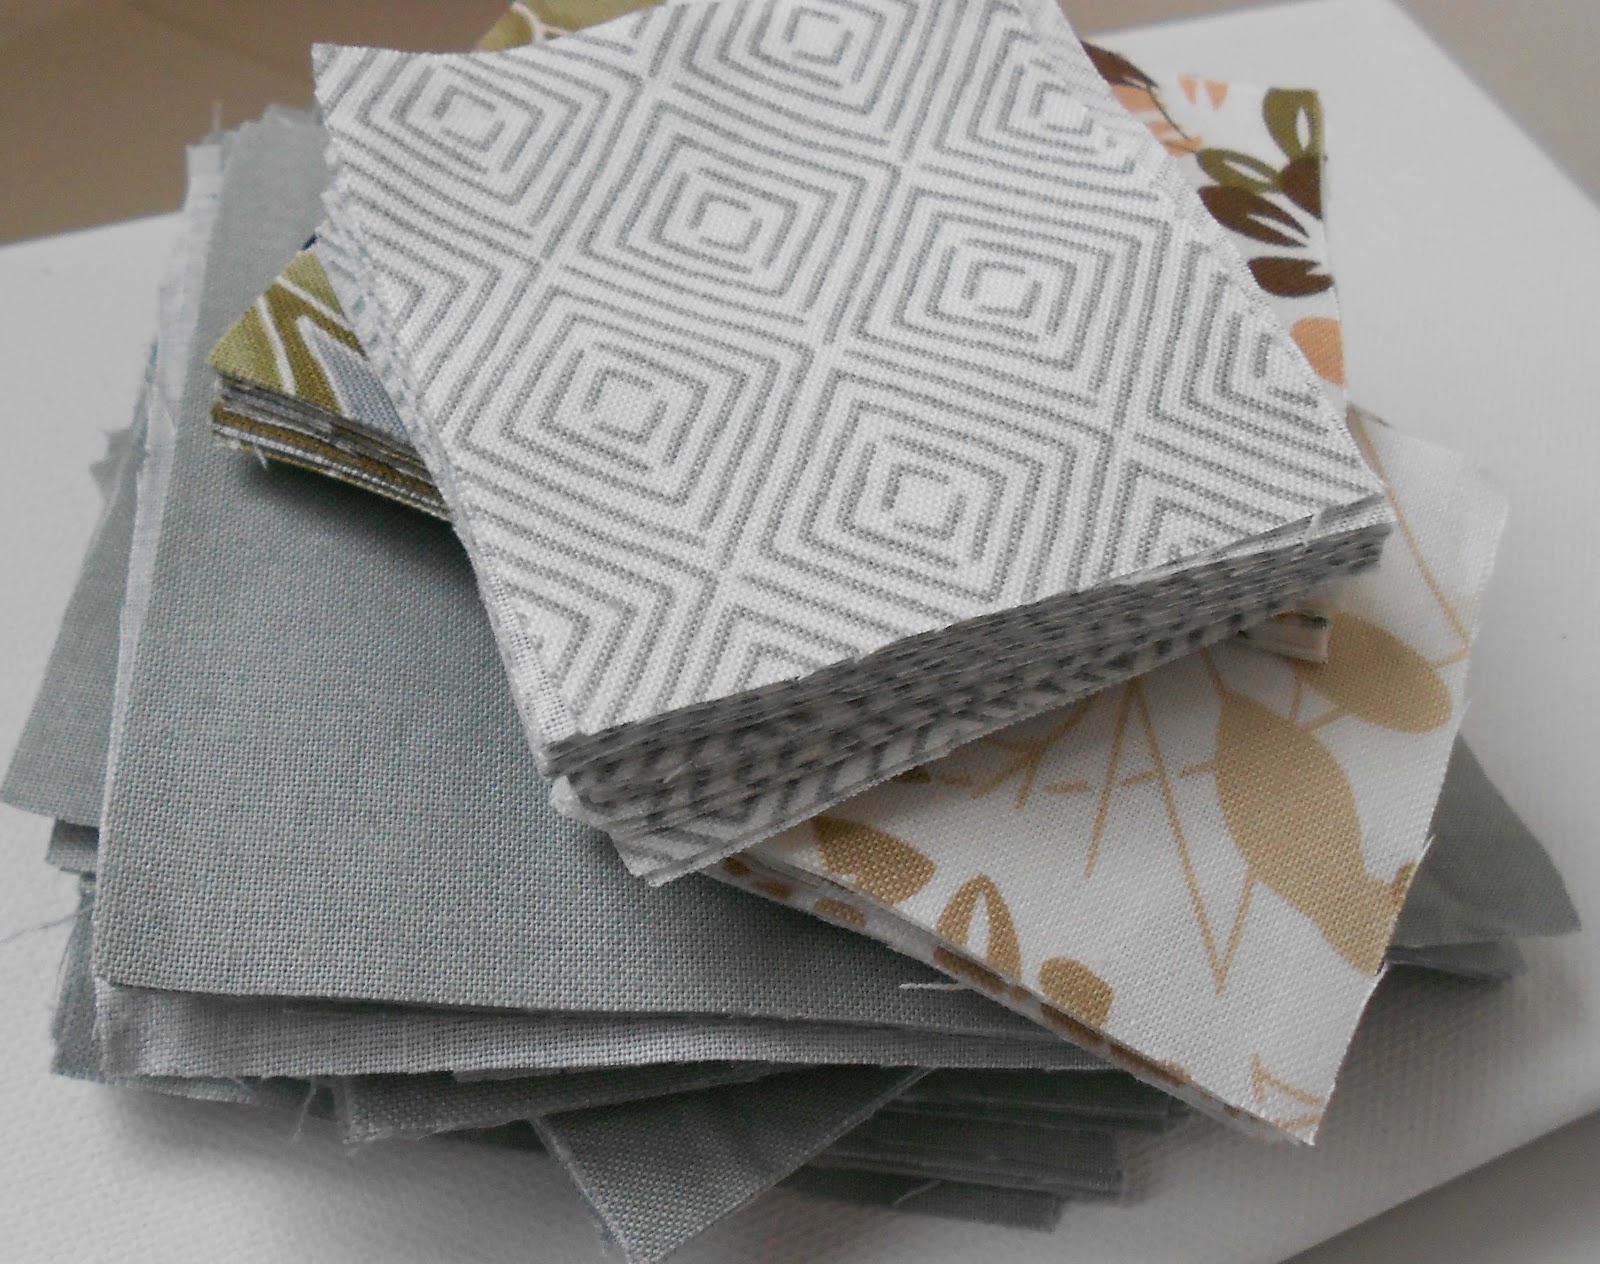
I LOVE my Accuquilt Go!  I will be using it again this week to cut the binding strips for the baby quilt.  Here’s to a (hopefully) productive week.

Jeans Progress

Good mid-week greetings.  This is the first time I have attempted to make a pair of jeans, so I just wanted to post a quick update on the progress (or lack thereof) that I am making in Jennifer Stern’s Blue Print to Blue Jeans class over at Pattern Review.  My muslin is made and hopefully fitted properly.  That is, the muslin fits properly, but contrary to Jennifer’s recommendation to not use a non-stretch muslin when sewing with stretch denim, I did it anyway.  Not to be defiant, mind you, but simply because that’s what I had on hand and I didn’t want to go to the store for supplies. 

I also have all my denim pattern pieces cut and ready to sew.  Here’s a picture of the embroidery that I added to the back pockets:

I used my embroidery machine to embellish them with a simple design.  I backed the denim with No Show Mesh Fusible interfacing so as to make my stretch denim non-stretch denim so the design would not end up distorted.  I also backed it with a light weight tear away stabilizer.  I ended up embroidering the design twice, with the second stitch-out exactly on top of the first stitch-out for more impact since the embroidery thread was a bit wimpy looking against the beefy denim fabric.  I tried to use gold topstitching thread to embroider the design, but my machine didn’t play well with that combination.

I will post more progress updates as they occur.  Have a great middle of the week.

Colette Sewing Handbook: Taffy Blouse

Woo Hoo!  Here’s a blouse I know I will wear many times.

This is the second Colette pattern I’ve sewn up, and I’m liking the patterns more with each one that I make.  The fit is great.  I cut a size 8 from the shoulders down to the waist and then graded to a size 12 from the waist to the hem (darn hips!).  I did not make any pattern alterations.  Here is a picture from the side where you can get a glimpse of the back ties:
 

I will definitely sew up this pattern again, but the one and only design change I will make will be to move those back ties up a couple inches so they are just below my bust line.  In looking at these photos, I can see that would be a more flattering location for the ties.

The only detail I changed on this top is that I used my serger to make a narrow-rolled, lettuce hem.  I used regular poly thread in the needle and lower looper and for some interest I used a DMC silver metallic thread in the upper looper.  It is hard to see in these photos so here is a close up of the hem:

I always use French seams on sheer fabrics and this pattern is no exception.  For the binding, I simply used a 100% quilter’s cotton that I had on hand.  I initially thought it might be a little heavy for the neck binding and that it might “flop” down after it was applied, but I was wrong.  It lays beautifully along the neck and is not too heavy or bulky at all.

Bias binding


Inside finished seams

 Now I must begin my fit muslin for the jeans class that I am in over at PatternReview.com